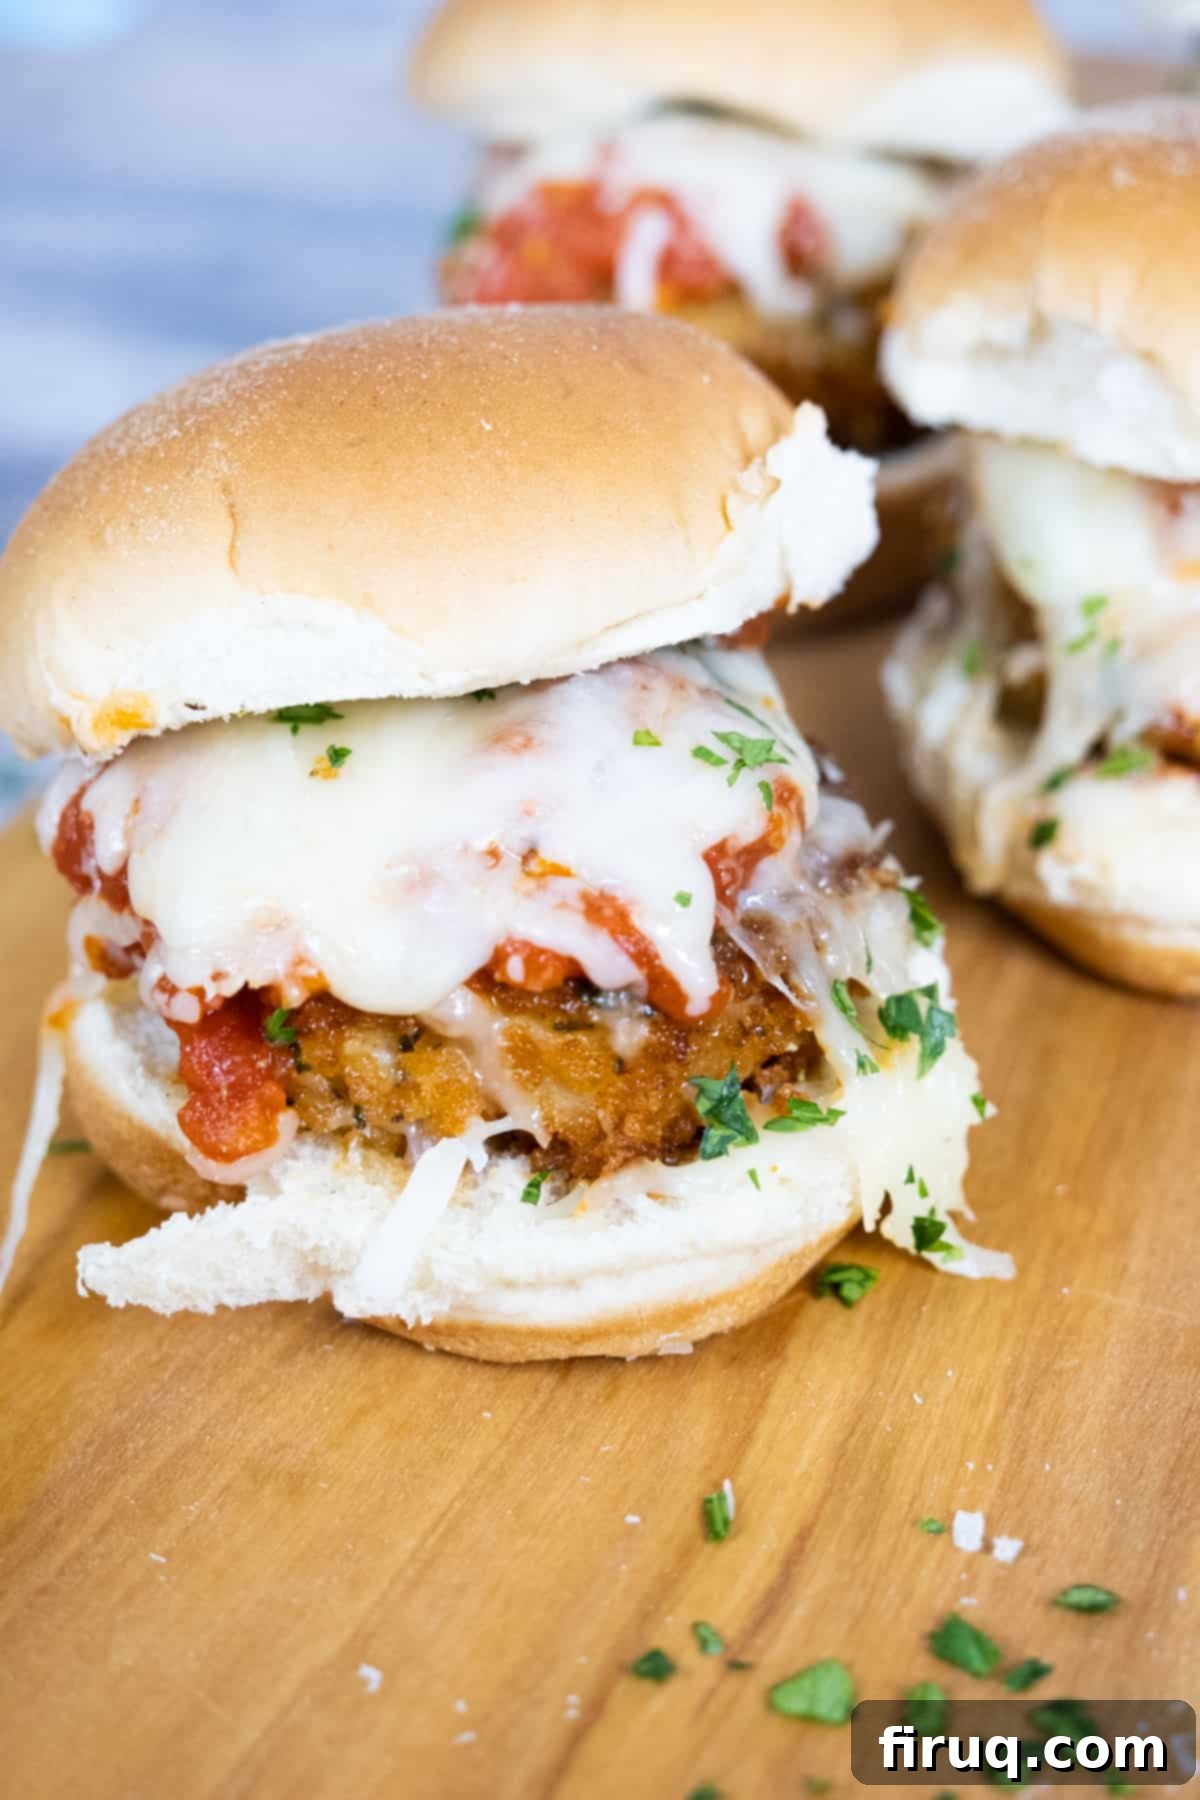
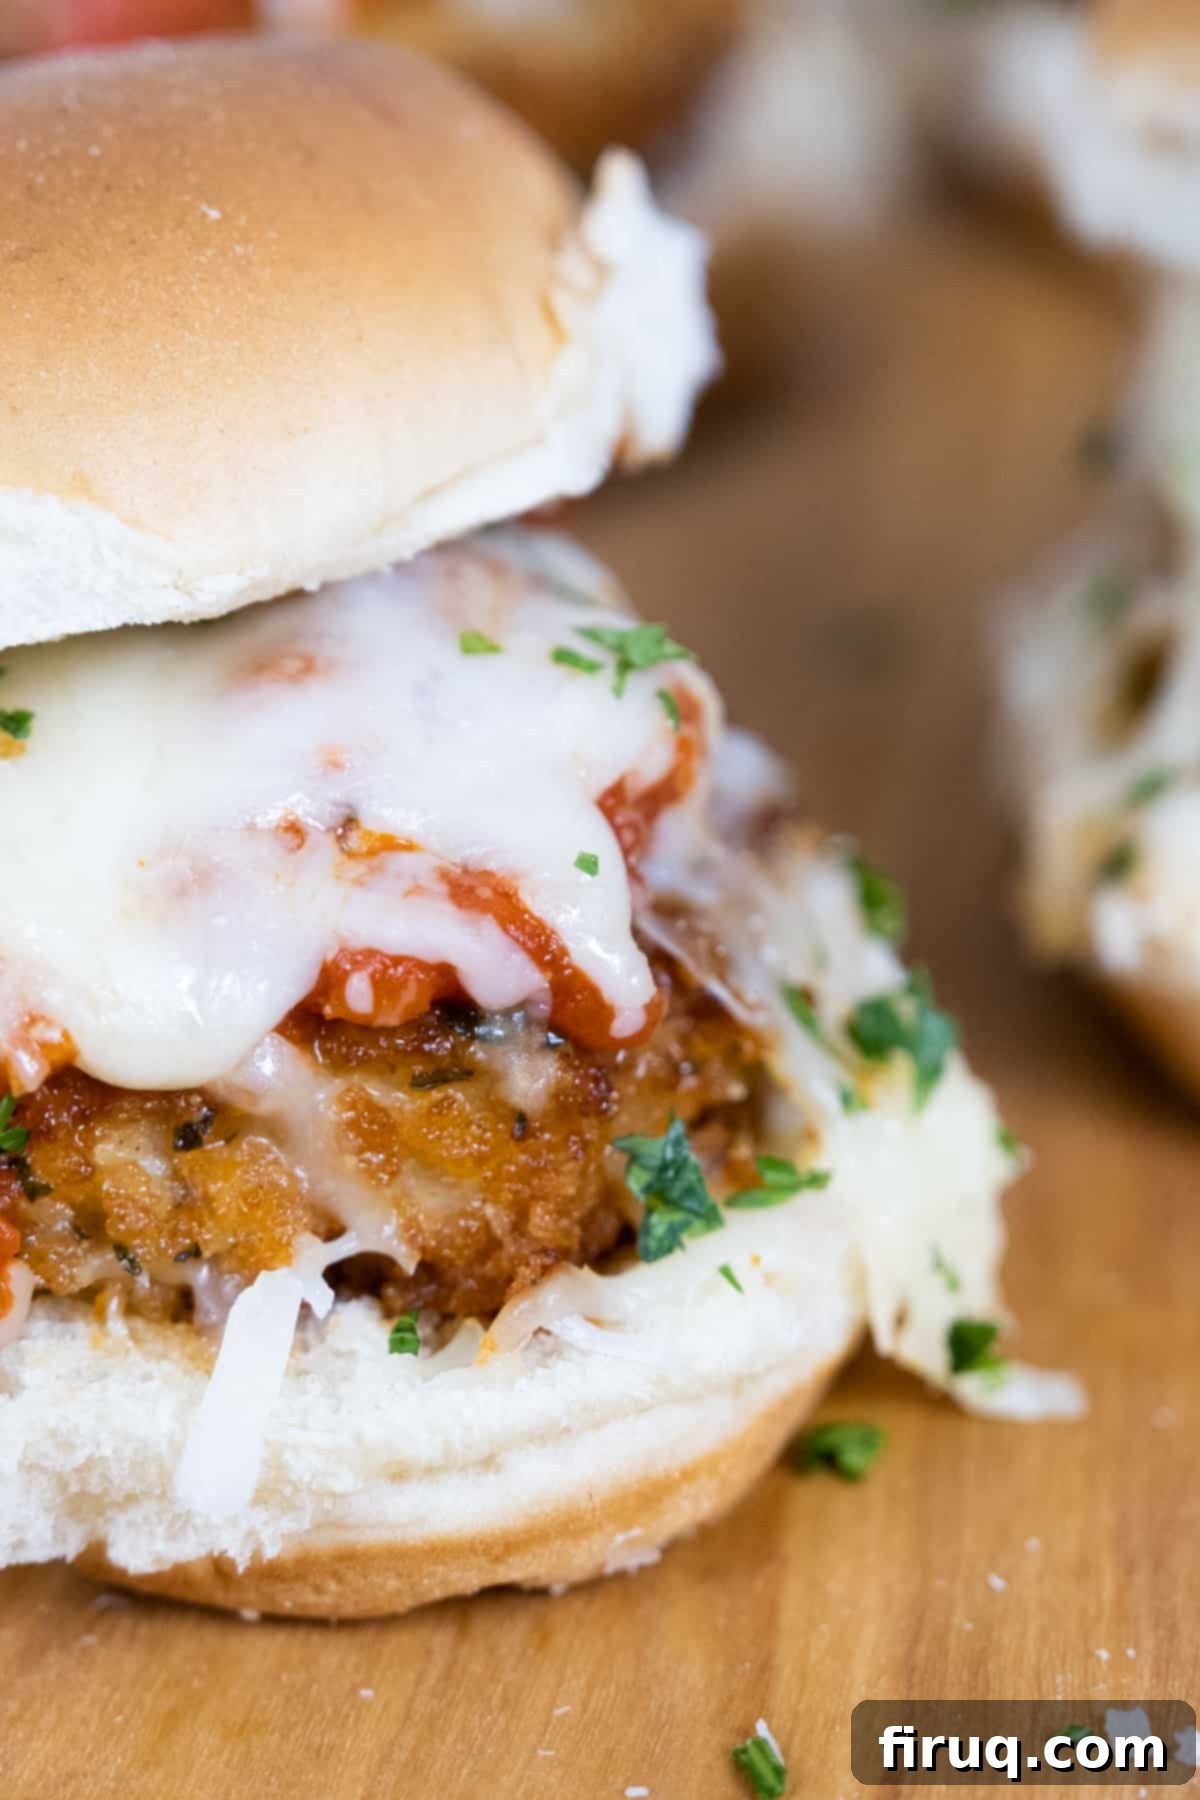
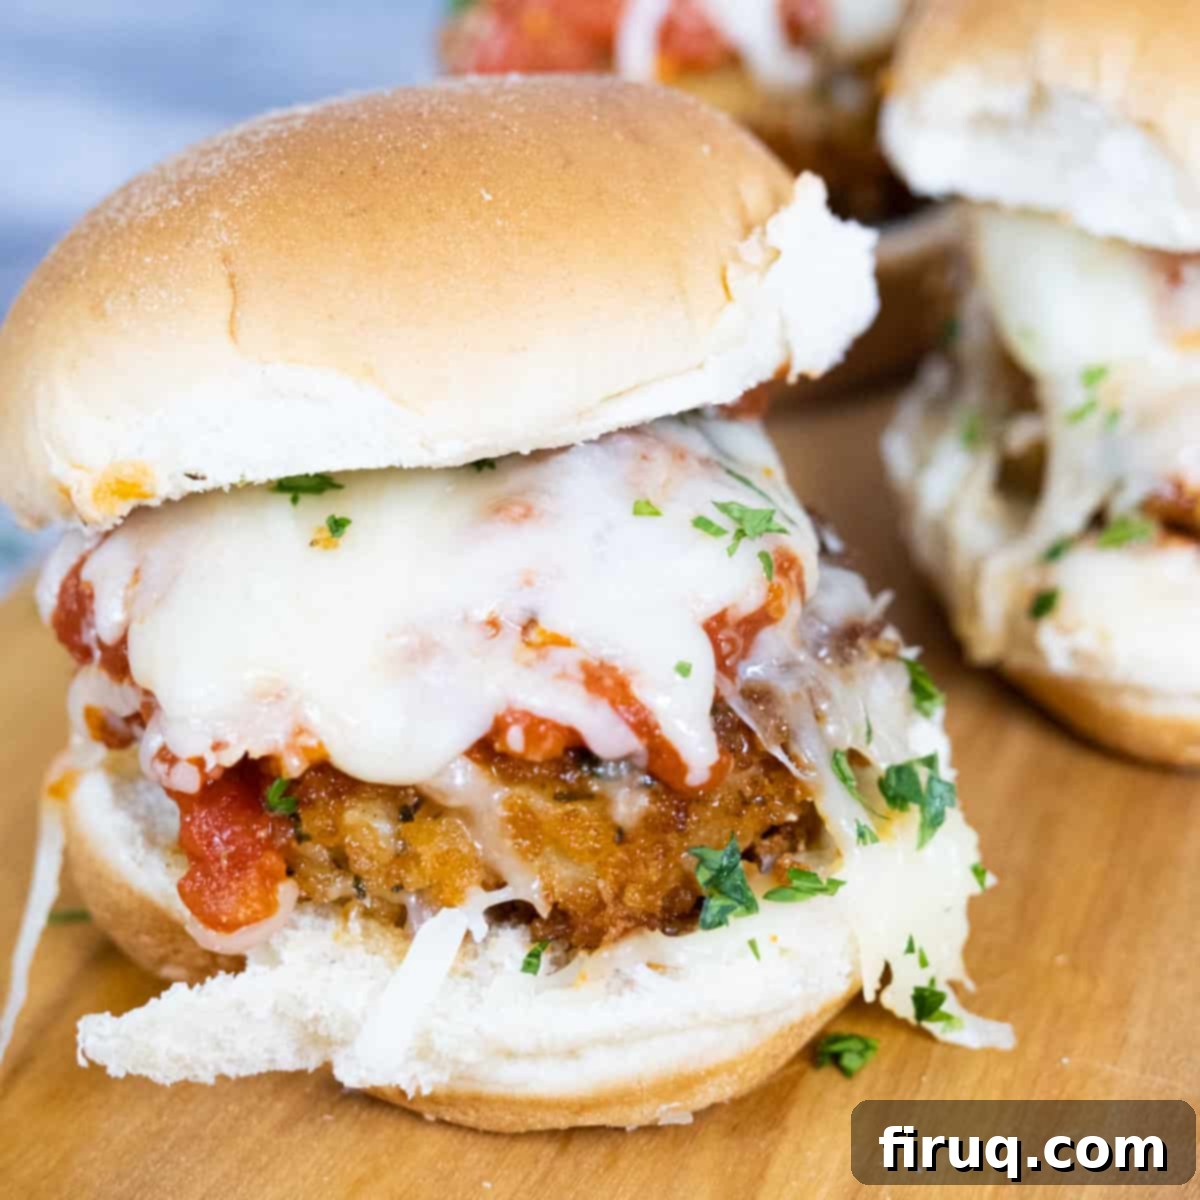
Easy Chicken Parm Sliders: The Ultimate Appetizer & Quick Dinner Recipe
Chicken Parm Sliders are a delightful twist on a beloved Italian-American classic, offering all the comforting flavors of chicken parmesan in a perfectly bite-sized form. This recipe is your secret weapon for surprising guests or simply enjoying a fun, versatile meal. Ideal for summer gatherings, game day appetizers, or even a light yet satisfying dinner, these sliders pair wonderfully with everything from classic burger sliders to a fresh green salad. Get ready to elevate your meal prep with this incredibly flavorful and easy-to-make dish!

Looking for more delicious slider recipes to complete your spread? Don’t miss our Crispy Fish Sliders, Goat Cheese and Fig Jam Sliders, or our savory Bacon Blue Cheeseburger for more fantastic mini-meal ideas!
[feast_advanced_jump_to]
Why You’ll Love These Chicken Parm Sliders
There’s something uniquely satisfying about taking a classic dish and transforming it into a convenient, handheld format. Chicken Parm Sliders do just that, offering a perfect blend of crispy chicken, rich marinara, and gooey melted mozzarella, all nestled in a soft slider bun. This recipe is more than just a meal; it’s an experience. They are:
- Crowd-Pleasing: Who doesn’t love chicken parm? Making it in slider form makes it irresistible for parties, potlucks, and family dinners.
- Versatile: Serve them as an appetizer, a main course, or even as part of a larger spread. They fit almost any occasion.
- Customizable: Easily adapt the sauce, cheese, or even the breading to suit your taste preferences or dietary needs.
- Fun to Eat: The mini size makes them easy to handle, reducing mess and encouraging guests to try different varieties of sliders.
- Flavorful: Bursting with classic Italian-American flavors, each bite delivers a comforting and delicious experience.
The Appeal of Summer Sliders: Variety is the Spice of Life!
Summer truly is the season of sliders! When the weather heats up, and entertaining moves outdoors, you want dishes that are easy to prepare, share, and enjoy. Sliders fit this bill perfectly. Gone are the days of committing to just one type of burger; with sliders, you can indulge in a delightful variety without overdoing it. Imagine being able to enjoy a savory Chicken Parm Slider, then switch it up with a tangy goat cheese and fig slider, or a refreshing crispy fish slider. This culinary freedom allows you and your guests to explore an array of flavors, making every bite an exciting discovery.
For me, the ability to enjoy two (or even three!) different types of mini-sandwiches is a game-changer. It satisfies that craving for variety without the heavy feeling of a full-sized meal. Whether you’re hosting a backyard barbecue, a casual get-together, or simply looking for a light yet satisfying dinner, sliders offer unparalleled versatility and fun. They are perfect for sharing, encourage conversation, and bring a playful element to any meal. This summer, embrace the slider trend and let your culinary creativity shine!
Substitutions and Essential Ingredient Notes for Perfect Chicken Parm Sliders
Crafting the perfect Chicken Parm Sliders begins with understanding your ingredients and knowing when and how to make smart substitutions. Here’s a deeper dive into the key components:
Sauce: Homemade vs. Store-Bought Marinara
Sauce. The marinara sauce is the heart and soul of any good chicken parm. You have two excellent options: making a quick homemade sauce or choosing a high-quality store-bought variety. While I personally enjoy the fresh, vibrant taste of a quick marinara from scratch – there’s something comforting in its familiarity and simple ingredients – a good store-bought sauce can save you time without sacrificing flavor. If opting for store-bought, look for brands with minimal added sugar and a rich tomato flavor. You can always enhance it with a pinch of red pepper flakes, fresh basil, or a swirl of olive oil as it simmers. Our recipe includes instructions for a fantastic Ultimate Guide to Marinara Sauce if you’re feeling ambitious!
Breading the Chicken: Panko for Maximum Crunch
Breadcrumbs. For these sliders, my top recommendation is Panko breadcrumbs. Unlike traditional fine Italian breadcrumbs, Panko is lighter, flakier, and absorbs less oil, resulting in an exceptionally crispy chicken patty. This extra crunch provides a fantastic textural contrast to the soft bun and melted cheese, making each slider truly special. If you don’t have Panko, regular breadcrumbs will work, but the texture won’t be quite as airy and crisp. For a gluten-free option, many brands now offer gluten-free Panko that works just as well.
Chicken: Choosing and Preparing Your Cutlets
For the chicken, boneless, skinless chicken breasts are ideal. To create perfect slider-sized patties, you’ll want to carefully slice each chicken breast in half horizontally, as if you’re butterflying it. Then, take those thinner cutlets and slice them into thirds or quarters, depending on the desired size for your slider buns. Aim for pieces that are roughly the size of your slider buns, about ¼ to ½ inch thick, to ensure even cooking and tenderness. If your chicken breasts are particularly thick, a quick tenderizing with a meat mallet between two pieces of plastic wrap can help achieve uniform thickness and ensure they cook quickly and evenly.
Cheese: The Melty, Gooey Goodness
Classic chicken parm calls for mozzarella, and these sliders are no exception. Shredded low-moisture mozzarella works perfectly for its meltability and mild flavor. If you prefer, you can also use fresh mozzarella, sliced thinly and patted dry to prevent excess moisture. For an extra layer of flavor, a sprinkle of grated Parmesan or Pecorino Romano cheese in the breading or over the melted mozzarella adds a salty, nutty bite that complements the dish beautifully.
Slider Buns: The Perfect Foundation
The bun is crucial for any slider. Soft potato rolls or Hawaiian sweet rolls are excellent choices as they are slightly sweet, absorb the sauce without becoming soggy, and hold up well to the ingredients. You can lightly toast the buns before assembling for an added layer of texture and to prevent them from becoming too soft once the saucy chicken is added.
Step-by-Step Directions: Crafting Your Crispy Chicken Parm Sliders
While oven-baked or air-fried options are available (check our FAQs for details!), I personally find that pan-frying the chicken yields the most satisfyingly crunchy exterior for Chicken Parm Sliders. The golden-brown crust and juicy interior are simply unmatched. Let’s walk through each stage of creating these delectable sliders.
Crafting the Marinara Sauce
The foundation of great Chicken Parm Sliders is a rich, flavorful marinara sauce. Even a quick homemade version makes a huge difference:
- Sauté Aromatics: In a medium saucepan, add 2 tablespoons of olive oil and heat to medium. Introduce the chopped onions and sauté them gently until they become beautifully soft and translucent, which typically takes about 5 minutes. This step is crucial for building a sweet flavor base.
- Infuse with Garlic and Spice: Stir in the minced garlic and crushed red pepper flakes. Sauté for just 30 seconds more. Be careful not to burn the garlic, as it can turn bitter very quickly.
- Caramelize Tomato Paste: Add the tomato paste to the pan and thoroughly combine it with the onion and garlic mixture. Allow the tomato paste to caramelize for about 2 minutes. You’ll notice it start to deepen in color and stick slightly to the bottom of the pan, releasing a slightly sweet, concentrated aroma. This caramelization intensifies the tomato flavor significantly.
- Simmer to Perfection: Pour in the crushed tomatoes, then stir in 1 teaspoon of salt and the fresh basil leaves. Bring the sauce to a gentle simmer, then reduce the heat and let it continue to simmer for 30 minutes, stirring occasionally. This simmering time allows the flavors to meld and deepen, transforming simple ingredients into a rich, aromatic sauce. For a more in-depth guide, check out our Ultimate Guide to Marinara Sauce!
Breading the Chicken to Crispy Perfection
Achieving that signature crispy crust on your chicken patties is key:
- Prepare Breading Station: In one medium bowl, combine the Panko breadcrumbs, Parmesan cheese, chopped fresh parsley, salt, and garlic powder. Mix them well to ensure even seasoning. In a second medium bowl, whisk the eggs until well combined, creating your egg wash.
- Prepare Chicken Patties: Slice chicken breasts in half horizontally to create thinner cutlets. Then, cut these thinner pieces into thirds to form slider-sized patties. Aim for uniform thickness for even cooking.
- Bread the Chicken: Dip each chicken patty first into the whisked egg wash, ensuring it’s fully coated. Let any excess egg drip off. Then, transfer the patty to the breadcrumb mixture, pressing firmly on both sides to make sure the breadcrumbs adhere well. A good coating means a crispier finish!
Frying the Chicken: Golden and Delicious
Pan-frying gives the chicken its irresistible golden crunch:
- Heat the Oil: In a cast iron skillet or a large, heavy-bottomed skillet, add enough olive oil to cover the bottom of the pan, about ¼ to ½ inch deep. Heat the oil over medium-high heat. The oil shouldn’t be smoking incessantly, which indicates it’s too hot, but rather should be shimmering gently when it’s ready. You can test the oil by dropping a tiny pinch of breadcrumbs; they should sizzle immediately.
- Fry in Batches: Carefully add your breaded chicken patties to the hot oil in batches. Avoid overcrowding the pan, as this can lower the oil temperature and lead to soggy chicken. Fry on each side for about 4 minutes, or until the patty is golden brown and cooked through, reaching an internal temperature of 165℉ (74℃).
- Drain Excess Oil: As each batch finishes cooking, remove the patties from the skillet and place them on a wire rack set over a paper towel-lined baking sheet to drain any excess oil. This helps maintain their crispness. You may need to add a little more oil to the skillet between batches.
Assembling Your Irresistible Chicken Parm Sliders
The final step brings all the delicious components together:
- Prepare for Assembly: Lightly toast your slider buns if desired. Arrange the bottom halves of the buns on an oven-safe pan.
- Layer the Sliders: Place a cooked chicken patty on each bottom bun. Spoon a generous amount of your warm marinara sauce over each chicken patty.
- Top with Cheese: Generously sprinkle shredded mozzarella cheese over the sauce-covered chicken.
- Broil to Melt: Place the pan of assembled sliders into the oven on the broil setting for approximately 3 minutes, or until the mozzarella cheese is perfectly melted and bubbly and just starting to brown in spots. Keep a close eye on them to prevent burning.
- Garnish and Serve: Carefully remove the sliders from the oven. Top with the other half of the slider buns. Garnish with fresh chopped parsley for a pop of color and freshness. Serve immediately and enjoy these delightful bites!

Chef’s Tips for Perfect Chicken Parm Sliders Every Time
To ensure your Chicken Parm Sliders are a runaway success, keep these expert tips in mind:
- Even Chicken Thickness: When slicing your chicken breasts, aim for uniform thickness. This ensures all patties cook at the same rate, preventing some from being overcooked while others are undercooked.
- Season Generously: Don’t just season the breadcrumbs; a pinch of salt and pepper on the chicken itself before breading can enhance the overall flavor.
- Oil Temperature is Key: For truly crispy chicken, ensure your oil is at the right temperature (medium-high) before adding the patties. If the oil isn’t hot enough, the breading will absorb too much oil and become greasy. If it’s too hot, the exterior will burn before the inside cooks.
- Don’t Overcrowd the Pan: Fry the chicken in batches to maintain consistent oil temperature. Overcrowding can lead to steamed, rather than crispy, chicken.
- Drain Properly: After frying, always place the chicken on a wire rack (not directly on paper towels) to allow air circulation and prevent the bottoms from becoming soggy.
- Watch the Broiler: When melting the cheese, the broiler works quickly. Stay by the oven and watch carefully to prevent the cheese from burning.
- Fresh Herbs Make a Difference: A final sprinkle of fresh parsley not only adds visual appeal but also a burst of fresh flavor.
Recipe FAQs: Your Questions Answered for Chicken Parm Sliders
Absolutely! The air fryer is a fantastic option for a slightly healthier and less messy version. To air fry your chicken patties, simply preheat your air fryer to 400℉ (200℃). Place the breaded patties in a single layer in the air fryer basket, ensuring they don’t overlap. Cook for 15 minutes, flipping them halfway through, or until the chicken reaches an internal temperature of 165℉ (74℃) and the breading is golden and crispy. This method uses significantly less olive oil, resulting in fewer calories without sacrificing the satisfying crunch.
Yes, baking in the oven is another excellent alternative to frying. Preheat your oven to 375℉ (190℃). Arrange the breaded chicken patties on a parchment-lined baking tray. Bake for 20 minutes, flipping them halfway through to ensure even browning. Start checking the internal temperature at 15 minutes, as thinner patties might cook faster. Remove the chicken once it reaches 165℉ (74℃). This method also results in a delicious, crispy chicken parm without the need for deep frying.
You can certainly do some prep work in advance! The marinara sauce can be made 2-3 days ahead and stored in an airtight container in the refrigerator. You can also bread the chicken patties a few hours before frying and keep them uncovered in the fridge on a baking sheet. However, for the crispiest results, it’s best to fry the chicken and assemble the sliders just before serving. If you must assemble ahead, broil them for melting the cheese right before serving to keep the buns from getting soggy.
Leftover sliders can be stored in an airtight container in the refrigerator for up to 3 days. To reheat, the best method is to place them in a preheated oven or air fryer at 350℉ (175℃) for about 10-15 minutes, or until warmed through and the chicken crisps up again. Microwaving can make the breading soggy, but it will still be tasty!
These versatile sliders pair well with a variety of sides. For a classic Italian feel, serve them with a simple green salad, garlic bread, or a side of pasta salad. For a summer BBQ, they are excellent alongside coleslaw, potato salad, corn on the cob, or even other types of sliders like our Crispy Fish Sliders or Goat Cheese and Fig Jam Sliders for a fun, varied spread!
More Delicious Recipes for Your Grill and Summer Table
If you loved these Chicken Parm Sliders, you’ll surely enjoy exploring more recipes that are perfect for outdoor cooking and entertaining. Whether you’re firing up the grill or just looking for delightful, easy-to-share meals, we’ve got you covered. Here are some of our favorites:
- Italian Sausage and Peppers
- Italian Ring Sausage (Chevalatta)
- My Big Fat Greek Chicken Burger
- Goat Cheese Burger with Fig Jam
We hope this detailed guide inspires you to try these incredible Chicken Parm Sliders for your next gathering or family meal. They are a timeless classic, reimagined for modern enjoyment, and are sure to be a hit with everyone who tries them! Let us know what you think by leaving a review below! And for more culinary inspiration, be sure to follow us on Instagram @vindelgiudice or Tiktok @alwaysfromscratch.
📖 Recipe

Chicken Parm Sliders
Vincent DelGiudice
Pin Recipe
30 minutes
45 minutes
1 hour
15 minutes
Appetizer, Main Course
American, Italian
12
sliders
359
kcal
Equipment
-
1 Saucepan -
1 cast iron skillet or saucepan
Ingredients
-
2
chicken breasts -
12
slider buns -
1.5
cups
shredded mozzarella -
¾
cup
olive oil -
2
tablespoon
olive oil
For the sauce
-
1
28 oz can
crushed tomatoes -
½
medium onion, chopped -
4
cloves
garlic, minced -
2
tablespoon
tomato paste -
1
teaspoon
salt -
6
basil leaves -
1
teaspoon
crushed red pepper
For the breading
-
1
cup
panko bread crumbs -
¼
cup
parmesan cheese -
2
tablespoon
fresh parsley, chopped -
1
teaspoon
salt -
1
tablespoon
garlic powder -
2
eggs
Instructions
-
Open your favorite can of sauce or make a quick marinara sauce following these instructions. Add 2 tablespoon olive oil to the saucepan and bring to medium heat. Add the onions and saute until soft and translucent, about 5 minutes. Then stir in the garlic and crushed red pepper and saute for 30 seconds. Add the tomato paste and combine everything. Saute for 2 more minutes. Pour in the crushed tomatoes and add 1 teaspoon salt and basil. Bring to a simmer and simmer for 30 minutes.
-
Combine the breadcrumb ingredients. In a medium bowl, whisk the eggs. Slice chicken breasts in half and then cut into thirds to make patties. Dip each patty into the egg and then coat in the breadcrumb mixture, making sure to pat the breadcrumbs on so they stick.
-
In a cast iron skillet or large skillet, add the olive oil until the bottom of the pan is covered. Bring to medium-high heat. The oil shouldn’t be smoking incessantly, but slightly shimmering when it is ready. Add your chicken patties to the oil in batches and fry on both sides for about 4 minutes or until the patty reaches 165℉.
-
Add the chicken to the bun and top with mozzarella cheese. Place the sliders on an oven safe pan, and place in the oven on broil for 3 minutes or until the mozzarella melts. Garnish with parsley and enjoy!
Notes
Nutrition
Calories:
359
kcal
Carbohydrates:
22
g
Protein:
16
g
Fat:
23
g
Saturated Fat:
5
g
Polyunsaturated Fat:
2
g
Monounsaturated Fat:
13
g
Trans Fat:
0.01
g
Cholesterol:
64
mg
Sodium:
625
mg
Potassium:
226
mg
Fiber:
2
g
Sugar:
4
g
Vitamin A:
319
IU
Vitamin C:
3
mg
Calcium:
142
mg
Iron:
2
mg
Tried this recipe?
We’d love for you to Leave a Review!
