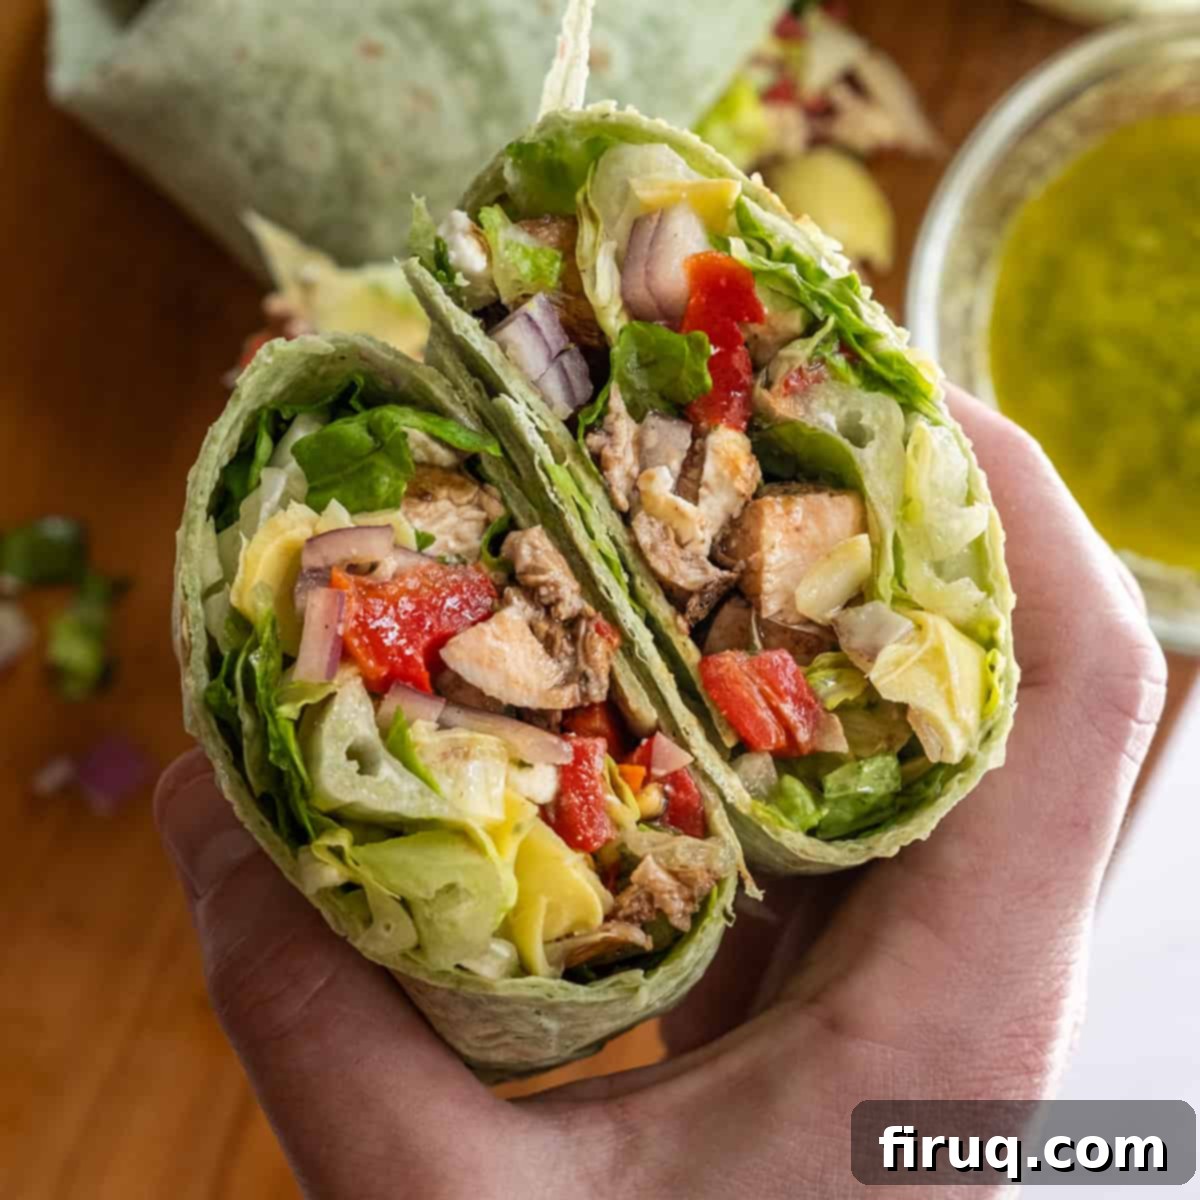
The Ultimate Mediterranean Chicken Wrap: Easy, Healthy & Perfect for Meal Prep
This Mediterranean Chicken Wrap is not just a meal; it’s a vibrant journey of flavors that’s incredibly easy to prepare and absolutely delicious. Packed with succulent balsamic-glazed chicken, a zesty lemony vinaigrette, and sweet roasted red peppers, it’s a dish that embodies the fresh, healthful essence of Mediterranean cuisine. Whether you’re planning a quick and satisfying weeknight dinner or looking for an efficient and tasty option for your lunch meal prep, this wrap delivers on all fronts. Its balanced ingredients offer a burst of flavor in every bite, making healthy eating both convenient and exciting. Enjoy the perfect blend of savory, tangy, and fresh notes that will transport your taste buds straight to the sun-drenched coasts of the Mediterranean.
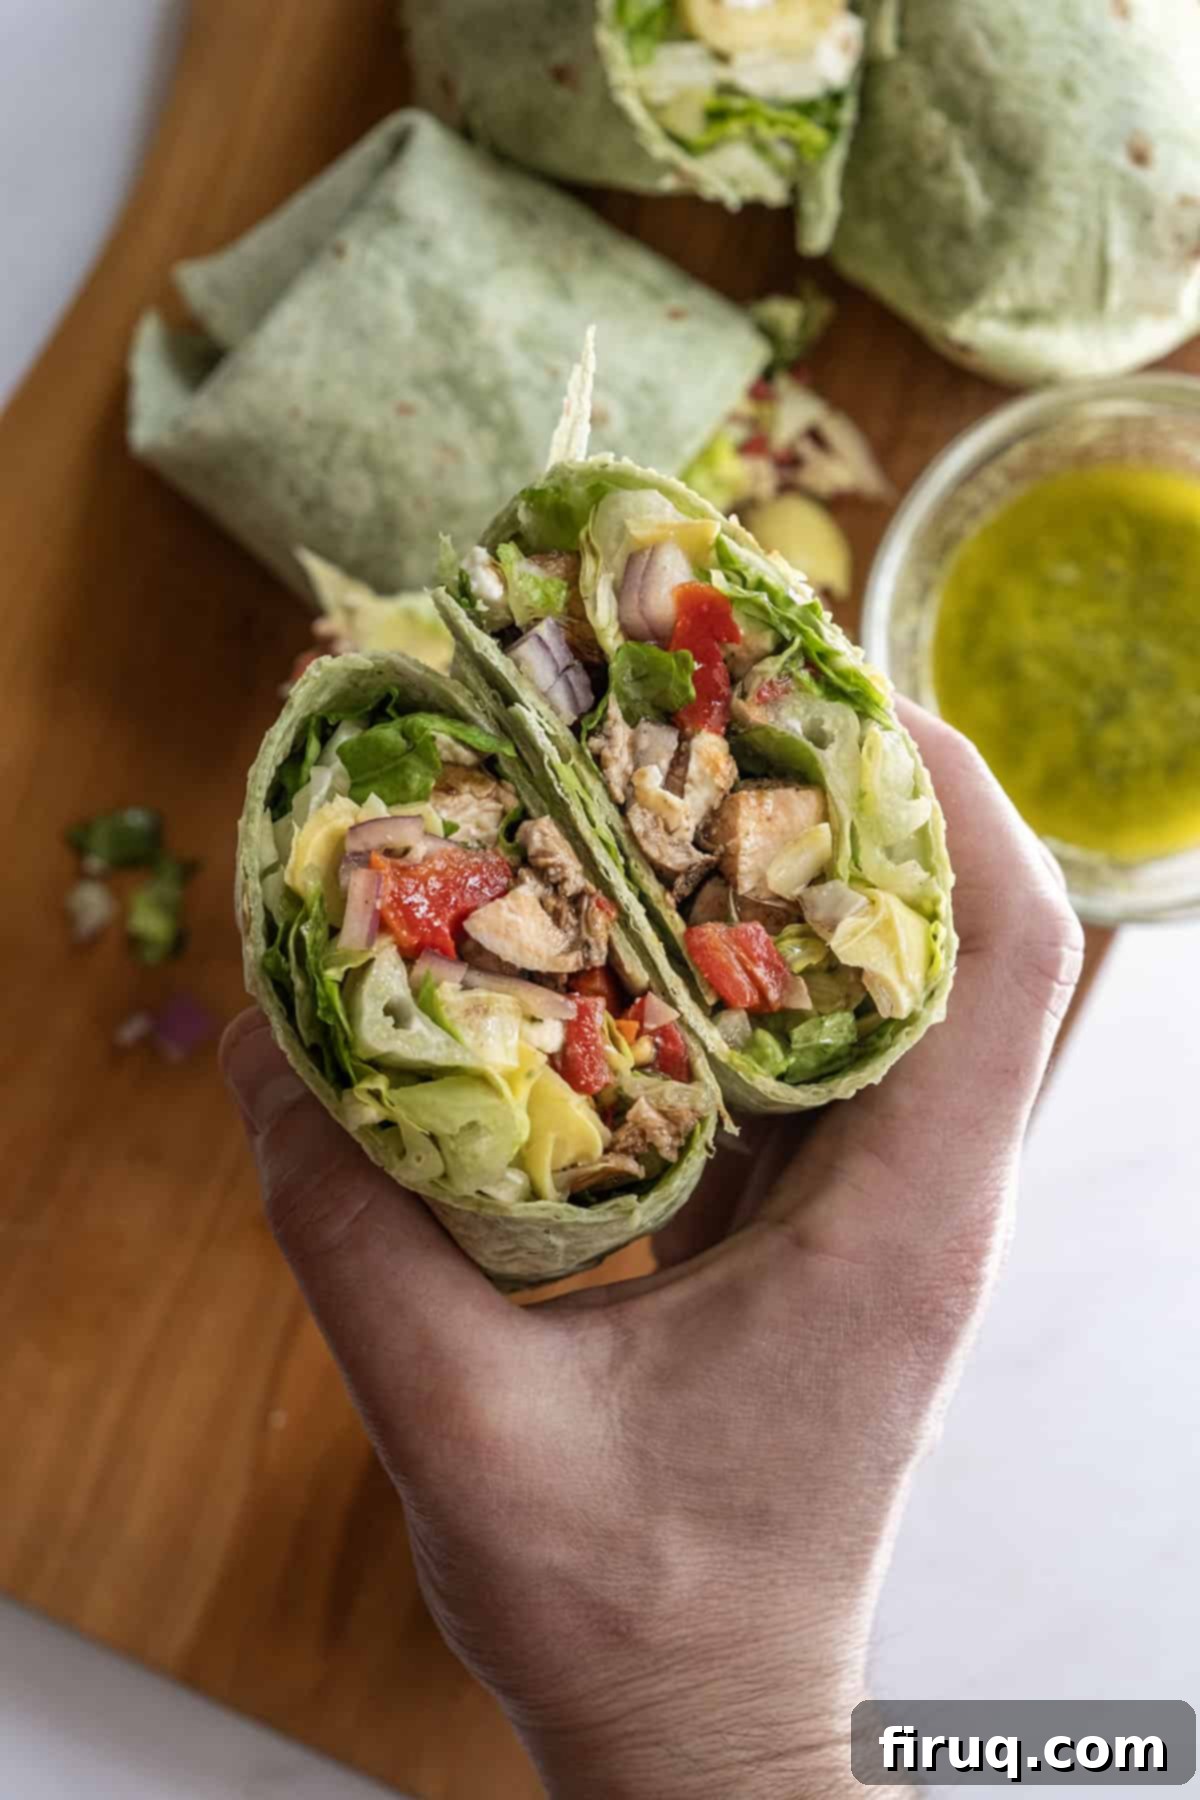
Craving more delicious handheld meals or easy-to-make sandwiches? Explore our collection for diverse flavors! You might love our Italian Breakfast Sandwich for a hearty start to your day or the unique taste of our Eggplant Caprese Grilled Cheese for a vegetarian delight. Each recipe is crafted to bring exciting flavors and convenience to your table, just like this Mediterranean Chicken Wrap.
[feast_advanced_jump_to]
Perfect for Meal Prep
In our busy lives, especially with the demands of parenting and work, efficient meal prep is a game-changer. It frees up valuable time during the week, reduces stress about what to eat, and ensures you’re fueling your body with wholesome, homemade food. This Mediterranean chicken wrap recipe is perfectly designed for meal prepping. While the recipe yields four wraps, it’s incredibly easy to scale up or down depending on your needs. Whether you’re cooking for one or feeding a larger family, you can effortlessly adjust the quantities to prepare a batch of these flavorful wraps for the entire week.
These wraps aren’t just for lunch; they make a fantastic light dinner, especially when paired with a comforting soup. Consider serving them alongside a hearty Classic Italian Minestrone or a creamy Chicken Tortellini Soup for a complete and satisfying meal. The fresh, tangy flavors of the wrap beautifully complement the warmth of a homemade soup, creating a well-rounded culinary experience.
If you’re looking to elevate your lunch routine beyond the mundane, this recipe is your answer. To ensure the freshest taste and prevent any sogginess when meal prepping, a crucial tip is to keep the Lemon Basil Vinaigrette separate from the other ingredients. Store the vinaigrette in a small container and drizzle it over your wrap just before you’re ready to eat. This simple trick preserves the crispness of the lettuce and the overall texture of your wrap, guaranteeing a delicious and fresh-tasting meal every time. Prepare the components in advance, assemble when ready, and enjoy healthy, flavorful meals throughout your busy week!
Ingredient Notes and Flavorful Substitutions
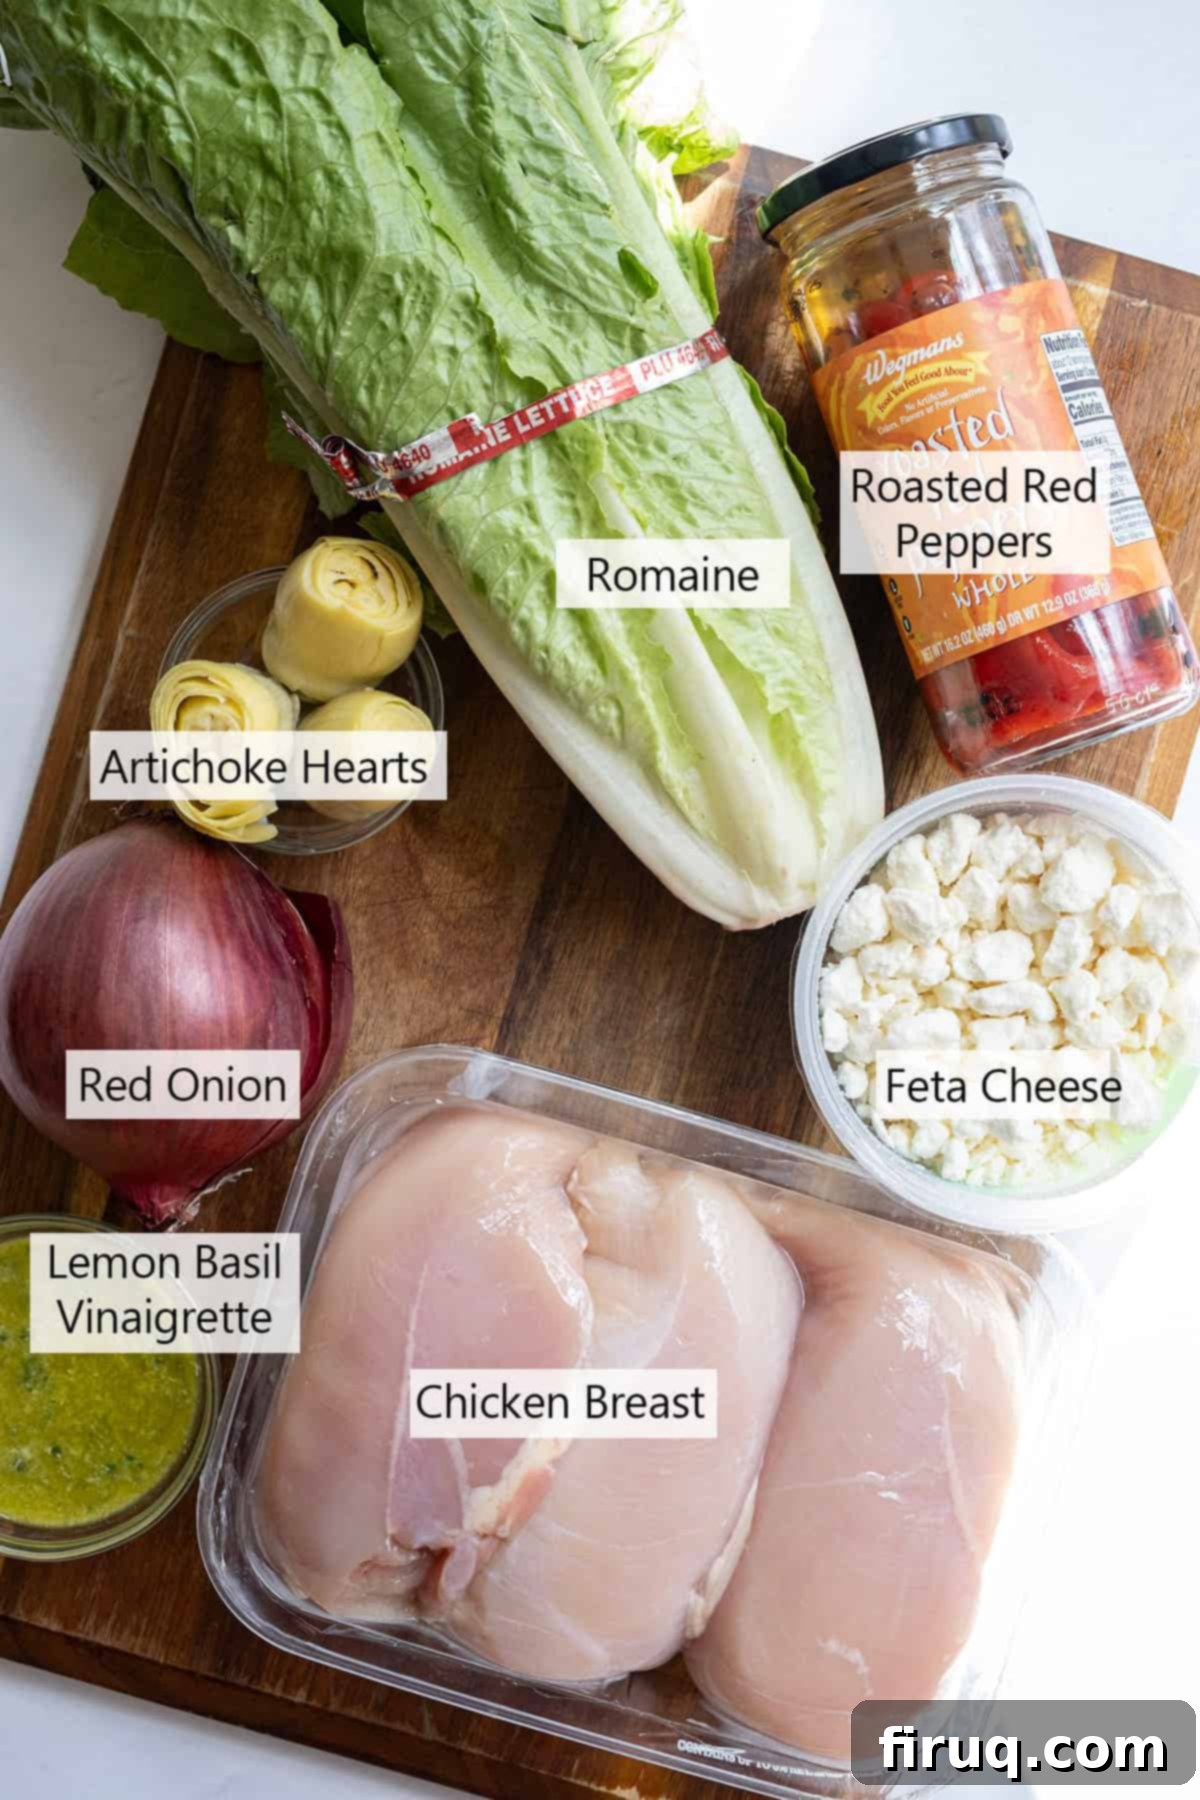
Let’s dive deeper into the key components that make this Mediterranean Chicken Wrap so spectacular, along with some helpful tips and substitution ideas to make it truly your own.
Balsamic Glaze: While store-bought balsamic glaze is convenient, making your own is surprisingly simple and yields a fresher, more robust flavor. I often find that purchased glazes go unused and expire, but a homemade version is quick to whip up and incredibly versatile. The process of reducing balsamic vinegar concentrates its sweetness and tang, creating a rich, syrupy glaze that coats the chicken beautifully. The recipe below includes instructions for this easy homemade glaze, which you’ll find enhances the entire wrap experience. Don’t be intimidated; it’s just a matter of simmering and reducing.
Grilled Chicken: The star of the show! Grilling imparts a wonderful smoky flavor, but if you don’t have an outdoor grill, a cast iron pan on your stovetop works just as well to achieve that delicious sear. For an alternative, you can bake or pan-fry the chicken breasts until cooked through. While tossing the chicken in balsamic glaze adds a fantastic layer of sweetness and acidity, it’s completely optional. If you prefer a simpler, unglazed chicken, the wrap will still be incredibly flavorful, especially with the vibrant vinaigrette.
Artichoke Hearts: These add a delightful, subtly tangy, and slightly nutty flavor, along with a pleasant texture to the wrap. I typically use canned or jarred artichoke hearts packed in water, which are easy to chop and incorporate. If you’re new to artichoke hearts, I highly recommend giving them a try; they are a staple in Mediterranean cuisine and truly elevate this wrap. Drain them well before chopping for the best results.
Vinaigrette: Our homemade Lemon Basil Vinaigrette is a highlight, offering a bright, herbaceous, and zesty kick that ties all the flavors together. Its fresh ingredients make a noticeable difference. However, if you’re short on time or prefer a different flavor profile, feel free to substitute it with your favorite Italian dressing, a simple red wine vinaigrette, or even a store-bought Mediterranean-style dressing you might already have in your fridge. Just ensure it’s a light, flavorful dressing that won’t overpower the other fresh ingredients.
Other Fresh Fillings:
- Romaine Lettuce: Provides a crisp, refreshing crunch. You can substitute with mixed greens, spinach, or even kale for added nutrients.
- Roasted Red Pepper: Adds a sweet, smoky depth of flavor. Jarred roasted red peppers are incredibly convenient, but you can also roast your own for an even fresher taste.
- Red Onion: Offers a sharp, pungent bite that balances the other flavors. If you find raw red onion too strong, you can soak it in ice water for 10-15 minutes to mellow its intensity, or use thinly sliced pickled red onions for a milder, tangier option.
- Feta Cheese: Crumbly, salty, and wonderfully tangy, feta is a classic Mediterranean ingredient that brings all the elements together. Use a good quality feta for the best flavor experience. If you’re not a fan of feta, goat cheese or even a sprinkle of crumbled cotija could offer interesting alternatives.
*Please see the complete recipe card below for precise measurements and additional information on ingredients.
How to Craft Your Delicious Mediterranean Chicken Wrap
Follow these step-by-step instructions to create your own mouth-watering Mediterranean Chicken Wraps. Each step is designed to build layers of flavor and ensure a perfectly balanced meal.
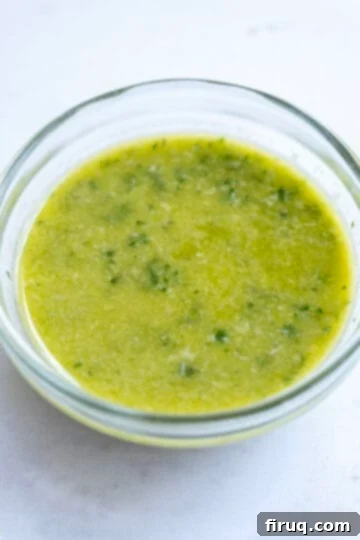
Step 1: Prepare the Lemon Basil Vinaigrette. In a food processor or a blender, combine the apple cider vinegar, fresh lemon juice, Dijon mustard, fresh basil leaves, minced garlic, and a pinch of salt. Pulse until all ingredients are well combined and the basil is finely chopped. With the processor running on low, slowly drizzle in the extra virgin olive oil. This slow addition is key to emulsifying the dressing, ensuring a smooth, creamy texture where the oil and vinegar are completely combined and won’t separate. Once emulsified, stir in the Parmesan cheese by hand. Set aside or refrigerate until needed.
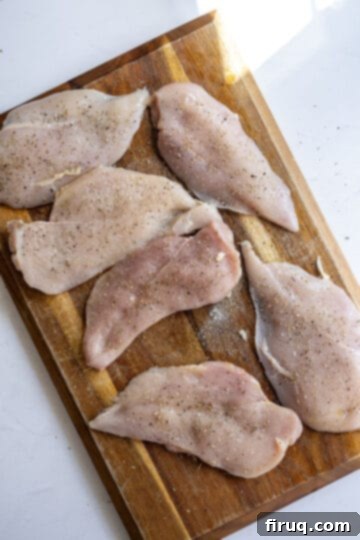
Step 2: Season the Chicken Breasts. Butterfly your chicken breasts to ensure even cooking and faster preparation. Drizzle them lightly with olive oil, then generously season both sides with dried oregano, salt, black pepper, and garlic powder. Make sure the seasoning is evenly distributed, gently pressing it into the chicken. This simple seasoning forms the aromatic base for the chicken, complementing the Mediterranean flavors beautifully. If time allows, you can marinate the seasoned chicken for at least 30 minutes, or even up to an hour, for deeper flavor penetration.
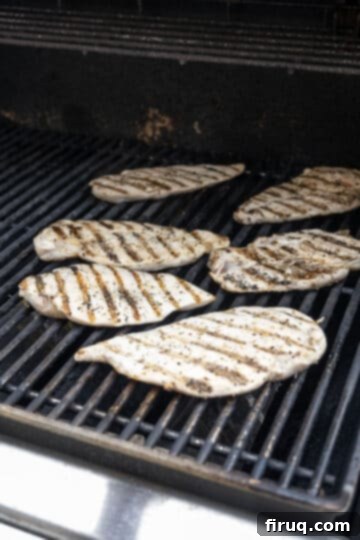
Step 3: Grill the Chicken to Perfection. Preheat your grill to high heat. Once hot, lightly oil the grates to prevent sticking. Place the seasoned chicken breasts on the grill, then immediately reduce the heat to medium. Cook for approximately 3-4 minutes on each side. The exact cooking time will vary based on the thickness of your chicken. The most reliable way to ensure the chicken is perfectly cooked, juicy, and safe to eat is to use an instant-read thermometer. It should register an internal temperature of 165°F (74°C). Once cooked, remove the chicken from the grill and let it rest on a cutting board for at least 5 minutes. Resting is crucial as it allows the juices to redistribute, resulting in tender and moist chicken.
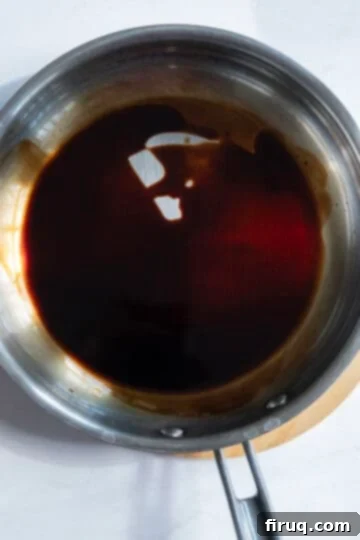
Step 4: Create the Balsamic Glaze and Toss Chicken. While the chicken rests, prepare your homemade balsamic glaze. Pour the balsamic vinegar into a small saucepan and place it over medium-low heat. Let it gently simmer, stirring occasionally, until the vinegar has reduced by about half and achieved a syrupy consistency that coats the back of a spoon. Be careful not to let it boil vigorously or burn. Once the glaze is ready, finely chop the rested chicken into ½-inch pieces. Transfer the chopped chicken to a bowl and toss it thoroughly with the freshly made balsamic glaze. This step infuses every piece of chicken with a delightful sweet and tangy flavor.
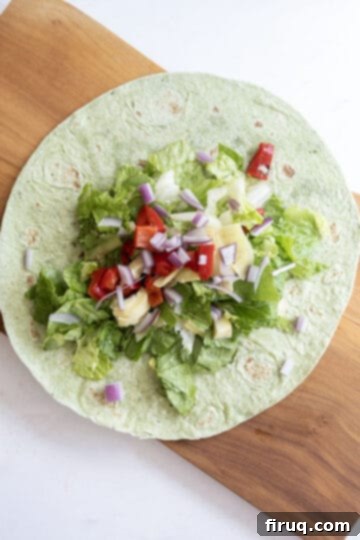
Step 5: Assemble the Vegetable Base. In a large mixing bowl, gently combine the chopped romaine lettuce, roasted red peppers, diced artichoke hearts, and finely chopped red onion. Pour a generous amount of the lemon basil vinaigrette over these ingredients and toss gently until everything is evenly coated. Ensure the vinaigrette is well distributed but avoid over-mixing, as this can bruise the lettuce. This fresh and crisp mixture forms the perfect foundation for your wraps. Divide this colorful vegetable medley equally among the four large wraps, spreading it out in a line down the center.
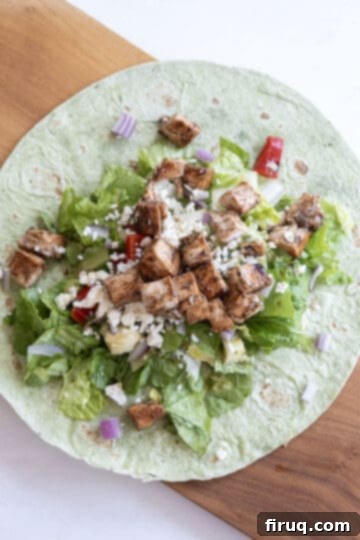
Step 6: Layer in the Chicken and Feta. Evenly distribute the balsamic-glazed chicken pieces over the vegetable mixture in each wrap. Then, sprinkle a generous amount of crumbled feta cheese over the chicken and vegetables. This adds a creamy, salty counterpoint to the tangy and savory fillings. Keep in mind that depending on the initial size of your chicken breasts, you might have a small amount of leftover chicken, which can be saved for another meal or snack. Ensure the fillings are centered and not piled too high to make rolling easier.
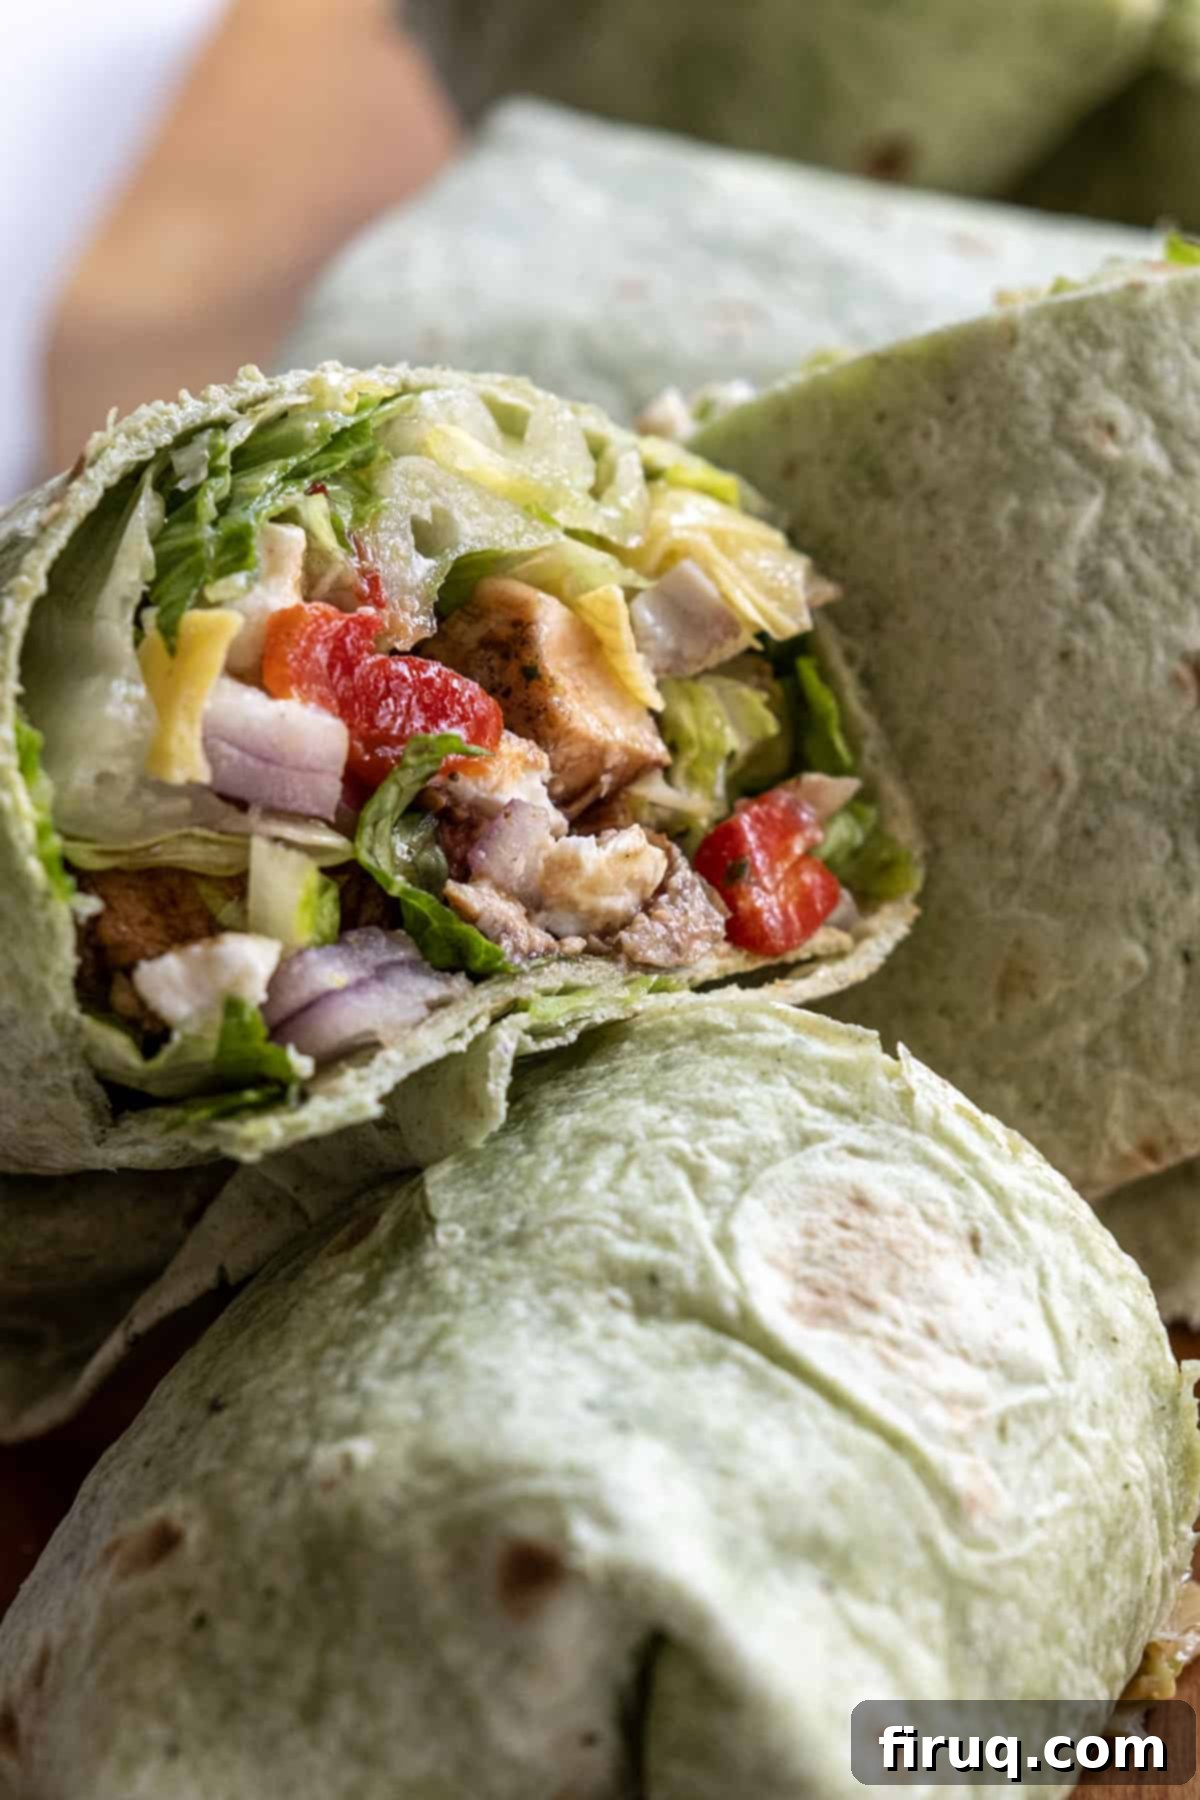
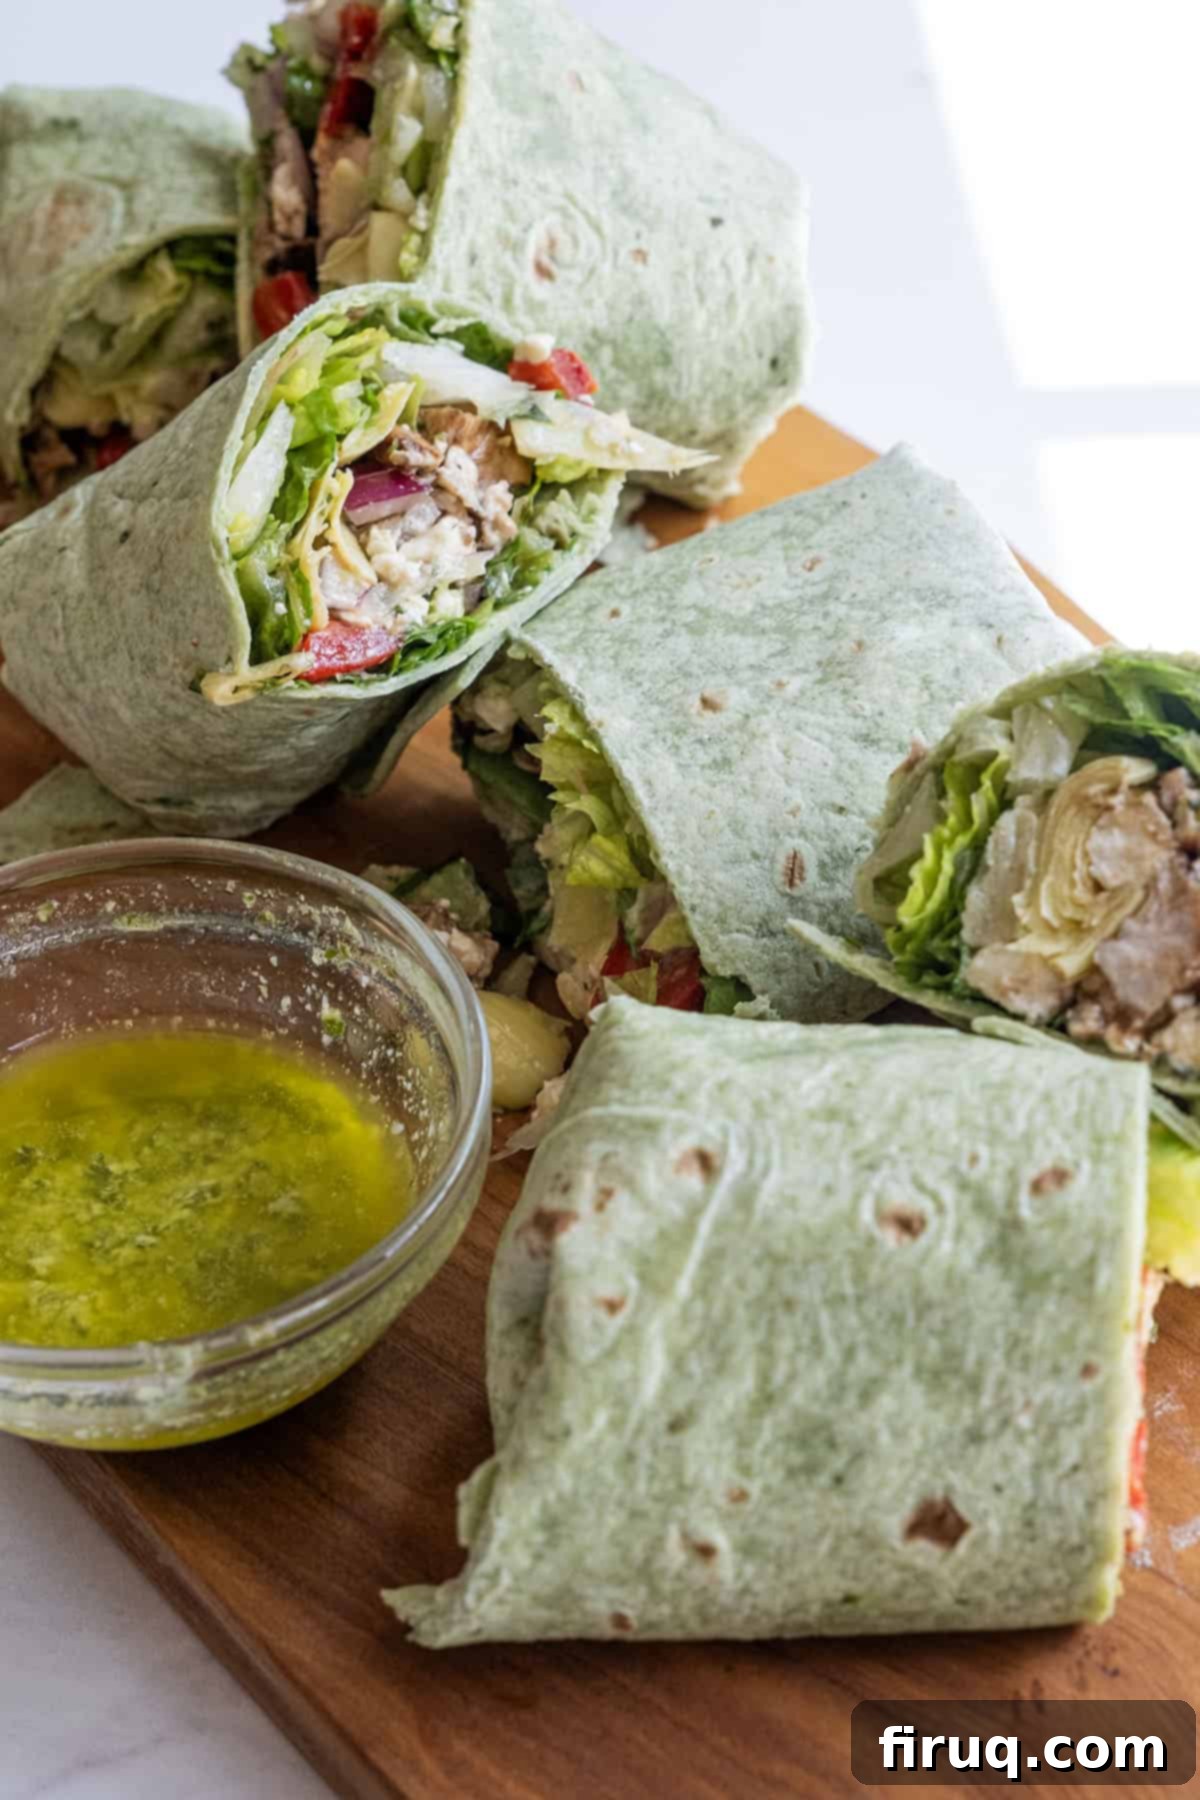
Step 7: Roll and Serve. With all your delicious fillings in place, it’s time to roll your wraps. Fold the sides of the tortilla inward over the filling, then tightly roll from the bottom upwards. The goal is a compact, secure wrap. For best presentation and easier handling, especially if you’re taking these wraps on the go, wrap each finished wrap tightly in parchment paper before slicing. Then, cut each wrap in half diagonally through the parchment paper. This method helps hold all the ingredients together and makes for a neat eating experience. These wraps are fantastic for a quick lunch at home, a healthy picnic at the beach, or a satisfying meal during a day out on the boat. We often prepare a batch when we know we’ll be spending the day away from the house, similar to how we’d pack a big Peppers and Eggs Sandwich on a hero roll for a hearty, portable meal. Enjoy the convenience and incredible flavors!
Pro-Tips for a Perfect Mediterranean Chicken Wrap
Mastering these wraps involves a few key techniques that can significantly improve your experience and the final taste. Here are some pro-tips to ensure your Mediterranean Chicken Wraps are always a success:
- Perfecting the Balsamic Glaze: Making balsamic glaze at home is rewarding, but it requires attention. Always stir frequently, especially as it thickens, to prevent the natural sugars from sticking and burning to the bottom of the pan. Keep the heat consistently medium-low; if you see the vinegar starting to smoke excessively, lower the temperature immediately. You want a gentle, continuous simmer, not a rolling boil, to achieve that rich, syrupy reduction without scorching. A burnt glaze can ruin the flavor profile.
- Marinate for Enhanced Flavor: While this recipe is quick, if you have extra time, marinating the chicken can take its flavor to the next level. After seasoning the chicken breasts with olive oil and spices (oregano, salt, pepper, garlic powder), cover them and let them marinate in the refrigerator for at least 30 minutes to an hour. This allows the herbs and spices to penetrate deeper into the meat, resulting in a more flavorful and tender grilled chicken.
- Achieve Optimal Chicken Doneness: Overcooked chicken can be dry and unappealing. To ensure your chicken breasts are perfectly juicy and tender every time, use an instant-read thermometer. Insert it into the thickest part of the chicken, making sure it doesn’t touch bone. Remove the chicken from the heat once it reaches an internal temperature of 165℉ (74°C). Allowing it to rest for a few minutes after cooking is also crucial, as this lets the juices redistribute throughout the meat, keeping it moist.
Keys to Rolling Wraps Like a Pro
A perfectly rolled wrap stays together, holds its filling, and is a pleasure to eat. If you’ve ever struggled with wraps falling apart, these tips are for you:
- Don’t Overstuff: This is arguably the most common mistake when making wraps. While it’s tempting to load up on all the delicious fillings, too much will inevitably lead to a burst wrap. Aim for a generous but manageable amount that allows you to easily fold and roll the tortilla. A good rule of thumb is to leave at least an inch of space on all sides once your fillings are laid out.
- Warm Your Tortilla: A cold, stiff tortilla is much more prone to cracking and breaking when rolled. Microwave your wrap for about 10-15 seconds (or lightly warm it in a dry skillet for 15-20 seconds per side). This simple step makes the tortilla more pliable and flexible, significantly reducing the chances of it tearing or breaking during the rolling process.
- Engage Your Hands: Rolling a wrap is a hands-on task. You’ll need to use your fingertips to gently compress and tuck the fillings as you roll. Start by folding the bottom edge of the tortilla up over the filling, then fold in the sides tightly. As you continue to roll forward, use your fingers to keep the filling compact and tight, creating a snug cylinder. Don’t be afraid to get your hands a little dirty; it’s part of the process for a firm, well-packed wrap.
- Secure with Paper for Serving or Storage: For the best results, especially if you’re cutting the wraps in half or packing them for later, wrap them tightly in parchment paper immediately after rolling. The parchment paper helps maintain the wrap’s shape and provides a clean edge for cutting. If you’re preparing them the day before for meal prep, wrap them in parchment paper first, then overwrap with aluminum foil. The foil provides an extra layer of protection, keeping the wrap fresh and preventing it from drying out or absorbing unwanted odors from the fridge.
Recipe FAQs
For optimal freshness and to prevent sogginess, especially when meal prepping for the next day, it’s crucial to keep the dressing separate. Prepare all the wrap components (chicken, vegetables, feta) and assemble them, but store the Lemon Basil Vinaigrette in a small, separate container. When you’re ready to eat, simply drizzle the dressing over the assembled wrap. This ensures the lettuce and other vegetables remain crisp and fresh, rather than becoming soggy from sitting in dressing overnight. Once assembled (without dressing), wrap the individual wraps tightly in parchment paper, then an additional layer of aluminum foil for maximum freshness and to prevent them from drying out in the refrigerator.
Wraps typically break for two main reasons: overstuffing or using a cold/stiff tortilla. If there’s too much filling, the tortilla struggles to contain it, leading to tears and breaks, especially when rolling. Try reducing the amount of filling slightly to ensure there’s enough tortilla to overlap and secure it. Secondly, cold tortillas are less pliable. Warm your tortilla for 10-15 seconds in the microwave or a dry skillet before rolling. This makes it more flexible and easier to handle without breaking. Also, make sure to tuck in the sides firmly as you roll to create a tight, secure wrap.
Absolutely! To make this wrap vegetarian, simply omit the chicken and replace it with a plant-based protein. Excellent substitutes include grilled halloumi cheese, roasted chickpeas, marinated and grilled portobello mushrooms, or even crumbled seasoned tofu. You could also increase the amount of artichoke hearts or add some olives for extra Mediterranean flavor. The rest of the fresh ingredients and the vibrant Lemon Basil Vinaigrette will ensure it’s just as delicious and satisfying.
Watch the Video: Mediterranean Chicken Wrap
More Delightful Sandwich and Handheld Recipes
- Eggplant Parm Sandwich
- Gruyere Grilled Cheese
- Goat Cheese Burger with Fig Jam
- Volcano Shrimp Tacos
📖 Recipe
Mediterranean Chicken Wrap
Vincent DelGiudice
Pin Recipe
15 minutes
15 minutes
30 minutes
lunch
American
4 wraps
604 kcal
Equipment
-
1 grill or cast iron -
1 food processor -
1 small frying pan
Ingredients
-
2 chicken breasts, butterflied -
1 teaspoon oregano -
1 teaspoon salt -
1 teaspoon pepper -
1 teaspoon garlic powder -
1 tbsp olive oil -
4 large wraps -
1-2 heads romaine lettuce, chopped -
1 roasted red pepper, chopped -
4 artichoke hearts, chopped -
¼ red onion, chopped -
½ cup feta -
¼ cup balsamic vinegar
Lemon Basil Dressing
-
½ cup extra virgin olive oil -
2 tablespoon apple cider vinegar -
2 tbsp lemon juice -
1 teaspoon dijon mustard -
¼ cup basil -
1 clove garlic -
2 tablespoon parmesan cheese -
½ teaspoon salt
Instructions
-
In a food processor, combine apple cider vinegar, lemon juice, dijon mustard, basil, garlic, and salt. Process until combined. Slowly drizzle in the olive oil until it is emulsified (completely combined) with the rest of the dressing. Stir in the parmesan cheese.
-
Season the chicken breast with olive oil, oregano, salt, pepper, and garlic powder.
-
Preheat the grill to high heat. Add the chicken to the grill and immediately lower the heat to medium. Cook for 3-4 minutes on each side or until the chicken reaches 165℉. Let the chicken rest.
-
In a small pan, add balsamic vinegar and put over medium-low heat. Let simmer until the balsamic vinegar is reduced by half. Once reduced, chop chicken into ½ inch pieces and toss in balsamic glaze.
-
Combine the lettuce, red peppers, artichoke hearts, red onion, and dressing in a bowl. Separate the mixture into the 4 wraps. Add chicken and feta to each wrap. Depending on the size of the chicken breasts, there may be some leftover chicken.
-
Roll wraps and wrap with parchment paper. Cut in half and serve.
Notes
- Making your own balsamic glaze is simple but requires consistent attention. Stir frequently to prevent the sugars from sticking and burning to the bottom of the pan. If you notice it smoking, lower the temperature immediately to keep it at a gentle simmer. This ensures a rich, non-burnt reduction.
- For an even more flavorful chicken, consider marinating the seasoned chicken breasts for at least 30 minutes to an hour in the refrigerator before grilling. This allows the spices to infuse deeper into the meat, resulting in a more tender and aromatic outcome.
- To guarantee perfectly cooked, juicy chicken every time, use an instant-read thermometer. Insert it into the thickest part of the chicken, ensuring it registers 165℉ (74°C). Removing the chicken precisely at this temperature prevents overcooking, which can lead to dry and tough meat. Remember to let the chicken rest for a few minutes after cooking so the juices can redistribute.
Nutrition
Calories:
604
kcal
Carbohydrates:
26
g
Protein:
33
g
Fat:
41
g
Saturated Fat:
9
g
Polyunsaturated Fat:
5
g
Monounsaturated Fat:
25
g
Trans Fat:
0.01
g
Cholesterol:
91
mg
Sodium:
2221
mg
Potassium:
936
mg
Fiber:
5
g
Sugar:
6
g
Vitamin A:
13901
IU
Vitamin C:
16
mg
Calcium:
248
mg
Iron:
4
mg
Tried this recipe?
We’d love for you to Leave a Review!
