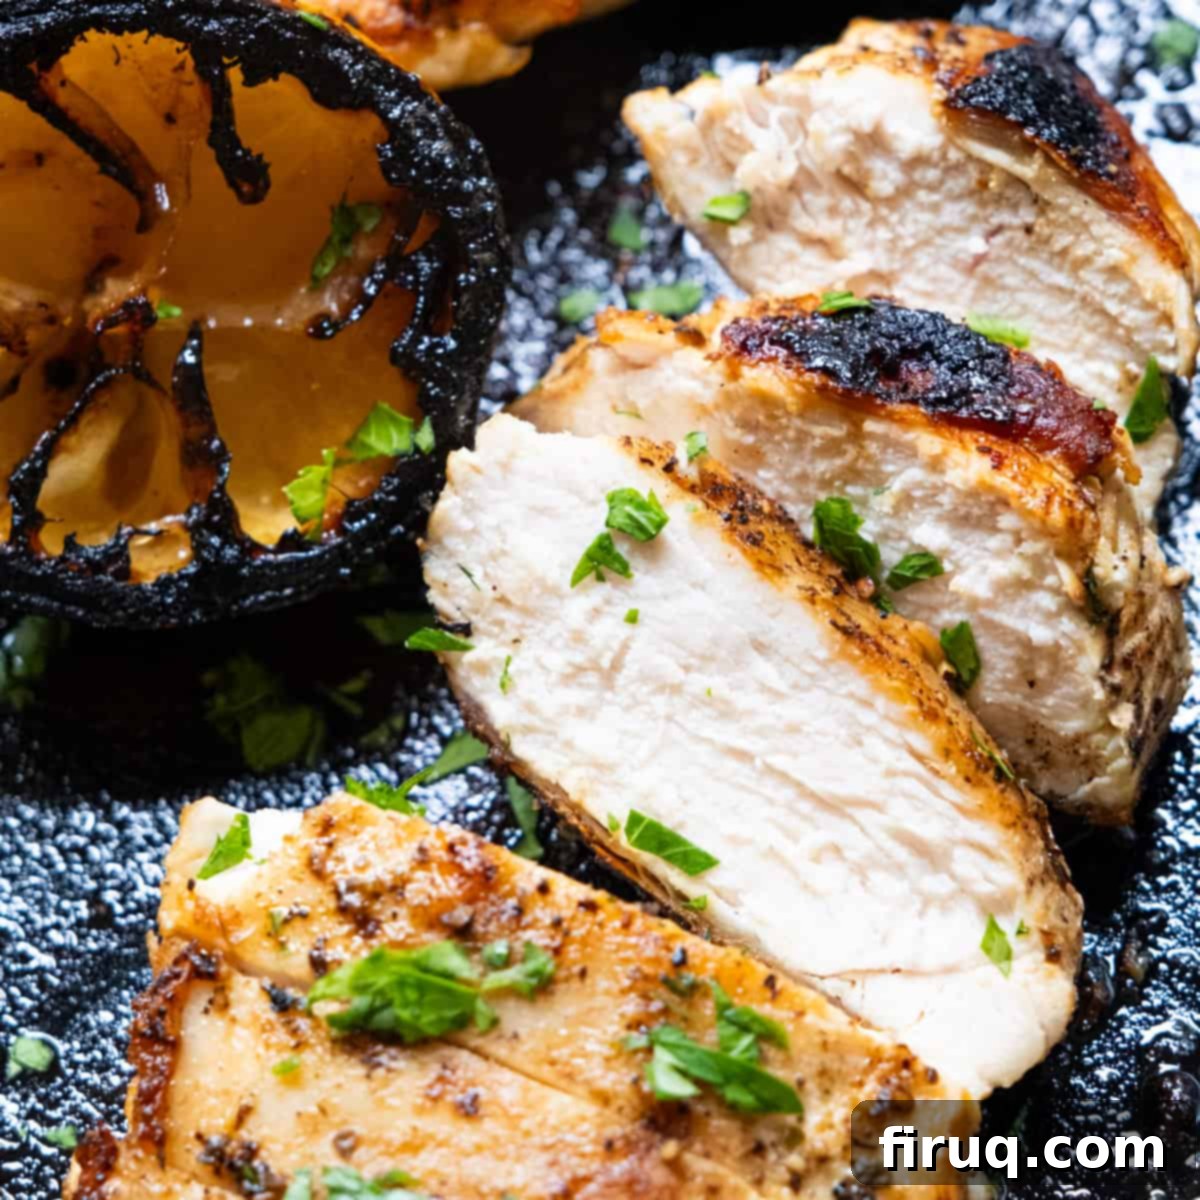
Mastering the Perfect Juicy Cast Iron Chicken Breast: A Step-by-Step Guide for Flavorful Meals and Easy Meal Prep
Knowing how to make the PERFECT Cast Iron Chicken Breast can genuinely transform your weekly cooking routine. This foundational cooking technique not only adds healthy, lean protein to any meal but also serves as an excellent base for family meal prep, making life significantly easier. Forget dry, bland chicken; with a trusty cast iron skillet, you can achieve consistently juicy, tender, and incredibly flavorful chicken breasts every single time, all year round, without needing a grill!
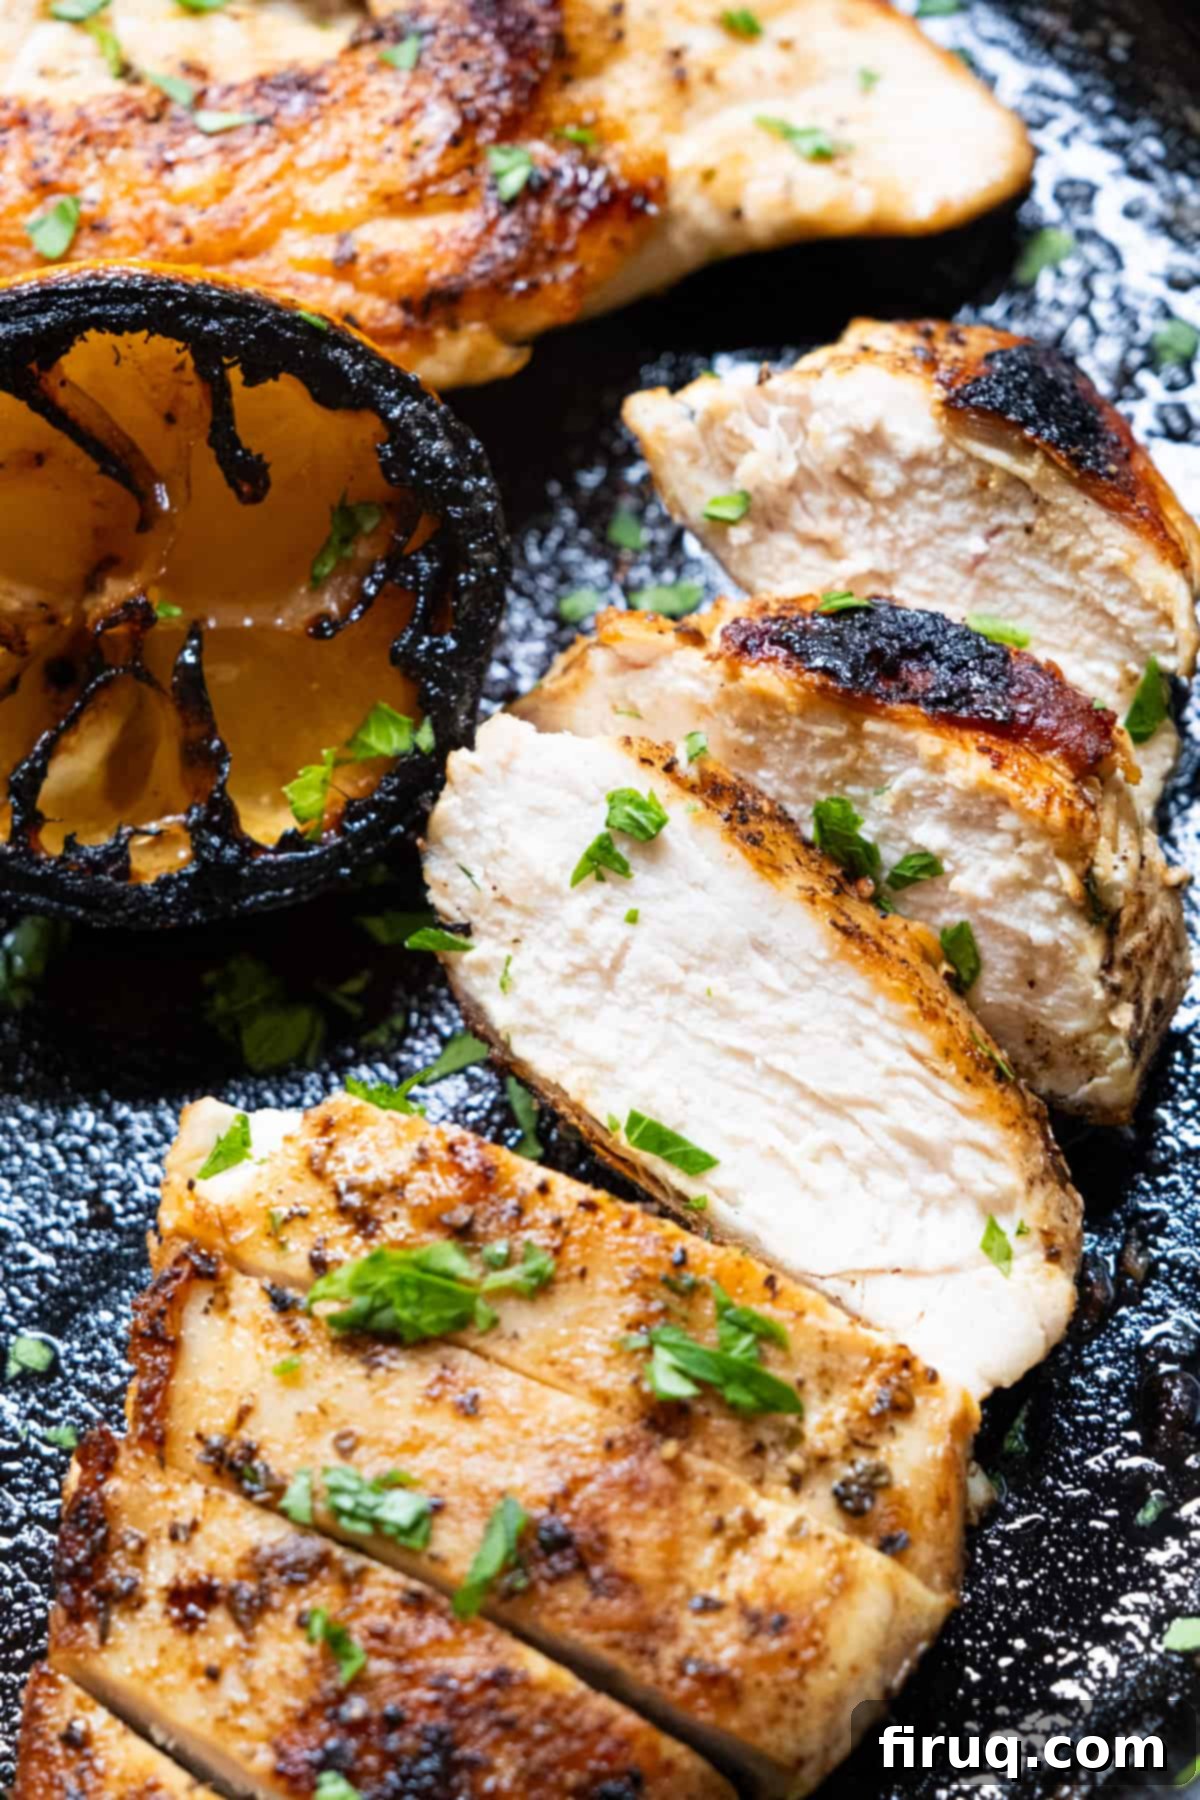
I understand the struggle. Many home cooks, myself included, used to make countless mistakes when it came to preparing chicken breast. It’s notoriously easy to dry out, often ending up tough and chewy, and if you’re not using a meat thermometer, it can feel like a complete guessing game. But with the simple, effective techniques outlined here, you’ll overcome these challenges and consistently achieve perfectly cooked chicken. The cast iron skillet is truly a versatile and indispensable tool in any kitchen, allowing you to create restaurant-quality chicken with minimal fuss.
Once you master this method, you’ll unlock a world of possibilities for incorporating chicken into your diet. Whether you’re aiming for quick weeknight dinners, healthy lunches, or advanced meal prepping, this cast iron chicken breast recipe will become your go-to. If you’re looking for more delicious cast iron chicken recipes, you might also enjoy these favorites: Cast Iron Lemon Chicken Orzo or Chicken Bacon Ranch Skillet.
[feast_advanced_jump_to]
Choosing the Best Chicken Breast for Optimal Flavor and Texture
The journey to cooking a truly exceptional chicken breast begins long before you even turn on the stove – it starts right in the **grocery store**. There are genuinely good and bad chicken breasts, and selecting the right cut can make all the difference between a tender, succulent result and a stringy, dry one. Pay close attention to what you pick up from the poultry aisle.
When you’re browsing, choose chicken breasts that are smooth, exhibit a uniform pale pink color, and have a slight sheen. Opt for medium to smaller-sized chicken breasts, as these tend to cook more evenly and are less prone to becoming tough or chewy. The chicken should look plump and firm, but not excessively large or “bulbous,” which can be an indication of water injection (a practice that can dilute flavor and alter texture).
Conversely, it’s wise to avoid chicken breasts that display numerous striations (white lines) or have visible stringy pieces hanging off them. These striations often indicate “woody breast syndrome,” a condition that results in tougher meat and an unpleasant texture. Also, steer clear of chicken that has a distinct yellow hue, which can sometimes suggest older chicken or poor diet. And as mentioned, avoid any chicken that looks unnaturally huge and bulbous, as it’s likely been injected with solutions that might compromise the natural taste and integrity of the meat.
Flavorful Variations to Elevate Your Cast Iron Chicken Breast
This recipe is more of a comprehensive tutorial on mastering the technique for cooking perfect chicken breast in a cast iron skillet. While the seasonings I typically use provide a fantastic base, your options for customization are truly endless. My usual preference leans towards an Italian flavor profile, utilizing classic ingredients like salt, black pepper, garlic powder, and dried oregano for a fragrant and savory result. But don’t hesitate to get creative and experiment with different spice blends to suit your mood or the accompanying meal.
To inspire your culinary adventures, here are some of my other favorite flavor combinations that work wonderfully with cast iron chicken:
- **Indian-Inspired**: Combine aromatic Garam Masala, earthy thyme, vibrant turmeric, salt, and pepper. This blend is excellent for serving with rice, naan bread, or in curries.
- **Smoky & Savory**: A simple yet powerful mix of sweet paprika, robust garlic powder, pungent onion powder, salt, and pepper. Perfect for a quick weeknight meal with roasted vegetables.
- **Mexican Fiesta**: Blend zesty chili powder, warm cumin, savory onion powder, salt, and pepper. This chicken would be fantastic in tacos, burritos, or on a bed of rice and beans.
- **Sweet & Spicy Rub**: For a more complex flavor, try a blend of chili powder, paprika, a touch of brown sugar for caramelization, onion powder, garlic powder, cumin, salt, and pepper. This creates a beautiful crust and a depth of flavor that’s hard to beat.
Beyond dry rubs, another excellent way to change up the flavor profile is by altering the acid. You can easily replace the lemon with refreshing lime for a brighter, more zesty finish. Additionally, consider infusing your chicken with fresh herbs. When you add butter to the cast iron during the basting step, toss in sprigs of fresh sage, thyme, or rosemary. These herbs will release their essential oils into the butter, imparting an incredible aroma and nuanced flavor to your chicken, making each bite even more exquisite.
Step-By-Step Directions: Achieving the Juiciest Cast Iron Chicken Breast
Once you master this simple yet effective cooking technique, you will consistently produce the juiciest, most tender piece of chicken breast for all your everyday meals. Let’s walk through each step to ensure perfect results.
Preparation: Pounding and Seasoning the Chicken
The first crucial step in preparing your chicken breast for optimal cooking is to pound and tenderize the meat. While it takes only an extra minute or two, this small effort makes a huge difference in achieving even cooking and a wonderfully tender texture. Place each chicken breast between two pieces of plastic wrap or in a large zip-top bag, then use a meat mallet or a heavy-bottomed pan to pound it to a uniform thickness of about ¾ to 1 inch. This ensures all parts of the chicken cook at the same rate, preventing thinner edges from drying out while the thicker parts finish cooking.
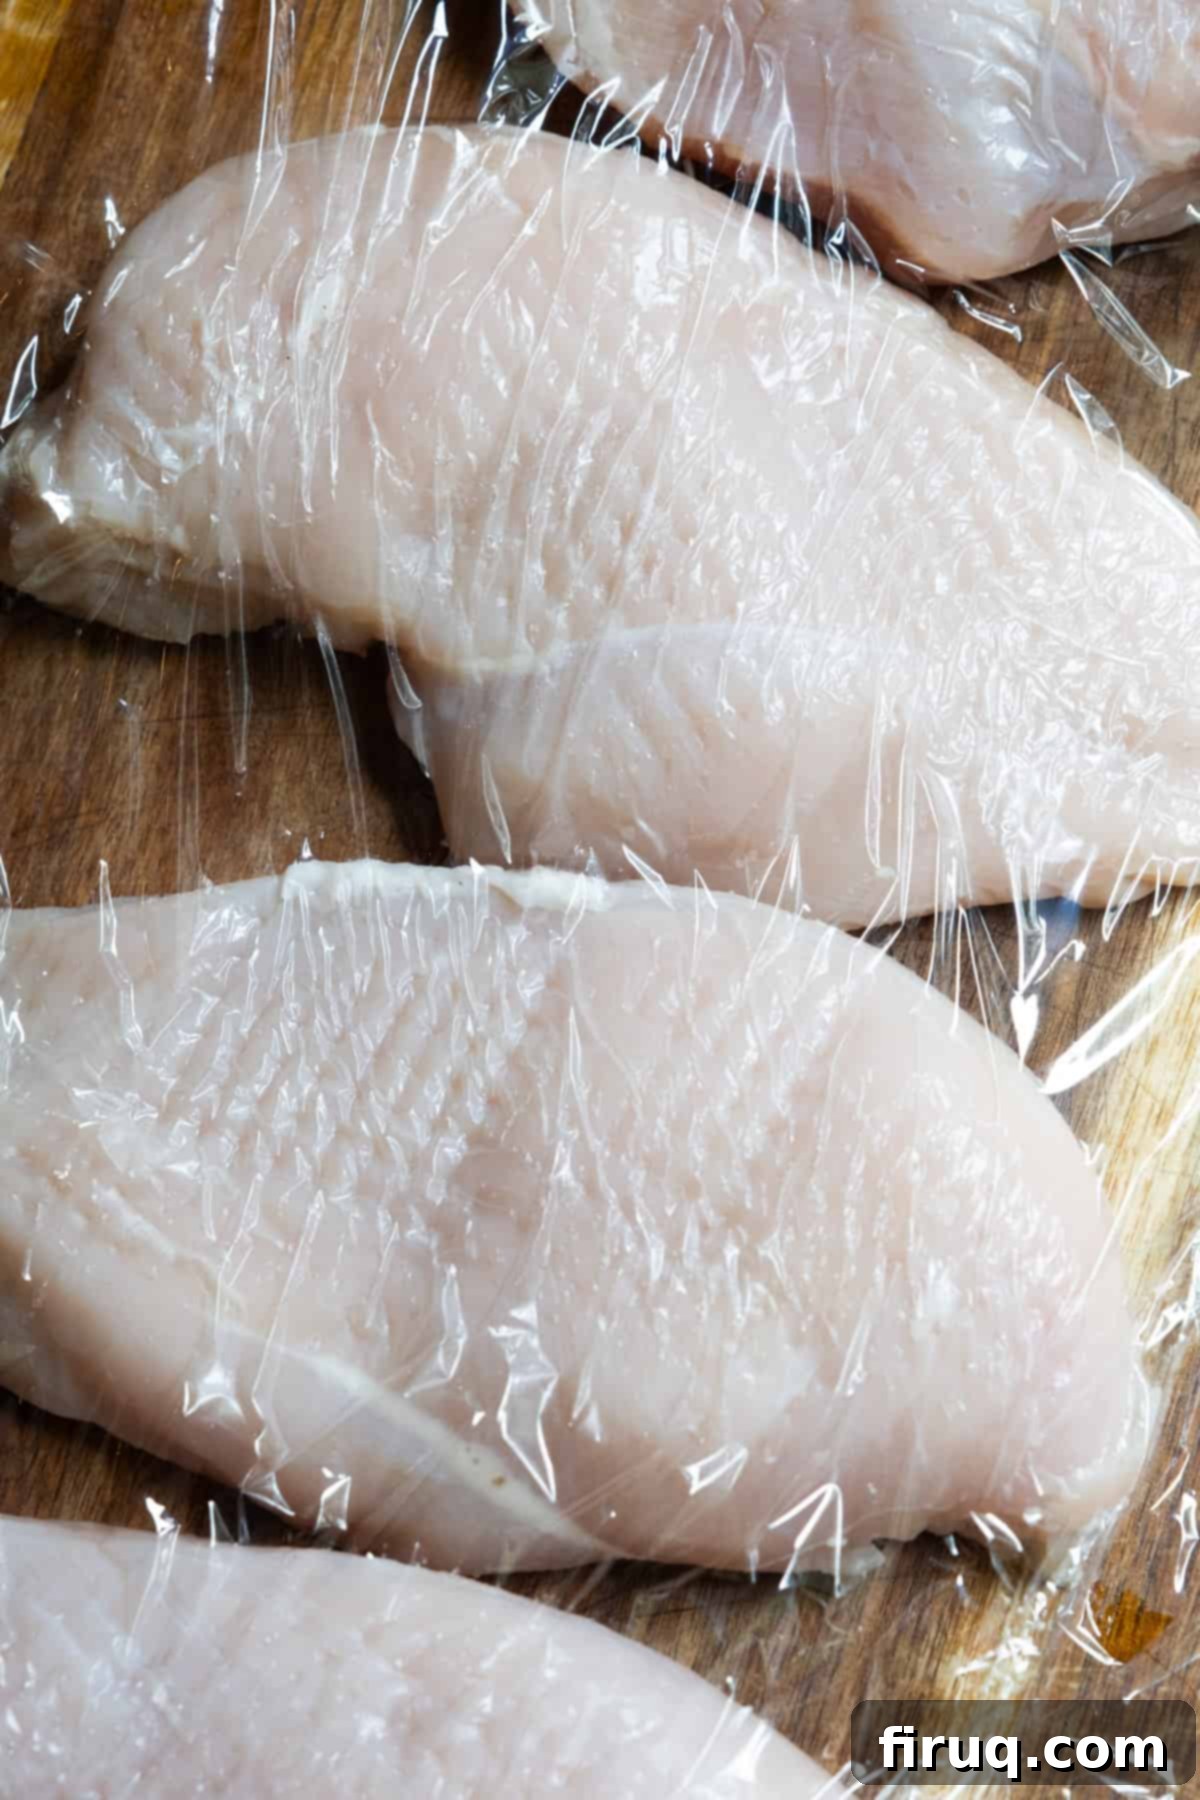
After tenderizing, the next step is seasoning. Place your cast iron skillet over medium heat to allow it to preheat thoroughly. While the cast iron is heating, generously season both sides of the chicken breasts with your preferred seasoning blend. My go-to is salt, pepper, garlic powder, and oregano, but feel free to explore the variations mentioned above. You don’t necessarily need to marinate the chicken if you’re short on time. I often skip marinating, and the chicken still comes out incredibly flavorful and delicious thanks to the cast iron searing method.
Cooking the Chicken in the Cast Iron Skillet
Once your cast iron skillet is properly hot – you’ll see a slight shimmer from any residual oil or simply feel the heat radiating strongly – it’s time to add the oil. I strongly prefer to use avocado oil on the cast iron for searing. Cast iron skillets conduct heat exceptionally well and can reach high temperatures, which can cause oils with lower smoke points, like olive oil, to burn and impart an unpleasant flavor. Avocado oil has a high smoke point, making it ideal for creating that beautiful, golden-brown crust without scorching. Add just enough oil to lightly coat the bottom of the pan.
Pro-Tips for Perfect Cast Iron Chicken Breast
- **Pat Chicken Dry:** After tenderizing and before seasoning, always pat the chicken breasts thoroughly dry with paper towels. Excess moisture will steam the chicken instead of searing it, preventing that desired crispy, golden-brown crust.
- **Prevent Burnt Butter:** When it’s time to add butter for basting, momentarily remove the pan from the heat. Cast iron retains heat extremely well, and leaving it on the burner can quickly burn the butter, resulting in a bitter taste. Removing it allows the butter to melt and infuse the chicken gently.
- **Hands Off for the Best Sear:** The less you move the chicken during the initial searing, the better the crust will be. Allow the chicken to develop a deep, golden-brown sear for at least 4-5 minutes before attempting to flip it or even check it. If you try to move it too soon, it will stick to the pan and tear, ruining that beautiful crust. Patience is key for the perfect sear!
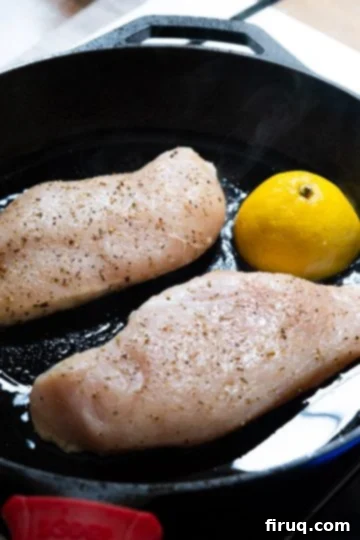
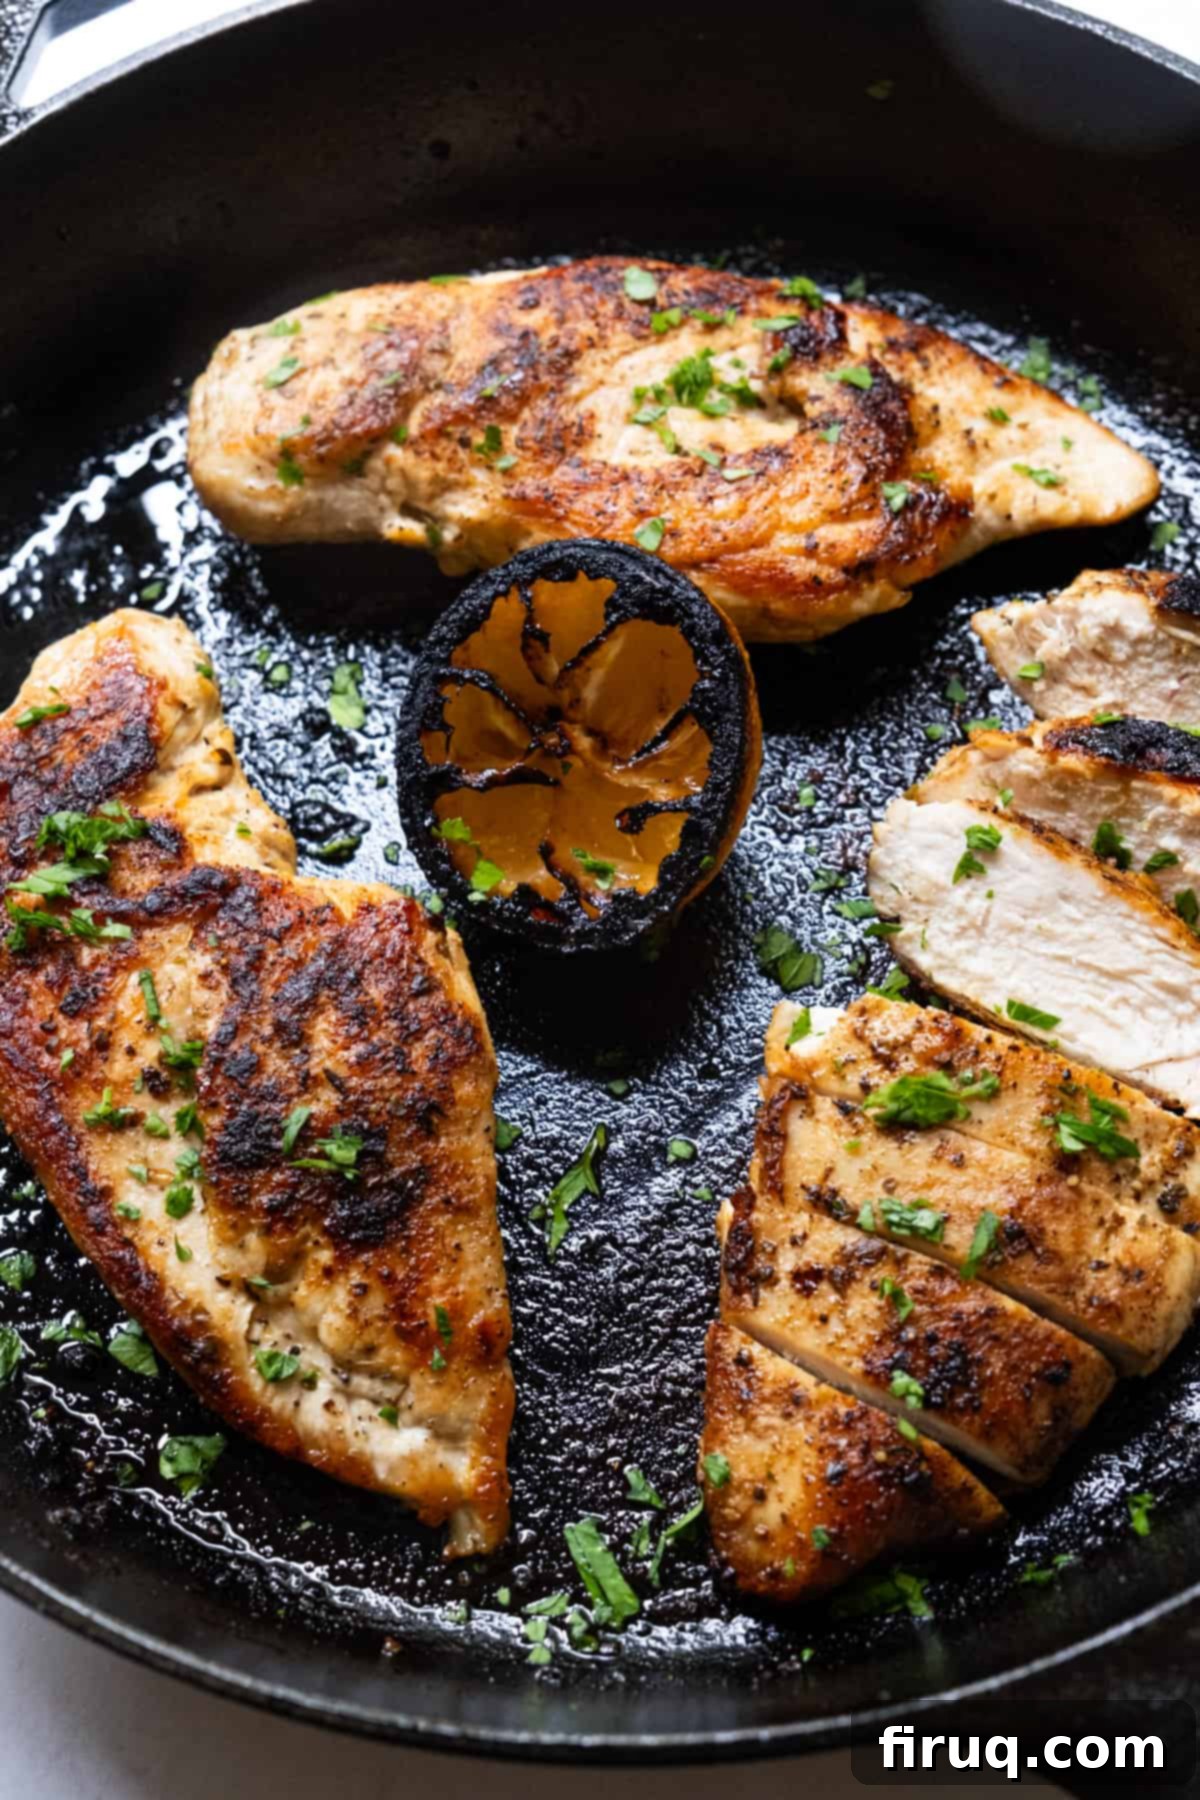
Step 1: Carefully place each seasoned chicken breast flat onto the hot cast iron skillet. The chicken should sizzle immediately upon contact. Alongside the chicken, add half of a lemon, placed cut side down, directly onto the skillet. This will allow the lemon to caramelize and release its juices, adding another layer of flavor. Depending on the size of your cast iron skillet and chicken breasts, you may need to cook in two separate batches to avoid overcrowding the pan, which can lower the temperature and prevent a good sear.
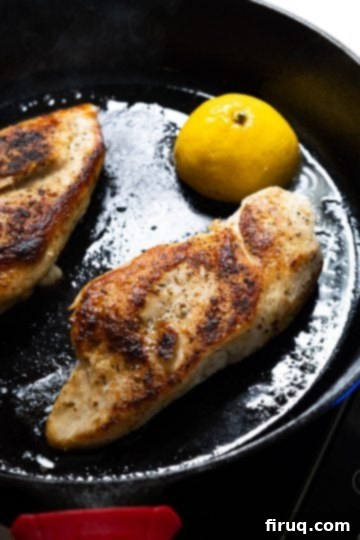
Step 2: Allow the chicken breast to sear undisturbed for approximately 7 minutes on the first side. This duration is key for developing a deep, golden-brown crust (the Maillard reaction). Once a beautiful crust has formed, carefully flip it over using tongs. If you notice the chicken is browning too quickly, looking darker or browner than a rich golden hue, gently lower the temperature of your burner to prevent burning.
Step 3: Continue to cook the second side for another 7 minutes. After this time, it’s crucial to check the internal temperature of the thickest part of the chicken breast with your instant-read thermometer. While the main sides are cooking, don’t forget the edges! Use tongs to carefully roll the chicken breast onto its edges to cook the sides and develop a consistent golden brown color all around. Continue cooking, flipping, and rolling as needed, until the internal temperature reaches a safe and juicy 165℉. This precise temperature is the sweet spot for perfectly cooked chicken – anything less is unsafe, anything more risks drying it out.
Finishing Touches: Basting and Resting for Ultimate Juiciness
Step 4: The final step in the cooking process is all about enhancing flavor and moisture. Once the chicken breast has reached the optimal internal temperature of 165℉, immediately remove the pan from the heat. This is important to prevent the butter from burning. Add the butter to the hot pan, preferably near the caramelized lemon half. As the butter melts, use a large spoon to generously baste the chicken, spooning the melted, fragrant butter over the breasts repeatedly. This infusion of butter will add richness and a beautiful glossy finish. Next, use tongs to grab the warmed lemon half and squeeze its caramelized juice directly over the chicken, adding a bright, zesty counterpoint to the rich butter.
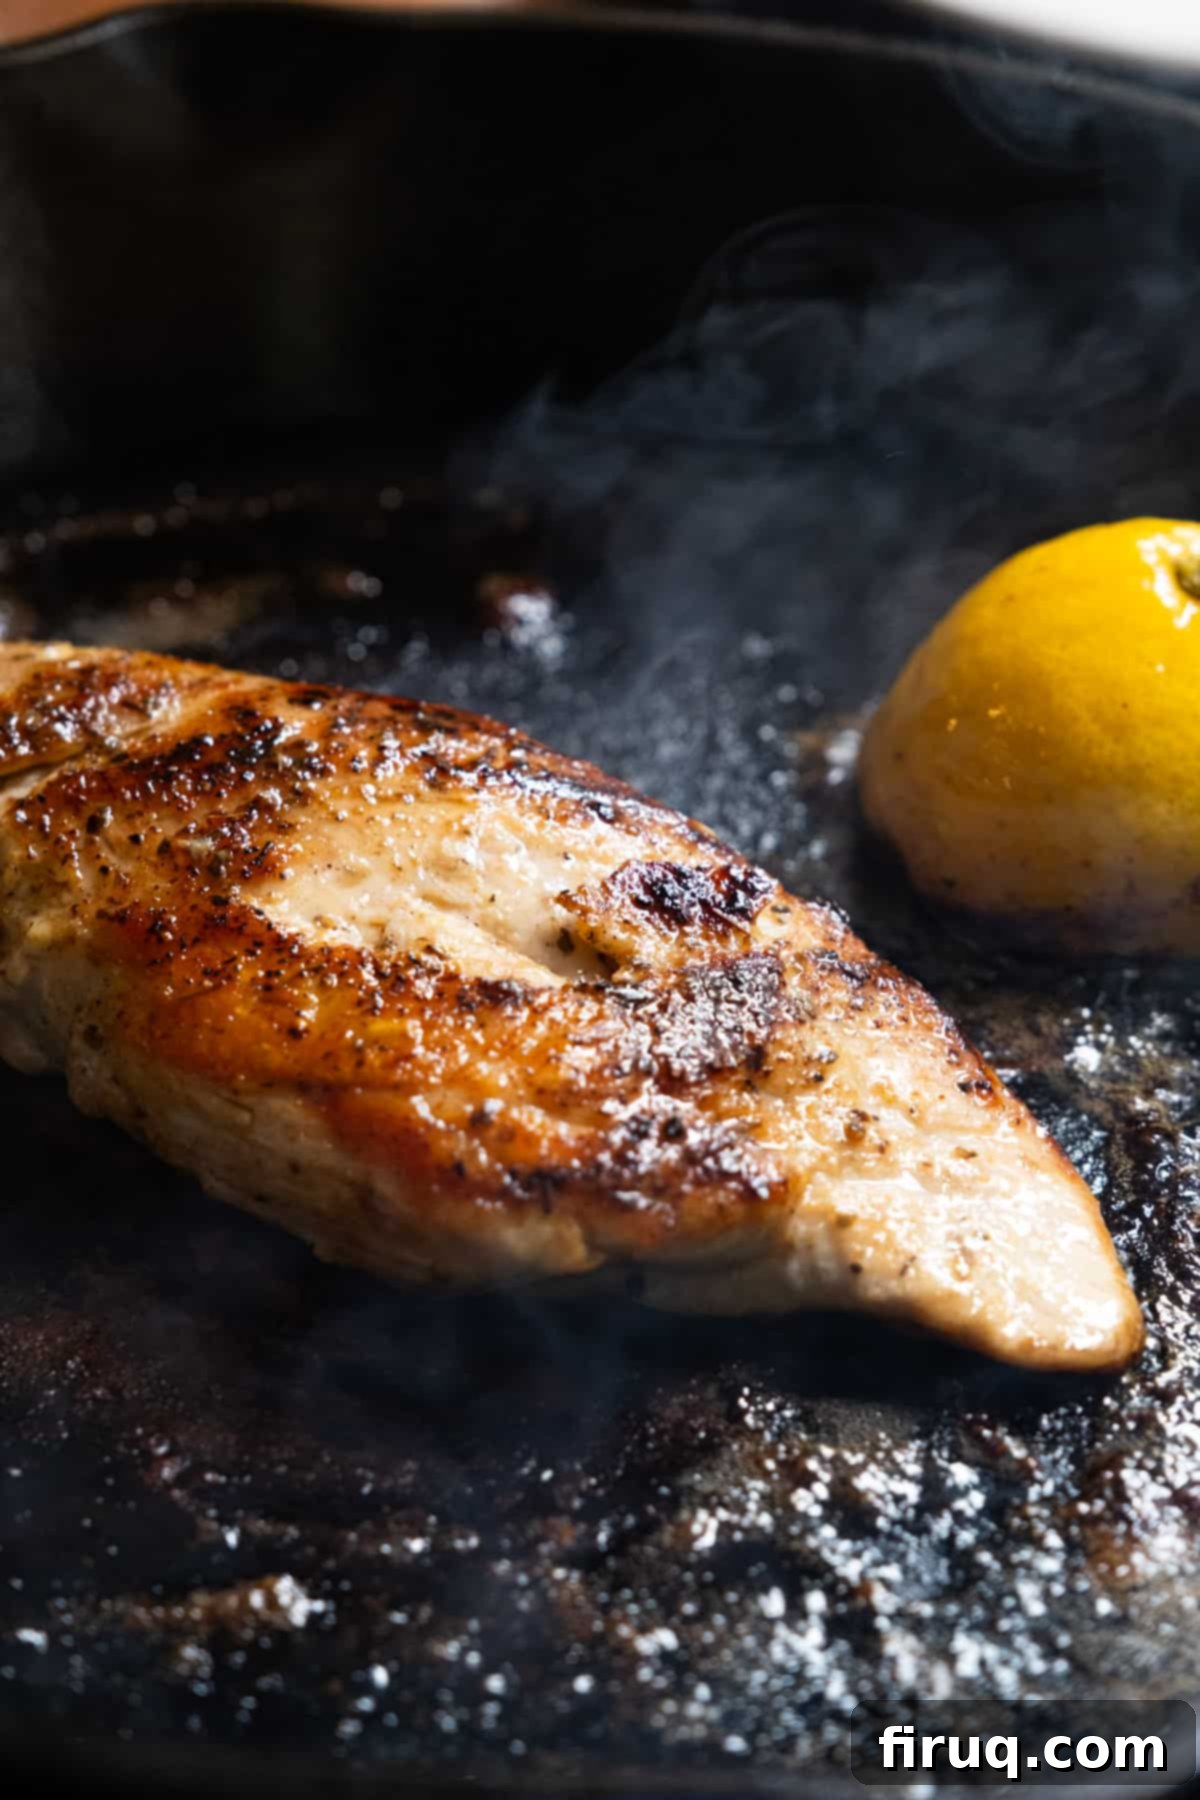
Finally, remove the chicken from the skillet and transfer it to a cutting board. It’s vital to let it rest for 5-10 minutes before slicing. A good rule of thumb is to let the chicken rest for half the amount of time it took to cook. This resting period allows the muscle fibers to relax and redistribute the juices throughout the meat, ensuring every bite is incredibly juicy and tender. Slicing too soon will result in those precious juices running out, leaving you with dry chicken.
How to Store and Reheat Cast Iron Chicken Breast
Proper storage and reheating are key to enjoying your delicious cast iron chicken breast for days to come, especially if you’re using it for meal prep. After the chicken has cooled completely, store it in an airtight container in the refrigerator. It will maintain its quality and freshness for 3-4 days.
One of the great advantages of this chicken is its versatility; it can be eaten hot or cold. For many, including myself, the preferred way to enjoy leftover chicken is cold, often sliced and added to fresh salads, wraps, or grain bowls. This helps preserve its moisture and texture. If you do choose to reheat it, be mindful that chicken can dry out more easily upon reheating.
My go-to method for reheating is in the microwave, using short intervals. Place the chicken in the microwave for 45-second bursts, flipping it after each interval, until it is just warm through. Avoid overheating, as this is where dryness often occurs. Another fantastic way to reheat chicken and keep it moist is by incorporating it into a sauce. You can make a simple gravy or a light cream sauce and gently reheat the sliced or diced chicken in it. This method not only keeps the chicken juicy but also adds another layer of flavor to your meal.
Frequently Asked Questions About Cast Iron Chicken Breast
The secret to preventing chicken from sticking to a cast iron skillet lies in proper preheating and oiling. First, ensure your cast iron skillet is thoroughly heated over medium heat. Then, add a small amount of high smoke point oil, like avocado oil, and wait until it begins to shimmer. This indicates the pan is hot enough. Crucially, when you add your chicken, do not move it immediately. Allow it to sit undisturbed for at least 4-5 minutes. The chicken will naturally release from the pan once a good sear and crust have formed, preventing it from sticking.
Achieving a beautiful, golden-brown sear on chicken breast is all about high heat and patience. Start by ensuring your chicken breast is pounded to an even thickness and thoroughly patted dry – moisture prevents searing. Preheat your cast iron skillet over medium-high heat until it’s very hot, then add a high smoke point oil like avocado oil and wait until it shimmers. Place the chicken breast in the hot oil and leave it completely undisturbed for a minimum of 4-5 minutes (or even up to 7 minutes, depending on your stove and pan). Resist the urge to peek or move it. This allows the Maillard reaction to occur, creating that desirable crispy, flavorful crust. You’ll know it’s ready to flip when it easily releases from the pan and has a deep golden-brown color.
Tough or dry chicken breast often stems from two main issues: overcooking or uneven cooking. Overcooking occurs when the internal temperature goes significantly beyond 165°F (74°C). Always use an instant-read thermometer to ensure accuracy. Uneven cooking, which can also lead to parts of the chicken drying out, is often caused by not pounding the chicken to an even thickness before cooking. Make sure to tenderize your chicken to a consistent thickness for uniform results. Additionally, not letting the chicken rest after cooking can cause juices to escape, leading to a drier texture.
Yes, you absolutely can! Bone-in chicken breasts, or split chicken breasts, cook beautifully in a cast iron skillet. The bone helps to insulate the meat, often leading to even juicier results. However, bone-in cuts will require a longer cooking time compared to boneless, skinless chicken breasts. You might also consider finishing them in the oven after a good sear on the stovetop to ensure they cook through evenly without over-browning the exterior. Always use a meat thermometer to check for an internal temperature of 165°F (74°C) at the thickest part, away from the bone.
What to Serve With Versatile Cast Iron Chicken Breast
The best part about mastering cast iron chicken breast is its incredible versatility. This perfectly cooked protein pairs beautifully with a vast array of side dishes and can be incorporated into countless meals, making it a true weeknight hero!
- **Pasta Pairings:** Elevate your pasta dishes by adding sliced or diced cast iron chicken. Try it with a rich and creamy sauce like Creamy Red Pepper Sauce, a comforting Garlicky Cauliflower Pasta, or a vibrant Spicy Vodka Sauce. The tender chicken breast soaks up the flavors beautifully.
- **Recipe Substitutions:** This versatile chicken breast can effortlessly replace other proteins in existing recipes. Transform our Cast Iron Shrimp and Creamy Cilantro Lime Orzo, Cast Iron Lemon Chicken Orzo, or Chicken Bacon Ranch Skillet by simply swapping the original protein for this perfectly cooked cast iron chicken.
- **Hearty Vegetable Sides:** Complement your chicken with a healthy and delicious vegetable side. Some excellent choices include My Favorite Maple Bacon Brussels Sprouts, a flavorful Italian Lacinato Kale Recipe (Tuscan), or a comforting Italian Cabbage Recipe.
- **Salads, Grains & Risottos:** For a lighter meal, simply add sliced cast iron chicken to a fresh salad dressed with our bright Lemon Basil Vinaigrette. It’s also superb served alongside hearty grains like rice or creamy risottos such as our indulgent Mushroom Truffle Risotto or a zesty Lemon Spinach Orzo!
- **Wraps & Sandwiches:** Take your wraps and sandwiches to the next level. For example, you can easily make our Mediterranean Chicken Wrap with tender, flavorful cast iron chicken instead of grilled chicken for an equally delicious and satisfying meal!
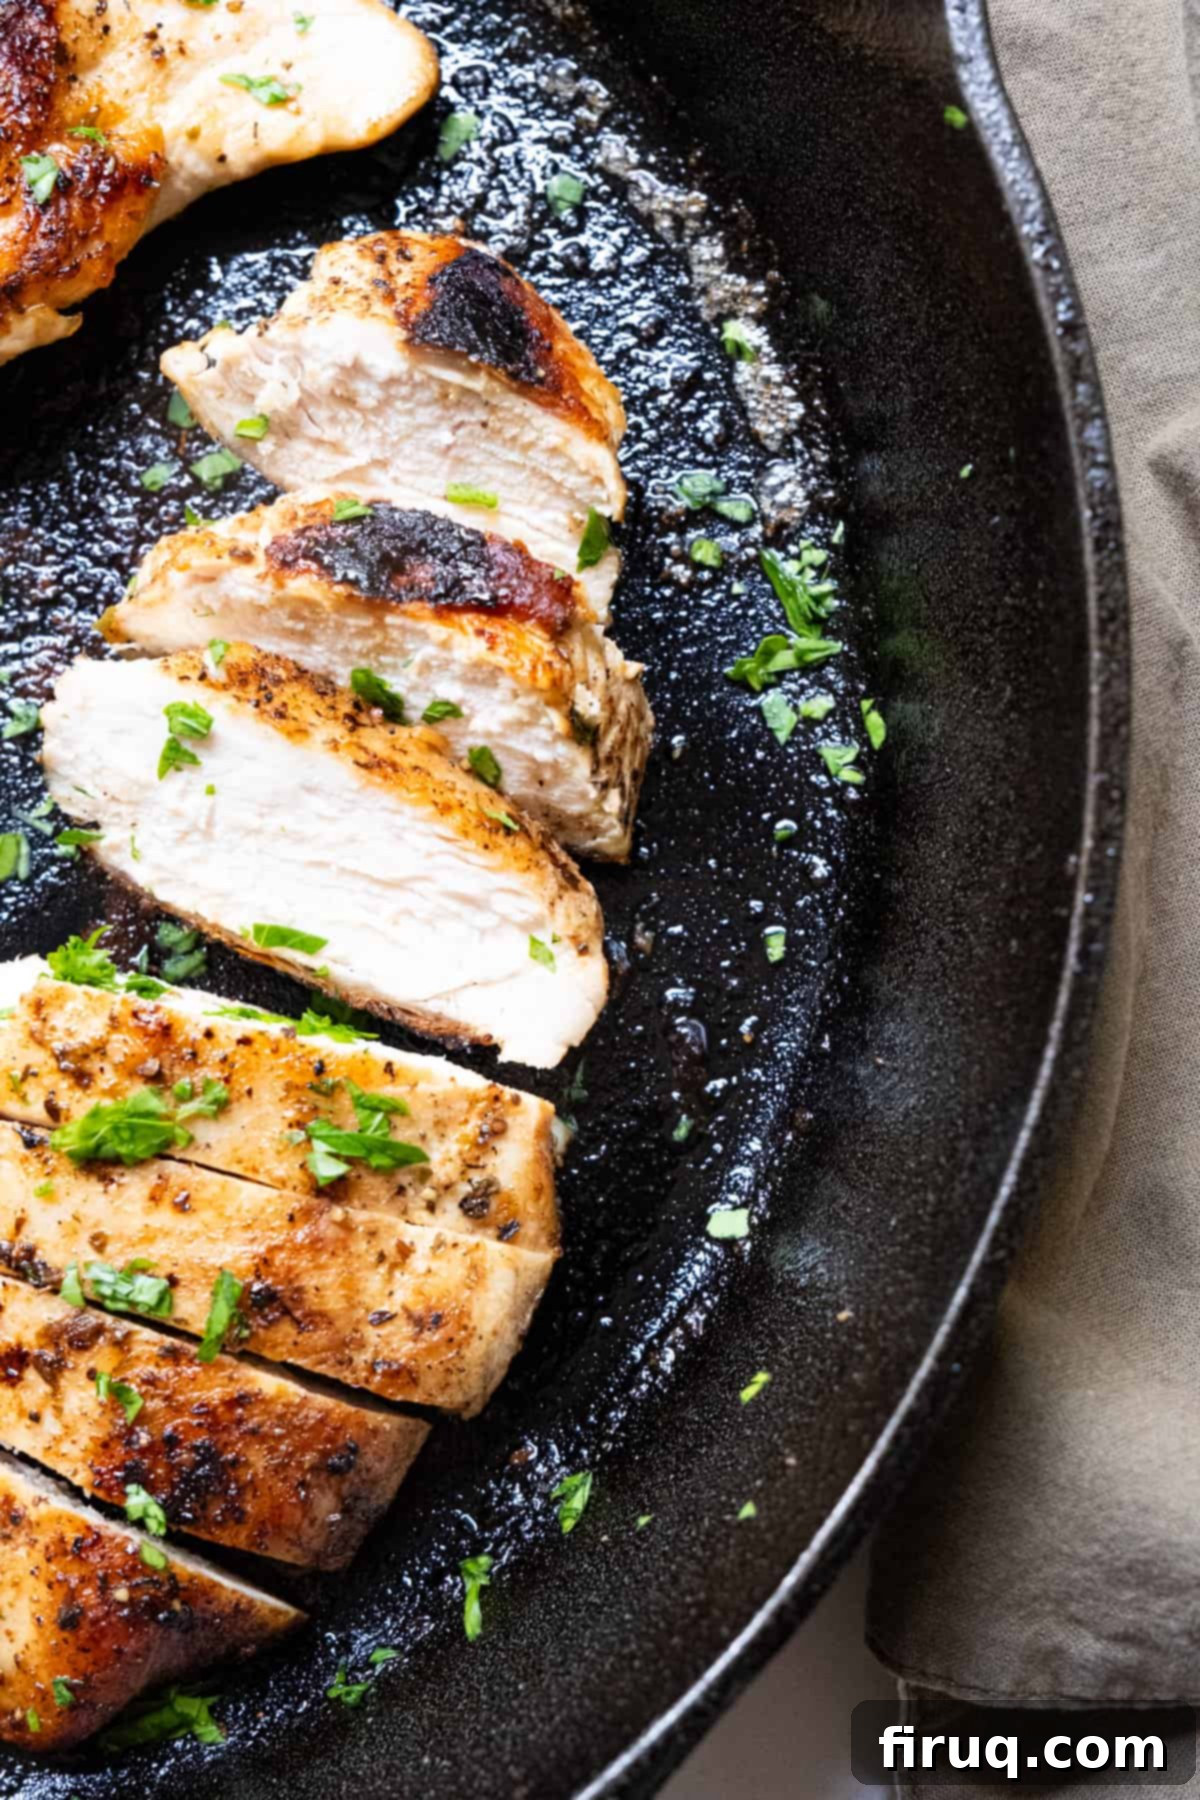
We absolutely love hearing from you! Please leave a comment and a star rating below in the recipe card if you try this recipe. Your feedback helps us improve and grow our community. Feel free to tag us on Instagram @vindelgiudice to share your culinary creations!
Video Instructions for Cast Iron Chicken Breast
For a visual guide to mastering this technique, watch our detailed video instructions below. See each step come to life, from pounding the chicken to achieving that perfect golden sear and luscious basting, ensuring you cook the juiciest cast iron chicken breast every time.
Discover More Delicious Chicken Recipes
If you’re a fan of chicken and looking for more inspiration, explore our collection of other incredible chicken recipes. From savory skillet meals to elegant stuffed chicken, there’s something here for every taste and occasion.
- Spicy Chicken With Prosciutto And Cheese
- Restaurant-Style Chicken Saltimbocca
- The BEST Chicken Pizzaiola
- Pesto Stuffed Chicken
📖 Recipe
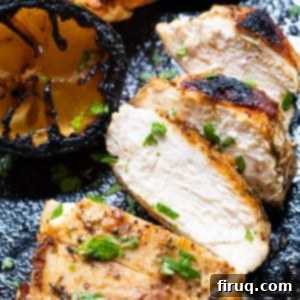
Perfect Cast Iron Chicken Breast
Vincent DelGiudice
Pin Recipe
Equipment
-
1 cast iron skillet
-
1 instant-read thermometer
-
Meat mallet or heavy-bottomed pan
-
Tongs
Ingredients
- 4 boneless, skinless chicken breasts, about 6-8 oz each
- 1½ teaspoon kosher salt
- 2 teaspoon dried oregano
- 2 teaspoon garlic powder
- 1 teaspoon black pepper
- 2 tablespoons avocado oil (or other high smoke point oil)
- 1 large lemon, halved
- 2 tablespoons unsalted butter
- Optional: Fresh herbs like rosemary or thyme sprigs
Instructions
-
**Prepare and Season Chicken:** Place each chicken breast between two sheets of plastic wrap and pound to a uniform thickness of about ¾ to 1 inch. Pat dry thoroughly with paper towels. While your cast iron skillet preheats over medium heat, season both sides of the chicken breasts generously with salt, pepper, garlic powder, and oregano.
-
**Sear the Chicken (First Side):** Once the cast iron is hot and the avocado oil is shimmering, carefully place each chicken breast flat onto the skillet. Add one half of a lemon, cut side down, to the pan. If necessary, cook in two batches to avoid overcrowding. Sear the chicken breast undisturbed for 7 minutes, allowing a beautiful golden crust to form.
-
**Sear and Finish Cooking (Second Side & Edges):** Flip the chicken breast over. Cook for another 7 minutes. If the chicken is browning too quickly, slightly reduce the heat. Check the internal temperature with an instant-read thermometer. Use tongs to roll the chicken breast onto its edges, cooking each side until golden brown and the internal temperature reaches 165℉ (74°C) in the thickest part.
-
**Baste and Rest:** Once the chicken reaches 165℉, remove the pan from the heat. Add the butter (and optional fresh herbs) to the pan near the lemon. As the butter melts, use a spoon to baste the chicken generously. Then, use tongs to grab the warmed lemon half and squeeze its juice over the chicken. Remove the chicken from the pan and let it rest on a cutting board for 5-10 minutes before slicing.
-
**Serve:** Once the chicken has rested, slice it against the grain and serve immediately with your favorite salads or vegetables. Enjoy your perfectly juicy cast iron chicken breast!
