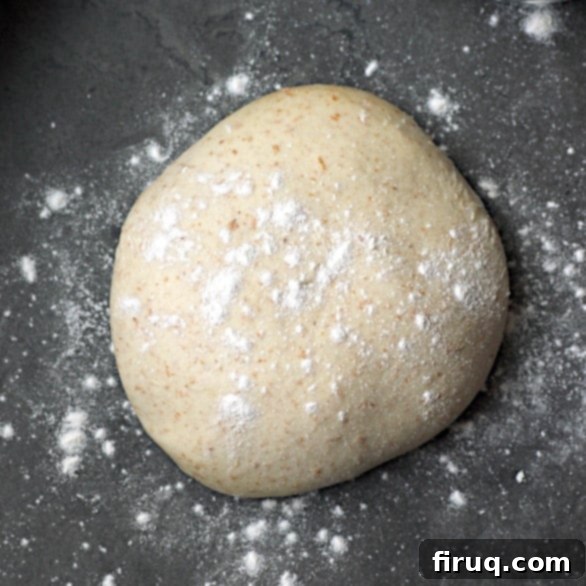
The Ultimate Guide to Making the Best Homemade Pizza Dough: Crisp, Chewy, and Easy
Crafting your own crisp, wonderfully chewy homemade pizza dough is a rewarding culinary adventure that requires just a few basic ingredients and a little patience. The secret to its incredible flavor and texture lies in allowing it to rise slowly and deliberately in the fridge. This simple yet effective method ensures a superior crust that will elevate your pizza nights to a whole new level.
For many, the recent global events ushered in a new era of home cooking, and for my family, it solidified our love for homemade pizza. While I had certainly dabbled in pizza making before, the past few years transformed it into a cherished weekly or bi-weekly tradition, often kicking off our Friday nights. This consistent practice provided the perfect opportunity to truly perfect a homemade pizza dough recipe – one that consistently receives rave reviews from my family, who unanimously declare it the Best Ever Homemade Pizza Dough.
Forget relying on store-bought alternatives; this recipe empowers you to create a foundation for pizza that rivals your favorite pizzeria. It’s about more than just a meal; it’s about the joy of creating something delicious from scratch, the shared anticipation as the dough rises, and the pure satisfaction of biting into a slice with a perfectly golden, airy, and flavorful crust.
Essential Ingredients for Your Perfect Homemade Pizza Dough
Creating exceptional pizza dough from scratch doesn’t require an arsenal of obscure ingredients. In fact, you likely have most of what you need in your pantry right now. Each component plays a vital role in achieving that desirable crisp-chewy texture and rich flavor.
Bread Flour: This is the cornerstone of our pizza dough. While you might be tempted to use all-purpose flour, bread flour is crucial because of its higher protein content. This increased protein is essential for developing stronger gluten strands when kneaded. Gluten is what gives pizza dough its characteristic elasticity and chewiness, allowing it to be stretched thin without tearing and providing that satisfying bite in the final crust. I’ve experimented with various flours, including expensive and specialty “00” (Double Zero) flour, but consistently found that good quality bread flour yields a superior and more accessible result for a home baker.
Whole Wheat Flour: This ingredient is a personal preference that adds a lovely subtle nuttiness and a touch of wholesome graininess to the crust. Beyond flavor, it contributes a boost of fiber and nutrients. If you prefer a purely white crust, or if whole wheat flour isn’t readily available, feel free to omit it. Simply substitute it with an equal amount (1/2 cup for this recipe) of additional bread flour to maintain the dough’s balance.
Sugar: Don’t worry, this isn’t about making your pizza crust sweet! Only a minimal amount of granulated sugar is included in this recipe, serving two primary functions. Firstly, it acts as food for the yeast, helping to activate it and encourage a robust rise. Secondly, it aids in the Maillard reaction during baking, contributing to a beautifully golden-brown and flavorful crust, enhancing its visual appeal and taste.
Yeast: We use instant or rapid-rise yeast in this dough. Given the extended cold fermentation period (the long rise time in the fridge), only a small quantity of yeast is necessary. Instant yeast is convenient as it can be mixed directly with the dry ingredients without prior proofing, making the process even simpler. This small amount, combined with the slow rise, is key to developing complex flavors without an overly “yeasty” taste.
Salt: Far more than just a flavor enhancer, salt is indispensable in bread making. It not only seasons the dough itself but also plays a critical role in controlling yeast activity, preventing it from rising too quickly. Furthermore, salt strengthens the gluten network, contributing to the dough’s structure and elasticity. For this recipe, kosher salt is recommended for its pure flavor and texture, but table salt can be used, just be sure to adjust the quantity (typically half the amount of kosher salt).
Ice Water: Using ice water, rather than lukewarm or room temperature water, is a crucial technique for controlling the dough’s temperature and ensuring a slow, controlled fermentation, especially when using a food processor which can generate heat. This helps in developing a stronger gluten structure and a more flavorful dough over its long resting period.
Olive Oil: Incorporating a touch of olive oil into the dough significantly improves its workability. It adds richness and flavor, particularly if you opt for a high-quality extra virgin olive oil. The oil also contributes to a tender interior while helping the crust achieve a desirable crispness on the exterior. It makes the dough more pliable, allowing for easier stretching without tearing when you’re ready to shape your pizza.
Do I Need Special Equipment to Make Perfect Pizza Dough?
While some specialized tools can certainly enhance your pizza-making experience, achieving fantastic homemade pizza dough is possible with fairly standard kitchen equipment. Here are the items that will make your journey smoother and your results more professional:
Food Processor: For making the dough itself, a good quality food processor is a game-changer. It dramatically speeds up the kneading process, perfectly incorporating ingredients and developing gluten in a matter of minutes, saving you significant effort. While you could technically make this dough by hand kneading or with a stand mixer, the food processor provides efficiency and consistent results that are hard to beat for this particular recipe.
Baking Stone or Pizza Steel: When it’s time to bake your delicious pizza, a good baking stone (or an even more efficient pizza steel) is highly recommended. These tools absorb and retain high heat from your oven, mimicking the intense heat of a professional pizza oven. This intense heat transfer to the bottom of your pizza is what creates a truly crisp crust and ensures your pizza cooks evenly and quickly, preventing a soggy bottom.
Pizza Peel: To safely and effectively transfer your prepared pizza into and out of the scorching hot oven, a pizza peel is invaluable. It should ideally be at least the size of your pizza. For easy transfer, lightly flour the peel or lay a piece of parchment paper on it before assembling your pizza. Alternatively, a rimless baking sheet (often called a cookie sheet) can serve as a functional substitute, which is what I personally use and find works perfectly well.
The Magic of Slow Fermentation: Why Time is Your Best Ingredient
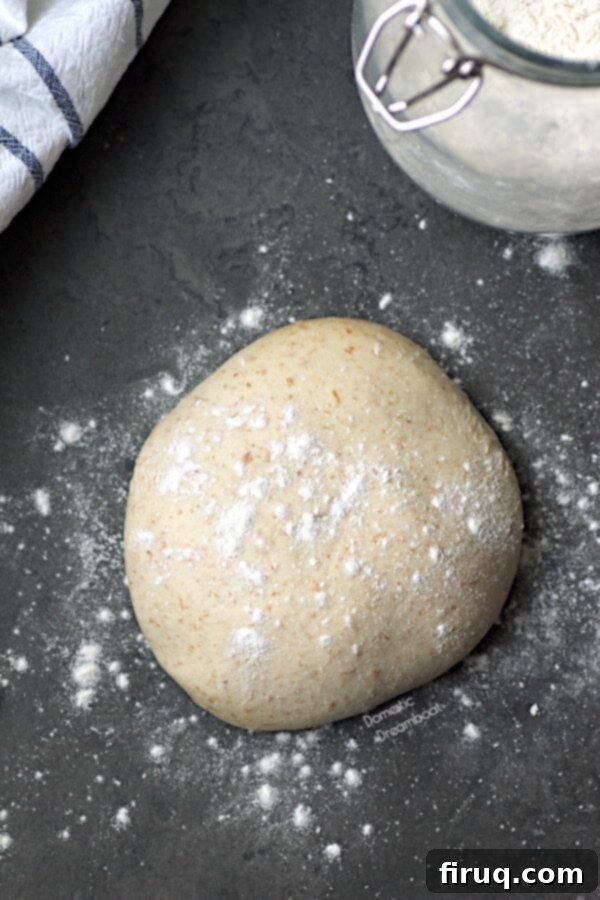
One aspect of making your own pizza dough that often gives people pause is the time commitment. Unlike quick-rise doughs, this recipe champions the art of slow fermentation. The dough needs to rest in the fridge for at least 24 hours, and ideally up to 3 days, before it’s ready to be transformed into pizza. However, it’s crucial to understand that this extended period is largely hands-off; you don’t actually *do* anything during this time, the fridge does all the work.
This long, cold rise is where the magic happens. It allows the yeast to work slowly, developing incredible depth of flavor that quick doughs simply can’t achieve. The gluten also has more time to relax and fully hydrate, resulting in a dough that is both easier to stretch and produces a far more tender, airy, and chewy crust. Think of it as an overnight marinade for your dough – the longer it rests, the richer the taste and better the texture. This advanced planning means you can prepare the dough a few days ahead of time, making your actual pizza night surprisingly quick and stress-free. For instance, I typically prepare my dough on a Wednesday, ensuring it’s perfectly aged and ready for a delicious Friday night pizza feast!
Why Choose Homemade Pizza Dough Over Store-Bought?
Beyond the undeniable satisfaction of creating something from scratch, there are several compelling reasons to embrace homemade pizza dough:
- Superior Flavor & Texture: The primary reason is taste. Store-bought doughs often lack the complex flavor profiles and the perfect balance of crispiness and chewiness that a slow-fermented homemade dough offers. The extended rise in the fridge allows for deep flavor development that simply can’t be rushed.
- Control Over Ingredients: Making your own dough gives you complete control over what goes into your food. You can choose high-quality flours, organic ingredients, and avoid any unwanted additives or preservatives often found in commercial products.
- Cost-Effectiveness: Basic pantry staples like flour, yeast, salt, sugar, and olive oil are incredibly inexpensive compared to buying pre-made dough regularly. Over time, the savings really add up, especially if pizza night is a frequent occurrence in your home.
- Customization: Want to add a touch of garlic powder to the dough, or perhaps some Italian herbs? Homemade dough allows you to experiment with flavors and create a crust that perfectly suits your preferences.
- A Fun Family Activity: Involving family members, especially children, in the process of making dough and shaping pizzas can be a delightful and educational experience. It’s a wonderful way to spend quality time together and create lasting memories.
Expert Tips for Pizza Dough Success
Even with a simple recipe, a few key tips can ensure your homemade pizza dough turns out perfectly every time:
- Measure Accurately: Especially with baking, precision matters. Use a kitchen scale for flour if possible (metric measurements are provided in the recipe card) for the most accurate results. If using cups, spoon the flour into the measuring cup and level it off rather than scooping directly, which can compact the flour.
- Don’t Rush the Rise: The cold fermentation is non-negotiable for this recipe’s flavor and texture. Plan ahead and give your dough the time it needs in the fridge.
- Room Temperature for Stretching: Always allow the dough to come to room temperature for at least an hour before you plan to stretch it. Cold dough is stiff and difficult to work with.
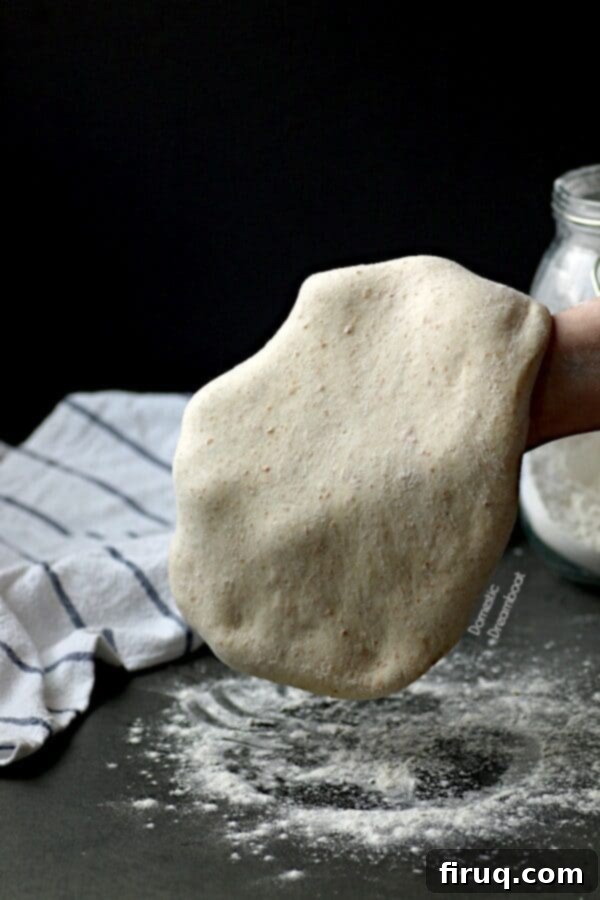
- Gentle Stretching: When stretching the dough, be gentle. Start from the center and work your way out, allowing gravity to help. If the dough springs back, cover it and let it rest for 5-10 minutes, then try again. This allows the gluten to relax.
- Hot Oven, Hot Stone: Preheating your oven and pizza stone to a high temperature (500°F or higher) for a full hour is critical. This ensures the stone is thoroughly heated, providing that essential burst of heat for a crispy crust.
- Don’t Overload Toppings: Less is often more with pizza. Too many toppings can weigh down the dough, create excessive moisture, and lead to a soggy crust.
- Parchment Paper Trick: If you’re new to using a pizza peel, placing your stretched dough on a piece of parchment paper on the peel before adding toppings makes sliding it onto the hot stone much easier. You can then carefully pull the parchment out from under the pizza a few minutes into baking to ensure direct contact with the stone.
Want more delicious homemade bread recipes?
Homemade Pizza Dough Nutrition Notes:
Please note that the nutrition information provided in the recipe card below is calculated for the crust only. It does not include any pizza toppings you might add, as these can vary widely and significantly impact the nutritional values of your final pizza.
Best Ever Homemade Pizza Dough
Print Recipe
Pin Recipe
Equipment
-
Food Processor
-
Pizza stone
-
Pizza peel or rimless baking sheet
Ingredients
- 2 1/2 cups bread flour
- 1/2 cup whole wheat flour optional – or use an additional 1/2 cup bread flour
- 2 teaspoons granulated sugar
- 1/2 teaspoon instant or rapid rise yeast
- 1 1/3 cups ice water
- 2 teaspoons kosher salt or 1 teaspoon table salt
- 1 Tablespoon olive oil
Instructions
-
Add 2 1/2 cups (355 g) bread flour, 1/2 cup (80 g) whole wheat flour, 2 teaspoons (10 g) granulated sugar, and 1/2 teaspoon instant or rapid rise yeast to a food processor and pulse until combined. Turn on the food processor and slowly pour in 1 1/3 cups (320 ml) ice water while the processor is mixing. Once the water has all been added, keep processing until all the flour is incorporated and the dough forms a sticky ball (about 1 minute). Let it rest in the food processor for 10 minutes.
-
Sprinkle 2 teaspoons (10 g) kosher salt over the dough, then turn on the food processor and stream in 1 Tablespoon (15 ml) olive oil. Continue to process until the dough forms a smooth ball (about 30-60 seconds).
-
Remove the dough from the processor, and knead on a lightly oiled countertop a few times just to form a ball. Place into a medium oiled bowl and cover with an air tight lid or plastic wrap. Refrigerate for at least 24 hours or up to 3 days.
-
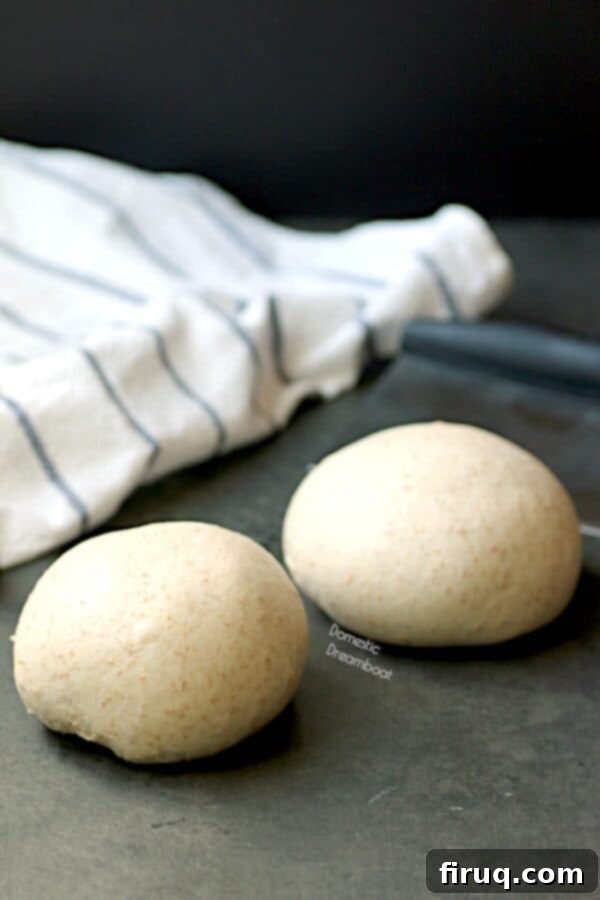
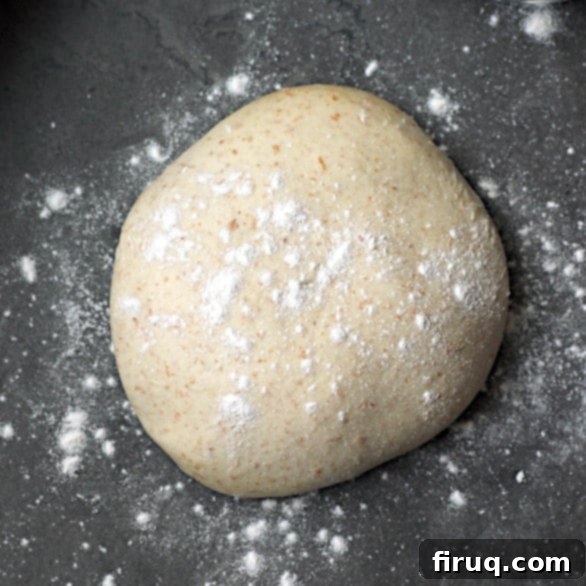
At least one hour before you plan to start making your pizza, remove the dough from the fridge, place it on a clean countertop, and cut it in half. Form each piece into a taut ball and place on an oiled baking sheet. Cover with plastic wrap and let sit at room temperature or a warm place for an hour.
-
Place a baking stone on the lower middle rack of the oven and heat the oven to 500°F for one hour.
-
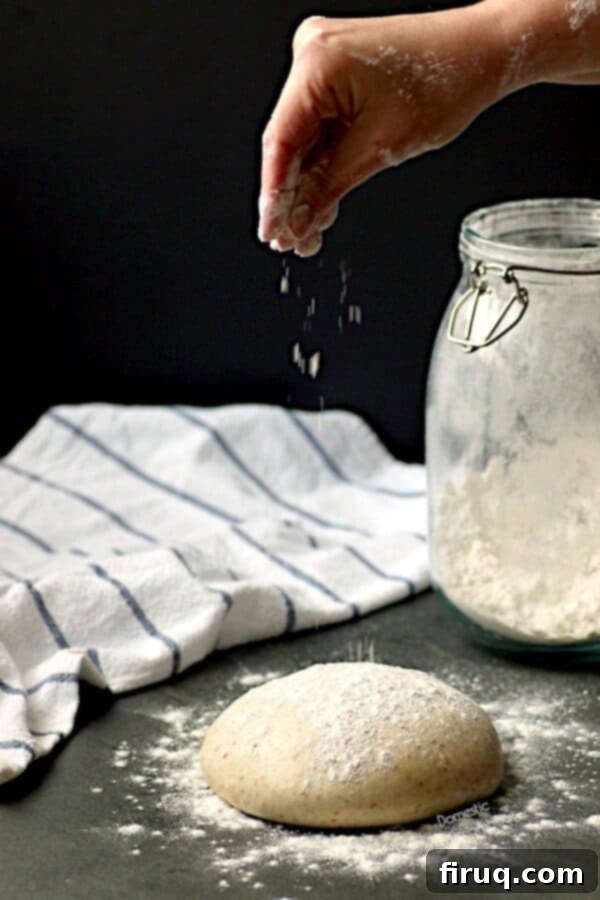
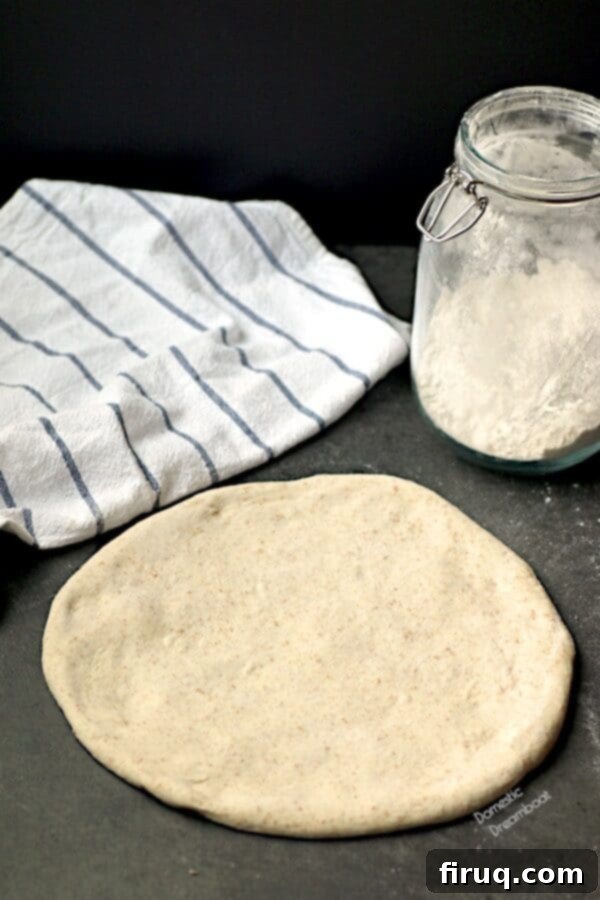
Working with one dough ball at a time, lightly flour a countertop, and the dough, and stretch it into a 12-14″ round (if you’re having a hard time stretching it, and it keeps springing back, let it rest for 5 to 10 minutes then come back to it). Place the dough on a pizza peel (placing parchment paper underneath makes it easier to slide it off later), and top with desired toppings.
-
Slide the pizza and parchment paper onto the hot pizza stone. After about 5 minutes, pull the parchment paper out from under the pizza to prevent burning. Continue to cook until the cheese is melted and crust is browned, about 5-10 more minutes. Let cool for about 5 minutes before cutting. Repeat with second ball of dough.
Nutrition
Tried this recipe?
Please Consider Leaving a Review!

