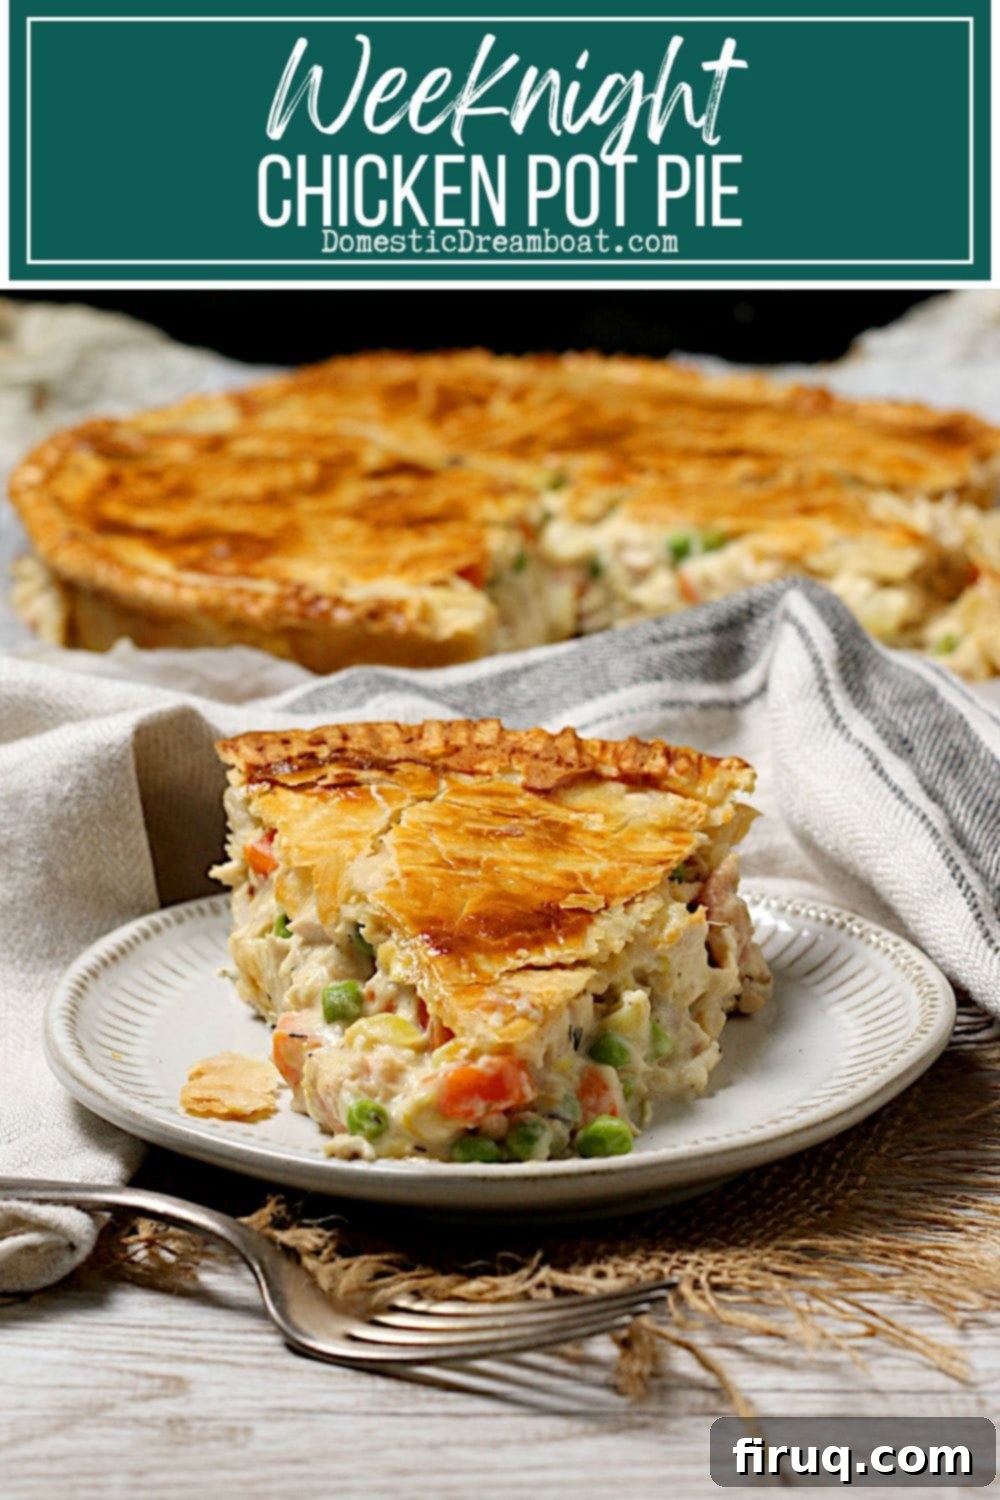
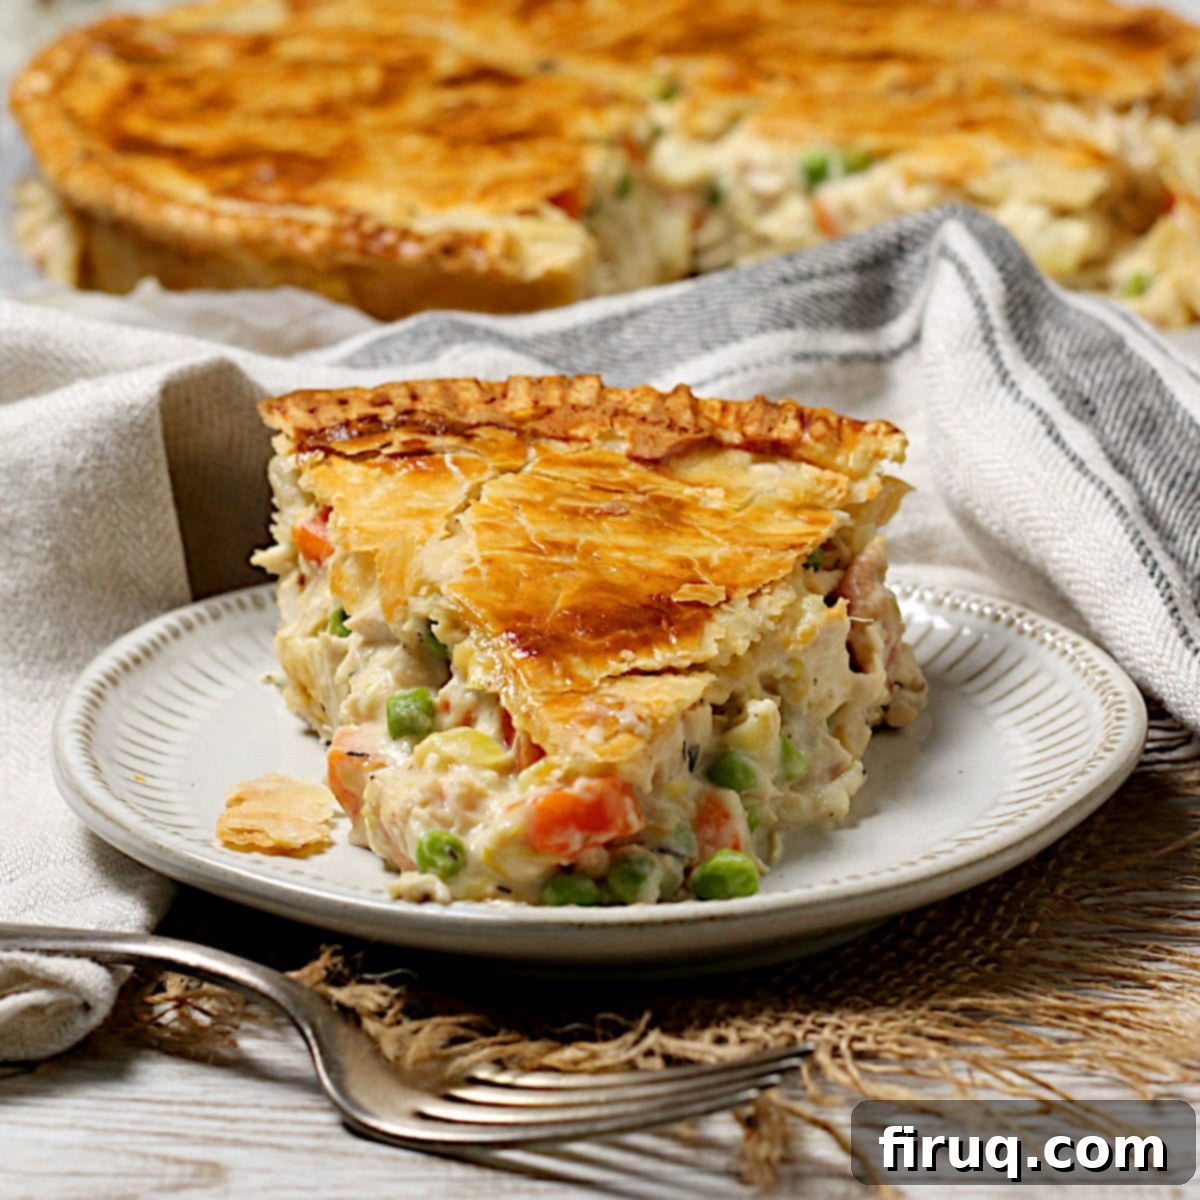
Quick & Easy Weeknight Chicken Pot Pie: Fast, Flavorful, and Comforting
There’s an undeniable charm to a classic chicken pot pie, a dish that instantly conjures feelings of warmth, comfort, and home. Its creamy, savory filling, loaded with tender chicken and hearty vegetables, all encased in a flaky, golden crust, is the epitome of comfort food. While I may not be much of a dessert pie enthusiast, my love for savory, meat-based pies knows no bounds, and chicken pot pie stands proudly at the top of that list. It’s a culinary hug in a dish, a timeless favorite that never fails to satisfy.
However, the traditional preparation of chicken pot pie can often feel like a culinary marathon. From cooking the filling ingredients from scratch to preparing the pie crusts, and then baking the whole masterpiece, it can easily consume a significant chunk of your evening. This time commitment often pushes this beloved dish into the “special occasion” category, making it seem out of reach for busy weeknights.
But what if you could enjoy this ultimate comfort food any night of the week, without spending hours in the kitchen? This recipe for Weeknight Chicken Pot Pie is designed to do just that. By implementing a few smart shortcuts, we’ve streamlined the entire process, transforming this hearty classic into a perfectly feasible and incredibly rewarding weeknight meal. Get ready to discover how simple it can be to bring this delicious, comforting pie to your dinner table, even on your busiest days.
How to Make Weeknight Chicken Pot Pie Effortlessly
Transforming this classic pie into a weeknight-friendly sensation hinges on embracing a few clever time-saving strategies. The goal is to minimize active cooking and prep time without compromising on the rich, satisfying flavor that makes chicken pot pie so beloved. Here’s a breakdown of the key steps and tips that make all the difference:
The Power of Pre-Cooked Chicken
The most significant time-saver in this recipe is undoubtedly using already cooked chicken. Instead of starting with raw chicken breasts or thighs, which would require seasoning, cooking, and shredding, we leverage the convenience of pre-cooked options. This could be a succulent rotisserie chicken from your local grocery store, which offers incredible flavor with zero effort on your part. Alternatively, you might have some “planned leftovers” from a previous meal, perhaps chicken breasts cooked specifically for this purpose. Even leftover holiday turkey from Thanksgiving or Christmas works wonderfully, lending a similar savory depth to the pie. The beauty of this approach is that the chicken simply needs to be heated through in the filling, cutting down cooking time dramatically while still delivering that hearty, satisfying protein element.
Embrace Store-Bought Pie Dough
Let’s be honest, making homemade pie pastry from scratch can be a rewarding but incredibly time-consuming and often finicky process. For a weeknight meal, this step is simply non-negotiable for saving time. I confess, store-bought pie dough is my go-to for nearly every pie I make – and there’s absolutely no shame in it! Pre-made dough (the kind you roll out, not the ones already in a pan) saves you from the mixing, chilling, and rolling, allowing you to assemble your pie in minutes. It’s perfectly flaky and provides a delicious contrast to the creamy filling, ensuring a delightful texture in every bite.
Smart Vegetable Preparation for Speed
Starting with a mirepoix (the classic blend of diced onion, carrots, and celery) is essential for building the flavor base of your pot pie. For maximum efficiency, you can dice these vegetables ahead of time during weekend meal prep. For an even quicker start, consider using frozen diced onion, which eliminates chopping altogether. While a pre-packaged frozen mirepoix mix (diced onion, carrots, and celery) would be ideal, it’s sadly not always readily available everywhere. If you can find it, it’s a fantastic shortcut, allowing you to skip this chopping step entirely and get straight to cooking.
To begin the cooking process, sauté the diced vegetables in a little oil with the lid on your skillet. The goal here is to soften them gently without browning, which helps retain their sweet flavors and tender texture. Stir occasionally to ensure even cooking. Once softened, stir in minced garlic for an aromatic boost, along with freshly ground black pepper and dried thyme. These herbs infuse the filling with classic, comforting flavors that are synonymous with chicken pot pie. Cook briefly until fragrant, usually about one minute, to awaken their aromas.
The Secret to a Rich, Thick Filling
Here’s where another key ingredient shines: Better than Bouillon Roasted Chicken Base. Unlike traditional chicken stock or broth, this concentrated chicken base allows you to add intense chicken flavor without introducing excessive liquid. This is crucial because it helps achieve a thick, flavorful gravy without the need for prolonged simmering to reduce excess water, significantly cutting down on cooking time and ensuring a perfectly consistency. Sprinkle all-purpose flour over the cooked vegetables and stir well until every piece is evenly coated, creating a roux-like base. Cook for a couple more minutes, allowing the flour to lightly brown and toast, which will deepen the flavor of your gravy.
Next, very slowly add water, starting with just a couple of tablespoons at a time, continuously stirring to incorporate it fully. This gradual addition is essential to prevent lumps and create a smooth, velvety sauce. The mixture will initially be quite thick and pasty, but as you continue to add small amounts of water and stir, it will gradually loosen and transform into a rich, luscious gravy. Finally, stir in the evaporated milk and bring the mixture to a gentle simmer. Evaporated milk is an excellent choice for savory creamy dishes as it provides a wonderful richness and smooth texture with fewer calories and less fat compared to heavy cream, and most people can’t taste the difference.
Once your gravy is simmering and beautifully thickened, stir in the bite-sized pieces of leftover cooked chicken. Since the chicken is already cooked, it only needs a couple of minutes to heat through. Remove the pan from the heat immediately after the chicken is warmed, then stir in the frozen peas. Adding the peas off the heat helps them retain their vibrant green color and a slight crispness, adding a fresh contrast to the creamy filling.
Assembling and Baking Your Masterpiece
Now comes the satisfying part: assembling your pot pie. Roll out one of your store-bought pie crusts and carefully lay it into a 9-inch pie pan (a 9-inch cake pan also works well). Trim off any excess dough that hangs too far over the edges. Pour the hot, flavorful chicken and vegetable filling evenly into the prepared crust. Then, roll out your second pie crust and gently place it over the filling. To seal the pie, crimp the edges of the top and bottom crusts together. A simple way to do this is by gently pressing around the entire circumference with the tines of a fork, creating a decorative and secure seal.
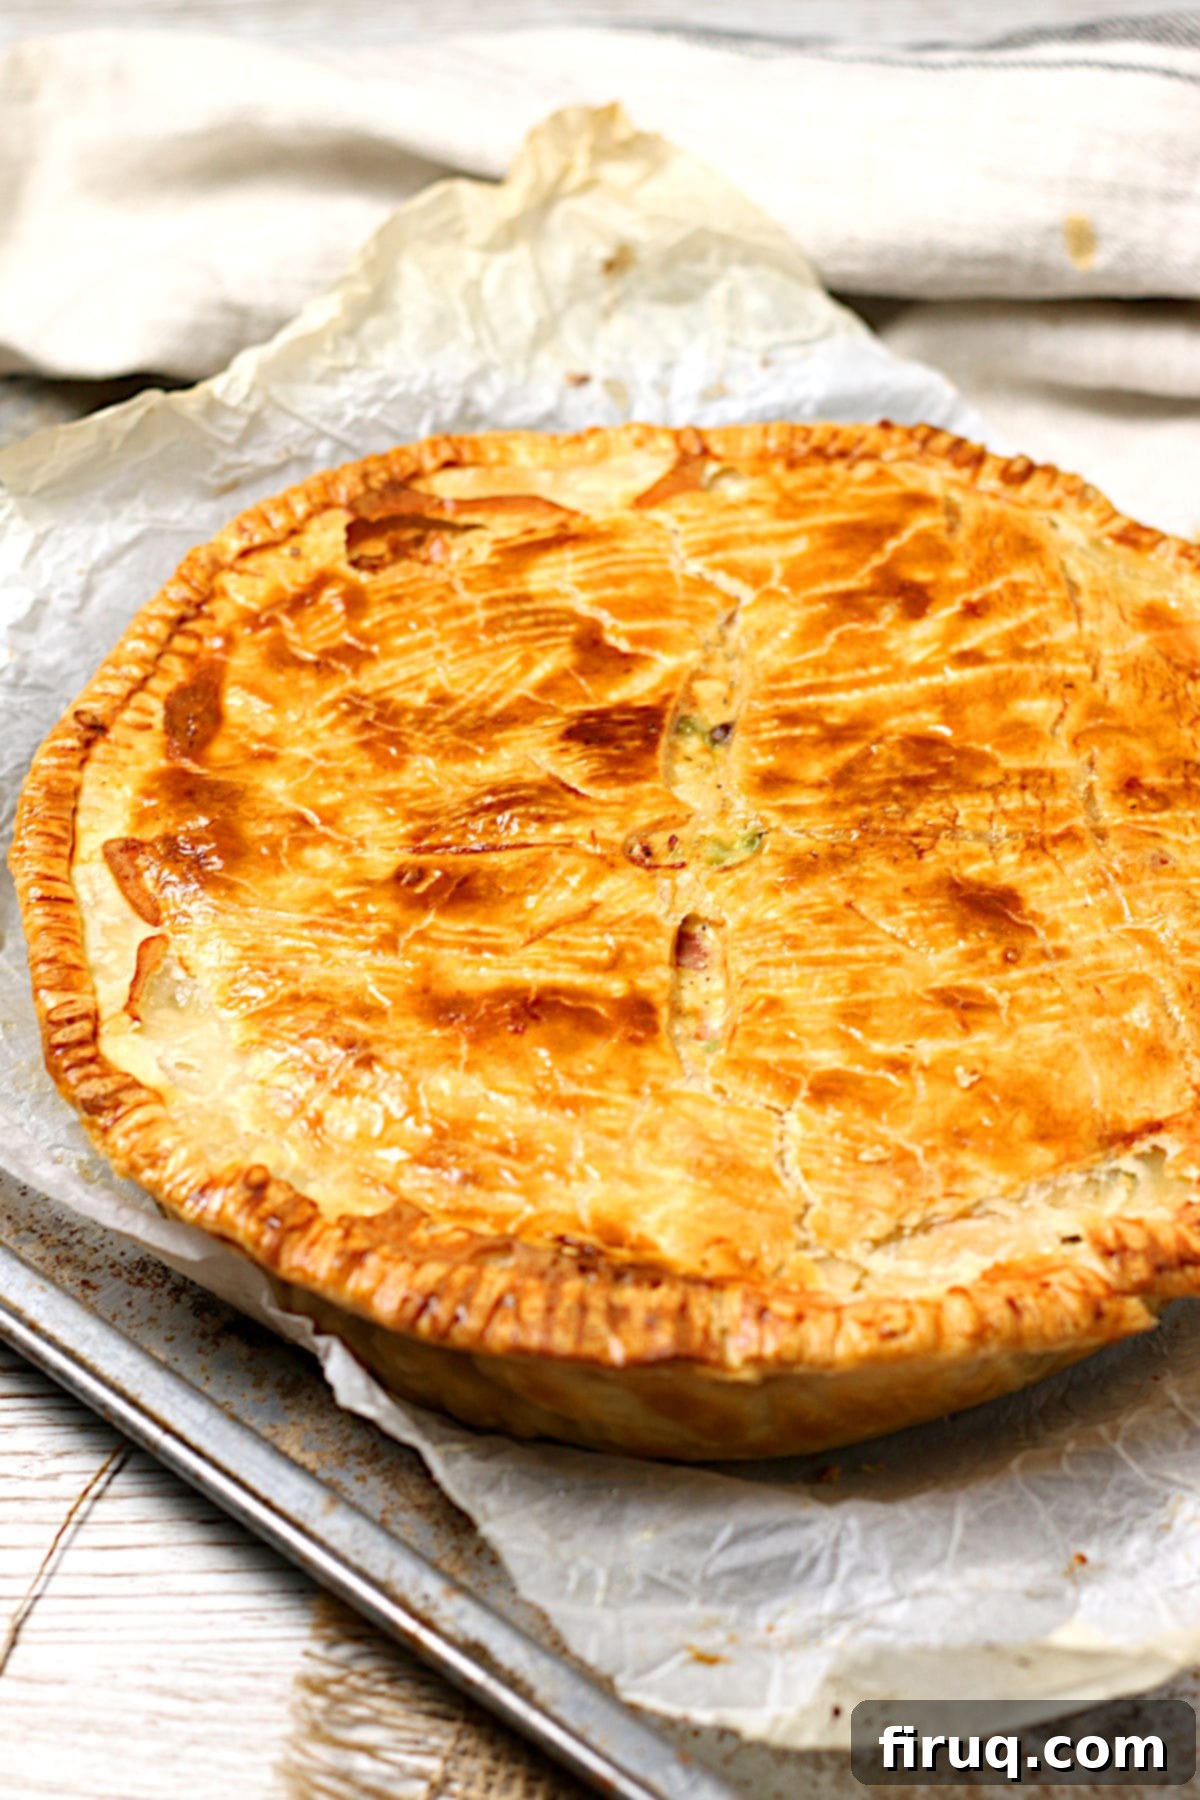
For that signature golden-brown, shiny crust, whisk one egg with a tablespoon of milk to create an egg wash. Lightly brush this mixture over the top and edges of the pie crust. Be mindful not to overdo it; a thin, even coat is all you need. You can save any leftover egg wash for other baking projects or even scramble it for breakfast. Crucially, cut a few small slits in the top crust with a sharp paring knife. These are essential steam vents, allowing steam to escape during baking, which prevents the crust from becoming soggy or bursting open.
To prevent the edges of your beautiful pie crust from browning too quickly or burning, use a pie shield. If you don’t have one, don’t worry – you can easily make a DIY version with aluminum foil (instructions provided in the recipe notes). Place the assembled pie on a baking sheet to catch any potential drips and provide even heating. Bake the pie in a preheated 425°F (220°C) oven for about 30-35 minutes, or until the crust is a gorgeous golden brown and the internal temperature of the filling reaches 165°F (74°C) when checked with an instant-read thermometer. Keep a close eye on your pie; if the top crust starts to brown too quickly, loosely tent the entire pie with a sheet of foil. Note that pies baked in glass pie plates may require an additional 5-10 minutes of baking time.
Once baked to perfection, remove the pie from the oven and allow it to cool for at least 10 minutes before slicing. This resting period is essential for the filling to set, ensuring clean, beautiful slices that hold their shape. The aroma filling your kitchen will be irresistible, making the wait a delicious torture!
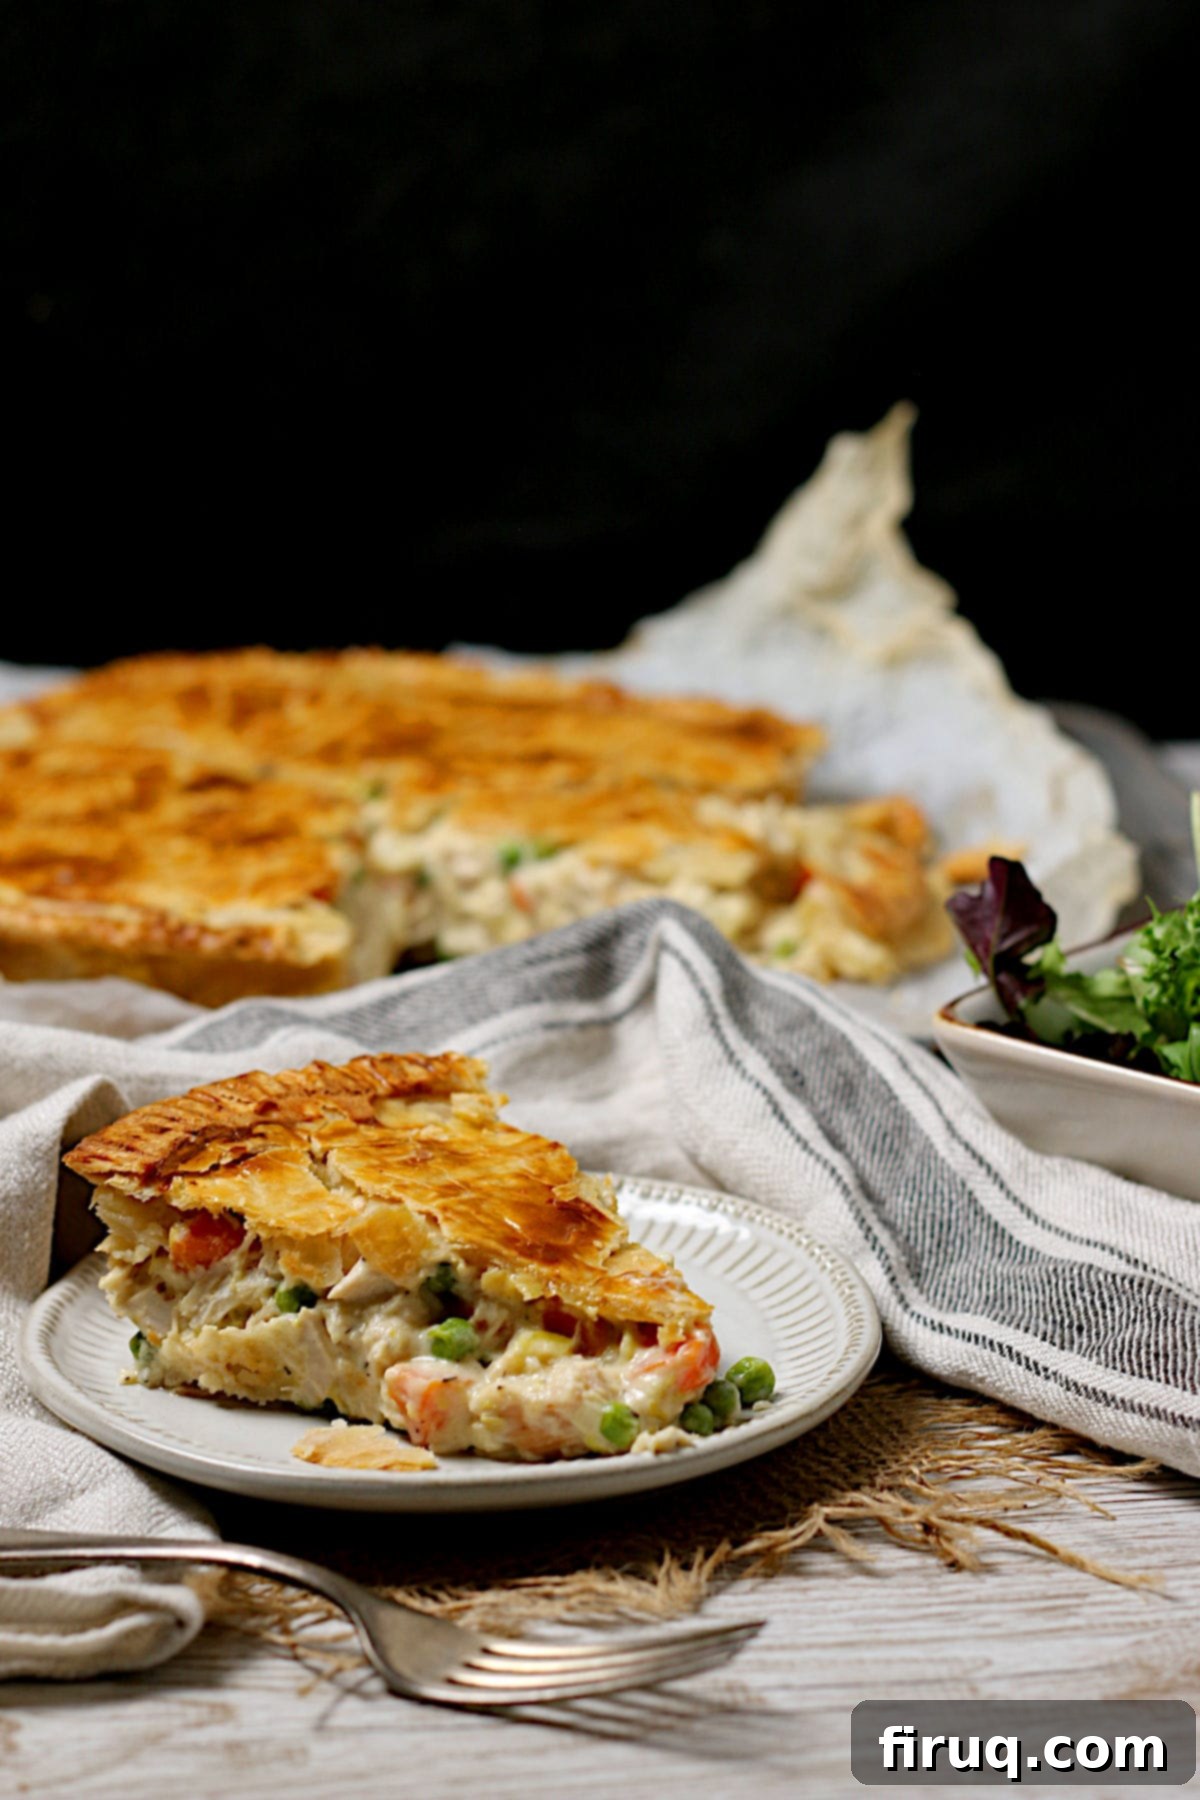
Weeknight Chicken Pot Pie: Make-Ahead & Freezing Tips
This Weeknight Chicken Pot Pie recipe is already designed for efficiency, but with a few make-ahead steps, it can become an even more convenient meal. Preparing components in advance means even less last-minute fuss, perfect for exceptionally busy evenings.
Make-Ahead Instructions for the Filling
If you like to prep ingredients on a quieter day, you can fully prepare the pie filling up to the end of step 4 in the recipe. Once cooked, transfer the filling into an airtight container and refrigerate it for up to two days. When you’re ready to bake, simply resume the recipe at step 5: assemble the pie with the chilled filling and bake as directed. Keep in mind that a cold filling will extend the baking time slightly, so you’ll likely need to add an extra 5-10 minutes to the oven time. Always check for a golden crust and ensure the internal temperature reaches 165°F (74°C).
Freezing for Future Feasts
For ultimate meal planning, consider doubling the recipe and preparing two pies at once. You can bake one for dinner tonight and freeze the second one for a hassle-free meal sometime in the future. To freeze, assemble the pie completely (with both crusts and filling) but do not bake it. Wrap the unbaked pie tightly in several layers of plastic wrap, followed by a layer of aluminum foil, ensuring it’s sealed from freezer burn. Label with the date and store in the freezer for up to 2-3 months.
When you’re ready to enjoy your frozen pie, there’s no need to thaw it beforehand! Bake the pie directly from frozen, but adjust the temperature and cooking time. To ensure the filling heats through evenly without burning the crust, bake at a slightly lower temperature for a longer duration. Preheat your oven to 375°F (190°C) and bake for approximately 60 minutes. It’s crucial to check the center of the filling with an instant-read thermometer; it should register 165°F (74°C) for safe consumption. If the crust starts to brown too much before the filling is heated, loosely tent it with aluminum foil.
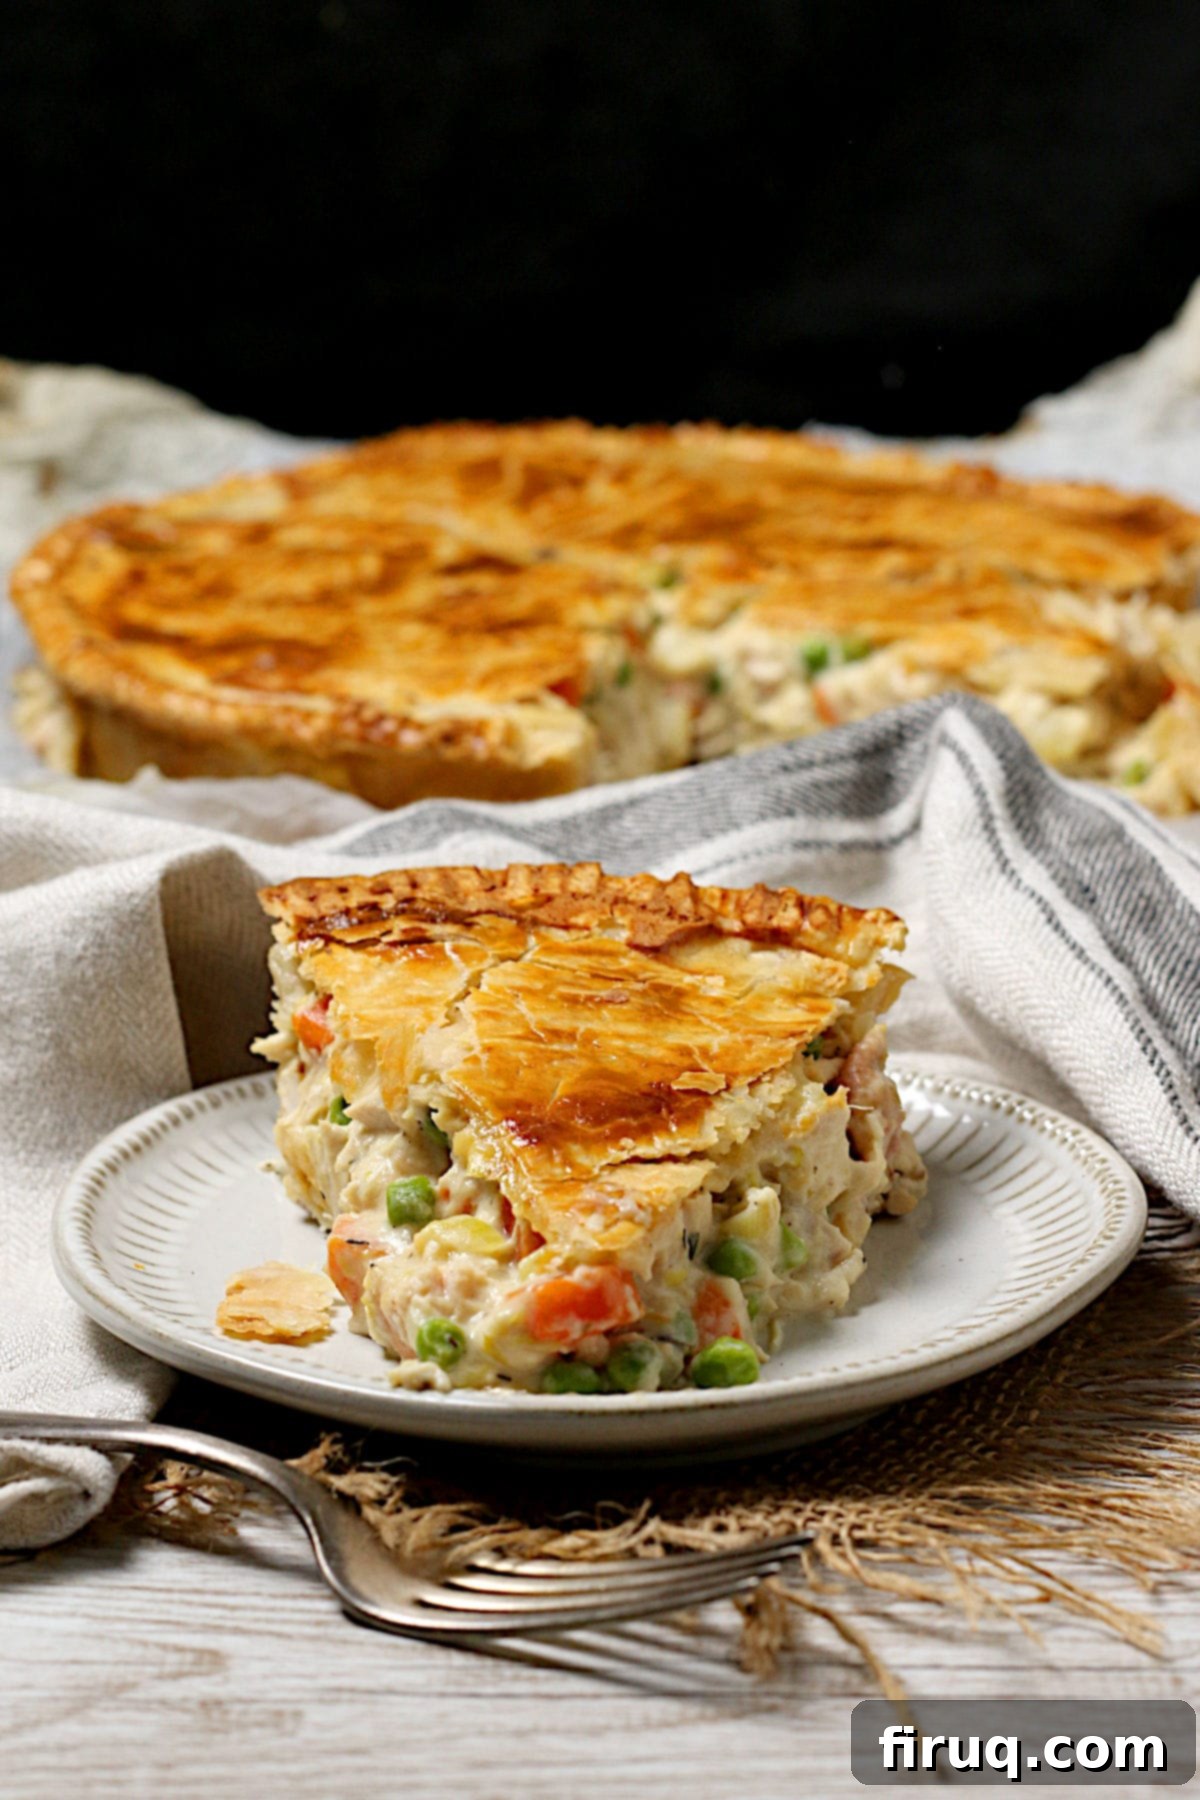
Weeknight Chicken Pot Pie: Essential Ingredients Explained
Every ingredient in this Weeknight Chicken Pot Pie recipe plays a vital role in creating its iconic flavor and comforting texture. Here’s a closer look at what you’ll need and why:
- Canola oil: A neutral-flavored cooking oil, excellent for sautéing at medium heat. You can also use other neutral oils like vegetable oil or a touch of melted butter for added richness.
- Yellow onion, Carrots, Celery: This trio forms the classic “mirepoix,” the aromatic foundation of the pie’s savory filling. For even more time savings, feel free to use pre-diced frozen onion or, if you can find it, a frozen mirepoix mix.
- Kosher salt: Enhances all the flavors in the filling without making it overly salty. For an extra umami boost that deepens the savory notes, consider using MSG-salt.
- Better than Bouillon Roasted Chicken Base: This is a star ingredient for its ability to deliver intense chicken flavor without adding significant liquid, which is crucial for achieving a thick, rich filling quickly. It bypasses the need to cook off extra water that traditional chicken stock would introduce, saving valuable time. A reduced-sodium version is also available if you’re managing sodium intake.
- Garlic: Freshly minced garlic adds a pungent, aromatic depth that complements the other savory ingredients beautifully.
- Freshly ground black pepper: Provides a subtle warmth and a gentle bite, enhancing the overall flavor profile.
- Dried thyme: A classic herb that pairs perfectly with chicken and vegetables, contributing an earthy, slightly minty note characteristic of pot pie.
- All-purpose flour: Essential for creating the roux that thickens the filling into a rich, creamy gravy. Flour is preferred over corn starch here for a smoother, more traditional gravy texture that holds up well. If you need a gluten-free option, use a reliable gluten-free flour blend.
- Evaporated milk: Contributes to the filling’s creamy consistency and rich mouthfeel. It’s a fantastic alternative to heavy cream, offering similar creaminess with fewer calories and less fat, and its flavor is virtually undetectable in the finished dish.
- Water: Used to thin the gravy to the perfect consistency after the flour and evaporated milk have been incorporated. Regular tap water is perfectly fine.
- Leftover cooked chicken: The key time-saving hero! Rotisserie chicken is highly recommended for its convenience and flavor, but any cooked chicken you have on hand works. You can even use leftover turkey for a delicious “Turkey Pot Pie” variation. Make sure it’s cut into bite-sized pieces for easy eating.
- Frozen peas: Adds a pop of color, sweetness, and a tender-crisp texture. They are added at the end to prevent overcooking and retain their vibrant hue.
- Egg: Used for the egg wash. You’ll only need a small amount, so any size egg will do.
- Milk: A tablespoon of milk is mixed with the egg to create the egg wash, helping the crust achieve a beautiful golden sheen. Any type of milk (dairy or non-dairy) is suitable.
- Double pie crust: Whether you opt for homemade or store-bought, a double pie crust is needed for the bottom and top of the pie. For ease and speed, the roll-out type of store-bought crust is highly recommended.
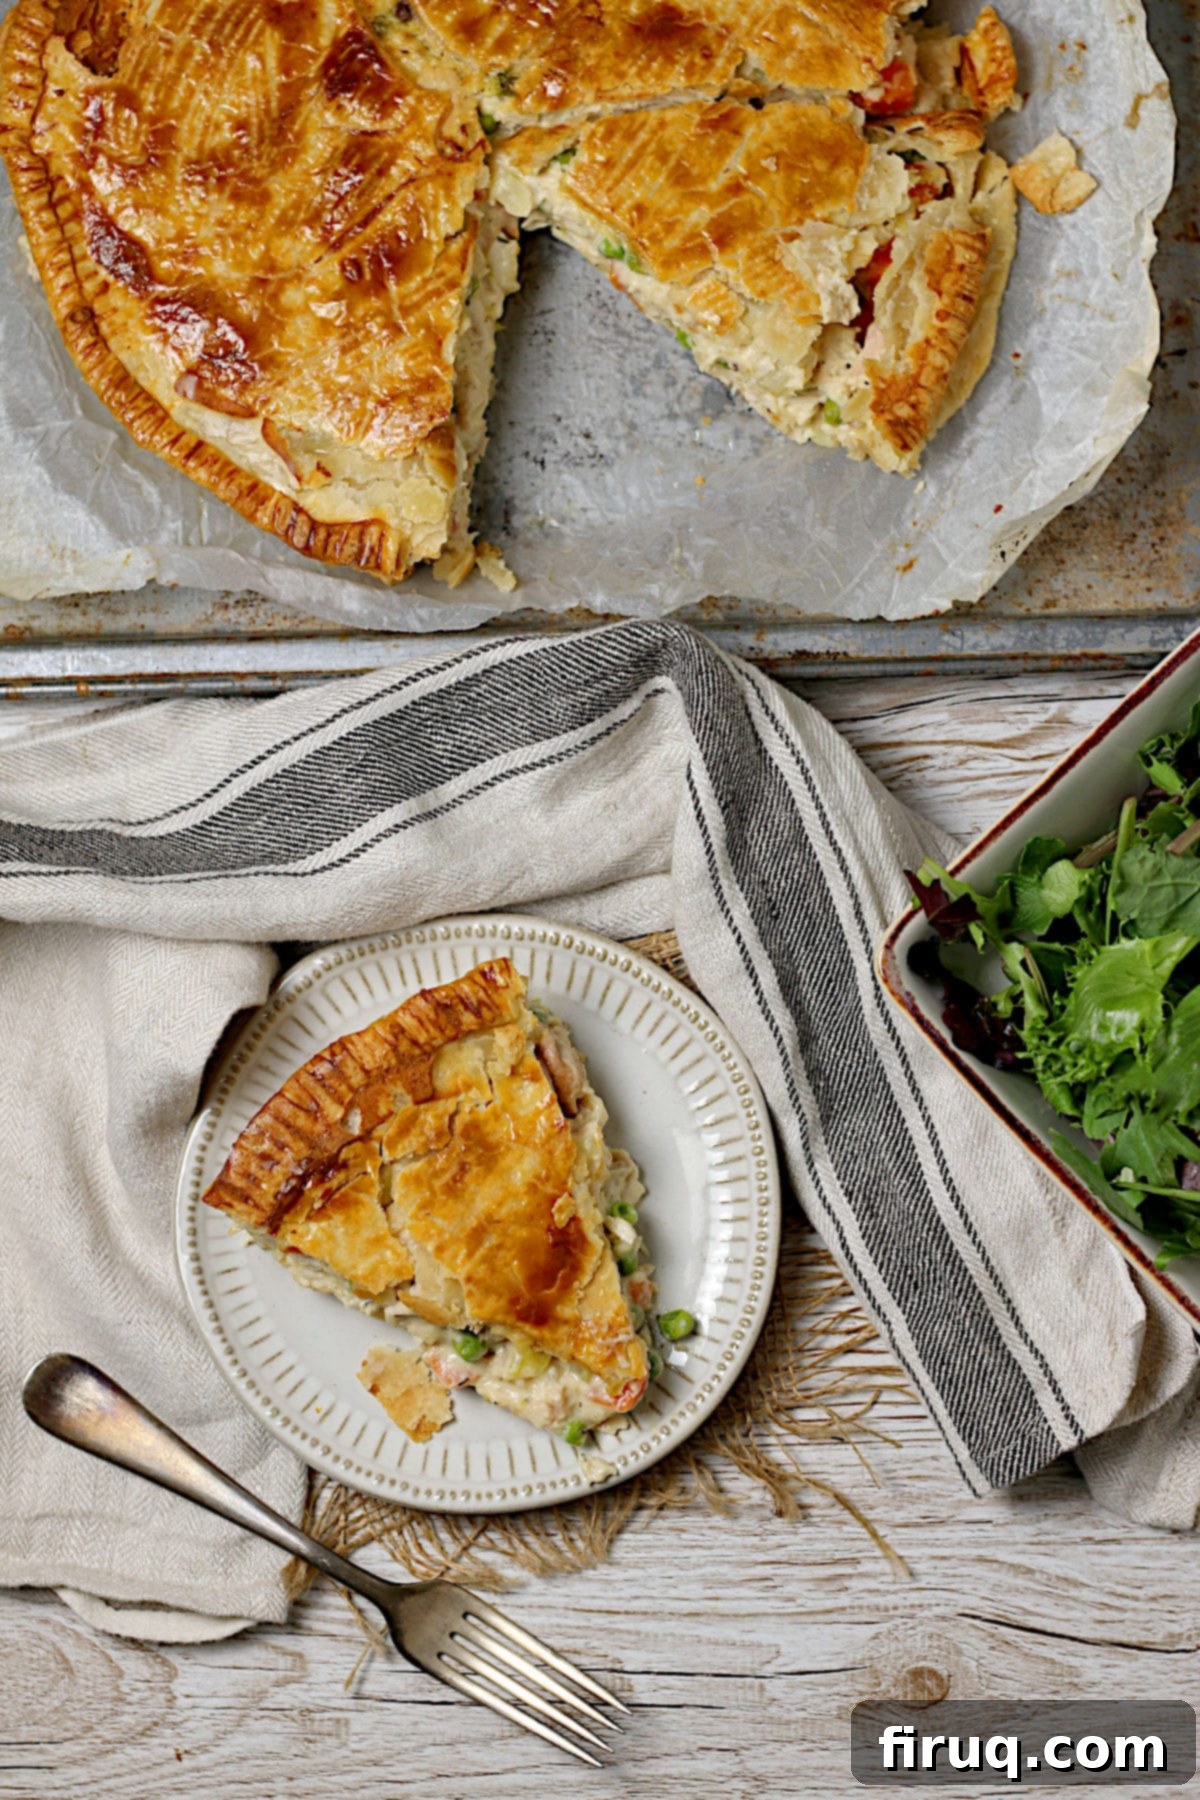
Want more leftover chicken recipes?
Maximizing the use of leftover cooked chicken is a fantastic way to streamline weeknight cooking and reduce food waste. If you’ve enjoyed the convenience of using pre-cooked chicken in this pot pie, you’ll love these other quick and delicious recipes designed to make the most of your leftovers:
Weeknight Chicken Pot Pie Nutrition Notes
The nutrition information provided in the recipe below is calculated for a 1/8th portion of the pie. Please note that if you choose to cut your pie into larger or smaller servings, the nutritional values per piece will vary accordingly. This information is intended as a guideline to help you understand the dietary components of this delicious dish.
Weeknight Chicken Pot Pie
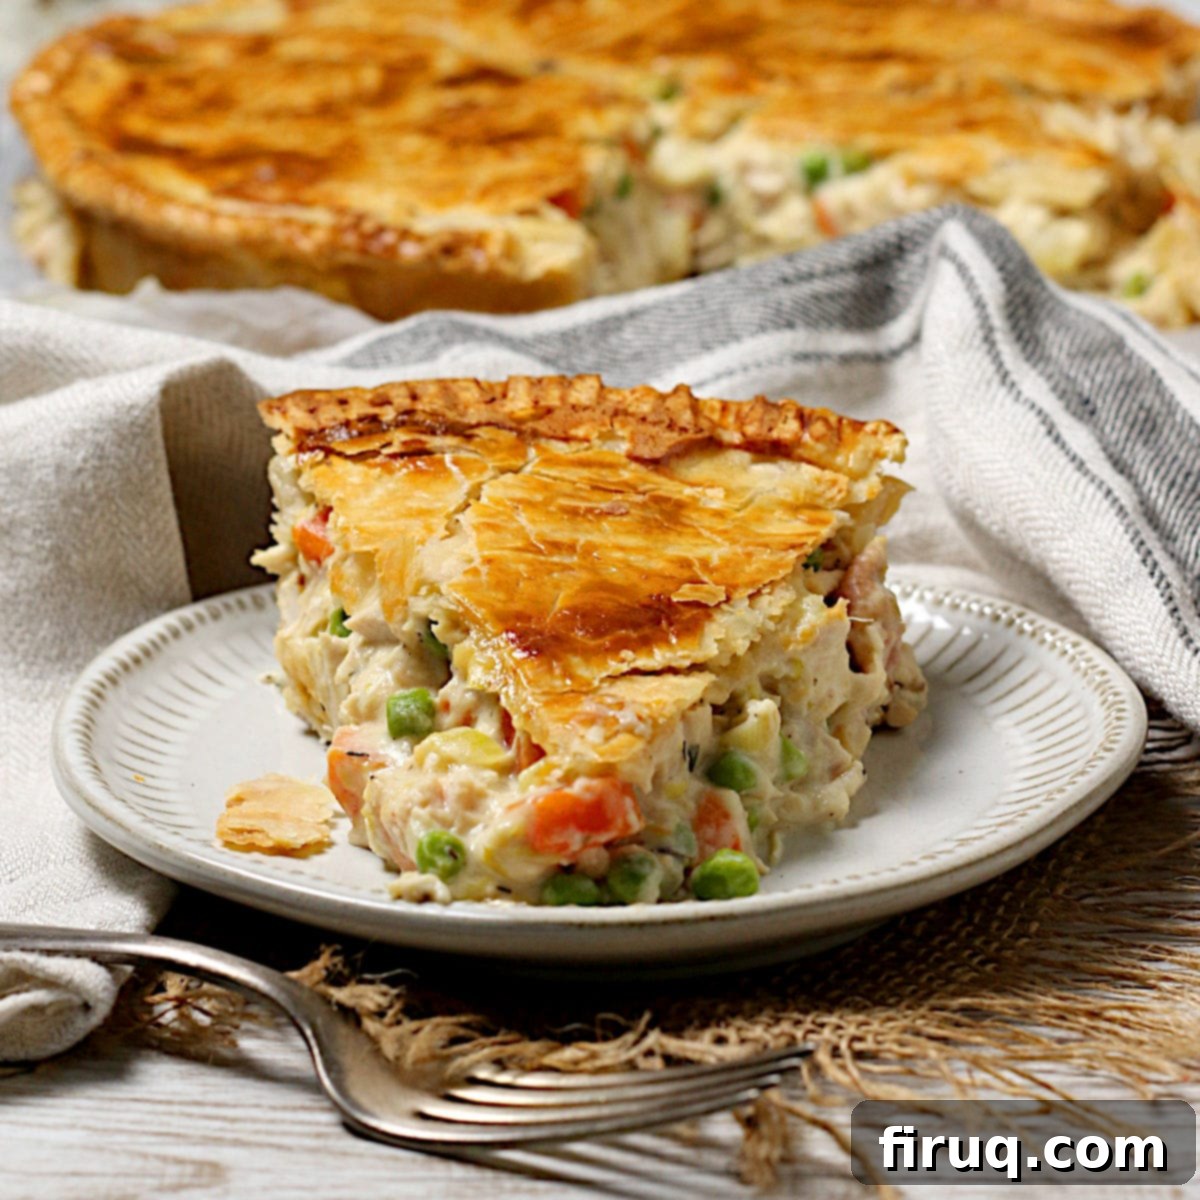
Print Recipe
Pin Recipe
Equipment
-
Large skillet or saute pan
-
9″ Pie Plate or you can use a 9″ cake pan
-
Pie shield optional, or use aluminum foil
-
Instant-Read Thermometer
Ingredients
- 2 Tablespoons canola oil or other neutral-flavored cooking oil, or melted butter
- 1 cup yellow onion (1 small onion)
- 1 cup peeled, diced carrots (2 medium or 3-4 small carrots)
- 1/2 cup diced celery (1 large stalk)
- 1/2 teaspoon kosher salt or MSG-salt
- 2 teaspoons Better than Bouillon Roasted Chicken Base
- 2 cloves garlic minced
- 1/2 teaspoon freshly ground black pepper
- 1/2 teaspoon dried thyme
- 2 Tablespoons all-purpose flour or use a gluten-free flour blend to make this recipe gluten-free
- 12 ounce can evaporated milk
- 1 cup water
- 1 pound leftover cooked chicken (eg. rotisserie chicken) cut into bite-sized pieces
- 1 cup frozen peas
- 1 egg
- 1 Tablespoon milk
- double pie crust storebought or homemade
Instructions
-
Heat 2 Tablespoons (30 ml) canola oil over medium heat in a large skillet or saute pan. Add 1 cup (160 g) yellow onion, 1 cup (128 g) peeled, diced carrots, 1/2 cup (51 g) diced celery, and 1/2 teaspoon kosher salt. Cover and cook for about 5 minutes. Remove the lid, stir, and continue to cook until the vegetables are beginning to soften, about 3-5 more minutes.
-
Stir in 2 teaspoons Better than Bouillon Roasted Chicken Base, 2 cloves garlic, 1/2 teaspoon freshly ground black pepper, and 1/2 teaspoon dried thyme and cook until fragrant, about one minute. Sprinkle 2 Tablespoons (42 g) all-purpose flour over the vegetables and stir until the flour is evenly coating all of the vegetables. Cook for 2 more minutes.
-
Very slowly (starting with about 2 Tablespoons at a time) add 1 cup water, scraping up any browned flour from the pan and making sure to stir in all of the liquid after each addition. Initially, the mixture will be very pasty and hard to stir, but keep adding small amounts of liquid and stirring, and it will start to loosen up and resemble gravy. Stir in the 12 ounce (340.2 g) can evaporated milk and bring to a simmer.
-
Stir in 1 pound leftover cooked chicken and cook until heated through, about 2-3 minutes. Remove the skillet from heat and stir in 1 cup frozen peas.
-
Move oven rack to middle position and heat oven to 425°F.
-
Roll out one of the pie crusts and lay it in a 9″ pie plate. Trim off any excess if needed. Spread the chicken mixture into the crust in the pie plate. Roll out the second pie crust and place it on top of the filling. Crimp the edges of the two crusts together (I find the easiest way is to gently press the edges with the tines of a fork all the way around the crust).
-
Whisk together the egg with 1 Tablespoon of milk. Brush a little of this mixture all over the top and edges of the crust (make sure not to use so much that it forms pools). Save the rest of the egg for baking or making scrambled eggs, if desired. Cut a few slits in the top crust to make steam vents.
-
Place a pie shield over the edges of the crust (if you don’t have one, you can use aluminum foil – see notes). Place the pie plate on a baking sheet and bake for 30-35 minutes, until the crust is golden brown and the filling measures 165°F. Keep an eye on the pie while it cooks. If you find that the top of the crust is browning too quickly, cover the whole pie with a sheet of foil. Note that if your pie plate is glass, you might have to add 5-10 minutes on to the cooking time.
-
Remove the pie from the oven and let cool for at least 10 minutes before cutting.
Nutrition
Notes
Make Ahead Instructions:
To prep your chicken pot pie ahead of time, prepare the filling to the end of step 4. Transfer the filling to the fridge and keep it there for up to two days in an airtight container.
When you’re ready to bake, resume the recipe at step 5 and complete it. The pie will need to cook for an extra 5-10 minutes because the filling will be cold when you start baking.
You could also prepare two pies at once, and freeze one for later. Don’t thaw the pie before cooking, but cook it at a lower temperature for longer to ensure that the filling heats without the crust burning. Cook at 375° for 60 minutes. Check the temperature with an instant-read thermometer. The middle of the filling should read 165°F.
Tried this recipe?
Please Consider Leaving a Review!
