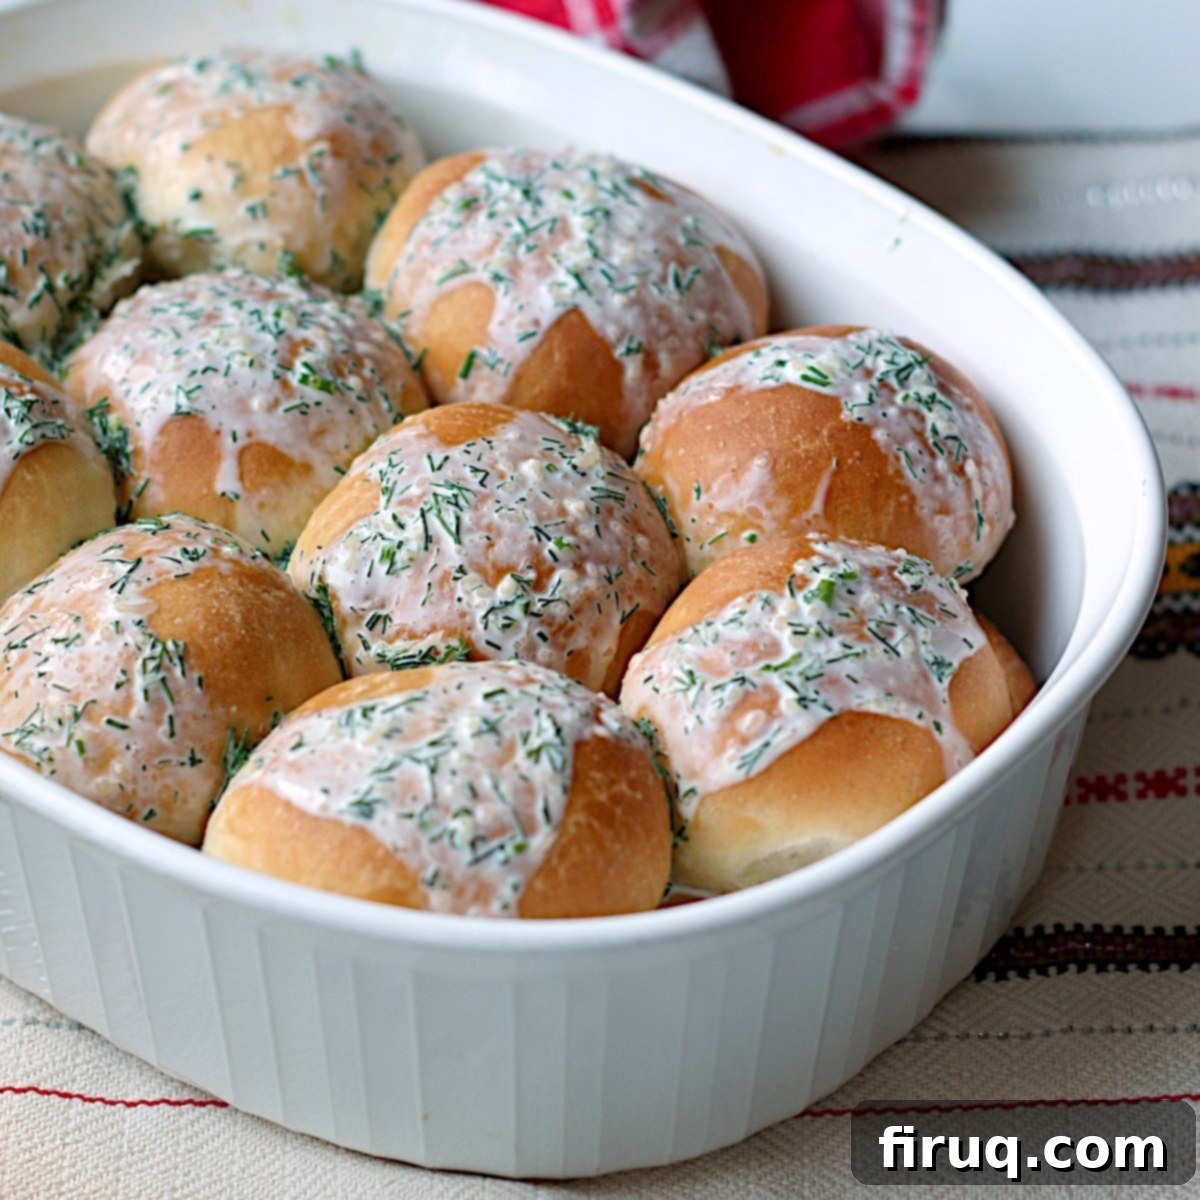
Authentic Ukrainian Perishke Recipe: Fluffy Cottage Cheese & Dill Buns
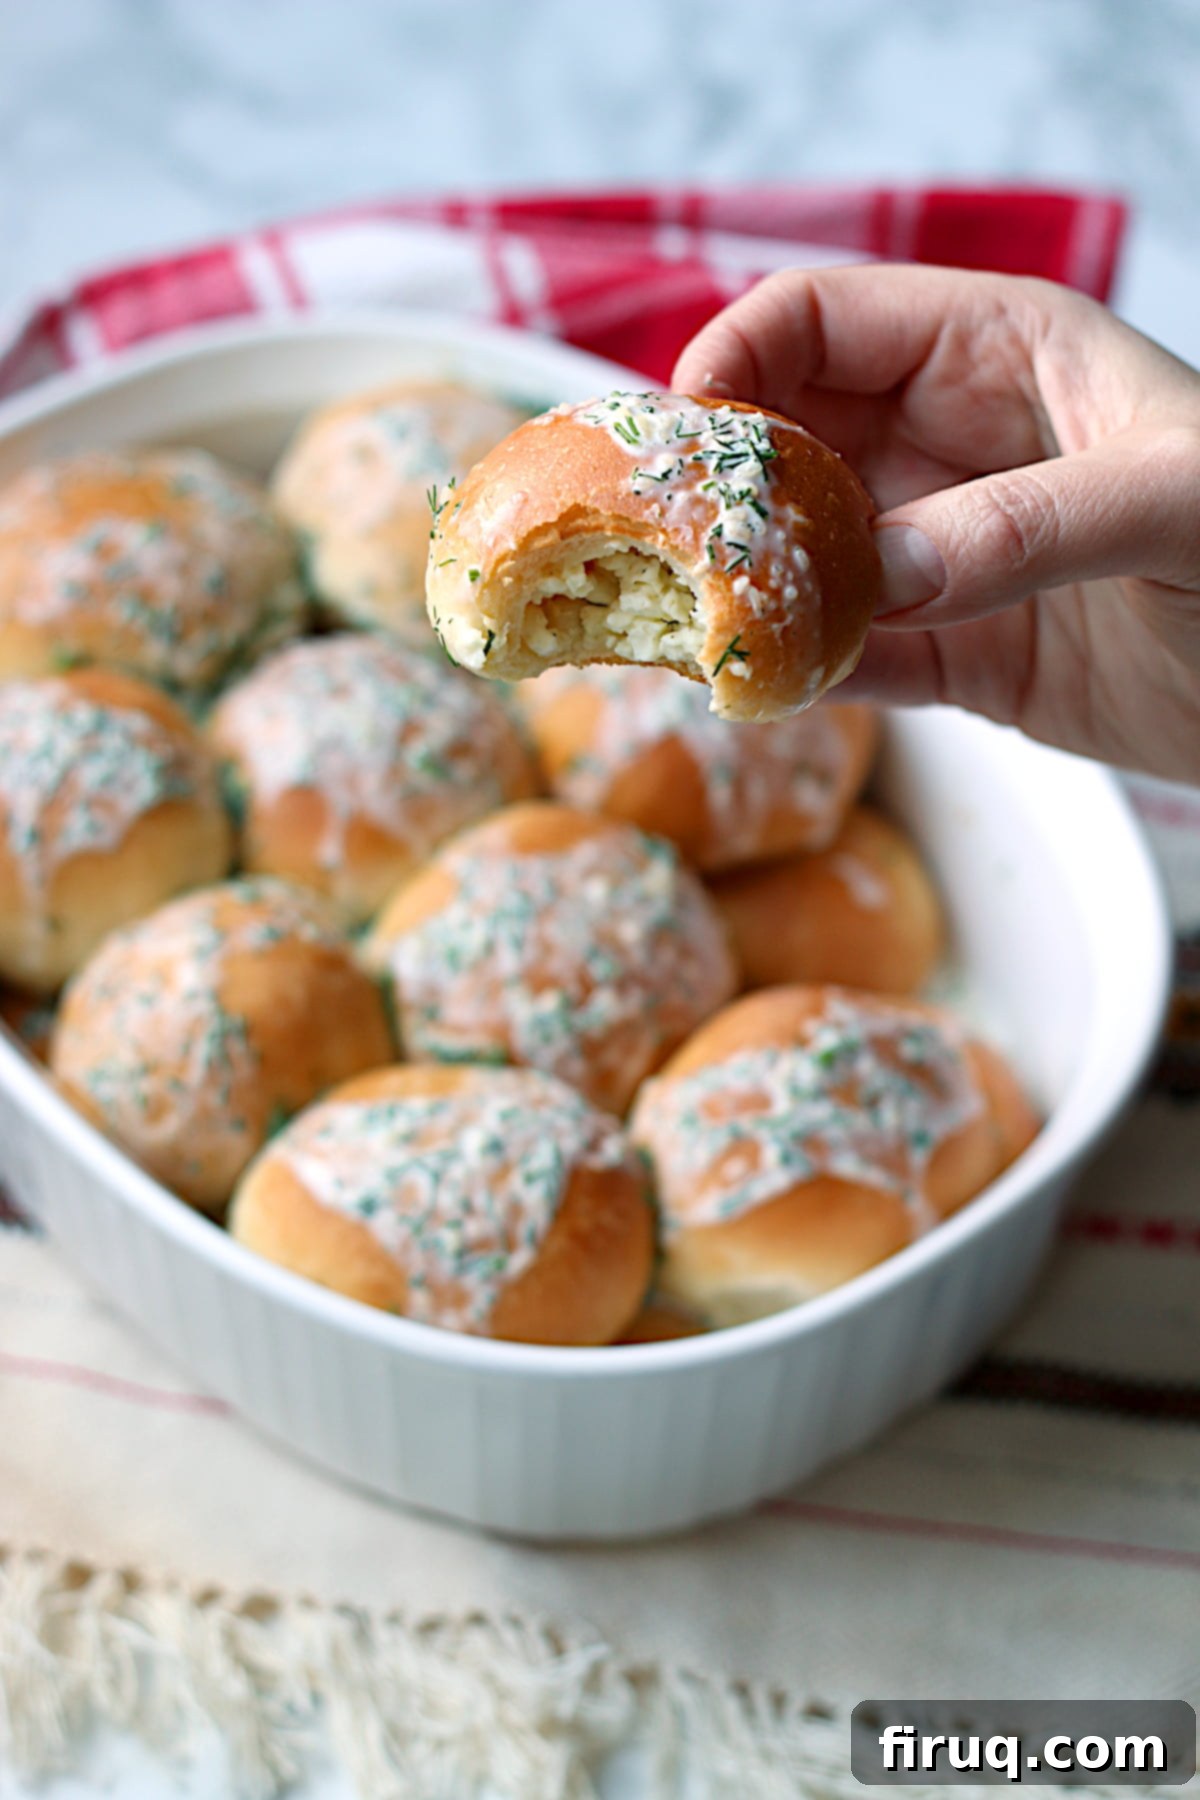
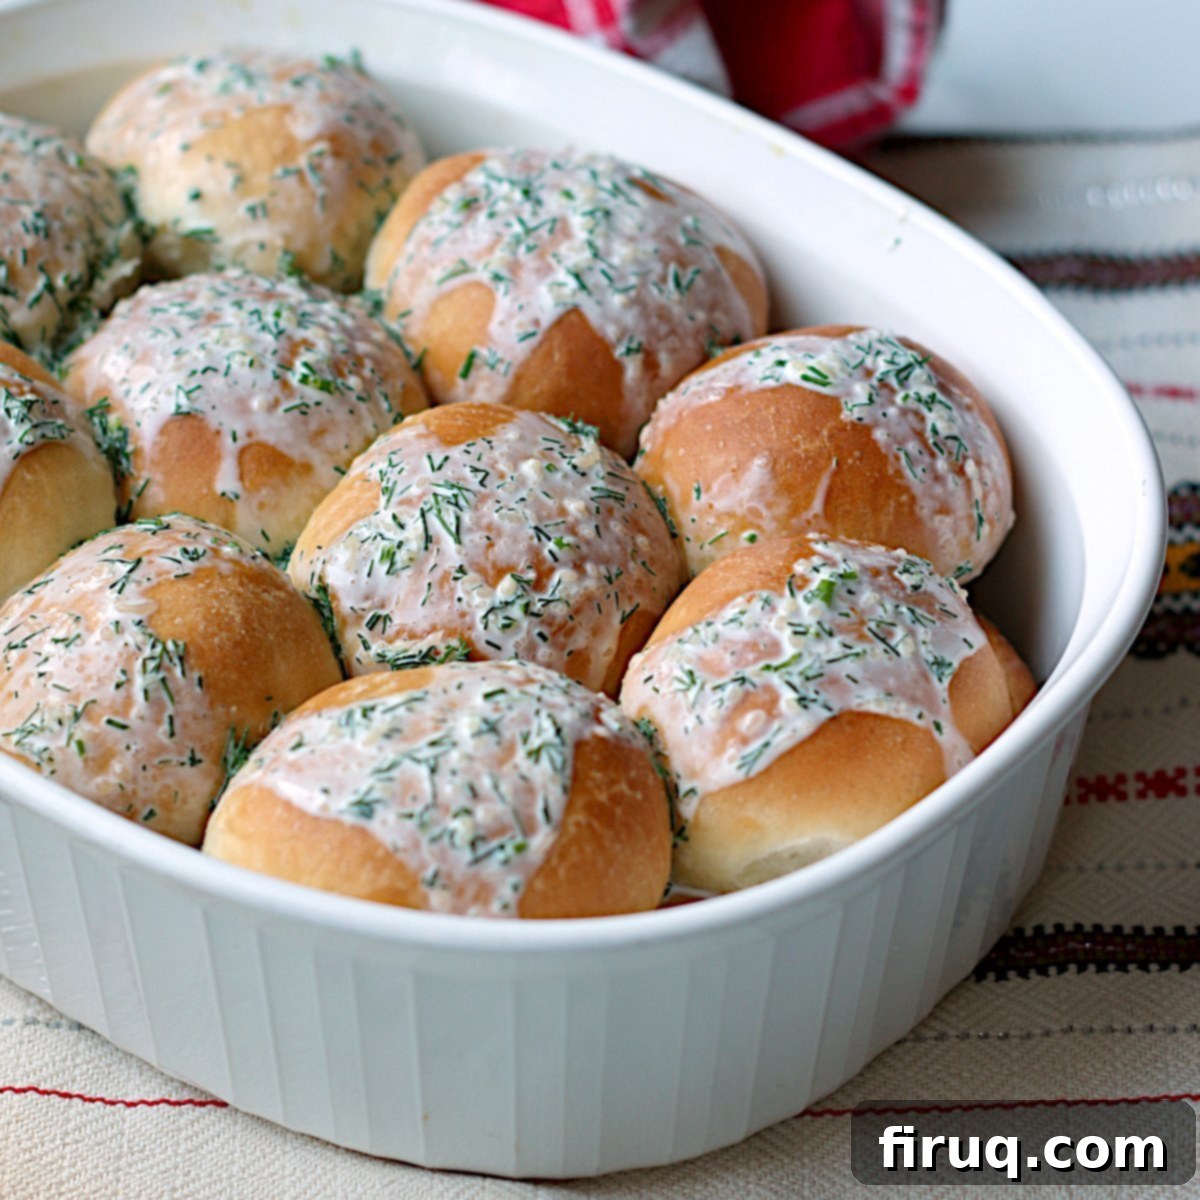
Welcome to a culinary journey back to my childhood, a place where warm, savory aromas often filled the air, especially during festive seasons. Today, I’m thrilled to share a cherished Ukrainian recipe that holds a special place in my heart: Perishke. These delightful Ukrainian filled buns, featuring a rich cottage cheese and fragrant dill filling, are traditionally served with a luscious dill cream sauce, creating a truly unforgettable experience that’s both comforting and incredibly flavorful.
For as long as I can remember, my Grandma would lovingly prepare Perishke for Christmas, Easter, and other significant family gatherings. Her kitchen, bustling with activity and filled with the scent of fresh baking, was the heart of our holiday celebrations, and these buns were always a highlight, eagerly anticipated by everyone. Among the array of traditional Ukrainian dishes she mastered, Perishke quickly became one of my absolute favorites – a true taste of home and a bite of pure comfort.
Years later, driven by a desire to preserve these precious culinary traditions and recreate that nostalgic flavor, I embarked on the quest to make Grandma’s Perishke myself. This endeavor, much like my earlier adventure in perfecting Nalysnyky (Ukrainian Crepes), proved to be a delightful challenge. It involved a bit of culinary detective work: reaching out to my Aunt to unearth Grandma’s original, handwritten recipe (which, true to form, was more a sparse list of ingredients than detailed instructions!), cross-referencing with various online recipes, and a follow-up call to my Aunt for those crucial, missing steps and tips.
The journey was worth every moment. The end result was incredibly satisfying, capturing the authentic flavor and heartwarming essence I remembered from Grandma’s kitchen. While my handmade buns might have turned out a touch larger than hers, I found this actually made the process slightly less labor-intensive, a small but welcome efficiency! The taste was precisely as I recalled, evoking a powerful sense of nostalgia. I wholeheartedly recommend making these Perishke for your own special occasions, or whenever you crave a truly comforting and flavorful homemade treat that transports you to simpler times.
Crafting Your Homemade Perishke: A Step-by-Step Guide
Embracing the tradition of many beloved Ukrainian dishes, making Perishke is a delightful project that rewards patience with incredible flavor. While it requires a few stages, each step is straightforward and incredibly satisfying. Let’s break down the process, starting with the heart of any good bun: the dough.
The Perfect Perishke Dough: Enriched and Flavorful
The foundation of these exquisite buns is an enriched dough. This means it’s made with all-purpose flour but boasts the added richness of eggs, sugar, and oil, which contribute to its tender crumb and subtle sweetness. This enriched quality is what gives Perishke their characteristic soft, fluffy texture, making them irresistibly light yet satisfying. The yeast works its magic, creating air pockets that expand during baking, resulting in that wonderfully airy interior.
For convenience, a stand mixer fitted with a dough hook is an excellent tool for achieving a perfectly kneaded dough with minimal effort. It consistently mixes and kneads the dough to the ideal elasticity, usually in about 10-15 minutes. However, don’t be deterred if you don’t own one. You can absolutely achieve wonderful results by using a food processor (using the dough blade for quick mixing) or, more traditionally and therapeutically, by kneading the dough by hand on a lightly floured surface. Manual kneading allows you to truly connect with the dough, feeling its transformation from a sticky mass to a smooth, elastic ball. Once mixed and kneaded, the dough needs time to develop its flavor and rise, typically at least an hour, until it doubles in volume in a warm, draft-free place.
The Savory Cottage Cheese and Dill Filling: A Classic Combination
While your dough is undergoing its first magical rise, you can prepare the aromatic and savory filling. This mixture is wonderfully simple, yet bursting with fresh, clean flavors. It primarily combines dry curd cottage cheese, which offers a firmer, less watery texture ideal for baking, with a touch of heavy cream for moisture and richness. The star of the show here is vibrant fresh dill; its distinctive herbaceous note is what truly defines the flavor profile of traditional Perishke, perfectly complementing the creamy cheese. Seasoning with salt and freshly ground black pepper enhances all these natural flavors, creating a harmonious blend that is utterly delicious on its own.
Shaping and Second Rise: Crafting Each Individual Bun
Once your dough has majestically doubled in size, gently “punch it down” to release the accumulated air. This step helps create a finer, more even crumb. Now, you’re ready to begin the art of shaping each Perishke. The goal is to create uniformly sized buns, each perfectly encasing its savory filling. A kitchen scale is your best friend here: measure out 1-ounce (about 28g) pieces of dough. Work with one piece of dough at a time, ensuring the remaining dough stays covered to prevent drying out.
Roll each dough piece into a smooth ball, then use a rolling pin to flatten and stretch it into a roughly 3-inch round. The dough will be slightly sticky, so work on a lightly floured surface and keep a little extra flour nearby for dusting your hands or the rolling pin as needed. Next, hold the dough round in the palm of your hand and carefully place about 2 teaspoons of the cottage cheese and dill filling in the center with your other hand. Then, bring the edges of the dough together over the filling, pinching them firmly and completely to seal the bun. This seal is crucial to prevent any delicious filling from escaping during baking. Place each filled dough ball, seam-side down, onto a baking sheet that has been lined with either a silicone baking mat or parchment paper. Remember to gently cover the shaped buns with a clean towel while you continue working, allowing them to begin their second rise.
This second rise, often called “proofing,” is essential for light and airy Perishke. It typically takes about 10-15 minutes after you’ve placed the last bun on the baking sheet, giving the yeast a final burst of activity before baking.
Baking and Serving Your Delicious Perishke with Dill Cream Sauce
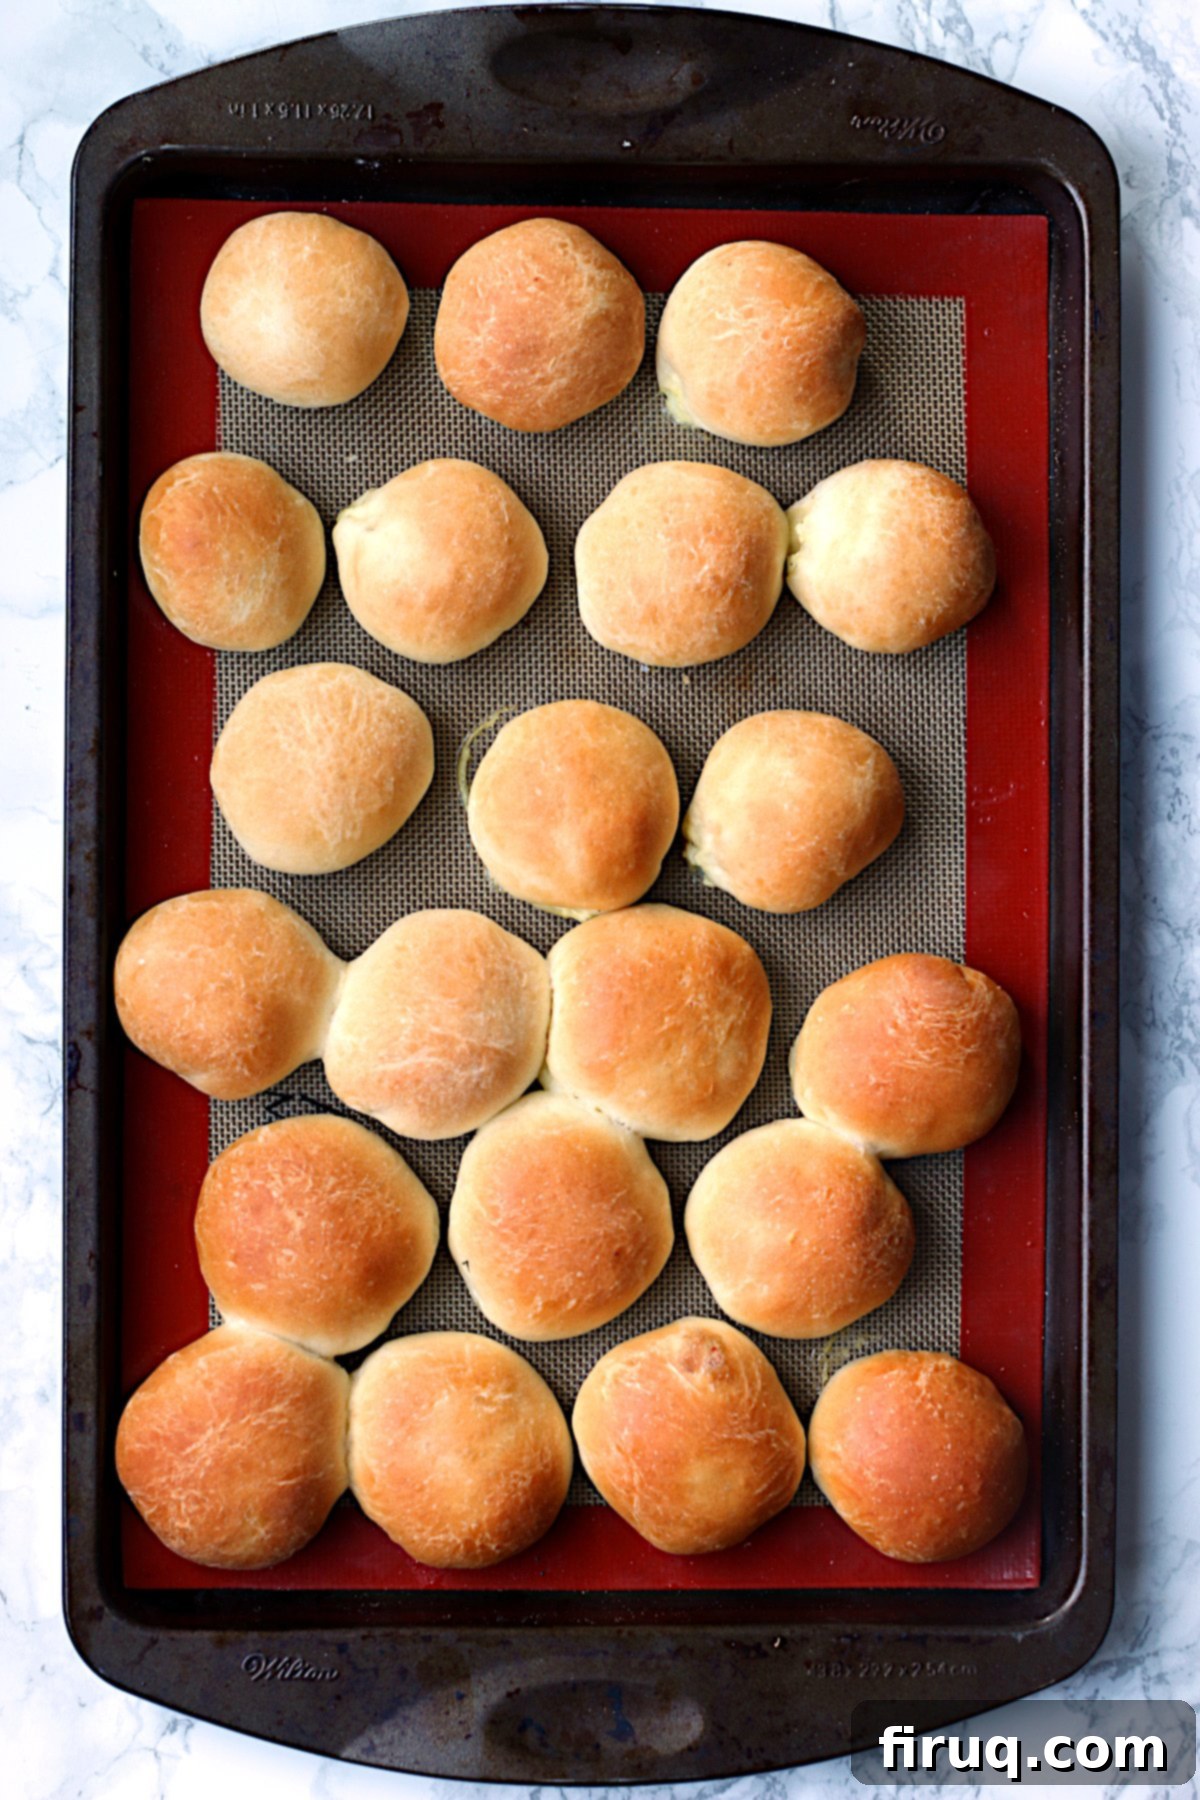
As the Perishke near the end of their second rise, preheat your oven to 350°F (175°C). Just before baking, very gently and very lightly brush the tops of the buns with a small amount of melted butter. This butter wash not only adds a beautiful golden-brown color to the crust but also contributes to the rich flavor and keeps the buns wonderfully soft. Bake them until they are beautifully golden brown, usually around 25 minutes, remembering to turn the baking sheets halfway through for even cooking. Due to the time-consuming nature of shaping each bun, you might find it more practical to bake the sheets one at a time, ensuring that each batch is perfectly risen and baked without some over-proofing while others are still being shaped.
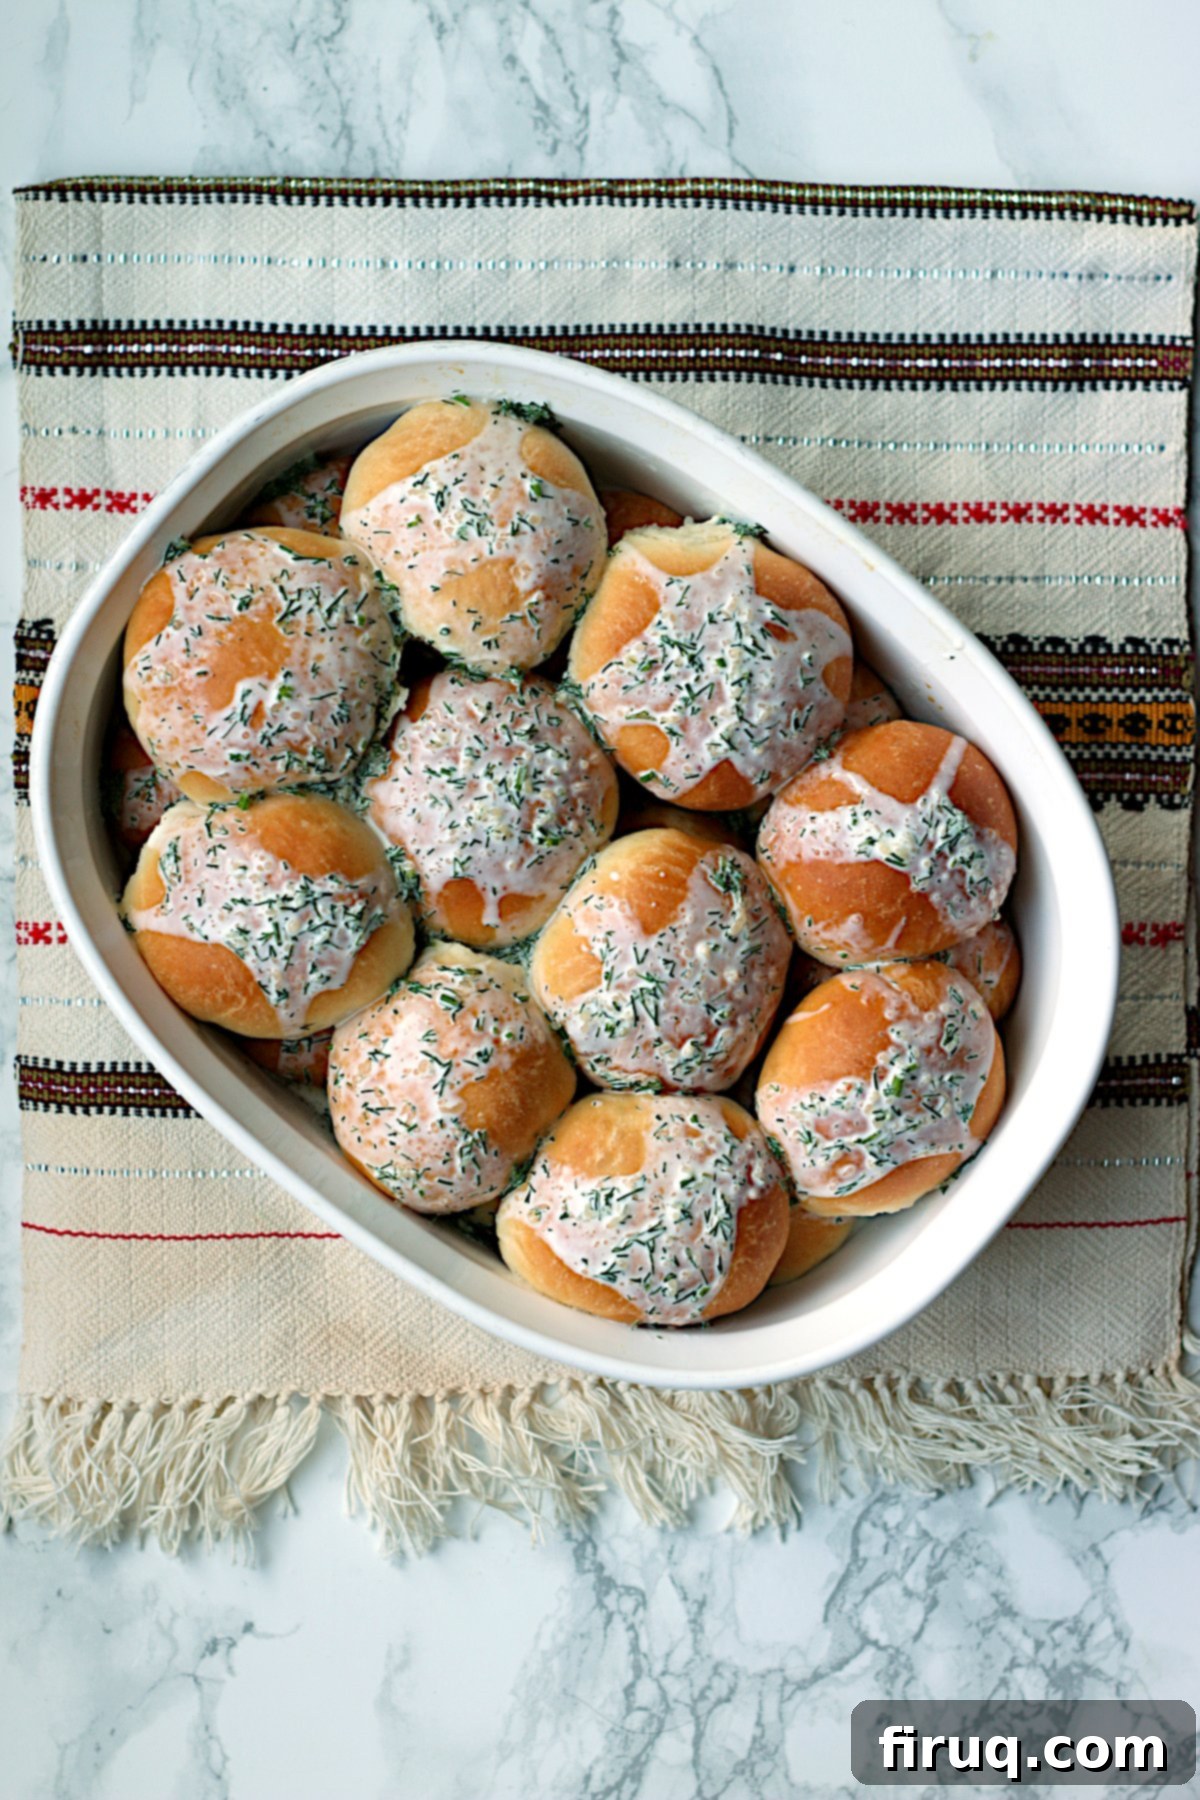
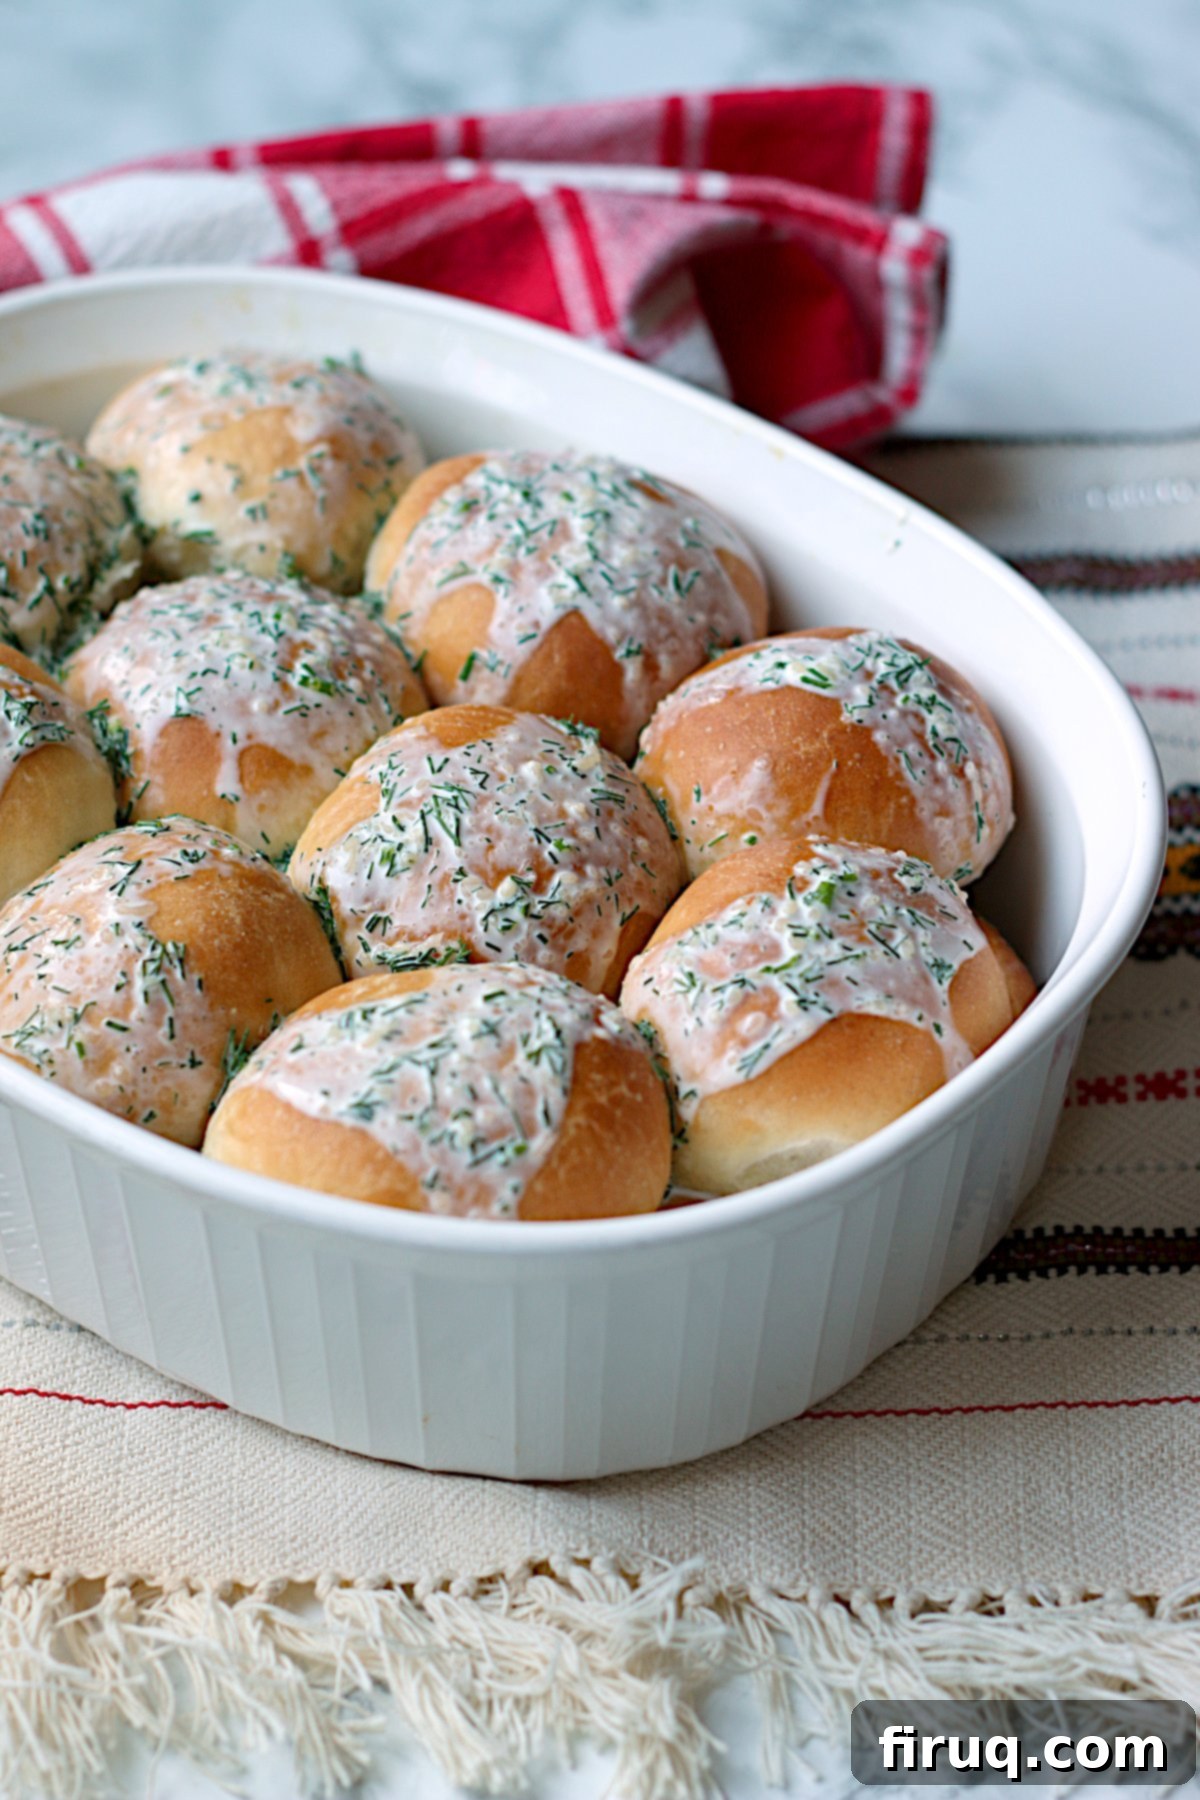
The magic isn’t truly complete without the accompanying dill cream sauce. This simple yet elegant sauce perfectly complements the savory buns. While the buns are still warm, you have two options for serving: you can serve them immediately by stirring together the heavy cream (or half-and-half), fresh dill, salt, and pepper, heating it briefly in the microwave, and then generously pouring the warm dill cream sauce over the Perishke, allowing the sauce to seep into the soft buns. Alternatively, you can cool the baked Perishke to room temperature, transfer them to an airtight container or zipper bag, and store them in the fridge to reheat later. When reheating, make the dill cream sauce fresh and add it just before serving. Either way, the combination of the warm, savory bun and the cool, tangy dill sauce is a match made in culinary heaven.
Key Ingredients for Authentic Perishke
Achieving the authentic taste and texture of Ukrainian Perishke relies on a few key ingredients, each playing a vital role. Here’s a closer look at what you’ll need and some helpful tips:
- All-purpose flour: The base for our fluffy dough. Ensure you have extra on hand for dusting your work surface.
- Granulated sugar: Adds a touch of sweetness to the enriched dough and helps activate the yeast.
- Instant yeast: Essential for the dough’s rise, giving the buns their light and airy texture. Ensure your yeast is fresh for best results.
- Table salt: Balances flavors in both the dough and the filling.
- Warm water: Used to activate the yeast in the dough. It should be warm to the touch, not hot (which can kill the yeast) or cold (which slows activation).
- Canola oil or other neutral-flavored cooking oil: Adds moisture and richness to the dough, contributing to its tender crumb.
- Large eggs: Another key component of the enriched dough, adding flavor, color, and structure.
- Dry curd cottage cheese: This is the traditional choice for Perishke filling due to its firm texture and lower moisture content. It won’t make your buns soggy. Depending on where you live, this is sometimes available in tubs by the regular cottage cheese. It might also be available as a pressed block in the cheese aisle. If you can’t find it, don’t worry, there are excellent substitution ideas below.
- Heavy cream: Used in both the filling and the dill cream sauce, providing richness and a smooth texture. You could replace this with sour cream or plain Greek yogurt (in the filling but not in the cream sauce), or 18% table cream, or 10% half-and-half for a slightly lighter option.
- Fresh dill: Absolutely crucial for the authentic flavor of Perishke. Do not substitute with dried dill if possible; fresh dill’s vibrant aroma is irreplaceable.
- Freshly ground black pepper: Adds a subtle spice and depth to the savory filling and sauce.
- Butter (either salted or unsalted will work): Used for brushing the buns before baking, adding to their golden color and delicious crust.
What if I can’t find Dry Curd Cottage Cheese?
Dry curd cottage cheese can sometimes be tricky to locate, depending on your region. If it’s not available, you have a few excellent alternatives:
- Farmer’s Cheese: This is the closest substitute, offering a similar firm, crumbly texture. Simply crumble it up well with a fork or your hands and proceed with the recipe as directed. Its mild flavor is also very similar.
- Regular Cottage Cheese (drained and rinsed): If neither dry curd nor farmer’s cheese is available, you can still make delicious Perishke using regular cottage cheese. The key is to remove as much moisture as possible. Place the regular cottage cheese in a fine mesh strainer (you might need to do this in two batches, depending on the size of your strainer – avoid overfilling it). Rinse it thoroughly under cold water to wash away the creamy portion, leaving just the curds. Allow the curds to drain for at least 30 minutes, or even an hour, pressing gently with a spoon to encourage water release. You want them as dry as possible before mixing with the other filling ingredients. Then, proceed with the recipe, crumbling the curds as needed.
Both these methods will yield a fantastic filling that maintains the spirit of traditional Perishke.
Tips for Perfect Perishke Every Time
- Don’t Rush the Rise: Yeast dough requires patience. Ensure your dough fully doubles in size during both the first and second rises. A warm, draft-free environment is key.
- Master the Seal: When filling the buns, make sure to firmly pinch the edges of the dough together. A tight seal prevents the filling from leaking out during baking, which can make the buns tough or dry.
- Lightly Flour Your Surface: The dough is meant to be soft and slightly sticky. Use just enough flour on your work surface and hands to prevent sticking, but avoid adding too much, as this can make the buns tough.
- Uniformity is Key: Using a kitchen scale to portion your dough ensures all your Perishke bake evenly and look consistent.
- Fresh Dill is Best: For the most authentic and vibrant flavor, always opt for fresh dill. Dried dill simply won’t achieve the same aromatic impact.
- Pre-bake Prep: Line your baking sheets with parchment paper or silicone baking mats for easy release and cleanup.
Storage and Reheating Perishke
Perishke are best enjoyed fresh and warm, but they can be stored and reheated:
- At Room Temperature: Baked Perishke can be kept in an airtight container for up to 24 hours.
- In the Refrigerator: Store cooled Perishke in a large zipper bag or airtight container in the fridge for up to 3-4 days. When ready to serve, reheat them in a 325°F (160°C) oven, covered, until warm, then pour the freshly made hot dill cream sauce over them.
- Freezing: Perishke freeze beautifully! Once completely cooled, transfer them to a freezer-safe bag or container, separating layers with parchment paper to prevent sticking. They can be frozen for up to 2-3 months. To reheat from frozen, thaw overnight in the refrigerator, then warm in a 325°F (160°C) oven as described above. Prepare fresh dill cream sauce.
Want more Ukrainian recipes?
Perishke Nutrition Notes:
The nutrition information provided in the recipe below is calculated for one Perishke bun, assuming the recipe yields 32 buns as written. It’s a useful guide for those monitoring their dietary intake.
If you’re looking to adjust the nutritional profile, replacing the heavy cream in the filling and/or sauce with a lower-fat cream alternative, sour cream, or plain Greek yogurt will slightly reduce the total calories, total fat, and saturated fat content per serving, while still maintaining much of the desired texture and flavor. Always check the labels of your chosen substitutes for precise nutritional values.
Perishke (Ukrainian Buns with Cottage Cheese and Dill)
Print Recipe
Pin Recipe
Equipment
-
Stand Mixer or food processor (optional)
-
Baking sheet
-
Silicone baking mat or parchment paper
Ingredients
- 3 1/2 cups all-purpose flour plus more as needed
- 1/4 cup granulated sugar
- 2 1/4 teaspoons instant yeast
- 1/2 teaspoon table salt
- 1 cup warm water
- 1/4 cup canola oil or other neutral-flavored cooking oil
- 2 large eggs
- 1 cup dry curd cottage cheese
- 1 Tablespoon heavy cream (or replace with sour cream or Greek yogurt)
- 1-2 teaspoons minced fresh dill
- 1/2 teaspoon table salt
- 1/4 teaspoon freshly ground black pepper
- 1 Tablespoon butter melted
- 1/2 cup heavy cream or half-and-half cream
- 1 Tablespoon minced fresh dill
- 1/4 teaspoon table salt
- 1/4 teaspoon freshly ground black pepper
- leftover butter from brushing buns
Instructions
-
In the bowl of a stand mixer, whisk together 3 1/2 cups (420 g) all-purpose flour, 2 1/4 teaspoons (7 g) instant yeast, 2 1/4 teaspoons (7 g) instant yeast, and 1/2 teaspoon (3 g) table salt. In a small bowl or large measuring cup, whisk together 1 cup warm water, 1/4 cup canola oil, and 2 large eggs. Pour the egg mixture into the flour mixture, and lightly stir.
-
Set the bowl into the stand mixer fitted with a dough hook. Turn the mixer on low speed, and mix until all of the flour is incorporated, about 5 minutes, turning off the mixer to scrape down the sides periodically. If the dough is still sticking to the sides of the bowl after all of the flour has been mixed in, add up to 1/2 cup more flour 1 Tablespoon at a time, making sure that all of the previous flour has been incorporated before adding more. Continue mixing until the dough pulls away from the sides of the mixer, but sticks to the bottom, about 5-10 more minutes.
-
Turn the dough onto a lightly floured surface, and gently knead 5-10 times until it forms a ball. Place the ball into an oiled bowl. Cover with plastic (or a lid) and let rise for 1-1 1/2 hours until the dough is doubled in size.
-
While the dough is rising, mix up the filling. Stir together 1 cup dry curd cottage cheese, 1 Tablespoon heavy cream , 1-2 teaspoons minced fresh dill, 1/2 teaspoon table salt, and 1/4 teaspoon freshly ground black pepper in a medium bowl. Set aside in the fridge until ready to use.

-
Prepare two baking sheets by lining them with parchment paper or silicone baking mats. Set aside. Turn on the oven to 350°F
-
Using a kitchen scale, measure out 1 ounce (28g) of dough. Work with one piece of dough at a time, keeping the remaining dough covered. Roll the dough into a ball, then use a rolling pin to roll and stretch the dough into a roughly 3″ round. Note that the dough will be sticky, and it’s helpful to work on a lightly floured surface, keeping additional flour on hand as needed.
-
Holding the dough in the palm of your hand, carefully place about 2 teaspoons of the cottage cheese filling in the center with the other hand. Put the spoon down, and carefully pull the edges of the dough around the filling, pinching to seal it completely. Place the filled dough ball on one of the prepared baking sheets, seam side down. Cover gently with a clean towel while you continue.

-
Repeat the above two steps with the remaining dough. Allow the buns to rise a little longer on the baking sheet (up to about 10-15 minutes after you’ve added the last bun to the baking sheet. When you’re ready to bake the buns, very gently and very lightly brush the tops with melted butter.

-
Bake the buns until the tops are golden brown, about 25 minutes, turning the sheets halfway through baking. Note that I find it easier to bake the sheets one at a time, since it takes so long to form and stuff the buns, that the first ones you make are already risen and ready to bake well before the last ones.
-
To serve immediately: Stir together 1/2 cup heavy cream, 1 Tablespoon minced fresh dill, 1/4 teaspoon table salt, 1/4 teaspoon freshly ground black pepper, and any leftover melted butter you have from brushing the buns before baking. Heat the mixture in the microwave until hot, about 30-60 seconds. Transfer the buns to a serving platter or bowl, and pour the hot cream sauce over them. Serve immediately.
-
To serve later: Let the buns cool to room temperature then transfer to a large zipper bag and store in the fridge. When you want to serve them, heat the oven to 325°F. Transfer the buns to a large casserole dish or a 9×13″ baking dish (separate the buns into two smaller dishes if needed). Whisk together 1/2 cup heavy cream, 1 Tablespoon minced fresh dill, 1/4 teaspoon table salt, and 1/4 teaspoon freshly ground black pepper to make the dill cream sauce. Pour the sauce over the buns (there is no need to heat it this time). Cover the dish with a lid or with aluminum foil, and bake for 20-30 minutes until hot. Serve immediately.
Nutrition
Tried this recipe?
Please Consider Leaving a Review!
