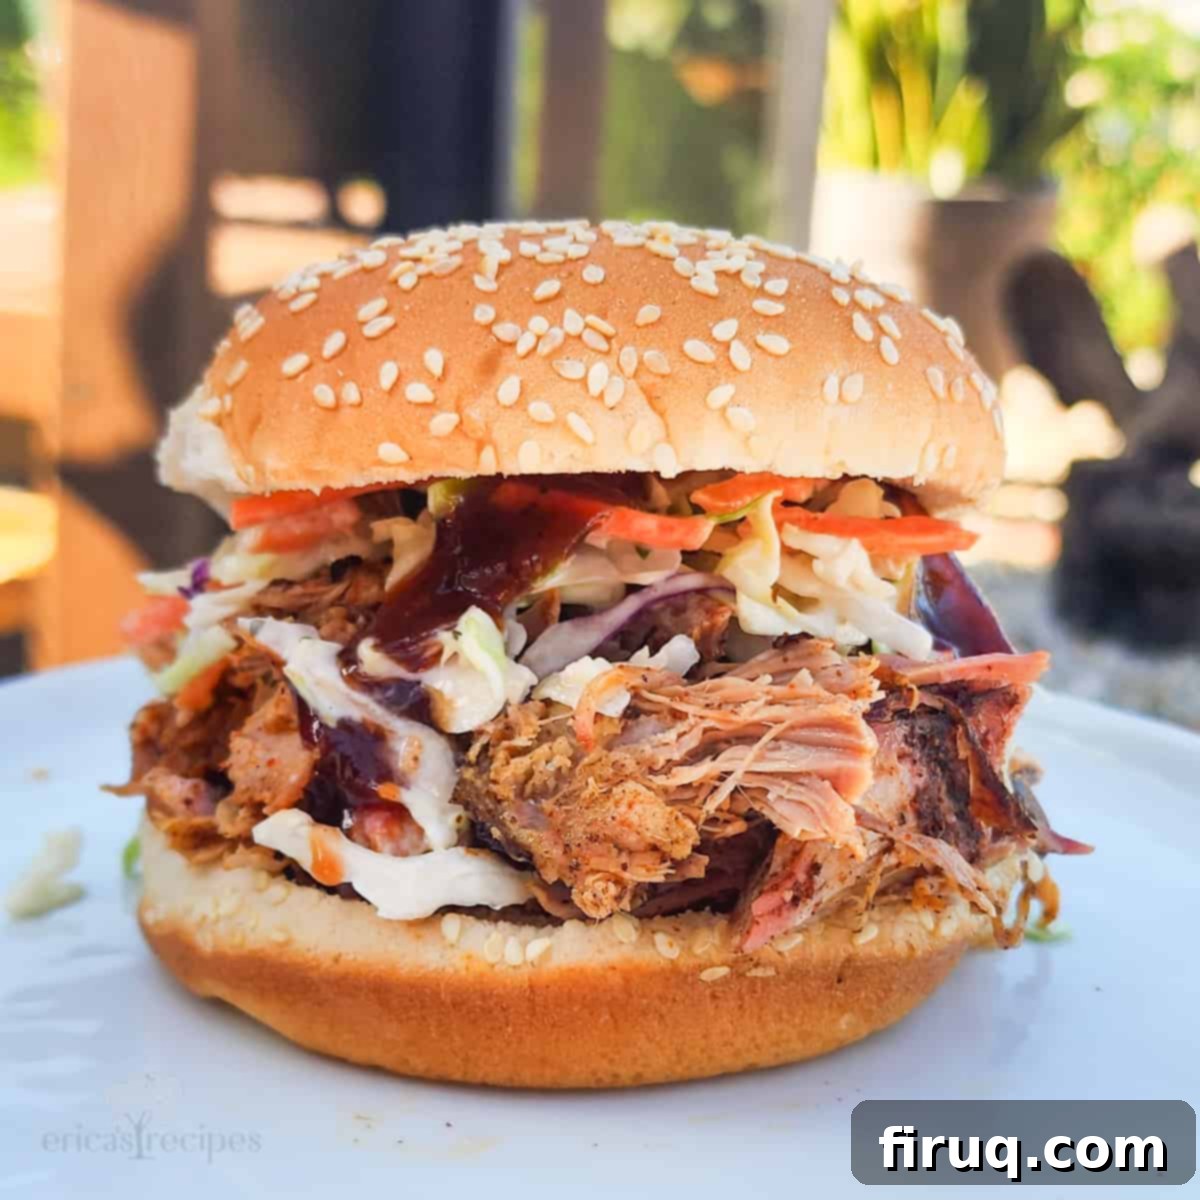
The Ultimate Guide to Smoking Juicy Pulled Pork on Your Big Green Egg
Embark on a culinary journey to master the art of smoked pulled pork, slow-cooked to perfection in your Big Green Egg. This comprehensive guide will transform you into a BBQ guru, providing the precise combination of preparation, smoking techniques, cooking methods, and finishing touches required for incredibly juicy, fall-apart tender pulled pork. We’ll meticulously cover every step: from selecting and prepping your pork to understanding the nuances of the Big Green Egg, along with expert tips to make your slow-smoking experience as effortless and rewarding as possible.
This website uses affiliate links. See our Privacy Policy for more information.
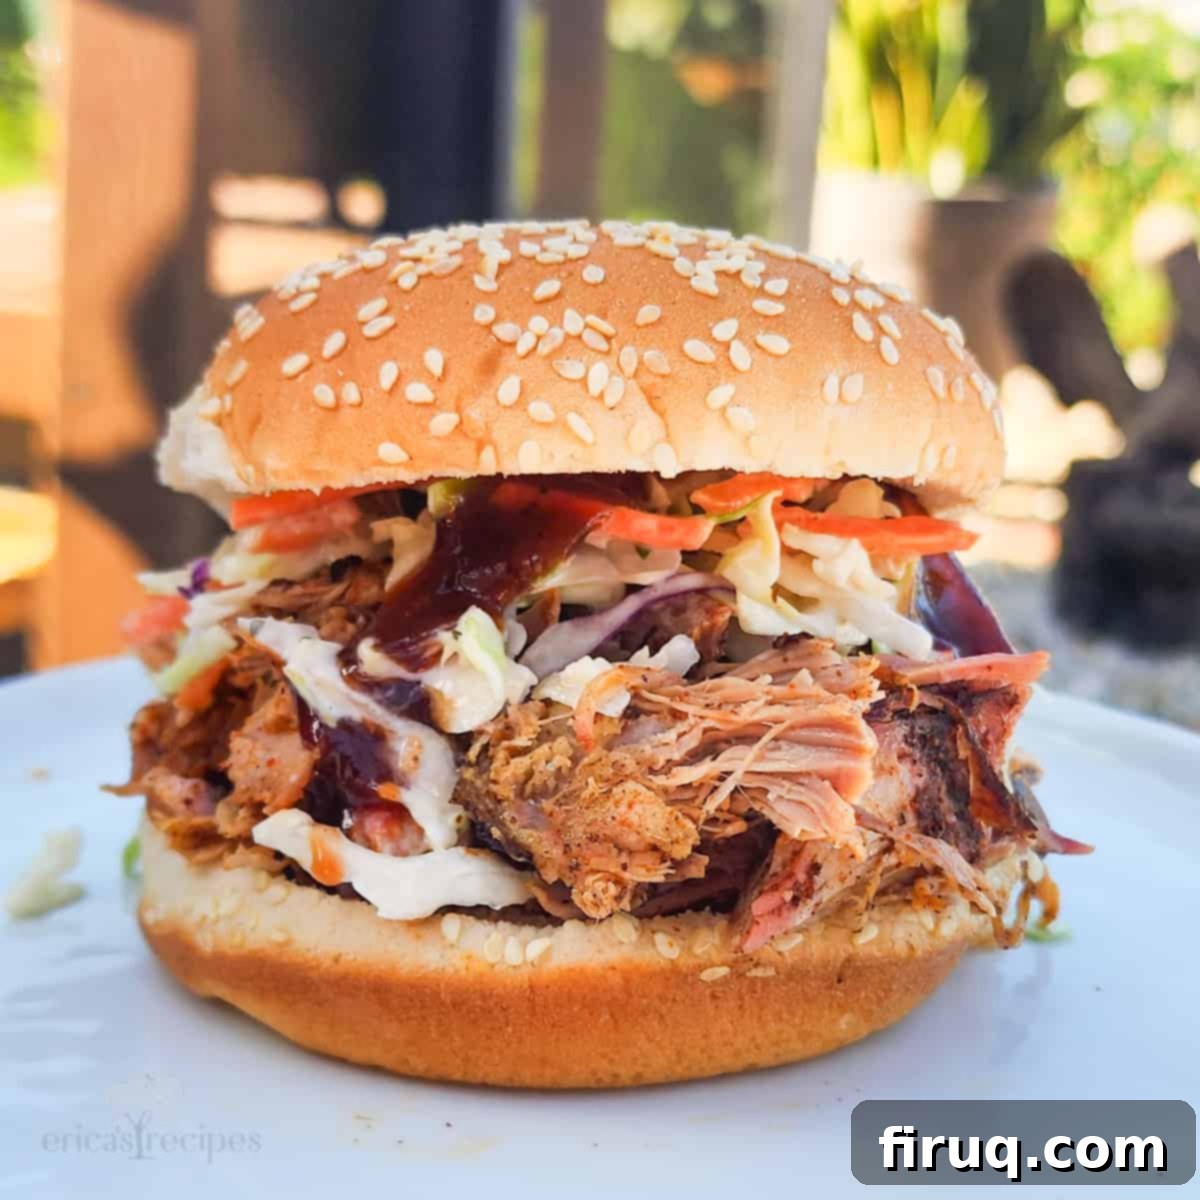
Pulled pork stands out as one of the most versatile and beloved dishes in the BBQ world, offering endless possibilities for creative recipes. While I have countless dishes featuring this tender meat, some of my personal favorites include the unique Whiskey Pulled Pork and Waffles, the surprisingly delicious Pulled Pork and Apple Pizza, and the comforting BBQ Pulled Pork Stuffed Shells. These recipes perfectly illustrate the incredible flexibility and widespread appeal of perfectly cooked pulled pork.
For quick weeknight meals, I often rely on my slow cooker to prepare a Boston butt. It’s a simple process: just apply a flavorful pork rub, add a splash of cola or root beer for extra moisture and sweetness, and let the slow cooker work its magic. This method yields a convenient and tasty pulled pork that’s ready for anything from sandwiches to tacos in a pinch.
However, for a truly exceptional culinary experience, nothing compares to the deep flavor and incredible texture achieved by taking the time to smoke a juicy pork butt. The patient process of slow-smoking creates a robust bark, a beautiful smoke ring, and an unparalleled depth of flavor that a slow cooker simply cannot replicate. It’s a labor of love, for sure – spending hours tending to the smoker, perhaps with friends and family, sipping a cold drink – but the reward of that perfectly smoked, melt-in-your-mouth pulled pork makes every moment worthwhile. The anticipation, the smoky aroma filling the air, and the ultimate satisfaction of a dish cooked just right are what true BBQ is all about.
The Secrets to Perfect Pulled Pork: Why This Recipe Stands Out
Over the years, we’ve experimented with countless methods and variations for smoking pork, but this particular recipe consistently delivers the most outstanding results. While all steps outlined in the detailed recipe card below are crucial, two key techniques are absolutely fundamental to achieving truly perfect pulled pork every time. Mastering these steps will ensure your pork is consistently juicy, incredibly tender, and bursting with flavor:
- Wrap the meat partway through cooking to lock in moisture and maintain tenderness. This technique, often referred to as the “Texas Crutch,” is vital for overcoming the dreaded “stall” and preventing the meat from drying out during the long smoking process.
- Cook the pork to an internal temperature of 205°F. While many recipes suggest pulling the meat earlier, pushing it to this higher temperature allows the collagen in the pork to fully break down, resulting in an incomparably tender and easily shreddable texture.
You’ll find endless debates online about whether to wrap or not, and what the ideal internal temperature for pulled pork should be (195°F, 200°F, or 205°F). From our experience, the benefits of wrapping are undeniable. Before we incorporated wrapping into our process, our smoked pork often came out significantly drier. Wrapping creates a moist environment that helps the meat push through the stall, ensuring it remains incredibly tender and juicy. As for temperature, while pork is certainly edible and tasty at 195°F, allowing it to reach 205°F makes a remarkable difference. At this temperature, the pork achieves optimal “probe tenderness”—meaning a thermometer probe slides in with very little resistance, much like pushing it into warm butter—and yields a superior shred and a luxuriously soft, succulent texture that defines truly exceptional pulled pork.
Essential Ingredients for Unforgettable Smoked Pulled Pork
Crafting phenomenal pulled pork on the Big Green Egg requires just a handful of quality ingredients. Keeping it simple allows the rich flavor of the pork and the aromatic smoke to truly shine. Here’s what you’ll need:
- Boston Butt Pork Roast: This cut, also known as pork shoulder or picnic roast, is ideal for pulled pork due to its generous marbling and connective tissues, which render down beautifully during slow cooking to create incredible tenderness and flavor. Aim for a 7-10 lb cut for a good yield.
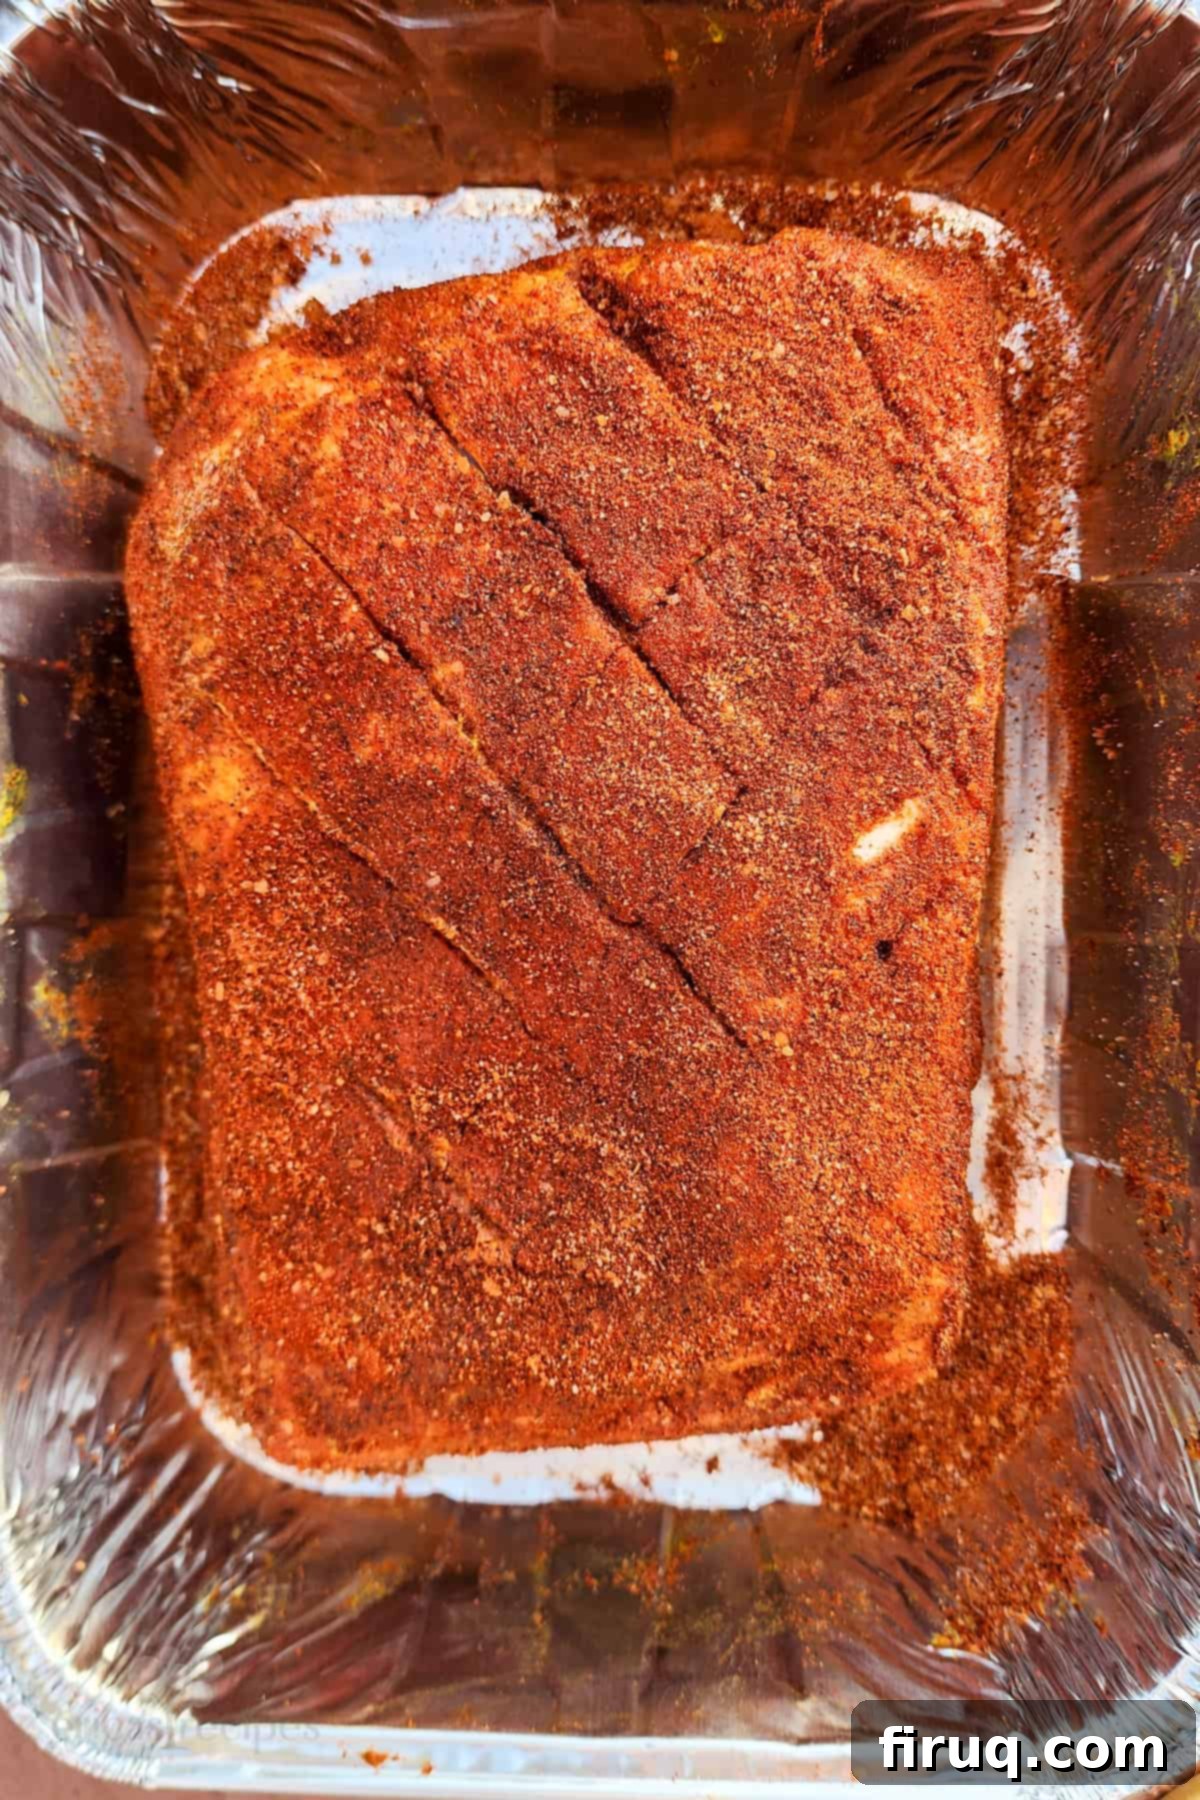
- Yellow Mustard: Don’t worry, your pork won’t taste like mustard! Yellow mustard acts as an excellent binder for the dry rub, helping it adhere evenly to the meat’s surface. It creates a slight tackiness that ensures the rub forms a fantastic crust, or “bark,” during the smoking process.
- Pork Grill Rub Seasoning: The rub is where much of your flavor comes from. My homemade Pork Grill Rub seasoning blend is a personal favorite, perfectly balanced with smoky, salty, and sweet notes that complement pork beautifully. Whether you use my recipe or a high-quality store-bought alternative, ensure you have enough to generously coat the entire surface of the roast. The rub not only infuses the meat with flavor but also forms a crucial barrier that locks in moisture and helps develop that irresistible, crunchy bark while smoking.
- Apple Juice: Added during the wrapping stage, apple juice contributes moisture and a subtle, fruity sweetness that further tenderizes the pork and enhances its overall flavor profile.
While my Pork Grill Rub contains multiple ingredients, the focus here is on the primary components that transform a simple pork roast into a BBQ masterpiece. A well-applied rub is paramount; it’s what creates that delicious, caramelized crust and acts as a shield to keep the meat incredibly tender and juicy throughout the long smoking process.
Choosing the Best Wood for Smoking Pulled Pork
The type of wood you choose significantly impacts the flavor profile of your smoked pulled pork. Generally speaking, pork pairs exquisitely with fruit woods, which impart a mild, sweet, and aromatic smoke. This is particularly true for Boston butt, where the gentle flavors of fruit woods can deeply penetrate the meat over the long cooking time without overwhelming it.
Recommended Wood Choices:
- Apple Wood: A classic choice for pork, apple wood offers a delicate, sweet, and fruity smoke that enhances the natural flavors of the meat. It’s subtle enough to use for extended smokes.
- Cherry Wood: Similar to apple, cherry provides a slightly richer, fruitier smoke with beautiful reddish hues that contribute to a fantastic smoke ring. It’s also very mild and versatile.
- Hickory Wood: For an extra punch of traditional BBQ flavor, I often add a bit of hickory. Hickory delivers a stronger, more bacon-like smoky taste. When used sparingly alongside fruit woods, it creates a perfectly balanced and robust flavor.
Regardless of your chosen wood, ensure you have plenty on hand. We want a steady stream of “clean smoke” (thin, blue, almost invisible) rolling for the first few hours of the cook, as this is when the meat absorbs most of its smoky flavor. Avoid thick, white, billowy smoke, which can impart an acrid, bitter taste.
The Big Green Egg, being a kamado-style grill, utilizes wood chunks rather than chips (which are better suited for electric smokers or grill smoker boxes). Before adding your wood chunks to the firebox, it’s a good practice to knock off any loose bark. Bark can sometimes harbor chemicals or simply produce a less desirable flavor when burned, so removing it ensures a cleaner smoke and better-tasting food.
Step-by-Step: How to Cook Juicy Pulled Pork on the Big Green Egg
Achieving perfectly juicy and tender pulled pork on your Big Green Egg is a methodical process that, when followed correctly, guarantees delicious results. Here’s a concise overview of the steps; detailed instructions are provided in the recipe card below:
- Prepare the Pork: This involves trimming the fat cap, scoring the surface, and thoroughly coating the meat with mustard and your chosen dry rub.
- Smoke the Pork (Unwrapped): The initial phase focuses on infusing the pork with smoky flavor and developing a rich bark.
- Wrap and Finish Cooking: Once the bark has set and the meat enters “the stall,” wrap the pork with a splash of apple juice and continue cooking until it reaches a target internal temperature of 205°F.
- Rest the Meat: A crucial step that allows the juices to redistribute, ensuring maximum tenderness and flavor.
- Shred and Serve: Break down the succulent pork and mix it with its flavorful drippings before enjoying.
Detailed Breakdown of Each Phase:
1. Preparing the Pork for the Smoker
Proper preparation is key to a successful smoke. First, you’ll want to trim the hard, thick fat cap from the Boston butt, leaving only a thin, even layer (about 1/4 inch thick). This ensures that the fat renders properly during the cook, contributing moisture and flavor without creating an unappetizingly greasy exterior. The rich flavor comes from the intramuscular fat, not the thick cap. Next, score the remaining fat cap in a crosshatch pattern, cutting just through the fat but not deep into the meat. Scoring helps tenderize the surface, allows the rub’s flavors to penetrate more effectively, and promotes better bark formation. Finally, slather the entire roast with a thin layer of yellow mustard, which acts as a binder, and then apply your pork rub generously and evenly, ensuring all sides are well-covered. Don’t be shy with the rub; it’s essential for flavor and bark.
2. Setting Up Your Big Green Egg for Low and Slow
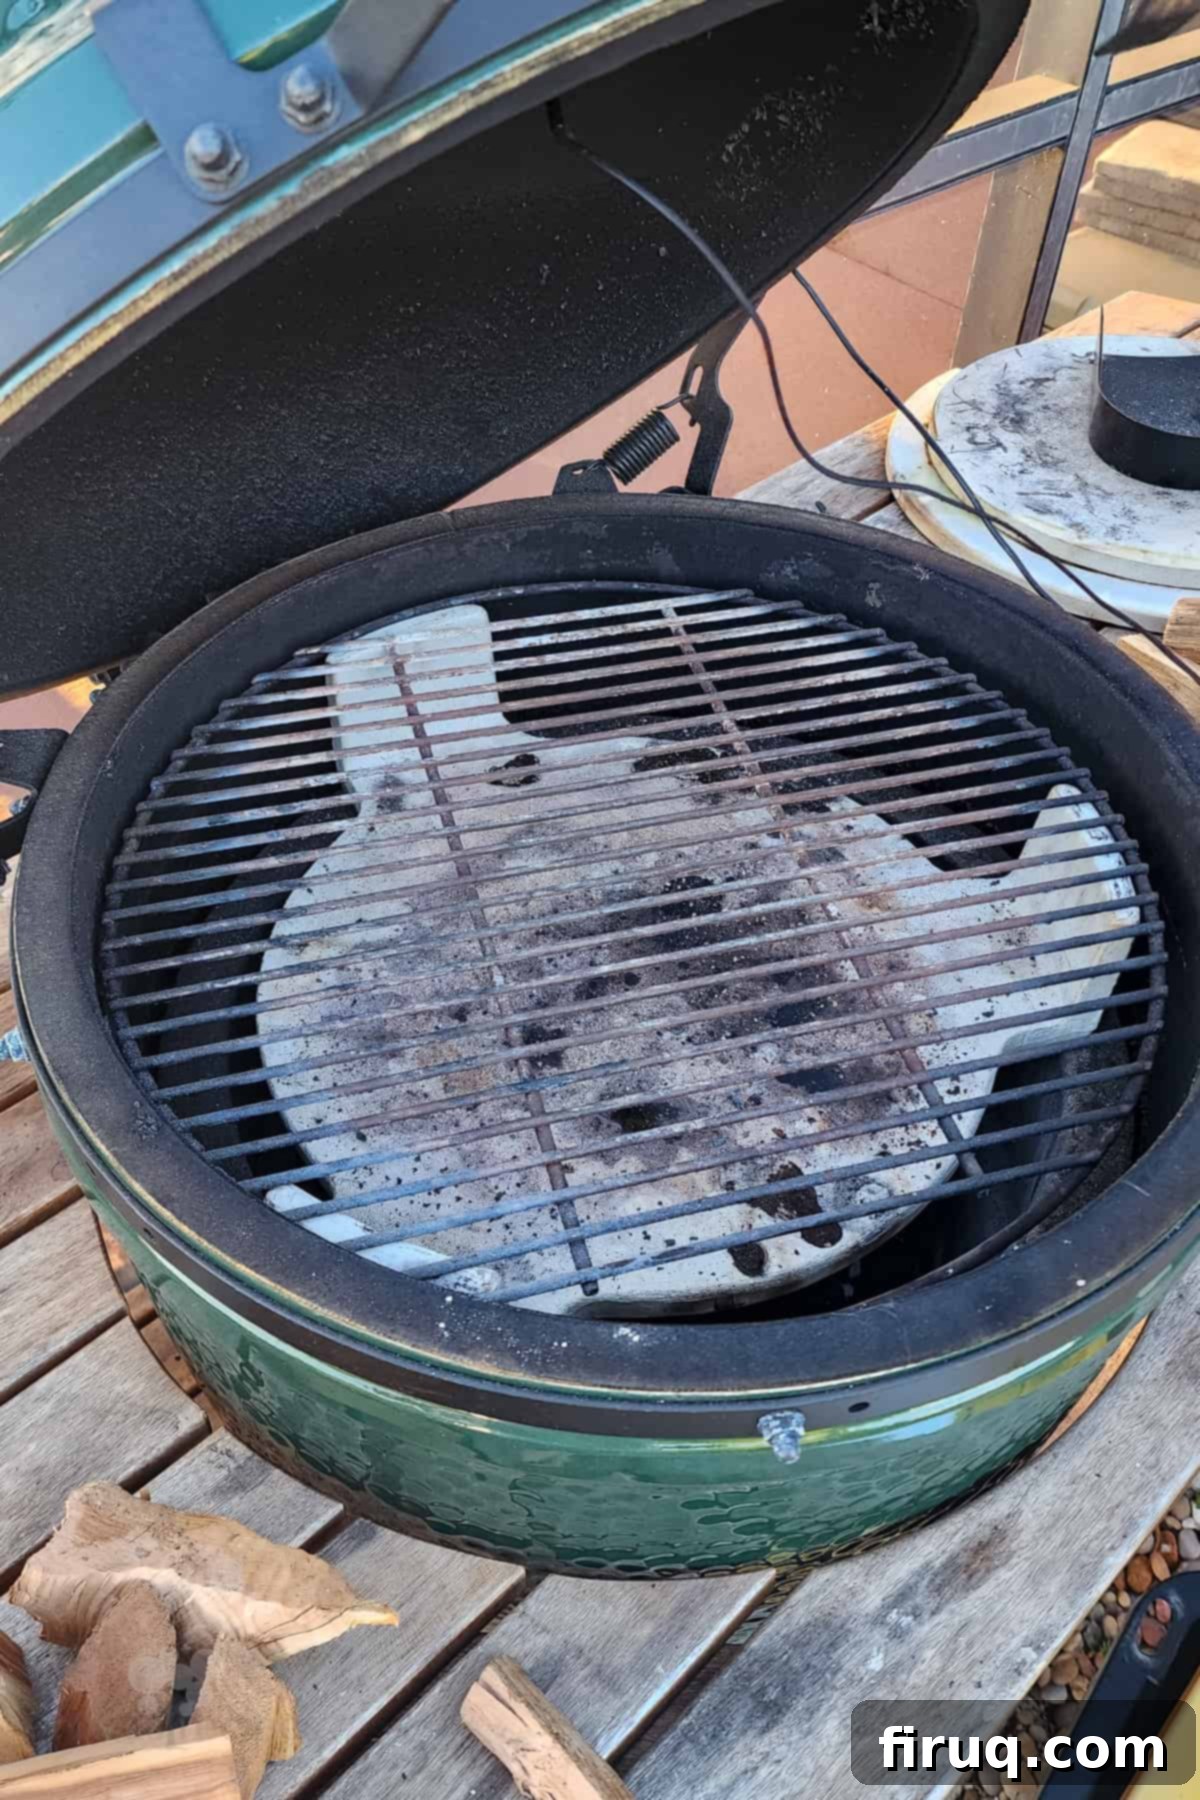
To begin, ignite your lump charcoal in the Big Green Egg’s firebox. Once the charcoal is actively burning and producing clean, thin blue smoke, stabilize your Egg’s temperature at a consistent 250°F (121°C). This low and slow temperature is ideal for breaking down the pork’s connective tissue without drying it out. Add your chosen wood chunks directly onto the hot charcoal – ensure you’ve removed any bark. Then, carefully place the plate setter (or convEggtor) with its legs pointing up, creating an indirect cooking zone. Position a drip pan on top of the plate setter to catch rendering fats and juices, preventing flare-ups and making cleanup easier. Finally, place your grill grate on top of the plate setter’s legs.
3. The Smoking Phase: Infusing Flavor and Developing Bark
With your Big Green Egg set up, place the prepared Boston butt, fat side up, directly onto the grill grate. Close the lid and let the magic begin. This initial smoking phase typically lasts about 5 hours. During this time, the pork will absorb most of its smoky flavor, and a beautiful, dark, flavorful crust – the “bark” – will start to form. Monitor your Egg’s temperature to keep it steady at 250°F, adjusting vents as needed. You may need to add more wood chunks during this period to maintain a consistent smoke flow, ensuring a continuous infusion of flavor. Avoid opening the lid too frequently, as this can cause temperature fluctuations and extend cooking time. Some pitmasters like to spritz the pork with apple cider vinegar or apple juice every hour or so during this phase to keep the surface moist, which can help with bark formation and prevent it from drying out.
4. The Texas Crutch: Wrapping and Finishing the Cook
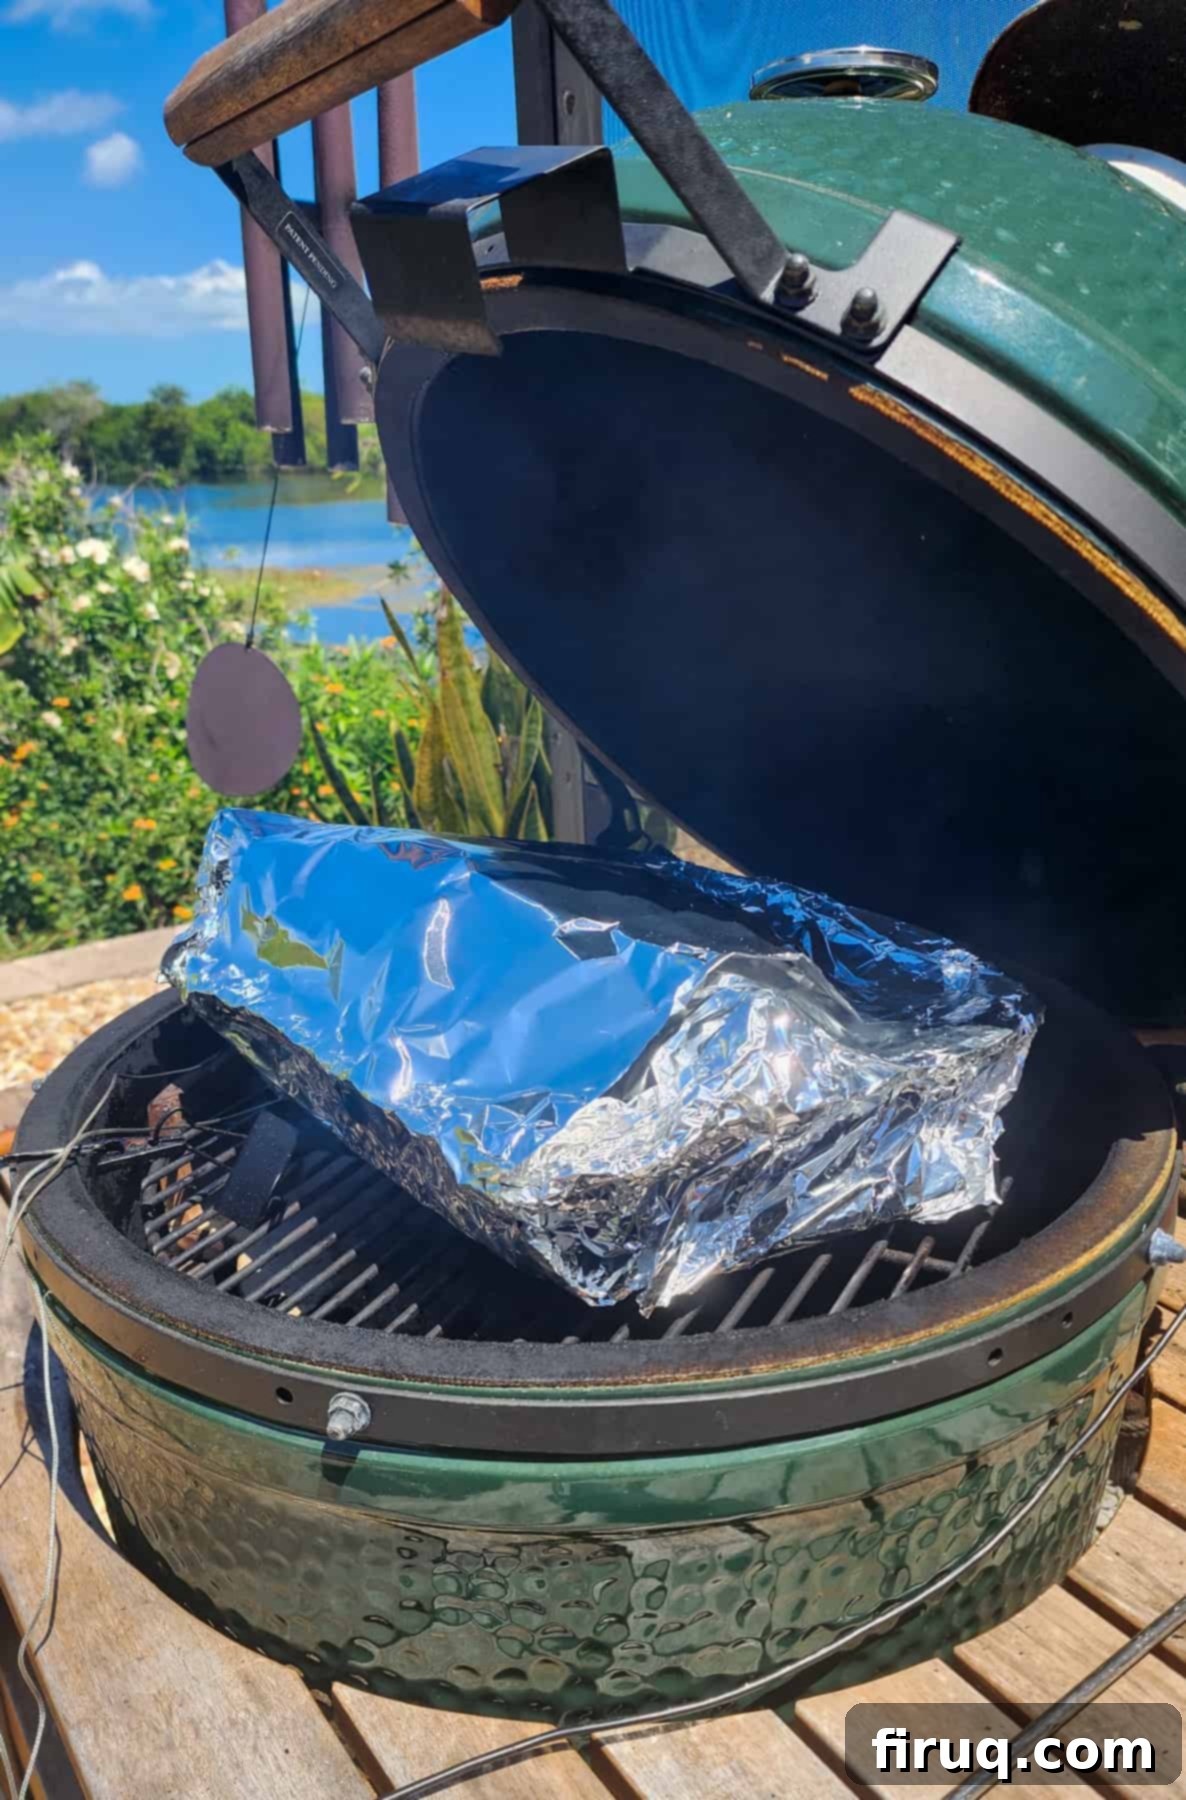
After approximately 5 hours, or once the bark has set and the internal temperature of the pork reaches around 150-160°F (65-71°C) – a point often referred to as “the stall” – it’s time to wrap the meat. The stall occurs when moisture evaporating from the surface of the meat causes evaporative cooling, temporarily slowing down the cooking process. To power through this, transfer the pork to a heavy-duty aluminum pan or a grill-proof pan. Pour about ¼ cup of apple juice (or a mix of apple juice and apple cider vinegar) into the pan, then tightly cover the pan with foil. This creates a moist, steamy environment that helps tenderize the meat and accelerate cooking. Return the wrapped pork to the Big Green Egg and continue cooking until it reaches an internal temperature of 205°F (96°C). This final stage typically takes an additional 4 to 6 hours. This higher temperature is crucial for rendering all the tough connective tissues into gelatin, yielding that signature fall-apart tenderness.
5. Resting the Pulled Pork: A Non-Negotiable Step
Once the pork reaches 205°F and is probe tender, carefully remove the pan from the Big Green Egg. This next step is absolutely vital for the juiciness and texture of your pulled pork: resting. Keep the pork tightly wrapped in its foil, and for even better results, wrap the entire pan in a few old towels and place it in a cooler. This creates an insulated environment where the meat can slowly cool down. Rest the pork for at least one hour, or even up to three to four hours. During this resting period, the muscle fibers relax, allowing the internal juices that have been pushed to the center of the roast during cooking to redistribute evenly throughout the meat. Skipping this step will result in drier, less flavorful pulled pork.
6. Shredding and Enjoying Your Masterpiece
After a proper rest, unwrap the pork, discard any excess rendered fat, and prepare to shred! The meat should be incredibly tender and practically fall apart. You can use two forks, meat claws, or even your hands (wearing heat-resistant gloves) to pull the pork into desired strands. As you shred, incorporate some of the flavorful pan drippings back into the meat to ensure it stays moist and rich. Now, your perfectly smoked, juicy, and tender pulled pork is ready to be served on sandwiches, tacos, or enjoyed on its own. Get ready for rave reviews!
Essential Big Green Egg Accessories for Smoking Pulled Pork
The Big Green Egg is a significant investment for any BBQ enthusiast, and for good reason—it’s a versatile kamado-style grill renowned for its ability to maintain precise temperatures and infuse food with incredible flavor, especially when using lump charcoal. To truly unlock its potential, particularly for low-and-slow smoking like pulled pork, a few key accessories are highly recommended.
If you’re planning to purchase an Egg or already own one, acquiring these essentials will significantly enhance your smoking experience and yield superior results:
- High-Temperature Fire Gloves: These are invaluable for BGE cooking. You’ll often need to reach into the hot firebox, move hot grates, or handle hot food. Quality fire gloves (like those made from insulated leather or silicone) make these tasks lightyears easier and much safer, protecting your hands from extreme heat.
- Plate Setter (or convEggtor): This ceramic insert is an absolute must for indirect cooking on the Big Green Egg. It acts as a heat deflector, creating a barrier between your food and the direct flames of the charcoal. For smoking pulled pork, indirect heat is crucial for the long, slow cook, preventing the meat from burning and ensuring even heat distribution for tender results.
- Reliable Meat Thermometer: Precision is paramount in BBQ. While an instant-read thermometer is useful for quick checks, a good leave-in probe thermometer (especially a “smart” one with Bluetooth or WiFi connectivity) is highly recommended. This allows you to monitor the internal temperature of your pork throughout the cook without opening the lid, often displaying the progress on an app on your phone. This helps avoid “peeking,” which causes temperature drops and prolongs cooking time.
- Quality Wood Chunks: As discussed earlier, wood chunks are key for imparting smoky flavor. Always have a good supply of your preferred woods like apple, cherry, and hickory. Ensure they are free of bark for the cleanest smoke.
- Premium Lump Charcoal and a Grill Torch: The Big Green Egg thrives on lump charcoal, which burns hotter, cleaner, and imparts a superior flavor compared to briquettes. A reliable grill torch or an electric starter makes lighting the lump charcoal quick and easy, getting your Egg up to temperature efficiently.
While the accessories above are practically essential for smoking pulled pork on the Big Green Egg, I also highly recommend considering a **temperature controller**. This is an optional but incredibly convenient gadget that elevates your smoking game by automating temperature management. A temperature controller maintains the Egg’s desired temperature by regulating airflow, meaning you don’t have to constantly babysit the grill. Many models also offer Bluetooth or Wi-Fi connectivity, allowing you to monitor and adjust the temperature remotely from your smartphone.
There are generally two types of controllers for kamado grills: one that controls airflow into the bottom intake vent (such as an Egg Genius), and another that controls airflow out the top vent (like a Smobot). Both have their merits, but for consistent, worry-free long smokes, they are game-changers, allowing you to relax while your Big Green Egg does all the hard work. We own both and generally prefer the Smobot for its ease of use and precision.
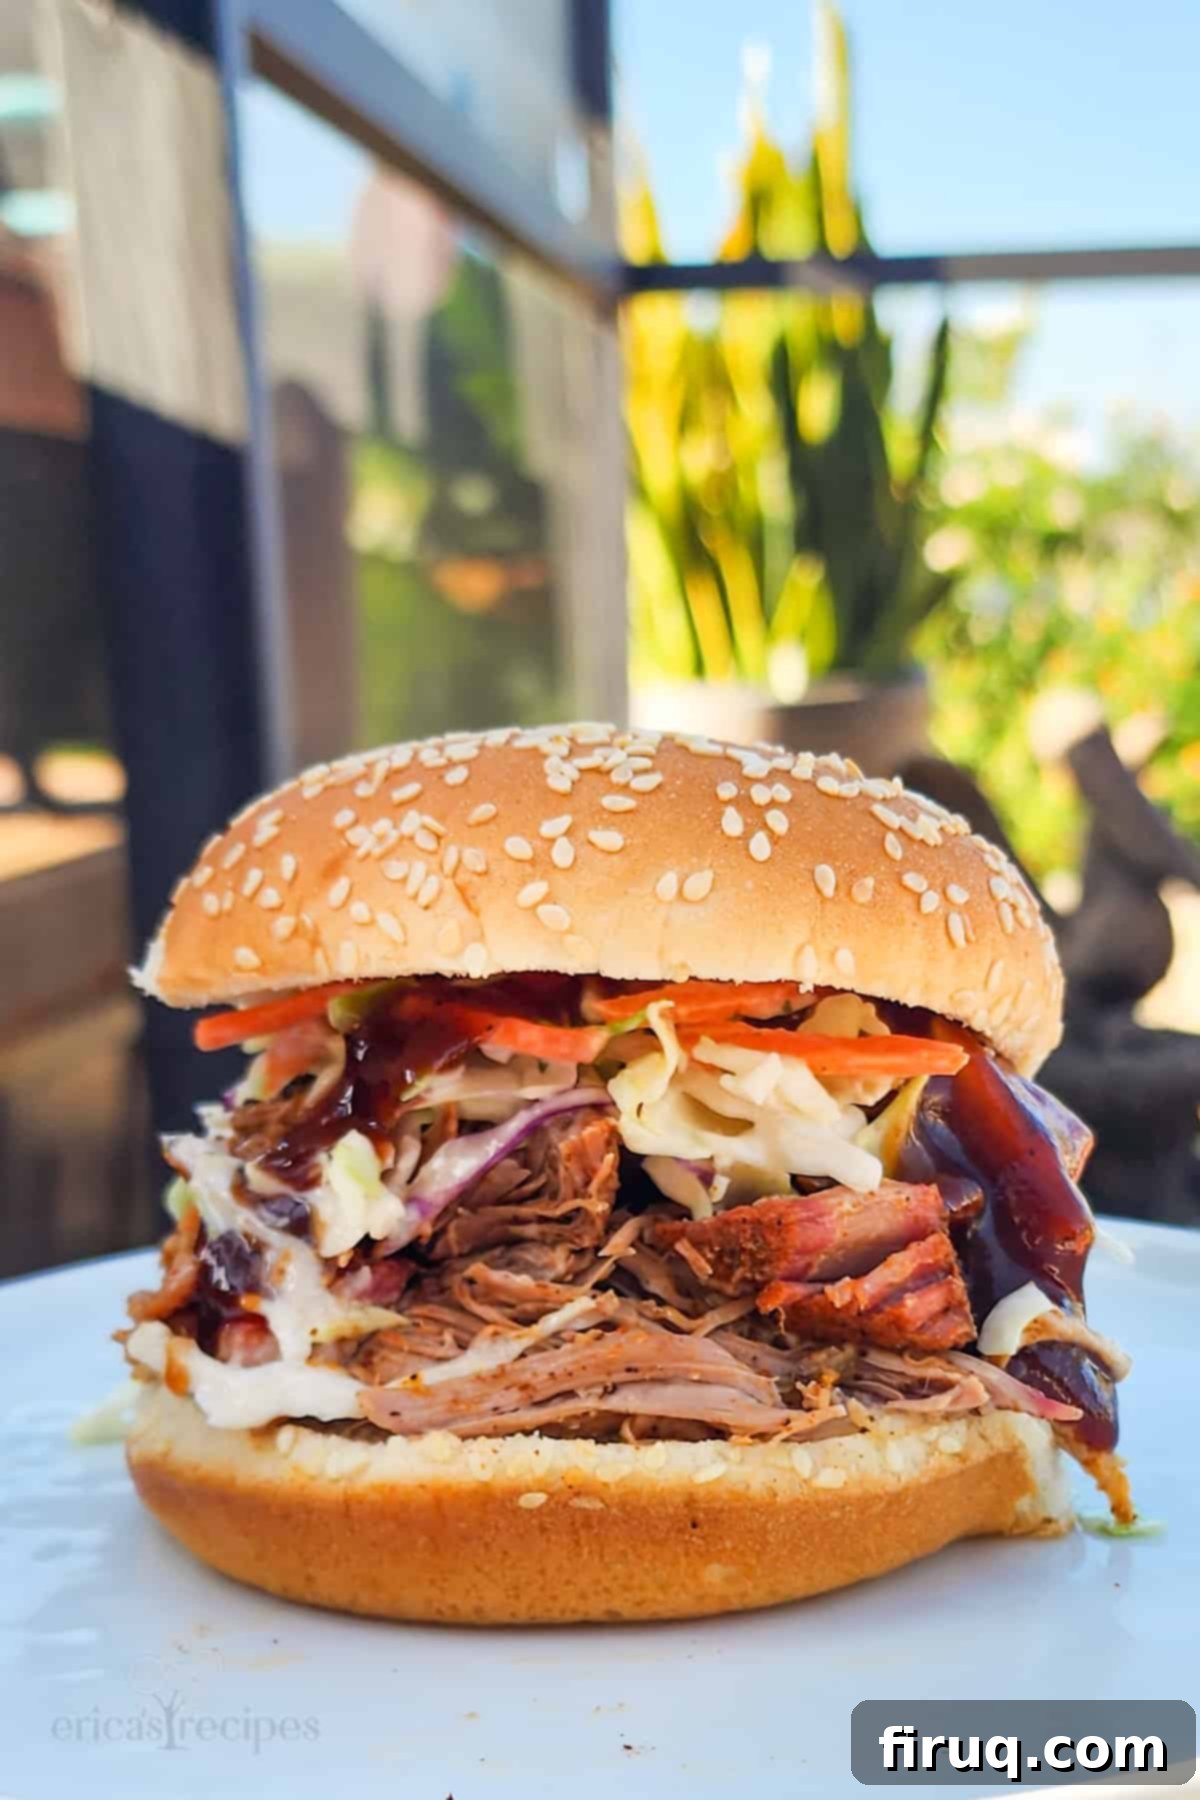
If you have a Big Green Egg, you absolutely must try our Smoked Over the Top Chili for the best chili of your life!
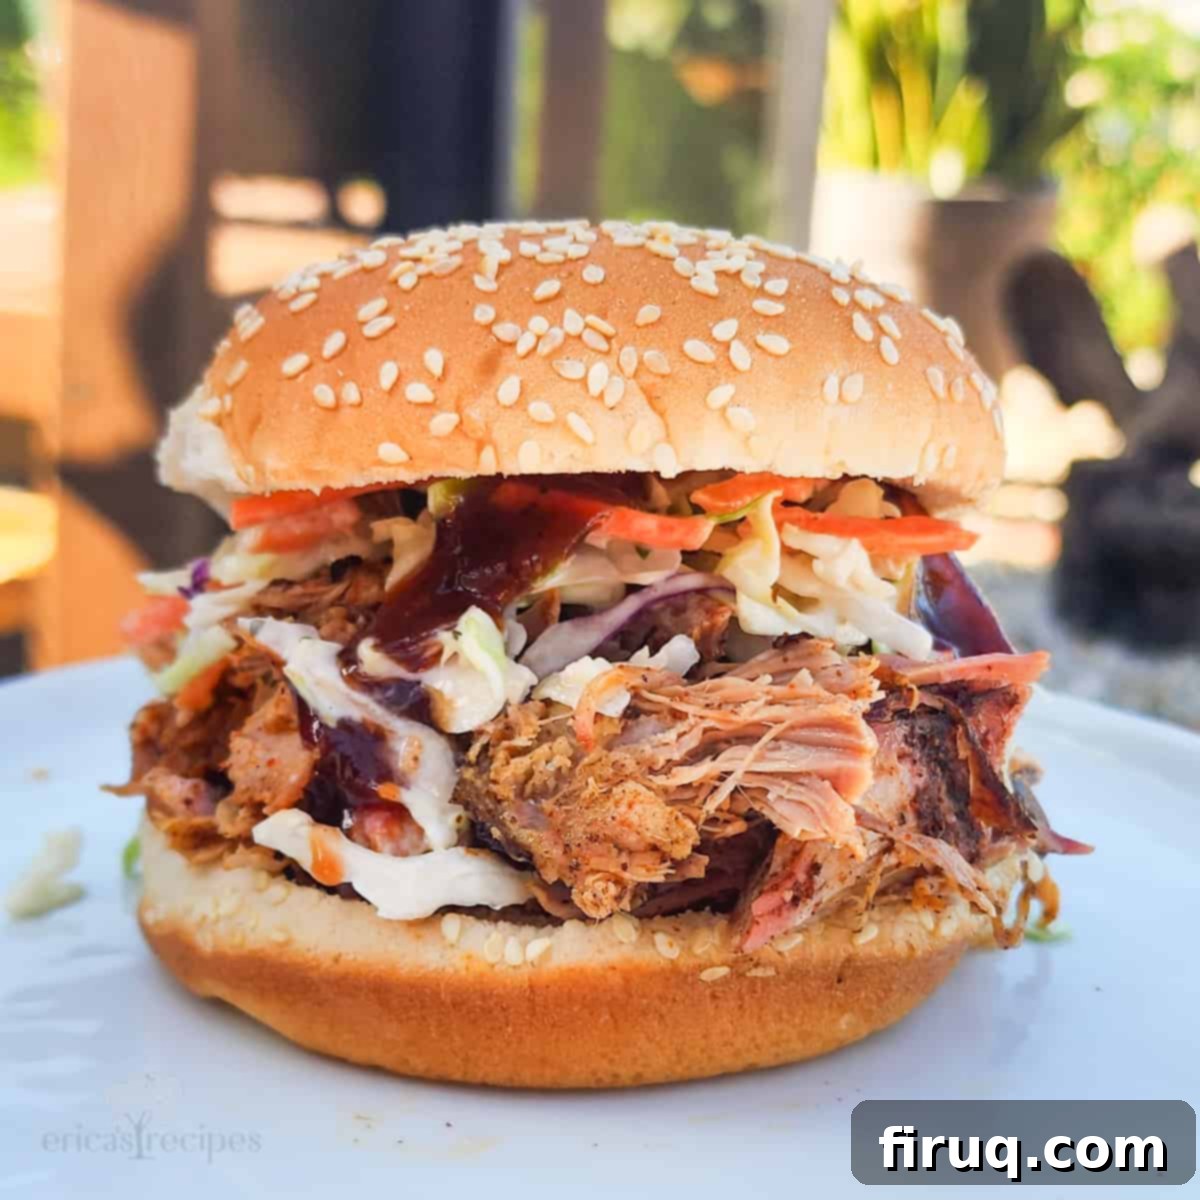
Juicy Big Green Egg Pulled Pork
Print
Pin
Rate
Equipment
-
Big Green Egg Plate Setter
-
High-Temperature BBQ Gloves
-
Apple Wood Chunks (or other fruit wood)
-
Leave-in Probe Thermometer
-
Smobot Temperature Controller (Optional)
-
Large Aluminum or Grill-Proof Pan
Ingredients
- 7 to 10 lb Boston butt pork roast (pork shoulder)
- yellow mustard (for binding)
- Pork Grill Rub seasoning (generous amount)
- ¼ cup apple juice
Instructions
Prepare the Pork Roast
-
Carefully trim the hard, thick fat cap off the Boston butt, leaving a thin, even layer of about 1/4 inch thickness.
-
Score the remaining fat cap side of the pork in a crosshatch pattern, cutting only through the fat without going too deep into the meat.
-
Evenly coat the entire surface of the meat with a thin layer of yellow mustard. Then, generously cover the pork very well with your chosen Pork Grill Rub seasoning. Ensure all sides of the roast are thoroughly coated to build a great bark.
Prepare the Big Green Egg for Smoking
-
Ignite the lump charcoal in the firebox of your Big Green Egg and bring the temperature up to a stable 250℉ (121°C).
-
Once the desired temperature is stable, add your wood chunks (*see Notes) directly onto the hot charcoal. Place the plate setter (convEggtor) with the legs pointing up, position a drip pan on the plate setter to catch juices, and then place the grill grate onto the legs of the plate setter.
Smoke the Pork Unwrapped
-
Carefully place the prepared pork roast, fat side up, on the grill grate. Close the Big Green Egg’s lid.
-
Smoke the pork for 5 hours, maintaining a steady 250℉. Add more wood chunks as necessary to ensure a continuous, thin blue smoke for optimal flavor absorption and bark development. Avoid opening the lid too often.
Wrap and Finish Cooking to Perfection
-
After 5 hours, transfer the smoked pork to a large aluminum or grill-proof pan (*see Notes). Pour the ¼ cup of apple juice into the pan, then cover the pan tightly with heavy-duty foil, sealing in all the moisture.
-
Return the wrapped pan to the Big Green Egg and continue cooking. Cook until the pork reaches an internal temperature of 205℉ (96°C) and is “probe tender” (approx. 4 to 6 additional hours).
-
Once at temperature, remove the pan from the Egg and let the pork rest (still tightly wrapped in foil) for at least one hour, or ideally 2-3 hours in a cooler wrapped in towels. This allows the juices to redistribute for maximum tenderness.
-
Carefully unwrap, shred the meat using forks or meat claws, mixing it with the flavorful pan drippings. Serve immediately and enjoy your perfectly juicy smoked pulled pork!
Notes
If you are using a smart thermometer with a probe, insert it into the thickest part of the meat (avoiding bone) before covering the pan with foil. Carefully wrap the foil around the thermometer wire to maintain a tight seal and trap in all the moisture and steam. This allows for continuous monitoring of the internal temperature during the crucial wrapped cooking phase.
