Effortless Elegance: Crafting the Perfect Butter and Herb Artisan Bread at Home
Welcome, fellow food lovers, to an adventure in the kitchen that promises irresistible aromas and a truly satisfying reward! Today, we’re diving deep into the delightful world of homemade artisan bread. Forget complicated techniques and intimidating bakeries; this recipe for **Butter and Herb Artisan Bread** is designed to be surprisingly easy, even for novice bakers, and delivers a taste that is nothing short of sensational. If you cherish the thought of sinking your teeth into a piece of warm, crusty bread, then get ready to grab your butter – because by the time you finish reading, you’ll be craving a slice of this magnificent creation!
The Undeniable Charm of Homemade Bread
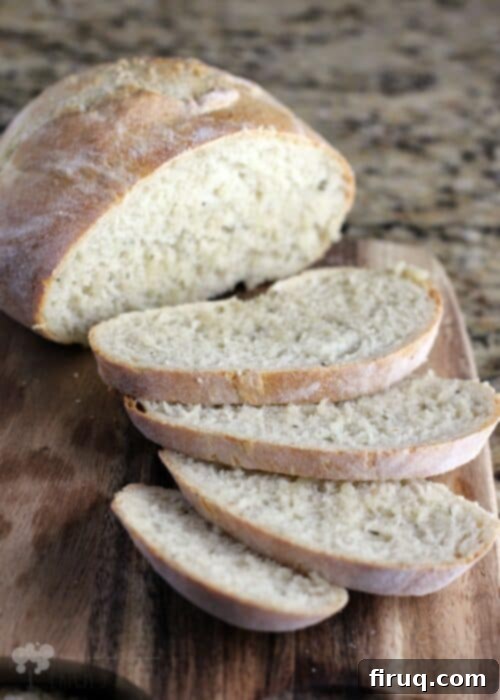
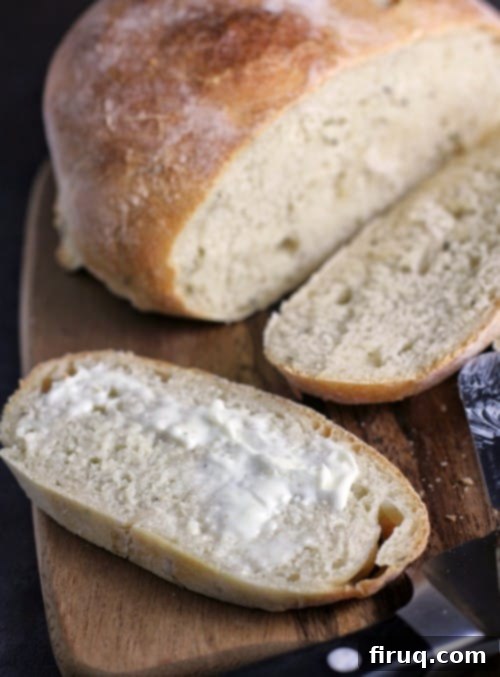
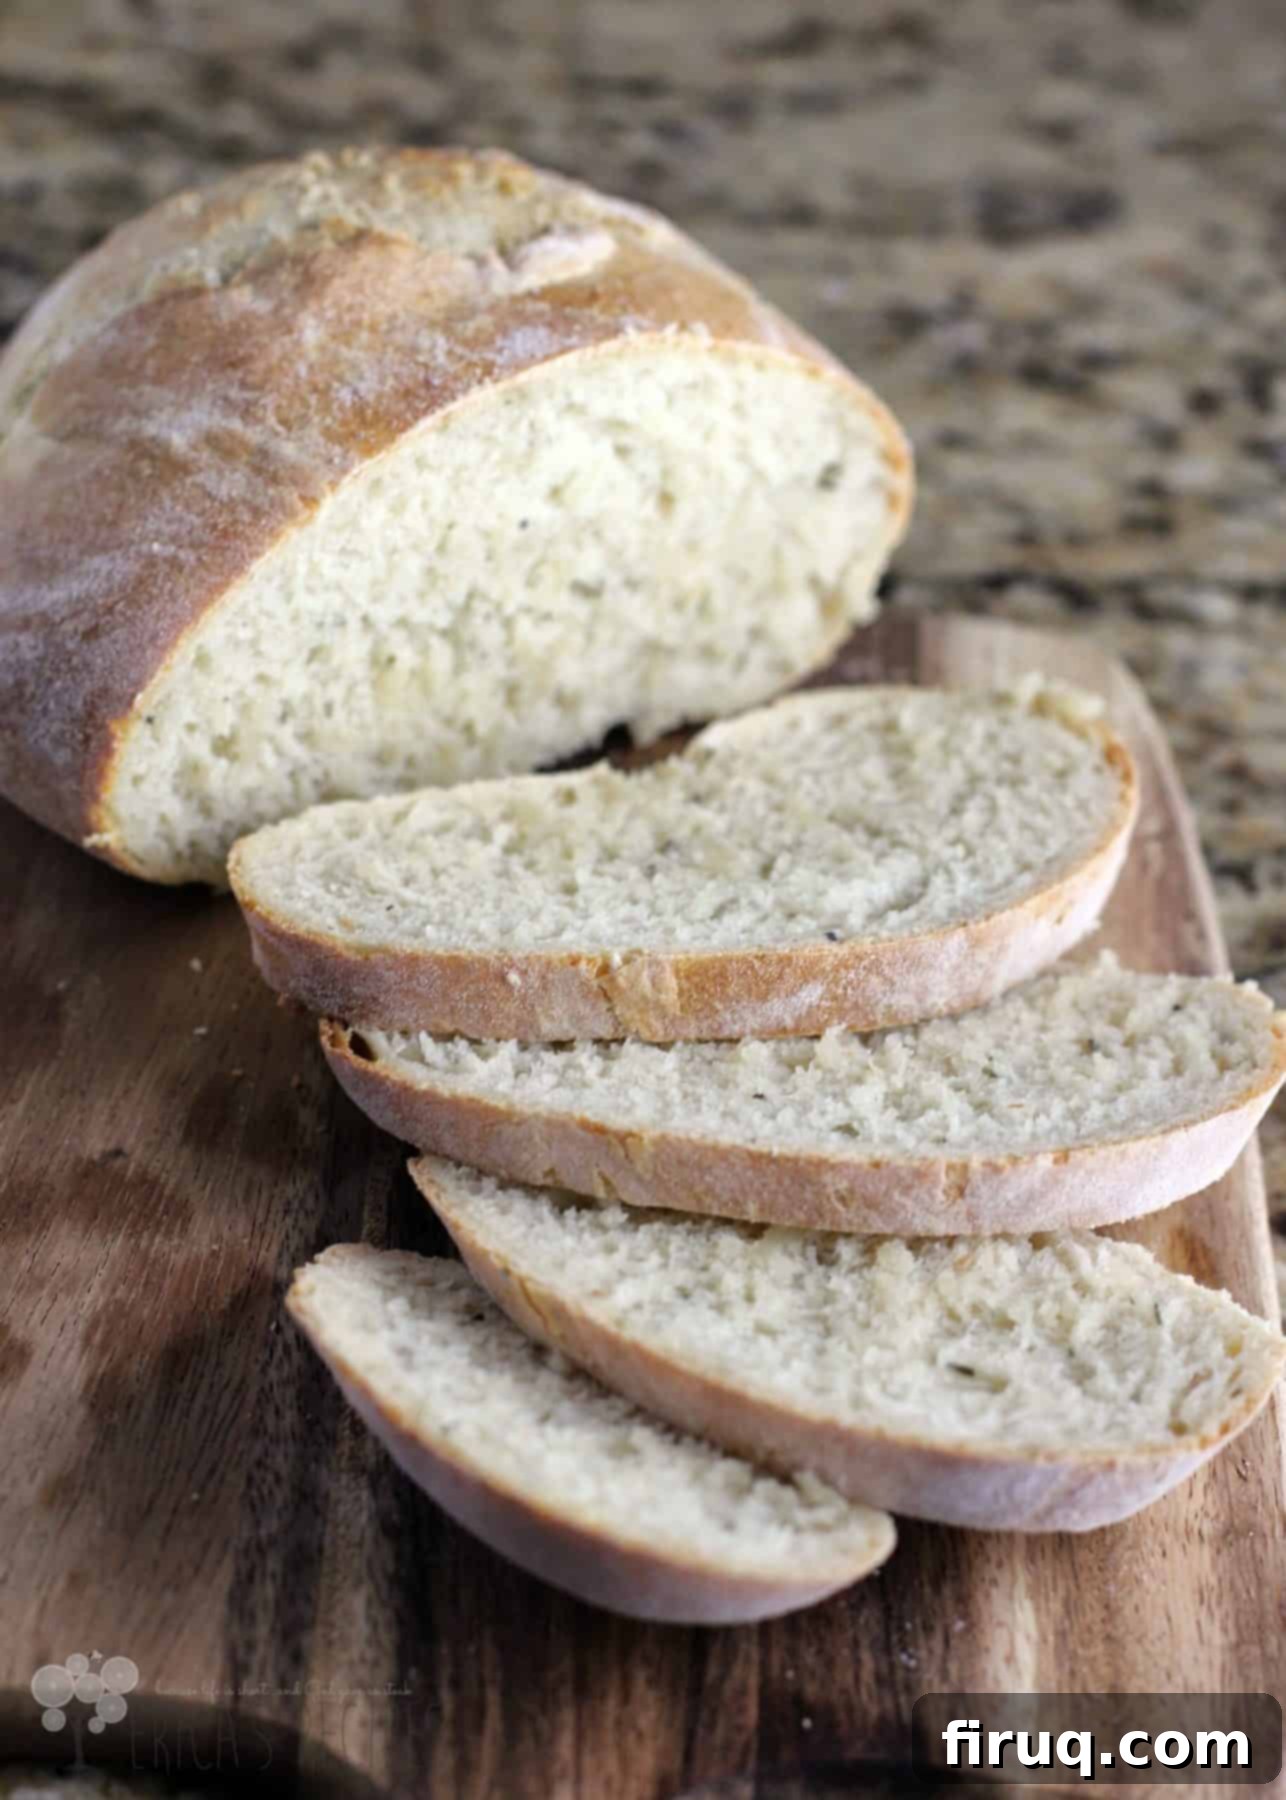
There’s a special kind of magic that fills your home when homemade bread is baking. The scent alone is enough to transport you to a cozy, comforting place. This Butter and Herb Artisan Bread isn’t just any bread; it’s an experience. Imagine a golden-brown crust, perfectly crisp and crackly, yielding to a soft, chewy, and airy interior. Now, imagine that interior infused with the rich, savory notes of butter and the aromatic complexity of Herbs de Provence. It’s like bringing a gourmet bistro experience right into your dining room, effortlessly.
Many people shy away from making bread, believing it to be a daunting task. However, this artisan bread recipe proves just how simple and rewarding it can be. Once you experience the unparalleled flavor and texture of bread baked from scratch, you’ll wonder why you didn’t start sooner. This recipe is particularly forgiving, making it an excellent choice for those looking to dip their toes into the art of bread making. It’s the kind of bread that begs to be torn apart, slathered with even more butter, and enjoyed with a hearty meal or simply on its own.

What Makes this Artisan Bread So Special?
At its heart, this is a classic recipe designed to achieve that coveted crusty exterior and a pillowy, perfectly structured interior. The addition of butter directly into the dough creates a tender crumb and adds a depth of flavor that complements almost any meal. Herbs de Provence, a fragrant blend typically including savory, marjoram, rosemary, thyme, and oregano (and sometimes lavender), elevates this bread beyond the ordinary. It imparts an authentic, rustic Mediterranean essence, making each bite a journey to sun-drenched landscapes.
This bread isn’t just delicious; it’s incredibly versatile. It’s robust enough to serve as a fantastic bread bowl for your favorite soups and stews, holding its shape while absorbing all the wonderful flavors. Its comforting nature makes it ideal for a simple family dinner, yet its sophisticated flavor profile means it would shine in any bread basket at a fancy dinner party – if you were to open a restaurant, this would undoubtedly be on the menu!
Demystifying the Bread-Making Process: Three Simple Steps
Like many bread recipes, particularly those for rustic artisan loaves, this process can be neatly divided into three main stages: the first rise (bulk fermentation), the second rise (proofing), and the final bake. Each stage plays a crucial role in developing the flavor, texture, and structure of your finished bread.
Phase 1: The Initial Mix and First Rise
We begin by creating a relatively loose and wet dough. Don’t be alarmed by its stickiness; this high hydration is key to achieving that wonderfully chewy texture and open, airy crumb that defines artisan bread. Trust the process, as this wetness is exactly what we’re aiming for. The initial mixing ensures all ingredients are well combined and gluten development begins, providing the foundational structure for your loaves.
Following the mix, the dough undergoes a significant, long first rise. This period of bulk fermentation allows the yeast to work its magic, producing carbon dioxide that creates pockets of air within the dough, while also developing complex flavors. During this time, the dough will expand considerably, becoming lighter and more aerated, though it will still maintain its wonderfully soft and somewhat pliable consistency. A warm, draft-free environment is ideal for this stage, ensuring a steady and effective rise.
Phase 2: Shaping and the Second Rise
Once the first rise is complete, it’s time to gently turn the dough out onto a lightly floured surface. At this point, you’ll start to notice the dough developing more structure, becoming easier to handle as you incorporate a small amount of additional flour from the surface. The key here is gentle handling; you want to preserve as much of the air created during the first rise as possible.
You’ll then divide the dough and form it into your desired loaf shapes. Whether you opt for classic rounds, elongated batards, or rustic free-form loaves, the objective is to create some surface tension on the dough while maintaining its internal lightness. A light touch and generous flouring of your hands and work surface will prevent sticking. After shaping, the loaves are set aside for their second rise, or proofing. This final rise is shorter but crucial for achieving a light, open crumb and ensuring the bread has its characteristic rise in the oven. The dough will continue to absorb what flour it needs from the surface, becoming perfectly prepared for baking.
Phase 3: The Bake – Achieving That Golden, Crusty Perfection
The secret to a truly beautiful, crusty artisan loaf lies in a screaming hot oven and the use of a pizza stone. Preheating your oven to a high temperature with the pizza stone inside ensures that when the dough hits the stone, it receives an immediate burst of intense heat from the bottom. This “oven spring” helps the bread rise quickly and sets the crust, creating that coveted crispy exterior. While not explicitly mentioned in the original recipe, many artisan bakers also introduce steam into the oven during the initial baking phase to further enhance crust development. You can achieve this by placing a pan of hot water on the bottom rack of your oven.
Baking for approximately 30 minutes, or until the loaves are deeply browned and audibly crusty, will transform your humble dough into golden works of art. The rich aromas of butter and herbs will intensify, filling your kitchen with an intoxicating fragrance. Once baked, transfer your beautiful loaves to a wire rack to cool completely. This cooling process is essential, allowing the internal structure of the bread to set and preventing a gummy texture. Then, congratulations – you’ve achieved the warm, crusty, buttery bread you’ve been dreaming of!

Essential Tools for the Home Baker
While you can certainly make this bread with minimal equipment, a few key tools can make the process even more enjoyable and efficient:
- Stand Mixer with Dough Hook: This is a true game-changer for kneading. It saves time and effort, ensuring the dough is perfectly worked without tiring your arms.
- Pizza Stone: A must-have for achieving that perfectly crisp, golden crust on artisan bread. It holds and radiates heat evenly.
- Large Mixing Bowl: Essential for the initial mixing and especially for the significant expansion during the first rise.
- Rubber Spatula: Ideal for gently scraping the wet dough out of the bowl without deflating it too much.
- Damp Kitchen Towel: Used to cover the dough during rising, preventing it from drying out and forming a crust.
- Kitchen Scale: For precise ingredient measurement, especially flour, which can vary significantly by volume. This ensures consistent results.
- Wire Rack: Crucial for cooling the bread evenly, allowing air to circulate around the entire loaf and preventing a soggy bottom.
Tips for Artisan Bread Success
- Water Temperature is Key: Ensure your warm water is between 105-115°F (40-46°C) for activating the yeast. Too cold, and the yeast won’t activate; too hot, and it will kill the yeast.
- Don’t Fear the Wet Dough: The initial dough will be quite sticky and loose, and that’s exactly right. Resist the urge to add too much extra flour during the initial mix, as this can lead to a dry, dense loaf.
- Warm Environment for Rising: A warm spot in your kitchen (like near a sunny window, or in a slightly warmed, turned-off oven) is perfect for dough rising. Avoid drafty areas.
- Gentle Handling: When shaping the loaves, use a light touch. Overworking or pressing too hard can deflate the dough, resulting in a less airy texture.
- Preheat Thoroughly: Give your oven and pizza stone ample time to reach the full temperature. This ensures maximum oven spring and a superior crust.
- Listen to Your Bread: A fully baked crusty loaf will sound hollow when tapped on the bottom.
- Cool Completely: As tempting as it is, slicing into hot bread can compromise its texture. Allow it to cool on a wire rack for at least an hour for the best results.
Serving Suggestions and Storage
This Butter and Herb Artisan Bread is incredibly versatile. Serve it alongside a hearty tomato soup, a rich beef stew, or a simple pasta dish. It’s also fantastic as an appetizer with olive oil for dipping, or as part of an impressive cheese board. For breakfast or a snack, a slice toasted and topped with cream cheese or jam is surprisingly delightful.
To store your freshly baked bread, wrap it in foil or place it in a bread bag at room temperature for up to 2-3 days. For longer storage, this bread freezes beautifully. Once completely cool, wrap individual loaves or slices tightly in plastic wrap, then in foil, and freeze for up to 3 months. Thaw at room temperature and refresh in a warm oven for a few minutes to bring back that fresh-baked taste and crust.

Butter and Herb Artisan Bread
Ingredients
- 3 cup warm water
- 1 ½ Tbsp yeast
- ½ Tbsp honey
- 1 Tbsp kosher salt
- 4 Tbsp unsalted butter melted
- 1 tsp garlic powder
- 3 tsp Herbs de Provence
- 886 grams bread flour ~6-1/2 cups
Instructions
-
In a large bowl, add the water and yeast. Let the yeast proof 5 minutes. Add the remaining ingredients and stir/knead 9-10 minutes until dough is smooth, wet, and just slightly elastic. I use the dough hook on the mixer to do this, but it can be done the old fashioned way with a wooden spoon.
-
Cover the bowl with a damp towel and put the dough to rise in a warm place for 2 hours.
-
Use a rubber spatula to scrape the dough out of the bowl onto a floured surface. Flour the top of the dough and knead it just a couple times to get it into a nice, smooth mound. Divide and form the dough into 4 loaves. Let them rise 1 hour.
-
Heat the oven to 450°F with a pizza stone in the oven. Cook the bread loaves 30 minutes or until browned and crusty. On my pizza stone, I fit two loaves at a time. Move the cooked bread to a rack to cool. Serve that day or wrap in foil to freeze for later. Yields 4 loaves.
Nutrition
~✿♥✿~
