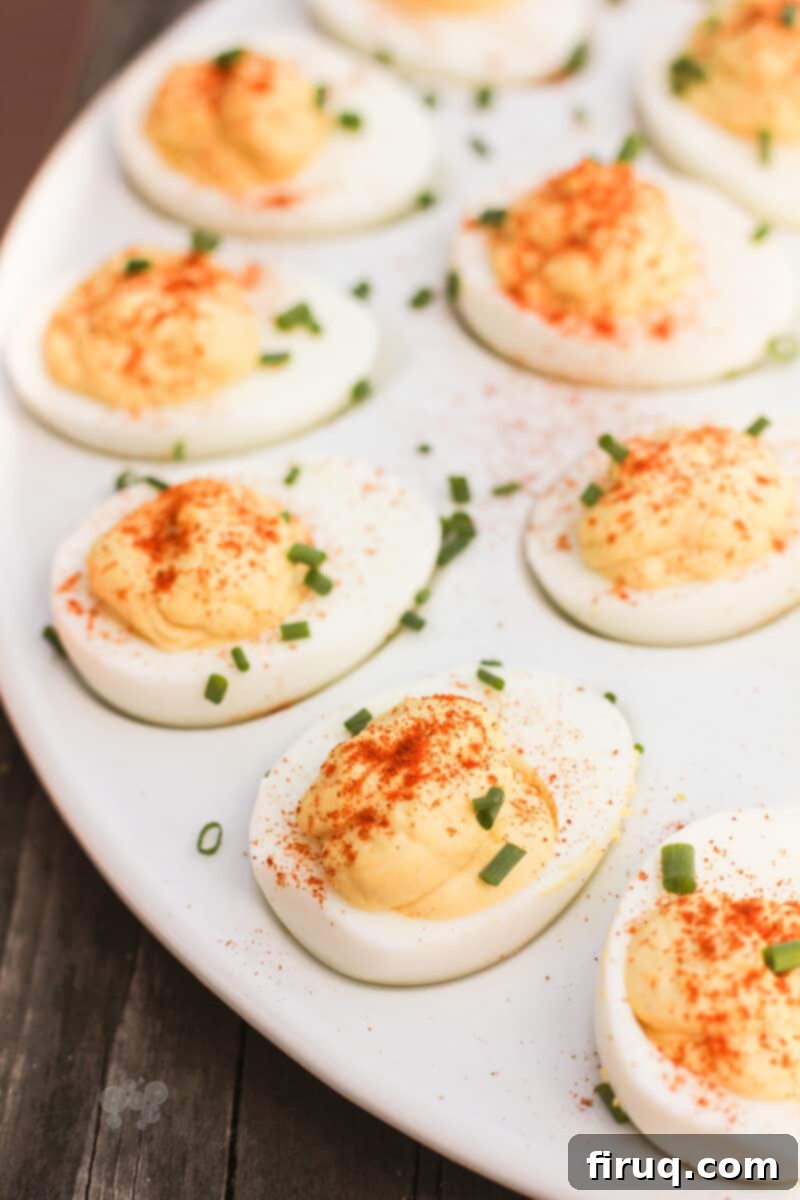
The Ultimate Deviled Eggs Recipe: Unlocking Perfectly Balanced Flavor and Flawless Texture
Deviled eggs are a beloved classic, an enduring American appetizer that consistently delights and disappears rapidly at any gathering. Over decades of dedicated experimentation and refinement, I’ve perfected a recipe that consistently yields the most exquisite deviled eggs imaginable. This isn’t just another recipe; it’s the result of countless trials, ensuring a perfectly balanced flavor profile that’s neither too tangy nor overly sweet. It’s truly a foolproof method that consistently delivers the best deviled eggs you will ever taste.
Admittedly, making deviled eggs can feel like a labor of love. The process typically involves boiling eggs, the often-fickle task of peeling them cleanly, carefully halving each egg, scooping out the yolks, preparing the creamy filling, and then meticulously piping it back into the egg white halves. It’s a multi-step endeavor that requires a touch of patience and a steady hand.
However, through years of practice, I’ve developed a streamlined system that transforms this often-tedious task into an enjoyable and efficient process. This refined approach has made preparing a batch of deviled eggs surprisingly hassle-free, which means I can make them more often, and everyone gets to savor these delightful bites more frequently. In this comprehensive guide, I’m excited to share all my accumulated secrets and expert tips to help you create the absolute best deviled eggs of your life.
Unlocking the Secrets to Perfectly Balanced Deviled Eggs
My journey to crafting the ultimate deviled eggs was surprisingly long for such a seemingly straightforward and cherished American recipe. It took me years to truly nail the ideal consistency and flavor. Through that extensive process, I discovered two fundamental pillars to success, beginning with precision in ingredient measurement.
1. Precision in Measuring: The Non-Negotiable Step
As a cook, I typically prefer the intuitive approach, where ingredients are added “by feel” rather than by strict measurements. This is why I gravitate towards cooking rather than baking, which often demands scientific accuracy. However, I quickly learned that deviled eggs are a notable exception to this rule.
Every single time I attempted to eyeball the ingredients for my deviled egg filling, the results were consistently disappointing. Too much mustard, an overabundance of horseradish, or an imbalance of other components would inevitably lead to a filling that was “off.” The flavor profile would be skewed, lacking the harmonious blend I sought. Conversely, when I committed to measuring each ingredient according to my developed recipe, the eggs turned out perfect, every single time. This consistency is not coincidental; it’s a direct outcome of respecting the ratios.
While I might not meticulously scrape every last bit of mayonnaise from the measuring spoon, aiming for “about a teaspoon” or “about a tablespoon” with a standard measuring spoon and a quick tap into the bowl is sufficient. The key isn’t an obsessive baker’s precision, but rather moving beyond arbitrary “dashes” and “dollops.” This slight shift in technique makes all the difference, transforming inconsistent results into consistently delicious deviled eggs.
2. Beyond Measurement: The Other Essential Elements
While precise measuring forms the foundation, several other crucial elements contribute to why *these* are truly the best deviled eggs you’ll ever enjoy:
- A Harmonious Blend of Flavors: The exact ratios of two distinct mustards, vinegar, and mayonnaise create a perfectly balanced flavor. Yellow mustard introduces a sharp, bright tang, while Dijon mustard adds a deeper, more sophisticated note. The vinegar cuts through the richness of the mayonnaise and yolks, preventing the filling from being heavy or cloying. This combination results in that quintessential “deviled” zing without overpowering the palate.
- No Relish, Period: While relish has its place on a hot dog, it simply doesn’t belong in deviled eggs. Its sweetness and often clashing texture can detract from the creamy, savory experience. My recipe focuses on pure, unadulterated flavor without the unwelcome intrusion of relish.
- Optimized Egg Boiling Time: I advocate for cooking the eggs slightly longer than the typical hard-boiled egg recommendations. This isn’t long enough to produce an undesirable green ring around the yolk, but just enough to firm up the egg whites and make the peeling process significantly easier, even with fresher eggs. This simple trick saves immense frustration and ensures beautifully intact egg white halves.
- The Ziploc Bag Piping Hack: For years, filling deviled eggs was the most cumbersome part of the process, often resulting in messy, uneven presentations. Discovering the ziploc bag method was a revelation. It transforms the task of piping the creamy filling into a quick, clean, and efficient operation, making it feel less like a chore and more like an effortless step in the recipe.
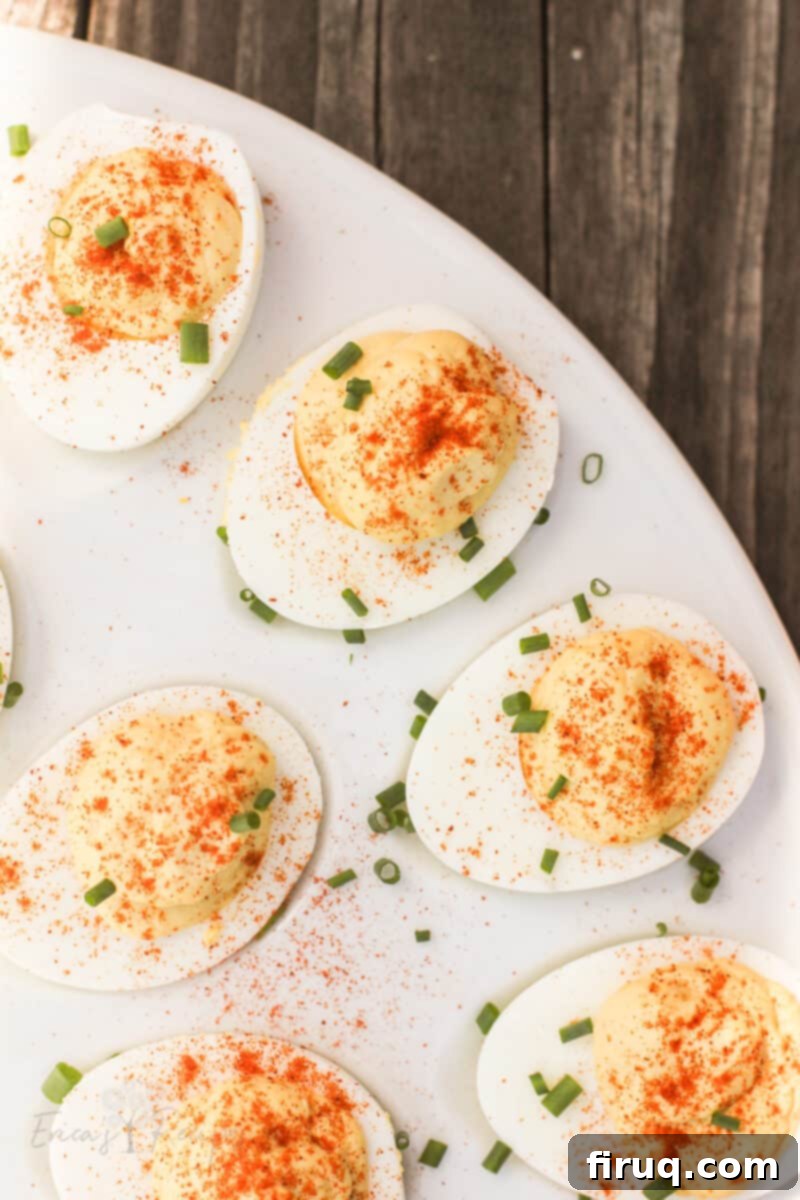
Essential Ingredients for Superior Deviled Eggs
Achieving culinary excellence in deviled eggs hinges on both the quality of your ingredients and adhering to precise measurements. While I’ve stressed the importance of measuring, I’m also not advocating for an overly scientific approach. A good measuring spoon, a gentle tap to empty it, and a focus on consistency are all you need. We’re still cooking, after all, not performing laboratory experiments.
- Eggs: The age-old wisdom holds true: fresh eggs are notoriously difficult to peel. For the easiest peeling experience, ideally, purchase your eggs at least a week in advance. If fresh eggs are all you have, don’t despair! Peeling them under a stream of cold running water can significantly ease the process, helping the shell separate from the membrane. Boiling them slightly longer, as discussed, also aids in this.
- Mayonnaise: The choice of mayonnaise is crucial for the texture and tang of your filling. I am an absolute convert to Duke’s Mayonnaise. For years, I believed Hellmann’s was superior, but one taste of Duke’s, with its distinctive, slightly tangier profile and rich, creamy texture, completely won me over. Furthermore, using full-fat mayonnaise is non-negotiable. Skimping on fat here will compromise the creamy consistency and rich flavor, leading to a less-than-stellar result.
- White Vinegar: This unassuming pantry staple plays a vital role in balancing the richness of the egg yolks and mayonnaise. A splash of white vinegar provides the necessary acidic brightness, preventing the filling from tasting heavy and adding that characteristic “deviled” tang. It works in harmony with the mustards to create a complex flavor profile.
- Two Mustards: Yellow and Dijon: This combination is one of the key differentiators in my recipe. Yellow mustard delivers that classic, zesty “bite” and a familiar tang often associated with deviled eggs. Dijon mustard, on the other hand, introduces a sophisticated, slightly spicier, and more nuanced flavor dimension. Together, they create a depth of flavor that a single mustard simply cannot achieve, perfectly complementing the vinegar.
- Prepared Horseradish: Just a touch of prepared horseradish adds an intriguing, subtle kick and a gentle warmth. This is one ingredient where precise measurement is paramount; too much can easily overwhelm the delicate balance of flavors. A small amount provides complexity without being overtly spicy.
- Onion Powder: Onion powder offers a consistent, mellow onion flavor without introducing any unwanted texture or moisture that fresh onion might. It seamlessly integrates into the creamy filling, enhancing the savory notes. Again, measuring this ingredient ensures a consistent outcome.
- Worcestershire Sauce: This fermented condiment provides a wonderful depth and umami kick. My recipe calls for “4 sprinkles,” which translates to four quick dashes from the bottle. Don’t overthink it; just a few quick splashes are enough to add a layer of savory complexity that elevates the entire dish.
- Paprika: A light dusting of paprika is not merely for garnish; it adds a subtle earthy note and a vibrant pop of color, making the deviled eggs visually appealing and undeniably classic. Without it, would they truly be deviled eggs?
Explore More Delicious Deviled Egg Creations
If you love deviled eggs as much as I do, you’ll be thrilled to discover the versatility of this classic appetizer. Here are a couple of my favorite variations that push the boundaries of flavor while maintaining that irresistible creamy texture:
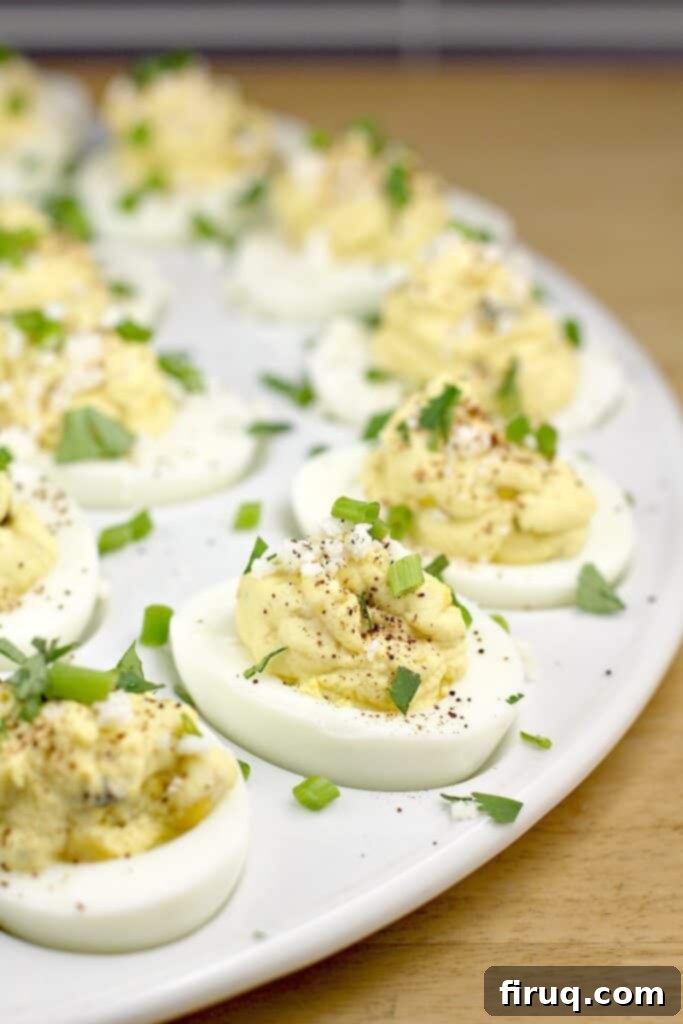
Mastering the Art: How to Make the Best Deviled Eggs
The beauty of this recipe lies not just in its ingredients, but in the streamlined process. These simple tricks ensure that making deviled eggs becomes so easy, you’ll want to whip them up all the time.
Step 1: Perfectly Cook and Peel Your Eggs
The foundation of any great deviled egg is a perfectly cooked and cleanly peeled hard-boiled egg. This initial step is critical for both appearance and ease of preparation.
- Boil the Eggs: Place your eggs in a pot and cover them with cold water, ensuring there’s about an inch of water above the eggs. Place the pot on the stovetop over high heat, uncovered. Once the water reaches a rolling boil, immediately set a timer. For eggs that are a week old or more, boil for 17 minutes. This slightly extended boiling time helps the egg white firm up, making it easier to separate from the shell. If your eggs are exceptionally fresh, perhaps straight from a local farm, extend the boiling time to 18 minutes.
- Ice Bath and Peeling: As soon as the timer goes off, remove the pot from the heat. Immediately transfer the hot eggs to a large bowl filled with ice water. This “ice bath” rapidly halts the cooking process, preventing the dreaded green ring around the yolk and making the eggs easier to handle. Allow them to cool completely in the ice bath for at least 10-15 minutes. Once cool, gently crack and shell the eggs. If the shells are stubborn, try peeling them under cold running water – the water helps to lubricate and separate the membrane from the egg white. Patience and perhaps a glass of your favorite beverage can also be helpful companions during this task!
Step 2: Crafting the Irresistible Filling
Now comes the fun part: transforming those yolks into a creamy, flavorful filling that embodies the essence of deviled eggs.
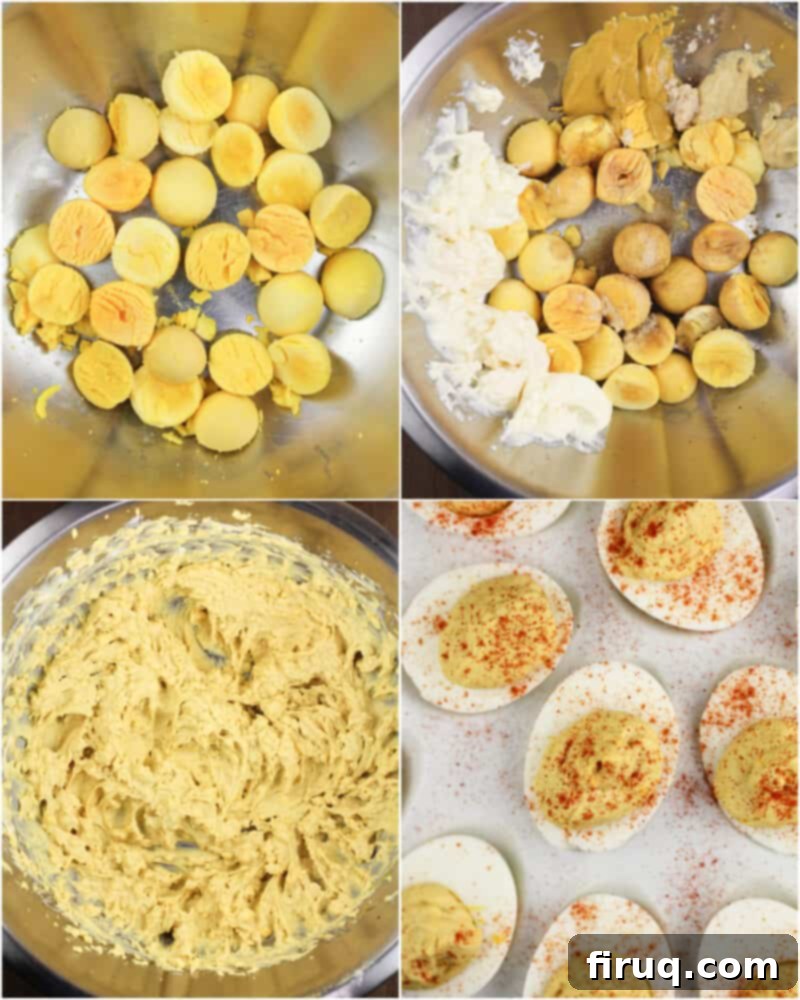
- Prepare the Yolks: Carefully halve each shelled egg lengthwise with a sharp, straight-edged knife. Gently scoop the bright yellow yolks into a medium-sized mixing bowl. You’ll want a bowl large enough to accommodate an electric mixer without making a mess. Ensure the egg white halves remain intact, as they will be the vessels for your delicious filling.
- Add the Filling Ingredients: To the bowl with the yolks, add all the remaining ingredients (mayonnaise, white vinegar, yellow mustard, Dijon mustard, prepared horseradish, onion powder, and Worcestershire sauce). As mentioned before, use your measuring spoons, tapping them on the side of the bowl to release the ingredients. Don’t worry about getting every last speck with a spatula; “close enough” is perfectly fine here.
- Blend to Perfection: Using an electric mixer on medium speed, blend all the ingredients together until they are smooth and creamy. While an electric mixer creates a wonderfully airy and consistent texture, a sturdy fork can also be used for mixing – just be prepared for a bit more effort and potentially a slightly less uniform consistency (which, as we’ll discuss, is perfectly acceptable!). The goal is a well-combined, flavorful mixture.
- Pipe the Filling: This is where the magic happens! Spoon the entire yolk mixture into a quart or gallon-sized resealable plastic bag. Push the filling down into one corner of the bag. Using kitchen shears, snip off a small corner of the bag – make sure the opening is large enough to allow any small yolk chunks to pass through easily. Now, like a pastry chef, gently squeeze the bag and pipe the creamy filling into each egg white half. This method is incredibly clean, efficient, and ensures a beautiful, professional-looking presentation. Arrange your filled deviled eggs on a serving platter.
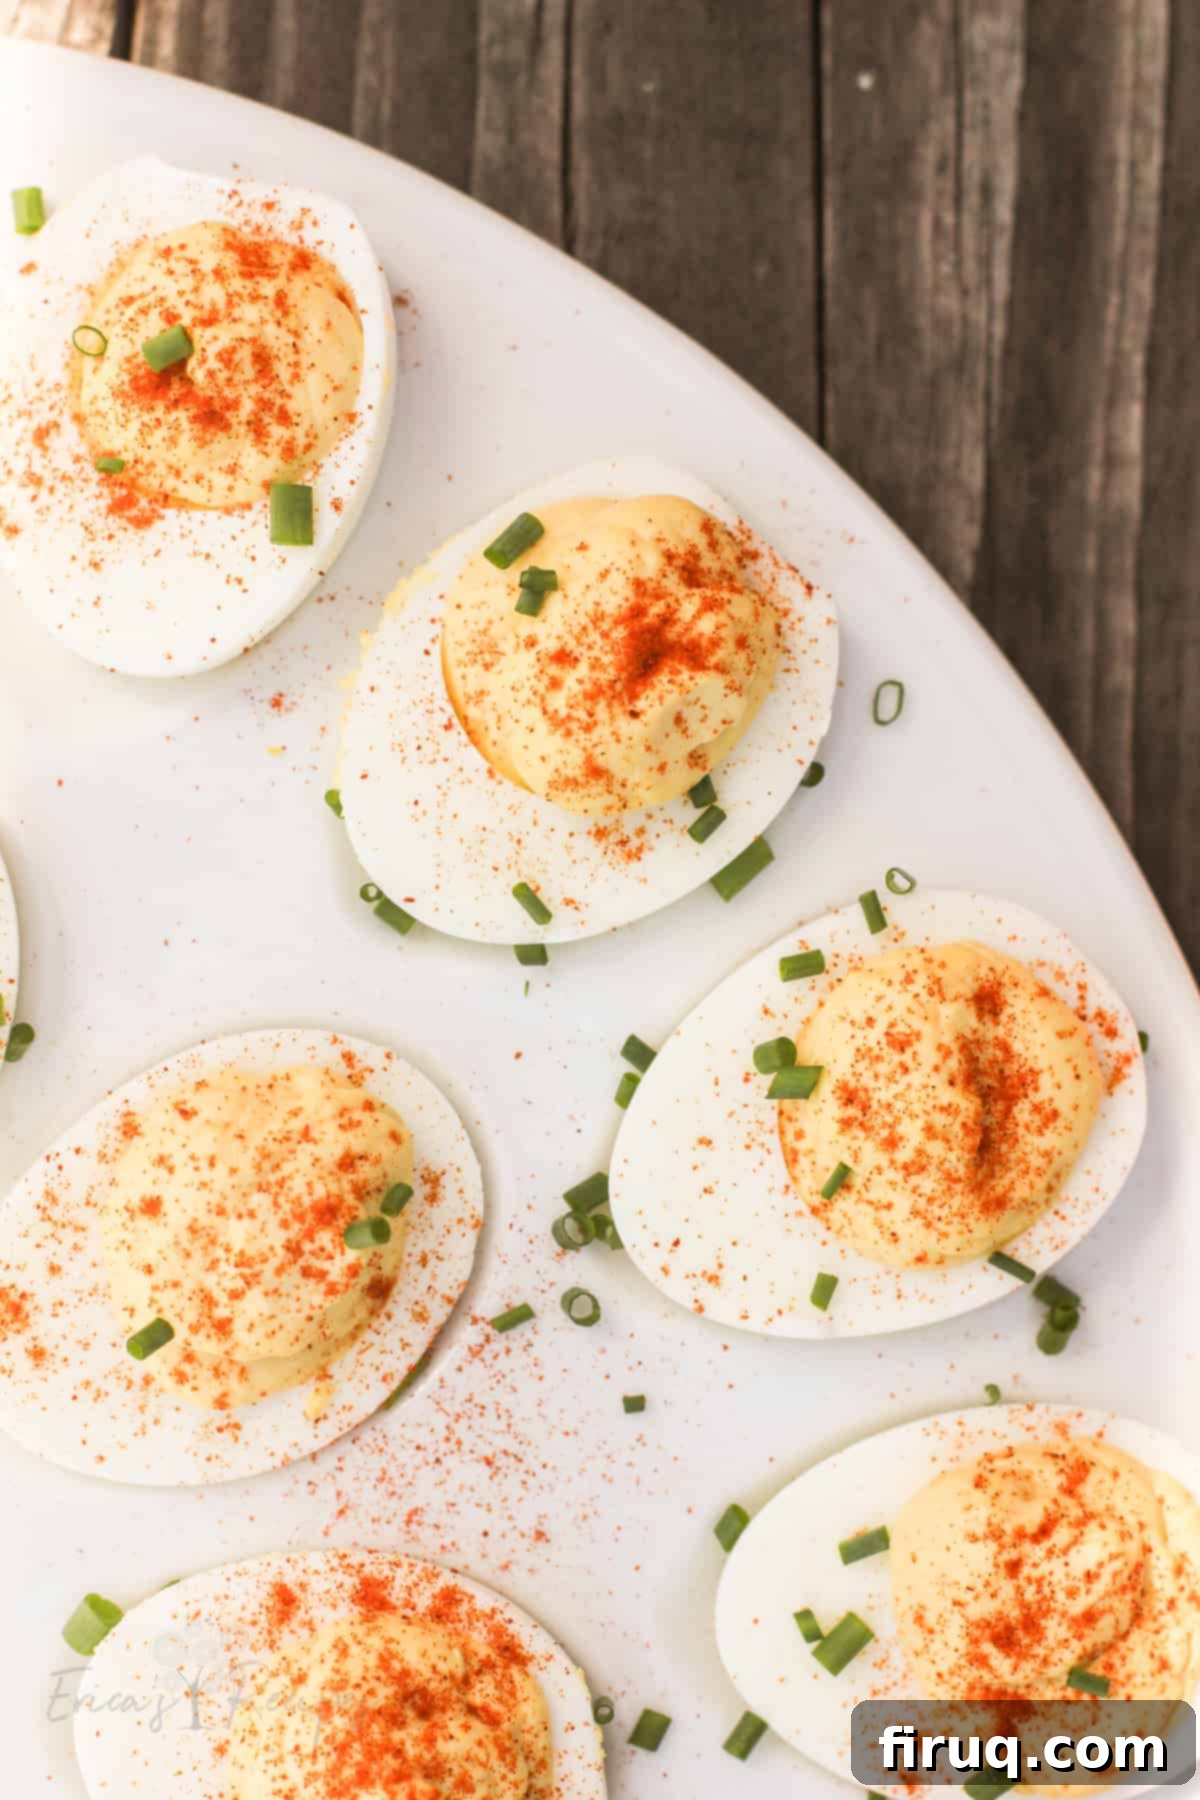
- Garnish and Serve: Finish your masterpiece with a light, even dusting of paprika over the top of each deviled egg. For an extra touch of freshness and color, finely chopped chives or parsley can also be sprinkled on top.
And there you have it! The best damn deviled eggs you’ve ever made, ready to be enjoyed.
Frequently Asked Questions About Deviled Eggs
Absolutely, yes! Deviled eggs are an ideal make-ahead appetizer, especially perfect for holiday gatherings or parties. You can comfortably prepare them a full day in advance. To store them, arrange the filled eggs on a platter or in a specialized deviled egg container, then cover them tightly with plastic wrap to prevent them from drying out and to maintain their fresh flavor. Ensure they are kept refrigerated until just before serving.
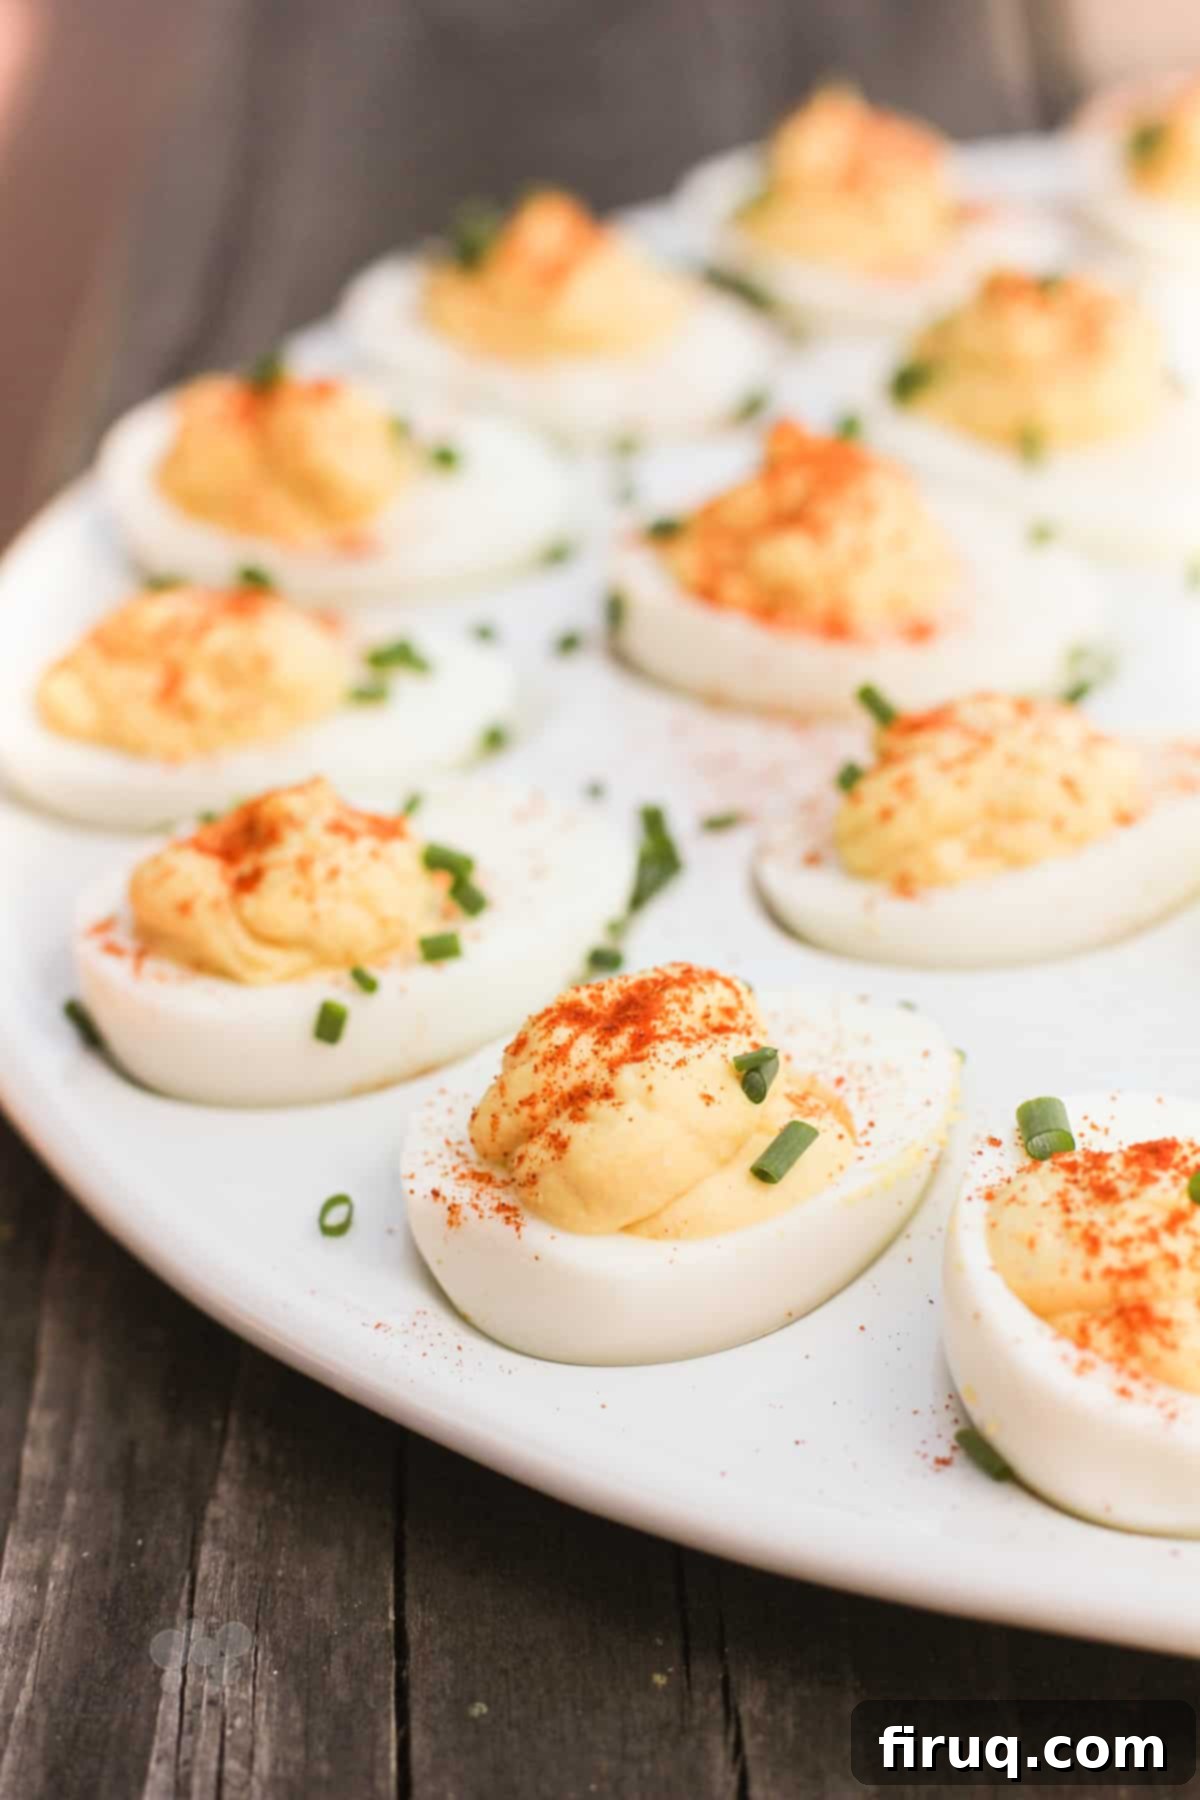
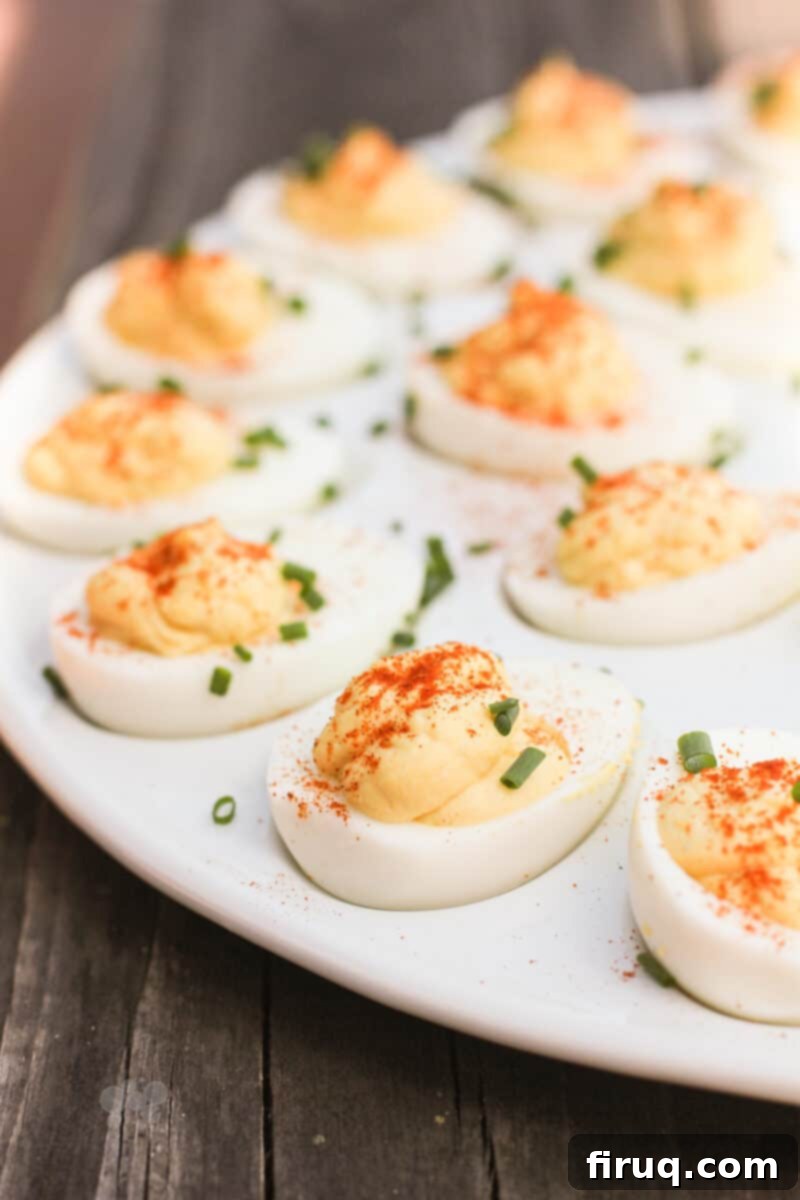
For serving at home, I use a dedicated round white serving platter designed with indentations to securely hold the deviled eggs – this is the dish featured in the photos for this post. When transporting these delicious bites to another location, I rely on a Rubbermaid container specifically designed for deviled eggs, complete with a secure lid. (Curiously, my container has 22 indentations, a rather odd number!). If you don’t own a specialized deviled egg carrier, a large, flat dish or serving tray layered with a few sheets of paper towel can work wonders. The paper towel helps to keep the eggs from sliding around during transit. In all cases, always cover the container or platter tightly with plastic wrap to prevent the eggs from drying out and to protect their delicate presentation.
Many deviled egg recipes claim to achieve a perfectly smooth filling, often implying a tedious process or special equipment like a potato ricer (which, I admit, would probably do the trick). However, I firmly believe that absolute smoothness is not necessary, nor is it a sign of a superior deviled egg. What truly matters is the flavor of your deviled eggs. Nobody has ever complained about a tiny chunk of yolk in their deviled egg. On the other hand, countless people lament fillings that are “too mustardy,” “too bland,” “ugh, relish,” or, perhaps the most egregious offense, “GAH, Miracle Whip.” Focus on the balanced taste; a few tiny lumps of yolk simply add character and don’t detract from the enjoyment.
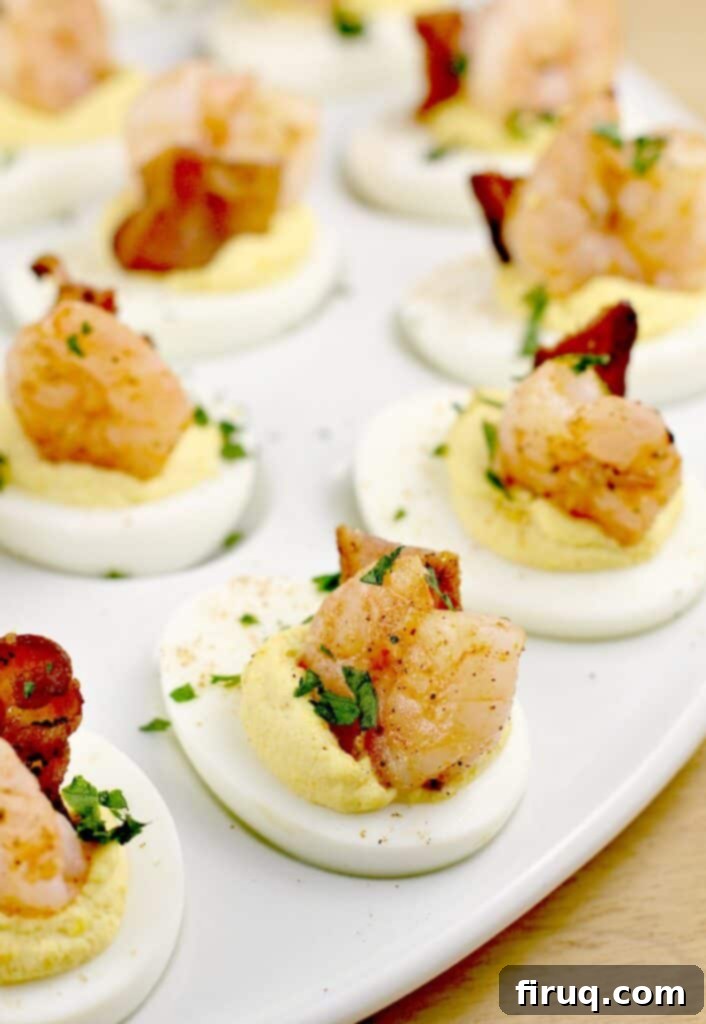
Yes, absolutely, but it must be done correctly. And I confess, I can be a bit of a food snob when it comes to bacon in deviled eggs. While adding bacon bits or crumbles to the filling sounds appealing in theory, the reality is that bacon does not stay crispy when mixed into a moist deviled egg filling. It quickly becomes soft and gummy, losing its desirable texture. The best, most impressive way to incorporate bacon – and this truly adds a “wow” factor – is to simply place a crisp piece of cooked bacon directly on top of each deviled egg just before serving. Trust me, it makes all the difference for both taste and texture. Serve it “comme ça” (like this):

Additional Tips for Deviled Egg Perfection
Here are a few more pro tips to ensure your deviled egg-making experience is as smooth and successful as possible:
- Keep Your Knife Clean: When halving your hard-boiled eggs, use a straight-edged, very sharp knife. After each cut, wipe the blade clean with a damp paper towel. This prevents any residual yolk or egg white from smearing onto the next egg half, ensuring perfectly clean and pristine egg white boats for your filling.
- Boil an Extra Egg (or two!): I almost always boil 13 eggs for this recipe, even though it calls for a dozen. There’s always that one stubborn egg that cracks during boiling or gets damaged during peeling. The extra egg provides a safety net and also offers a convenient “taste test” opportunity. I use its yolk for the filling and taste test the mixture to ensure perfect seasoning before piping. I rarely need to adjust the recipe, but if I do, it’s usually just an extra teaspoon or two of mayonnaise for creaminess.
- Alternative Piping Methods: If you don’t have a piping bag or a ziploc bag handy, you can still achieve a beautiful presentation. Use two spoons to scoop and shape the filling, or simply use one spoon to carefully dollop the mixture into the egg white halves. While perhaps not as precise as piping, it still works perfectly well.
- Handle Paprika with Care: Paprika, especially from a container with a wide opening, can sometimes clump and dump out unexpectedly. To ensure a light, even dusting, pour about a teaspoon of paprika into the palm of your hand or a small bowl. Then, use your other hand to gently pinch and sprinkle the paprika over the filled eggs. This gives you much better control.
- Smooth Out Imperfections: After piping, if any of your deviled eggs have a small “spike” or uneven peak of filling, simply moisten your fingertip with a tiny bit of water and gently tap or smooth down the imperfection. This creates a beautifully rounded, finished look.
