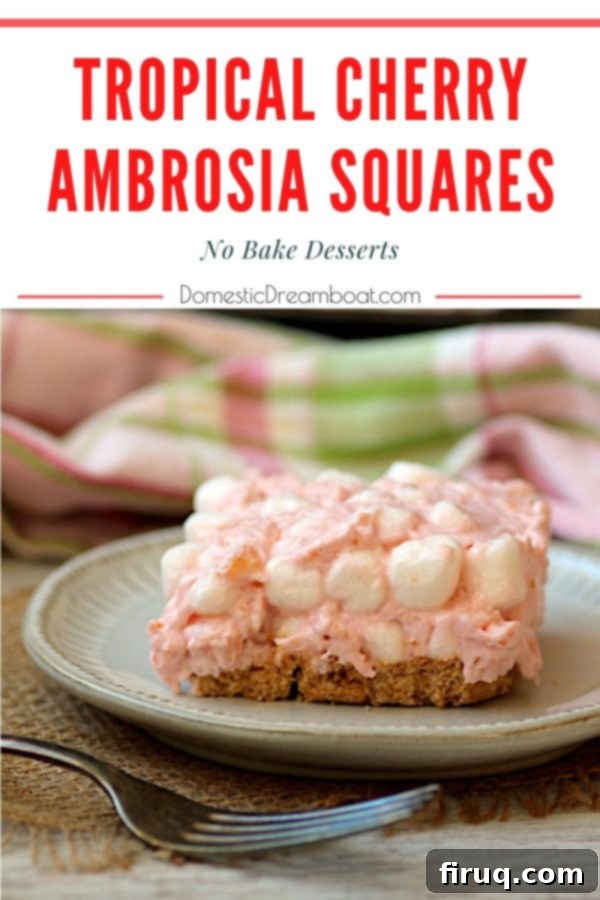
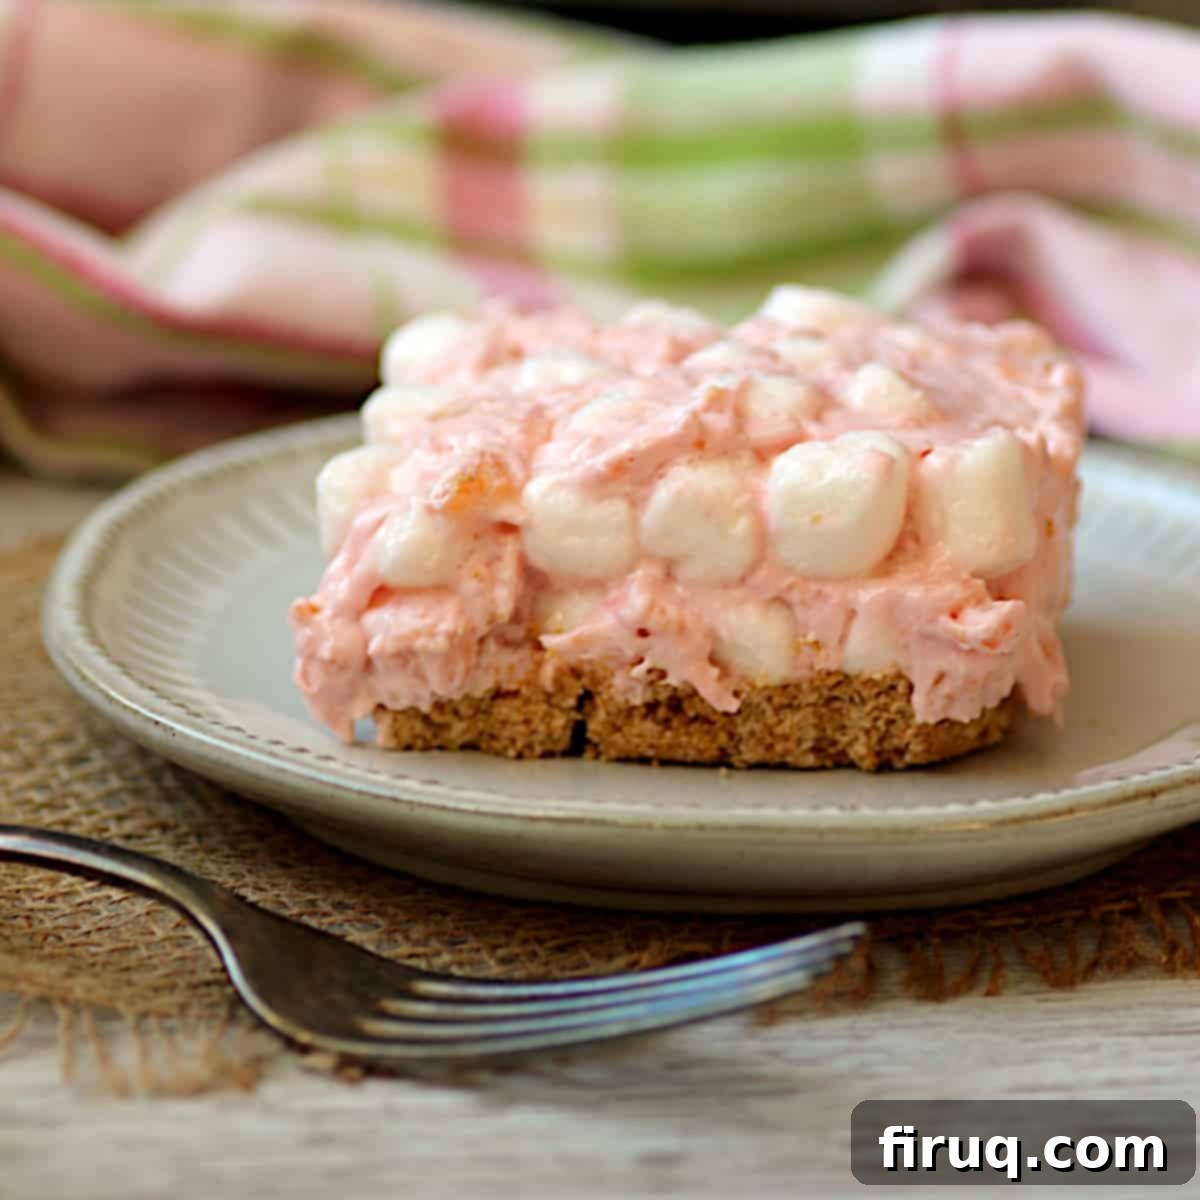
Irresistible Tropical Cherry Ambrosia Squares: Your Ultimate No-Bake Dessert
Prepare to delight your taste buds with these enchanting and effortlessly delicious Tropical Cherry Ambrosia Squares! Imagine classic, fluffy ambrosia, but transformed into convenient, sliceable squares, complete with a delightful graham wafer crust. This vibrant pink dessert is not only a treat for the eyes but also incredibly simple to prepare, making it a perfect choice for any occasion, from festive holidays like Valentine’s Day and Easter to casual gatherings or simply a sweet everyday indulgence.
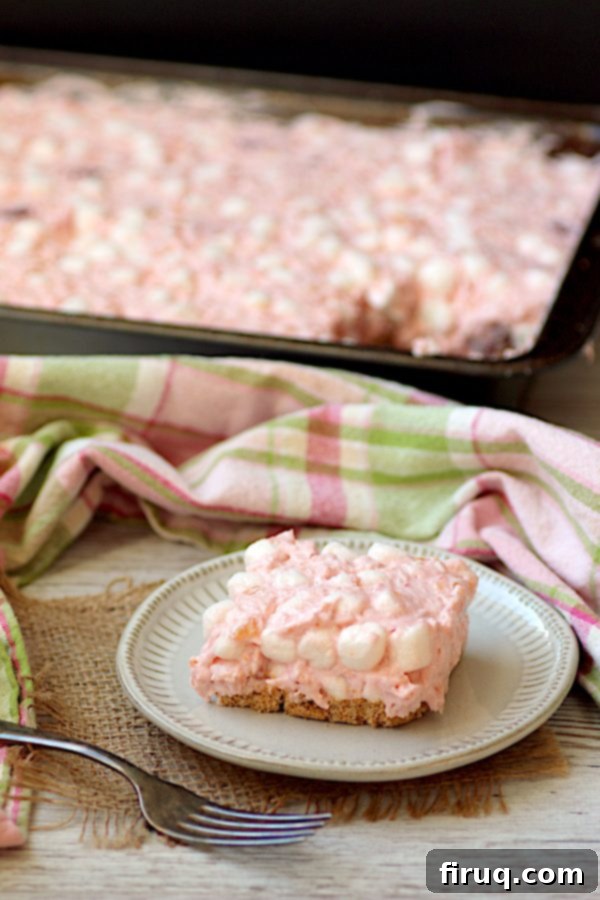
Today, we’re diving into a recipe that promises fun, festivity, and a beautiful pop of color. These squares are designed to be easy to make and even easier to serve, especially during holidays where pastel-hued foods are not just expected, but eagerly anticipated. Whether you’re a seasoned baker or a kitchen novice, you’ll find this recipe straightforward and incredibly rewarding.
What is Ambrosia? A Sweet History of a Beloved Dessert
For those unfamiliar, ambrosia is a classic, fluffy, fruit salad-like dessert that has graced American tables for generations. Traditionally, it features a delightful mix of fruit (often citrus like oranges or pineapple), marshmallows, and coconut, bound together with whipped topping or sour cream. It’s a retro recipe with deep roots, particularly popular in the Southern United States, where it was often served at potlucks, holidays, and family gatherings.
Interestingly, ambrosia has a somewhat whimsical history. In earlier times, it was often presented on dinner plates and referred to as “salad” rather than “dessert.” This might seem odd by today’s standards, but it speaks to a culinary era where fruit-based dishes often straddled the line between sweet and savory. Many of us have fond childhood memories of a grandparent or family member preparing a version of ambrosia, a testament to its enduring appeal and nostalgic charm. While I’ve long since moved past the idea that this sweet concoction counts towards my daily fruit and vegetable intake, I still make it regularly for dessert because it’s simply irresistible. It’s incredibly quick to mix up and stays wonderfully fresh in the fridge for several days, making it a perfect make-ahead treat.
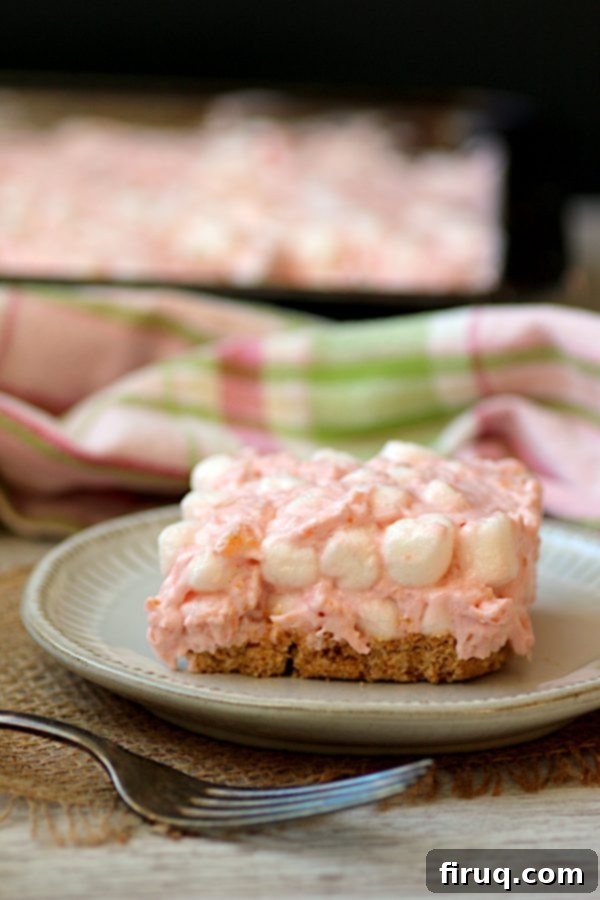
From Bowl to Bar: Innovating Ambrosia for Perfect Squares
While traditional ambrosia is fantastic when scooped from a bowl, sometimes you crave a dessert you can enjoy with a fork, in a neatly portioned slice. And let’s be honest, who can resist a buttery, crunchy graham cracker crust? This craving for a sliceable treat led me to the delicious idea of creating these Tropical Cherry Ambrosia Squares. The goal was to take my beloved Tropical Cherry Ambrosia recipe and transform it into a sturdy bar that holds its shape, without sacrificing any of its signature fluffy texture.
The Key to No-Soggy Crust: Smart Modifications
Converting a fluffy, moist dessert into a firm square presents a unique challenge: preventing the crust from becoming soggy. Simply layering the ambrosia mixture onto a graham crust wouldn’t work; the moisture from the pineapple juice and cherry pie filling would quickly compromise the crust’s crispness. To ensure these ambrosia squares maintain their structure and offer that satisfying crunch, I knew the recipe needed a slight but crucial modification.
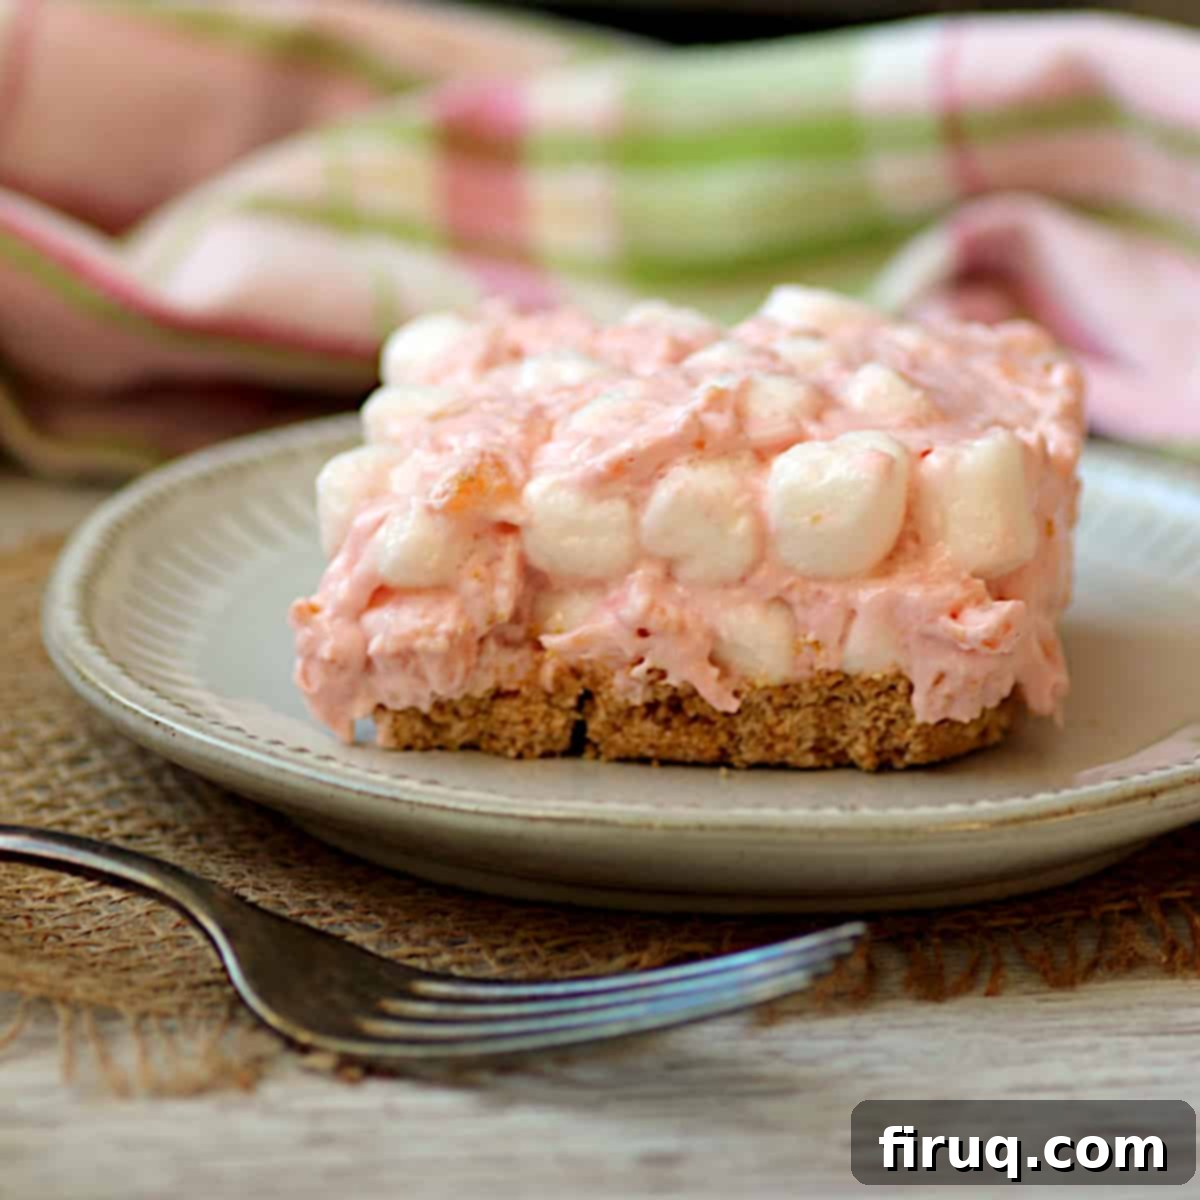
The secret lies in thickening the ambrosia filling. In my original ambrosia recipe, marshmallows play a vital role not just for their sweetness and chewiness, but also as a natural thickening agent. They gradually absorb the liquids from the fruit, creating that characteristic soft and fluffy texture. To make these squares hold up beautifully on a plate, I simply increased the quantity of mini marshmallows in the filling. This subtle adjustment dramatically improved the filling’s firmness, allowing it to set perfectly without becoming overly dense.
Despite my initial concerns about potential sogginess, I was thrilled with the results. Even after several days stored in the refrigerator, the graham cracker crust remained wonderfully dry and crisp, providing the perfect counterpoint to the soft, sweet ambrosia filling. This simple yet effective modification ensures a flawless dessert experience every time.
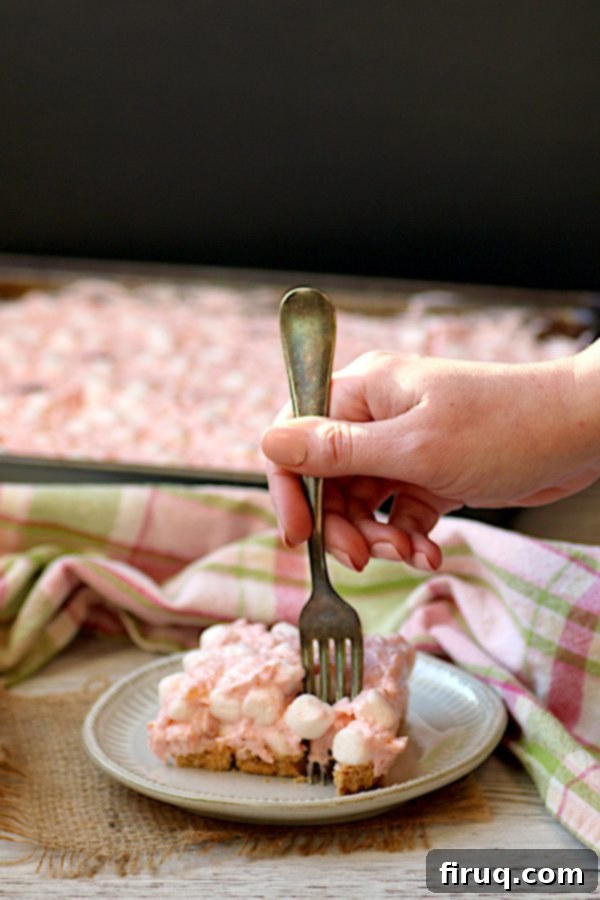
How to Make Tropical Cherry Ambrosia Squares: A Simple Guide
Creating these fun, fluffy, and vibrant ambrosia squares is surprisingly easy, making them an ideal recipe for both beginners and experienced cooks. While the ambrosia filling itself is a no-bake wonder, the graham cracker crust requires a brief stint in the oven to achieve its perfectly toasted, golden-brown deliciousness. This minimal baking time adds depth of flavor and structure to the squares.
The process begins with the filling, which is as straightforward as it gets: simply combine all the ingredients in a large bowl and stir until well mixed. On a recent batch, I found myself without canned crushed pineapple, but a quick workaround involved pulsing some thawed frozen pineapple in my food processor until it resembled the canned version. This highlights the flexibility of the recipe and encourages adaptation when needed.
Next up is the incredibly simple crust. If you’re starting with whole graham crackers, simply pulse them in a food processor until fine crumbs form. If you’ve opted for pre-ground graham crumbs, you can skip this step entirely! Then, mix the crumbs with melted butter and a touch of granulated sugar. Press this mixture firmly into your baking pan and bake for about 15 minutes, just until the edges are lightly browned and your kitchen fills with that irresistible toasted graham aroma. Once the crust has cooled to room temperature, spoon the chilled ambrosia filling evenly over it. A final chill in the refrigerator allows everything to set beautifully before you slice and serve these delightful squares.
Essential Ingredients for Perfect Tropical Ambrosia Squares:
- Canned Crushed Pineapple: This provides a sweet and tangy base. Remember to drain it thoroughly to prevent a soggy crust. If canned isn’t available, simply pulse fresh or thawed frozen pineapple in a food processor until finely crushed.
- Canned Cherry Pie Filling: This ingredient is crucial for the signature pink hue and delightful cherry flavor. Look for brands that advertise “extra cherries” for a richer fruit experience, though any good quality cherry pie filling will work beautifully.
- Frozen Whipped Topping (Cool Whip): The backbone of the ambrosia’s fluffy texture. Both regular and light/low-fat/fat-free varieties work well. Ensure it’s thawed before mixing for a smooth consistency.
- Mini Marshmallows: These are essential for achieving the perfect fluffy texture and, crucially, for helping the squares hold their shape. Mini marshmallows are easiest to work with, but regular-sized ones can be cut into smaller pieces if necessary.
- Unsweetened Shredded Dried Coconut: Adds a wonderful tropical flavor and chewy texture. While sweetened coconut can be used, be mindful that the dessert will be noticeably sweeter, as ambrosia is already quite sweet on its own.
- Graham Crackers: The foundation of our crisp crust. You can either crush whole graham crackers yourself or use pre-ground graham crumbs for a shortcut. For a gluten-free version, simply opt for gluten-free graham crackers or crumbs.
- Granulated Sugar: A small amount is added to the crust to enhance its sweetness and aid in caramelization during baking.
- Unsalted Butter: Binds the graham cracker crumbs together for a firm, flavorful crust. Melted unsalted butter is preferred, but salted butter can also be used if you enjoy a subtle sweet and salty contrast in your crust.
Ambrosia Square Variations: Customize Your Sweet Treat
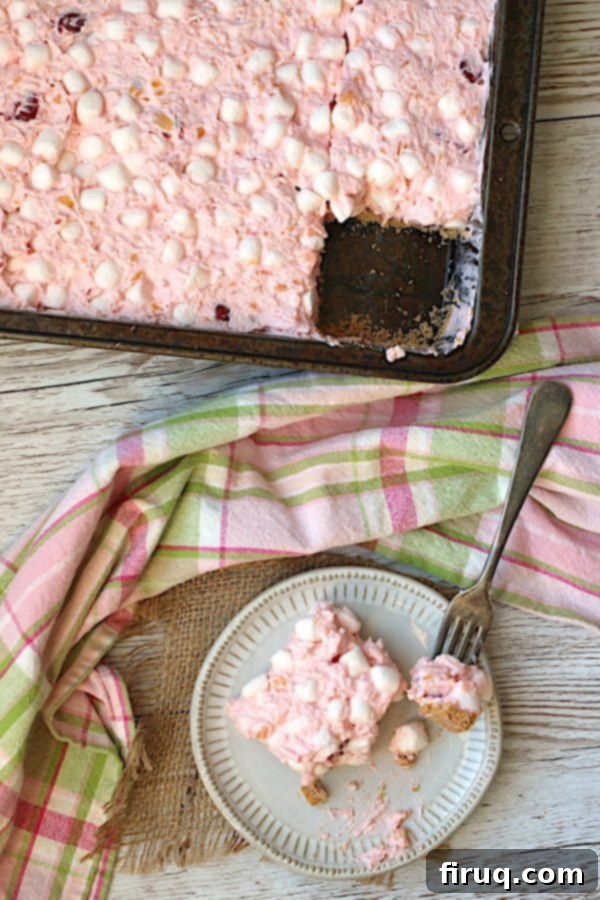
One of the best things about ambrosia is its versatility, and these squares are no exception! There are countless ways to customize this recipe to suit your preferences or to use whatever ingredients you have on hand. Feel free to experiment with different fruits to change the flavor profile entirely. For example, mandarin oranges, canned peaches (well-drained), or even mixed berries can be lovely additions or substitutions for the pineapple or cherries. If your family has a cherished ambrosia recipe, you can certainly adapt it into squares. Just remember that if your traditional recipe contains a lot of moisture, you might need to make similar adjustments to the marshmallow quantity (as discussed in my modification notes) to ensure the squares hold their shape and the crust remains crisp.
Beyond fruit, consider creative crust alternatives. For a decadent twist, replace the graham cracker crust with a chocolate cookie crust by simply using crushed Oreo cookies (or similar chocolate sandwich cookies) mixed with melted butter. This creates a rich, chocolatey base that pairs wonderfully with the sweet, fruity ambrosia. You could also try vanilla wafer crumbs or a shortbread cookie base for different textures and flavors. Don’t be afraid to add extra mix-ins to the ambrosia filling itself, such as chopped nuts (pecans or walnuts are classic in ambrosia), mini chocolate chips, or even a sprinkle of toasted coconut on top for added crunch and visual appeal.
Craving More Pink & Festive Recipes?
If you love the vibrant pink hue and festive appeal of these ambrosia squares, you’re in luck! We have a selection of other delightful pink recipes that are perfect for celebrations, holidays, or just adding a touch of color to your day. Explore these other favorites:
Tropical Cherry Ambrosia Squares Nutrition Notes & Dietary Tips:
When preparing your Tropical Cherry Ambrosia Squares, it’s helpful to keep a few dietary considerations in mind. For those following a gluten-free diet, ensure you select gluten-free graham wafers or gluten-free graham cracker crumbs for the crust. This simple substitution makes the entire dessert accessible to everyone.
Regarding the nutritional information provided in the recipe card below, please note that the calculations are based on using a non-fat whipped topping. If you opt for regular whipped topping, the fat content and calorie count per serving in your ambrosia squares will be slightly higher. While this is a delightful dessert, like all sweet treats, moderation is key. Enjoy these squares as a festive indulgence, knowing you have options to adjust for different dietary needs.
Tropical Cherry Ambrosia Squares
Save
Saved!
Print Recipe
Pin Recipe
16
Dessert
Universal
260
18 minutes
15 minutes
1 hour
Prevent your screen from going dark
Equipment
Method
Nutrition
Notes
Equipment
-
Food Processor
-
9×13″ Baking Pan
Ingredients
-
20
ounce
can crushed pineapple
(ensure well-drained; see note below for alternatives) -
21
ounce
can cherry pie filling
(for best results, use a brand with “extra cherries”) -
8
ounces
1 small container frozen whipped topping (Cool Whip)
(thawed; regular or light/fat-free will work – see note) -
6
cups
mini marshmallows
(approximately ¾ of a 16-ounce bag; crucial for texture and firmness) -
1
cup
unsweetened shredded dried coconut
(sweetened can be used, but note the dessert will be much sweeter) -
16
whole
graham crackers
(broken into pieces, or 2½ cups pre-ground graham crumbs; see note for gluten-free options) -
1/3
cup
granulated sugar
(for the crust) -
8
Tablespoons (1 stick)
unsalted butter
melted (salted butter can be used for a sweet and salty touch)
Instructions
-
Prepare for Baking: Move an oven rack to the middle position and preheat your oven to 325°F (160°C). This is for the crust, so it will be ready when you are.
-
Drain Pineapple: Carefully transfer the crushed pineapple to a mesh strainer. Press down firmly to remove as much liquid as possible. You can save the drained pineapple juice to drink later if desired, or discard it. Proper draining is key to a non-soggy crust.
-
Mix Ambrosia Filling: In a large mixing bowl, combine the thoroughly drained pineapple, cherry pie filling, thawed whipped topping, mini marshmallows, and shredded coconut. Stir all the ingredients together until they are well combined and the mixture has a uniform pink color and fluffy texture. Cover the bowl with plastic wrap and place it in the fridge to chill while you prepare the crust.
-
Prepare Graham Cracker Crust: If using whole graham crackers, place the broken pieces into the bowl of a food processor. Pulse until the wafers are transformed into fine, uniform crumbs. If using pre-ground crumbs, skip this pulsing step. Add the granulated sugar and the melted butter to the crumbs. Process again until the mixture resembles wet sand and is thoroughly combined. Scrape down the sides of the bowl as needed to ensure everything is incorporated.
-
Bake the Crust: Press the graham crumb mixture firmly and evenly into the bottom of a 9×13-inch rectangular baking pan. Use the back of a spoon or your fingers to compact it well. Bake in the preheated oven for approximately 15 minutes, or until the edges of the crust are slightly browned and you can smell its toasted aroma. Remove from the oven and allow it to cool completely to room temperature before proceeding.
-
Assemble and Chill: Once the crust is fully cooled, retrieve the chilled cherry ambrosia mixture from the refrigerator. Spread it evenly over the graham cracker crust in the baking pan. Cover the entire pan tightly with plastic wrap and place it back into the fridge to set for at least 1 hour (longer is better for optimal firmness). When ready to serve, cut into squares and enjoy chilled.
Nutrition
Calories:
260
kcal
Carbohydrates:
41
g
Protein:
2
g
Fat:
11
g
Saturated Fat:
8
g
Polyunsaturated Fat:
1
g
Monounsaturated Fat:
2
g
Trans Fat:
1
g
Cholesterol:
18
mg
Sodium:
42
mg
Potassium:
134
mg
Fiber:
2
g
Sugar:
23
g
Vitamin A:
304
IU
Vitamin C:
5
mg
Calcium:
30
mg
Iron:
1
mg
Notes
Whipped Topping Quantity: If you purchase larger containers of Cool Whip (often available in 1L containers in Canada), ensure you use only half of the tub for this recipe to maintain the correct consistency and sweetness.
Graham Crumb Options: To save a step, you can opt for pre-packaged graham crumbs instead of processing your own. You’ll need about 250g (9oz) or approximately 2½ cups of crumbs for the crust. For a delicious gluten-free version of these Ambrosia Squares, simply ensure you buy certified gluten-free graham wafers or graham cracker crumbs.
Tried this recipe?
Please Consider Leaving a Review!
