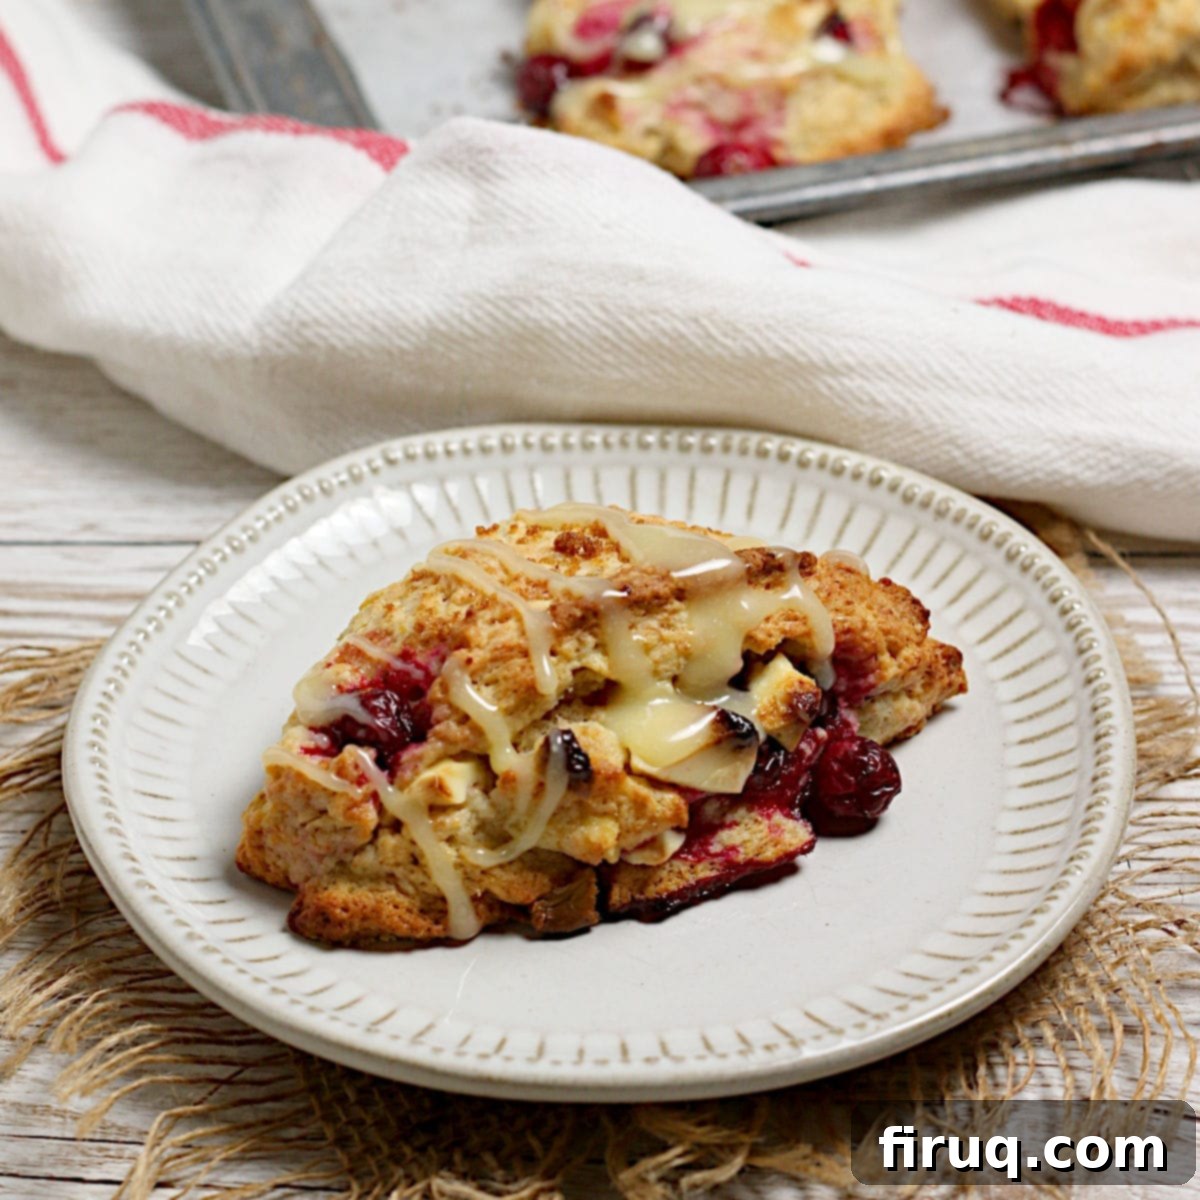
Easy & Delicious Cranberry Orange Scones with White Chocolate: Your Perfect Holiday Treat
Prepare to fall in love with these delightful Cranberry Orange Scones with White Chocolate! These scones are a celebration of classic winter flavors, combining tart cranberries, bright orange zest and juice, and creamy white chocolate. Whether you use fresh or frozen cranberries, the result is a beautifully flaky, tender scone that’s perfect for any time of year, especially during the festive holiday season.
The marriage of cranberry and orange is a timeless pairing, evoking warmth and comfort. It’s a flavor combination that shines brightly in many dishes, from a rich Bundt cake to sweet candied pecans, and even a hint of orange in my favorite cranberry sauce. Now, you can enjoy this tangy, citrusy harmony in a freshly baked scone, elevating your breakfast or brunch experience.
Scones hold a special place in my heart. While it’s been a while since I shared a new scone recipe, my collection features a few beloved variations. One of my all-time favorites is the raspberry scone with white chocolate from The Bear’s Paw in Jasper. That delectable white chocolate element inspired me to create a similar scone tailored for the holidays.
I baked a test batch recently, and to my surprise, both of my children, who haven’t always shown much enthusiasm for scones, absolutely adored them! This positive reception suggests these Cranberry Orange Scones with White Chocolate might just earn a coveted spot on our Christmas morning breakfast table. Imagine the joy of waking up to these warm, fragrant treats, perhaps with a cup of coffee or tea – truly a perfect start to any festive day.

Crafting Your Perfect Cranberry Orange Scones with White Chocolate
Making these delightful scones is a straightforward process, but a few key techniques will ensure you achieve that coveted light, flaky texture. The secret lies in keeping the butter as cold as possible throughout the mixing process.
1. Prepare Your Cold Butter
Begin with very cold butter, straight from the fridge or even frozen. Grating the butter using the large holes of a box grater is a game-changer. This method creates tiny, even pieces of butter that will melt slowly during baking, creating pockets of steam and resulting in incredibly flaky scones. Once grated, spread the butter on a plate and transfer it to the freezer to keep it super chilled while you gather the remaining ingredients.
2. Zest and Juice the Orange, Then Combine Wet Ingredients
Wash your orange thoroughly. Using a microplane or fine zester, carefully remove the vibrant orange zest, being careful to avoid the bitter white pith. Set aside 1 teaspoon of zest for the dough. Then, cut the zested orange(s) in half and squeeze their juice into a measuring cup. To achieve the perfect moisture balance, add enough plain Greek yogurt (or sour cream) to the orange juice until the mixture totals half a cup. Whisk in one large egg until well combined, then set this flavorful liquid mixture aside.
3. Mix Dry Ingredients and Incorporate Butter
In a large mixing bowl, whisk together your dry ingredients: all-purpose flour, optional whole wheat flour (for added depth, but easily substituted with more all-purpose flour), granulated sugar, baking powder, salt, and baking soda. Once thoroughly combined, gently stir in the chilled, grated butter. The goal here is to coat the butter pieces with flour without melting them. You should still see visible flecks of butter throughout the mixture.
4. Form the Dough (Minimize Handling!)
Pour the orange-yogurt-egg mixture into the dry ingredients and gently stir with a spatula until just incorporated. The mixture will likely still have some loose flour. Turn the dough out onto a clean, lightly floured countertop. Knead very lightly, just enough to bring all the dry flour bits into the dough. The key here is to minimize contact with your warm hands; overworking the dough or allowing the butter to melt will result in tough scones. Form the dough into a rectangular shape, wrap it tightly in plastic, and place it in the freezer for 10-15 minutes. This quick chill helps firm up the butter and makes the dough easier to handle. If you need to store it longer, refrigerate it to prevent it from freezing solid.
5. Shape and Cut the Scones
Lightly flour your work surface and rolling pin. Roll the chilled dough into a 12 x 12-inch square. Evenly sprinkle the fresh or frozen cranberries and white chocolate chips (or chunks) over the entire surface of the dough. Gently press them into the dough to ensure they adhere. Now, starting from the bottom, carefully roll up the dough into a log, similar to how you would make cinnamon buns. Don’t worry if it looks a little messy – the goal is just to distribute the mix-ins. Press the rolled dough into a flat 4 x 12-inch rectangle. Cut this rectangle in half lengthwise (you’ll have two 4 x 6-inch rectangles), then cut each of those in half again (resulting in four 4 x 3-inch rectangles). Finally, cut each of these four rectangles in half diagonally to create eight perfect triangles. If desired, sprinkle the tops with a little coarse sugar for added sparkle and crunch.
6. Bake to Golden Perfection
Preheat your oven to 400°F (200°C) and line a baking sheet with parchment paper. Arrange the scone triangles on the prepared baking sheet, leaving some space between them. Bake for approximately 17-20 minutes, or until the tops are golden brown and the centers feel firm when gently pressed. Baking times can vary, so keep an eye on them. Let the scones cool on the baking sheet for at least 10 minutes before serving. This allows them to set fully and makes them easier to handle.

Make-Ahead Cranberry Orange Scones with White Chocolate for Easy Mornings
Want to enjoy fresh-baked scones for breakfast without waking up an hour early? These scones are wonderfully make-ahead friendly, allowing you to prep them the day before and bake them fresh when you’re ready.
Overnight Refrigeration Method:
Follow the recipe instructions up to the point where you’ve shaped and cut the unbaked scones. Instead of baking them immediately, arrange the unbaked scones in an airtight container or on a baking sheet covered tightly with plastic wrap. Store them in the refrigerator overnight. In the morning, simply place them on a parchment-lined baking sheet and bake as directed. You might need to add an extra 3-5 minutes to the baking time since they will be very cold.
Pre-baked Reheating Method:
Alternatively, you can bake the scones entirely the night before. Once cooled, cover them with a clean kitchen towel or store them in an airtight container at room temperature. In the morning, gently re-heat them in a low oven (around 250-300°F or 120-150°C) for about 10 minutes, or briefly in the microwave for a warm, almost-fresh-baked experience. They might not have the exact crispness of freshly baked, but they will still be incredibly delicious and moist.
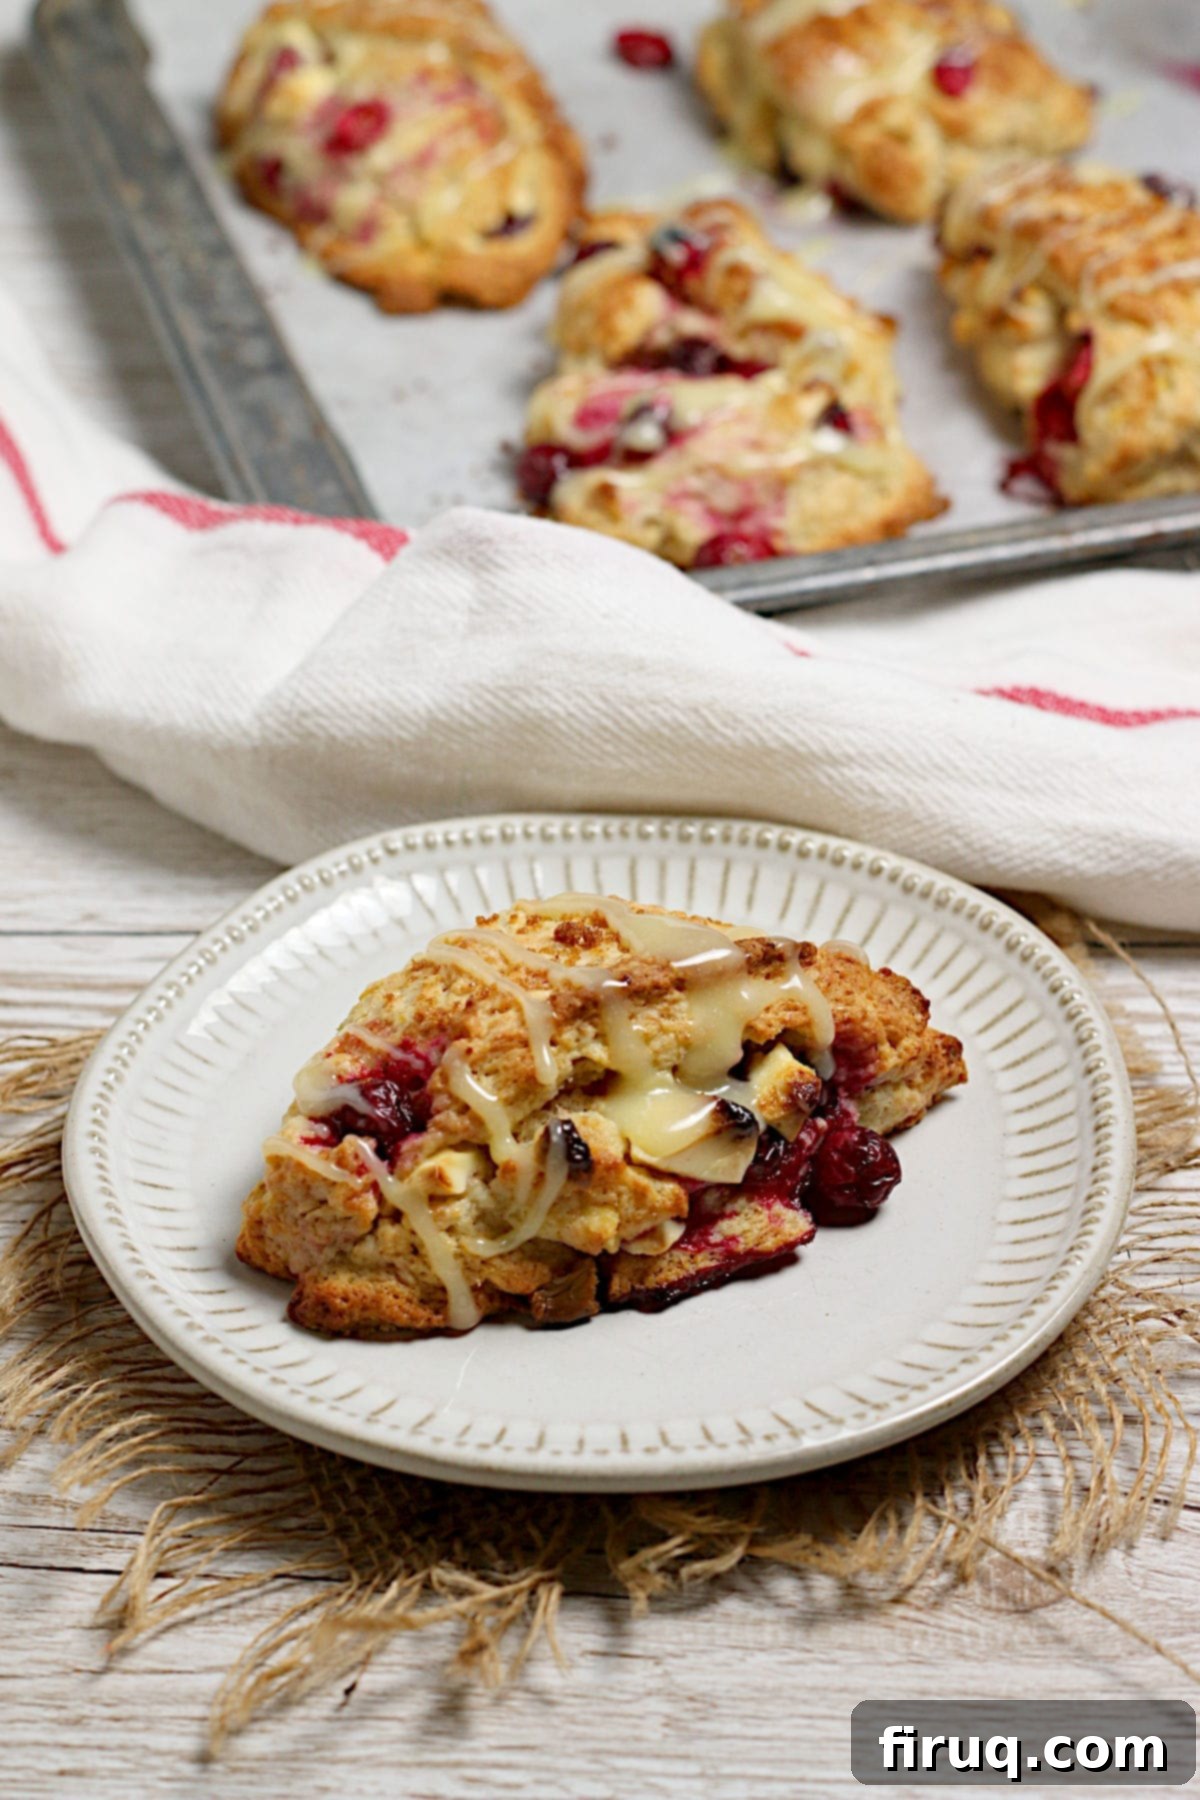
Essential Ingredients for Your Cranberry Orange Scones
Each ingredient in this recipe plays a crucial role in creating the perfect scone. Here’s a closer look at what you’ll need and why:
- Cold Unsalted Butter: This is arguably the most important ingredient for flaky scones. The cold butter creates steam pockets as it melts in the oven, resulting in tender, airy layers. Grating it ensures small, even pieces that distribute perfectly throughout the dough.
- Medium Navel Orange: Navel oranges provide that classic, vibrant orange flavor that pairs beautifully with cranberries. While other oranges like Cara Cara or even tangerines can be used, adjust the quantity if using smaller fruits to ensure you get enough zest and juice.
- Plain Greek Yogurt (or Sour Cream): Yogurt adds moisture and a slight tang, contributing to the tender crumb of the scones. Sour cream is an excellent substitute if you don’t have Greek yogurt on hand.
- Large Egg: The egg binds the ingredients together, adding richness and helping with the structure and rise of the scones.
- All-Purpose Flour: The primary building block for the scone’s structure.
- Whole Wheat Flour (Optional): I often include a small amount of whole wheat flour for a subtle nutty flavor and added texture. If you prefer, you can substitute this with an equal amount of additional all-purpose flour.
- Granulated Sugar: Provides sweetness to balance the tartness of the cranberries and enhances the overall flavor.
- Baking Powder & Baking Soda: These leavening agents are crucial for the scones’ rise, creating that characteristic light and fluffy texture. Note: The recipe was developed using table salt; if using Diamond Crystal Kosher salt, use ¾ teaspoon.
- Salt: Balances the sweetness and enhances all the other flavors.
- Frozen or Fresh Cranberries: I typically use frozen cranberries because they are readily available and help keep the dough cold, which is vital for flaky scones. If using fresh, they work just as well. Avoid using thawed frozen cranberries, as they can become mushy.
- White Chocolate Chips or Chunks: The sweet creaminess of white chocolate perfectly complements the tart cranberries and zesty orange. You can also melt extra white chocolate to drizzle on top after baking for an extra touch of decadence.
- Coarse Sugar (Optional): Such as sanding sugar or demerara sugar. Sprinkling this on top before baking adds a beautiful sparkle and a delightful crunchy texture. You can choose between this or a white chocolate drizzle for topping, or use both if you’re feeling extra indulgent!
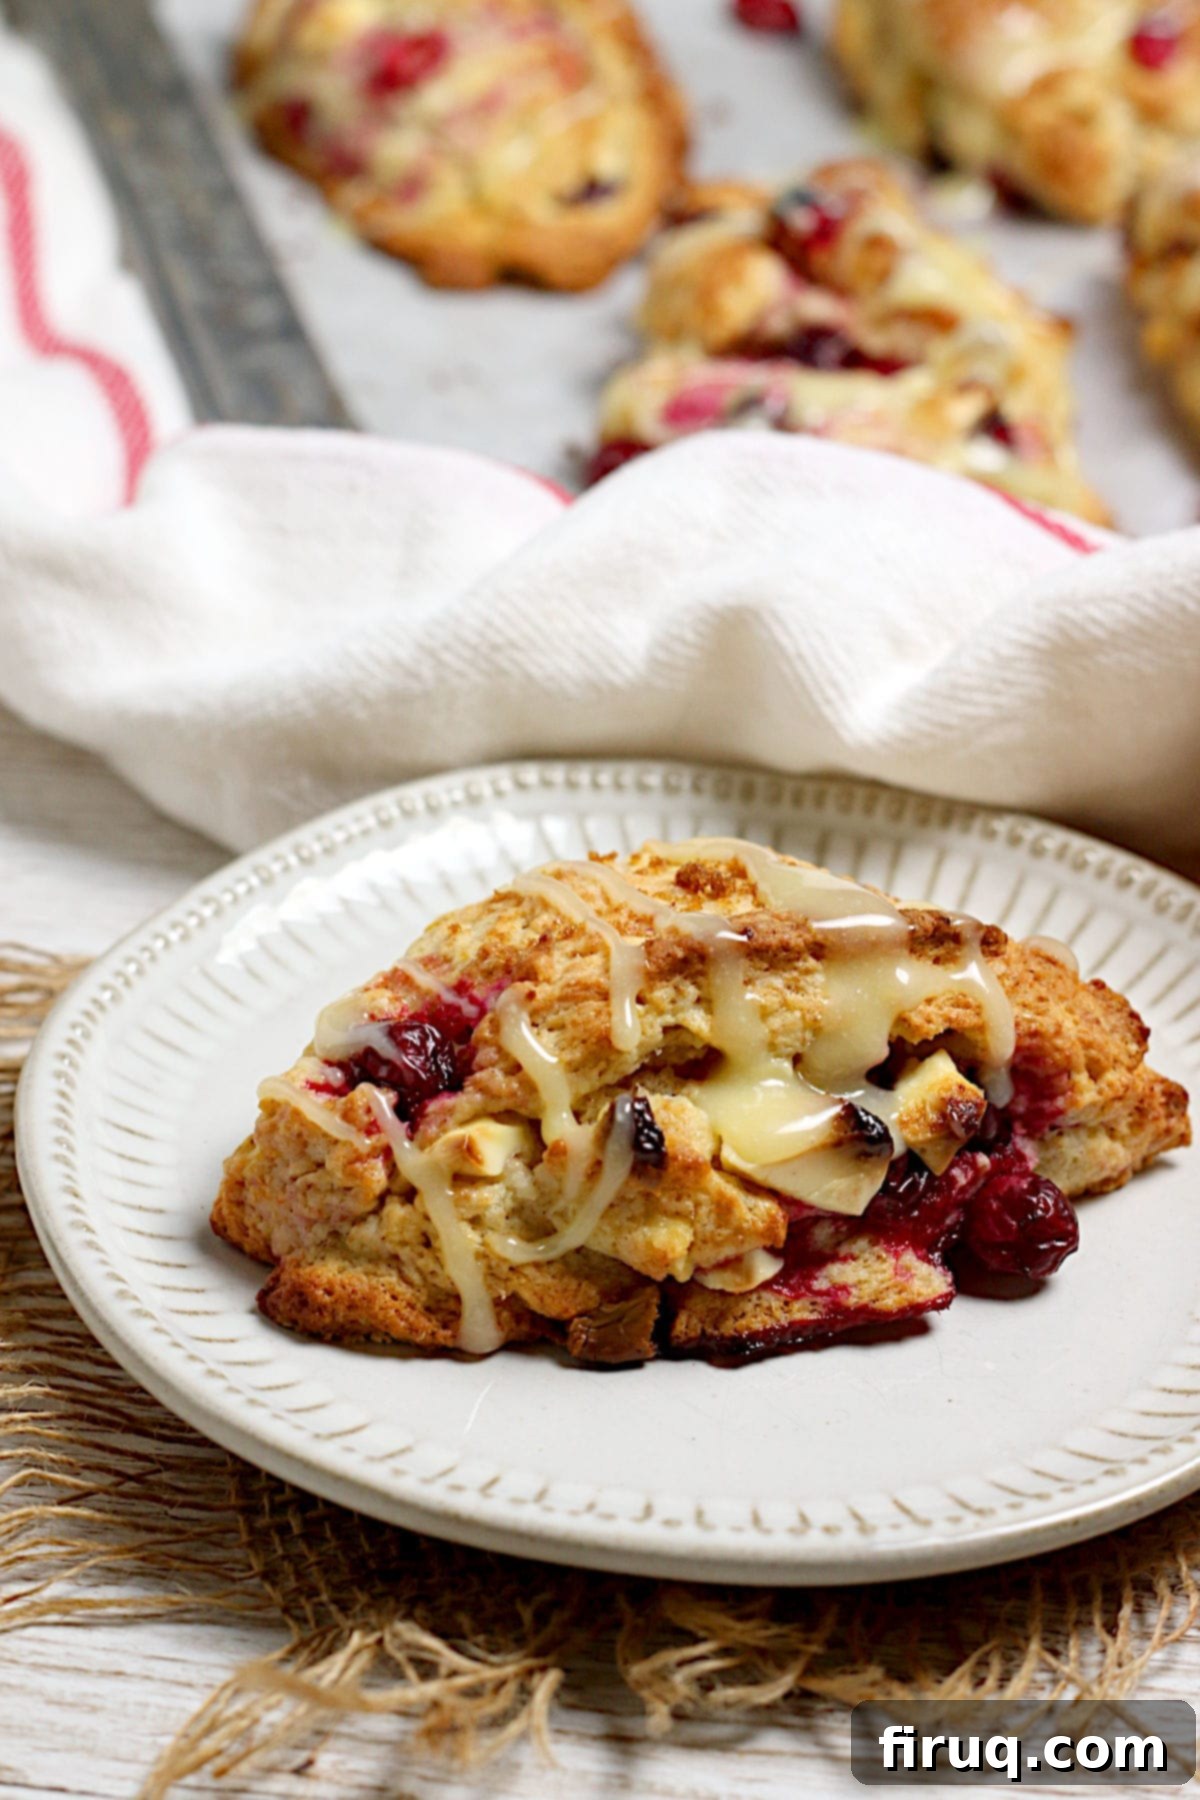
Explore More Cranberry Dessert Recipes!
Cranberry Orange Scones with White Chocolate: Nutrition Notes
The nutrition information provided in the recipe card below is calculated for one scone when the recipe yields 8 scones. Please note that this information does not include any optional additions such as coarse sugar sprinkled on top or additional melted white chocolate for drizzling. These optional toppings would slightly increase the calorie and sugar content per serving.
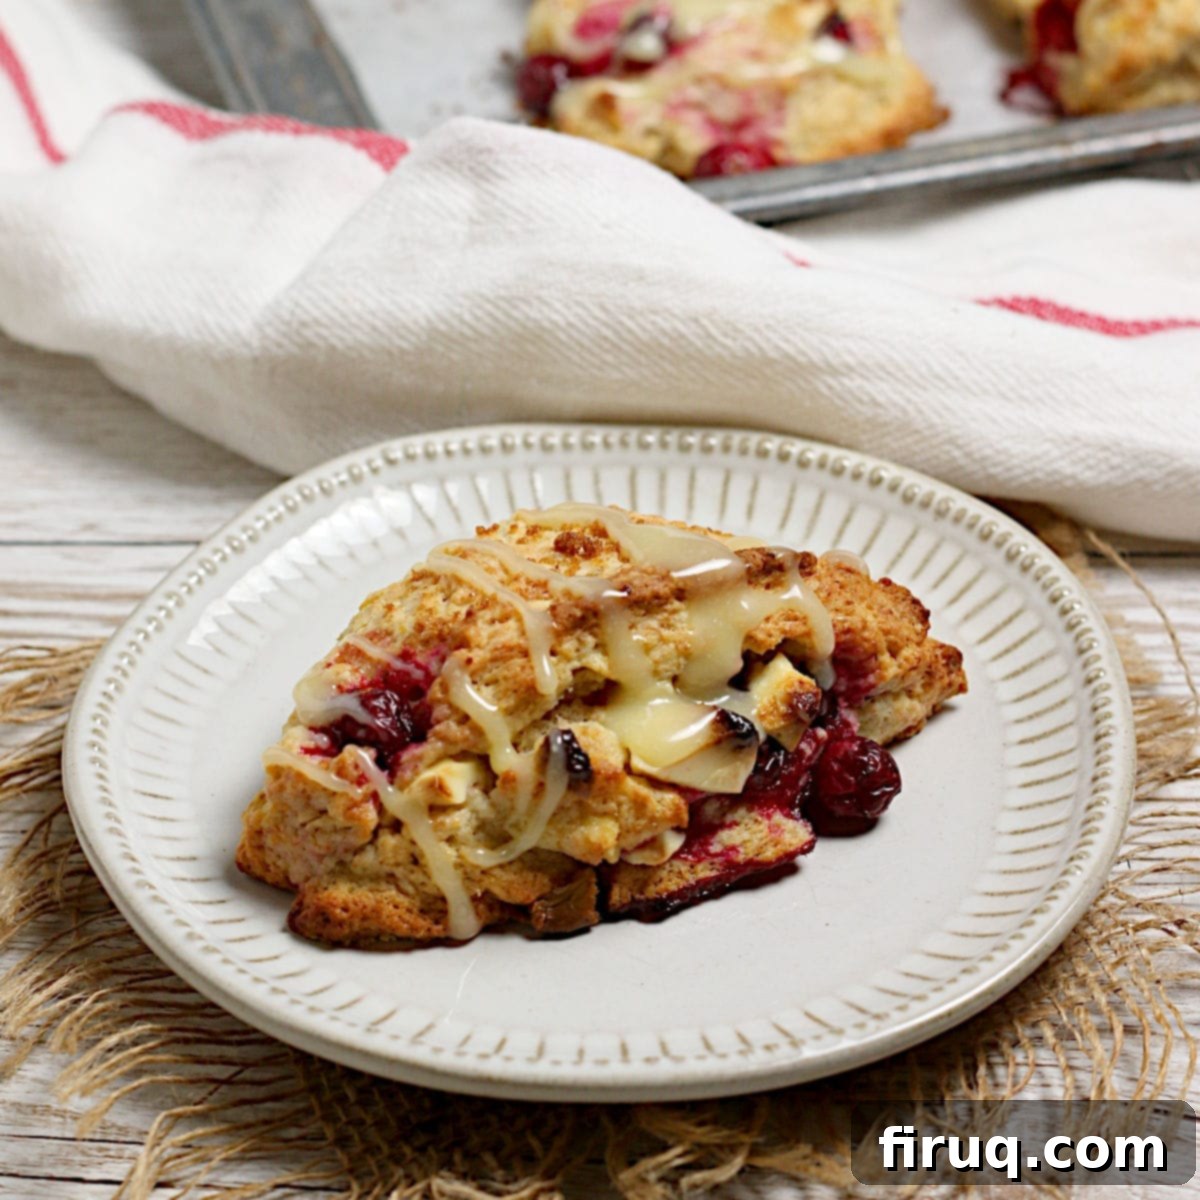
Cranberry Orange Scones with White Chocolate
Print Recipe
Pin Recipe
Equipment
-
Box Grater for grating the butter
-
Microplane for zesting the orange
-
Rolling Pin
-
Baking sheet
-
Parchment paper or silicone baking mat
-
Bench Scraper optional, but helpful
Ingredients
- 8 Tablespoons cold unsalted butter (1 stick)
- 1 medium navel orange
- 1/4 cup plain Greek yogurt or more, up to 1/2 cup
- 1 large egg
- 1 ½ cups all-purpose flour
- ½ cup whole wheat flour
- ⅓ cup granulated sugar
- 1 teaspoon baking powder
- ½ teaspoon salt
- ¼ teaspoon baking soda
- 1 cup frozen or fresh cranberries
- ½ cup white chocolate chips or chunks plus more, for melting and drizzling if desired
- coarse sugar like sanding sugar or demerara sugar optional, for sprinkling
Instructions
-
Using the large holes of a box grater, grate 8 Tablespoons (112 g) cold unsalted butter onto a large plate. Put the plate in the freezer to chill while you prep the rest of the ingredients.
-
Wash and dry the outside of your naval orange well. Use a microplane or zester to completely zest the orange. Measure out 1 teaspoon of the zest and put it in a measuring cup. Squeeze the juice from the orange into the measuring cup. Add enough plain Greek yogurt to the orange juice mixture to measure a total of 1/2 cup (my juice was just under 1/4 cup, so I needed just over 1/4 cup of yogurt to get up to the 1/2 cup mark, but it will depend on your orange). Stir 1 large egg into the orange juice mixture and set the mixture aside.
-
In a large bowl, whisk together 1 ½ cups (187.5 g) all-purpose flour, ½ cup (60 g) whole wheat flour, ⅓ cup (67 g) granulated sugar, 1 teaspoon (4 g) baking powder, ½ teaspoon (3 g) salt, and ¼ teaspoon (1 g) baking soda.
-
Mix the chilled grated butter into the flour mixture until the butter is evenly distributed. Using a spatula, stir the orange juice mixture into the flour mixture until all of the liquid has been absorbed. Dump the flour mixture onto a clean working surface and knead the dough until all of the flour has been absorbed (try to limit contact with your hands as much as possible to avoid melting the butter). Pat the dough into a 4×6″ square, wrap in plastic, and place in the freezer for 10-15 minutes to chill.
-
Move the oven rack to the middle position and turn the oven on to 400°F. Prepare a baking pan by lining it with parchment paper or a silicone baking mat.
-
If the dough is sticky, dust the top and bottom very lightly with flour. Roll the dough into a 12×12″ square. Sprinkle 1 cup frozen or fresh cranberries and ½ cup (100 g) white chocolate chips or chunks evenly over the dough and gently press both into the dough.
-
From the bottom, carefully roll the dough upwards, as if making cinnamon rolls (using a bench scraper to help “peel” the dough from the counter really helps here). Don’t worry if the dough doesn’t roll smoothly, this is just a way of distributing the mix-ins.
-
Once the dough is all rolled, press the dough into a 4×12″ rectangle. Cut the rectangle in half (you will now have two 4×16″ rectangles), then each half in half. Cut each of those four 3×4″ rectangles in half diagonally so that you have 8 triangles.
-
Place the triangles on the prepared baking sheets, ideally with the cut edges to the sizes, but place them however they seem the most stable. If desired, sprinkle a little bit of coarse sugar (sanding sugar or demerara sugar) on the tops of the scones. Bake for 17-20 minutes, until the tops are browned and the centers seem set (I checked mine at 15 minutes, and while at first they looked done, a gentle touch revealed that the centers were still very doughy). Cook on the baking sheet, and drizzle with melted white chocolate, if desired.
Nutrition
Notes
If you want to enjoy these scones fresh-baked in the morning without having to wake up a couple of hours early to make them, you can make them the day before and refrigerate before baking.
Follow the recipe to the end of step 8. Place the cut scone dough in an airtight container (make sure it’s large enough that they’re not squished together) or set them on the baking sheet and cover it completely with plastic wrap. Bake as directed the morning you plan to serve them (you might need to add up to 5 minutes to the baking time as they will be extra cold). Note that if you’re using frozen cranberries, the cranberries will thaw in the dough before baking, and may weep a bit of their juice before baking. This should be fine, as this will occur with baking anyway.
Alternatively, you can bake them the night before you plan to serve them, and cover with a clean towel overnight. Reheat in a low oven (250-300°F) for about 10 minutes, or in the microwave.
Tried this recipe?
Please Consider Leaving a Review!

Tips for Achieving Perfectly Flaky Scones
While the recipe is straightforward, these key tips will help ensure your Cranberry Orange Scones turn out perfectly every time:
- Keep Ingredients Cold: This cannot be stressed enough! Cold butter is essential for creating pockets of steam during baking, which leads to a flaky, tender interior. Cold liquid also helps prevent the butter from melting too early.
- Don’t Overmix the Dough: Overworking the dough develops the gluten, resulting in tough, dense scones instead of light and airy ones. Mix until just combined, even if there are a few flour streaks remaining.
- Handle Gently: Similarly, use a light touch when kneading and shaping. The less you handle the dough, the better the texture will be.
- Use Fresh Leavening Agents: Baking powder and baking soda lose potency over time. Ensure yours are fresh for optimal rise.
- Chill Before Baking: A quick chill after shaping helps firm up the butter again, ensuring it doesn’t melt too quickly in the oven and contributes to a better rise.
Serving Suggestions for Your Delicious Scones
These Cranberry Orange Scones with White Chocolate are absolutely wonderful on their own, but a few additions can make them even more special:
- A Simple Drizzle: Melt a little extra white chocolate and drizzle it over the cooled scones for an elegant finish and an extra boost of sweetness.
- Clotted Cream or Whipped Cream: For a truly decadent experience, serve them with a dollop of clotted cream or freshly whipped cream.
- Fruit Preserves: A spoonful of orange marmalade or a berry jam would complement the flavors beautifully.
- Fresh Orange Zest: A final sprinkle of fresh orange zest just before serving enhances the citrus aroma.
- Pair with Beverages: These scones are the perfect accompaniment to your morning coffee, a robust cup of black tea, or even a glass of sparkling cider for a festive brunch.
Storage Solutions for Your Homemade Scones
Whether you’re making these Cranberry Orange Scones ahead of time or have leftovers, here’s how to keep them fresh:
- Unbaked Scones (Refrigerated): As mentioned in the make-ahead section, unbaked scones can be stored in an airtight container in the refrigerator for up to 24 hours. Bake as directed, adding a few extra minutes to the baking time.
- Unbaked Scones (Frozen): For longer storage, freeze unbaked scones on a baking sheet until solid (about 1-2 hours). Transfer them to a freezer-safe bag or container and freeze for up to 1 month. Bake directly from frozen, adding 5-10 minutes to the baking time.
- Baked Scones (Room Temperature): Once baked and completely cooled, store scones in an airtight container at room temperature for 1-2 days. They are best enjoyed fresh, but will still be good.
- Baked Scones (Frozen): Freeze cooled, baked scones in a freezer-safe bag for up to 2-3 months. Reheat in a low oven (300°F/150°C) for about 10-15 minutes, or microwave briefly until warm.
Why These Cranberry Orange Scones are a Must-Try!
These Cranberry Orange Scones with White Chocolate are more than just a breakfast pastry; they’re an experience. The delightful contrast of sweet white chocolate against the tart cranberries, brightened by fragrant orange zest, creates a flavor profile that’s both comforting and exciting. Their flaky, tender texture makes them irresistible, and their make-ahead convenience ensures you can enjoy a gourmet breakfast even on the busiest mornings. Perfect for holiday gatherings, a cozy weekend brunch, or simply a treat for yourself, these scones are sure to become a cherished recipe in your kitchen. Dive into a batch today and savor the magic of these beautiful, flavorful scones!
