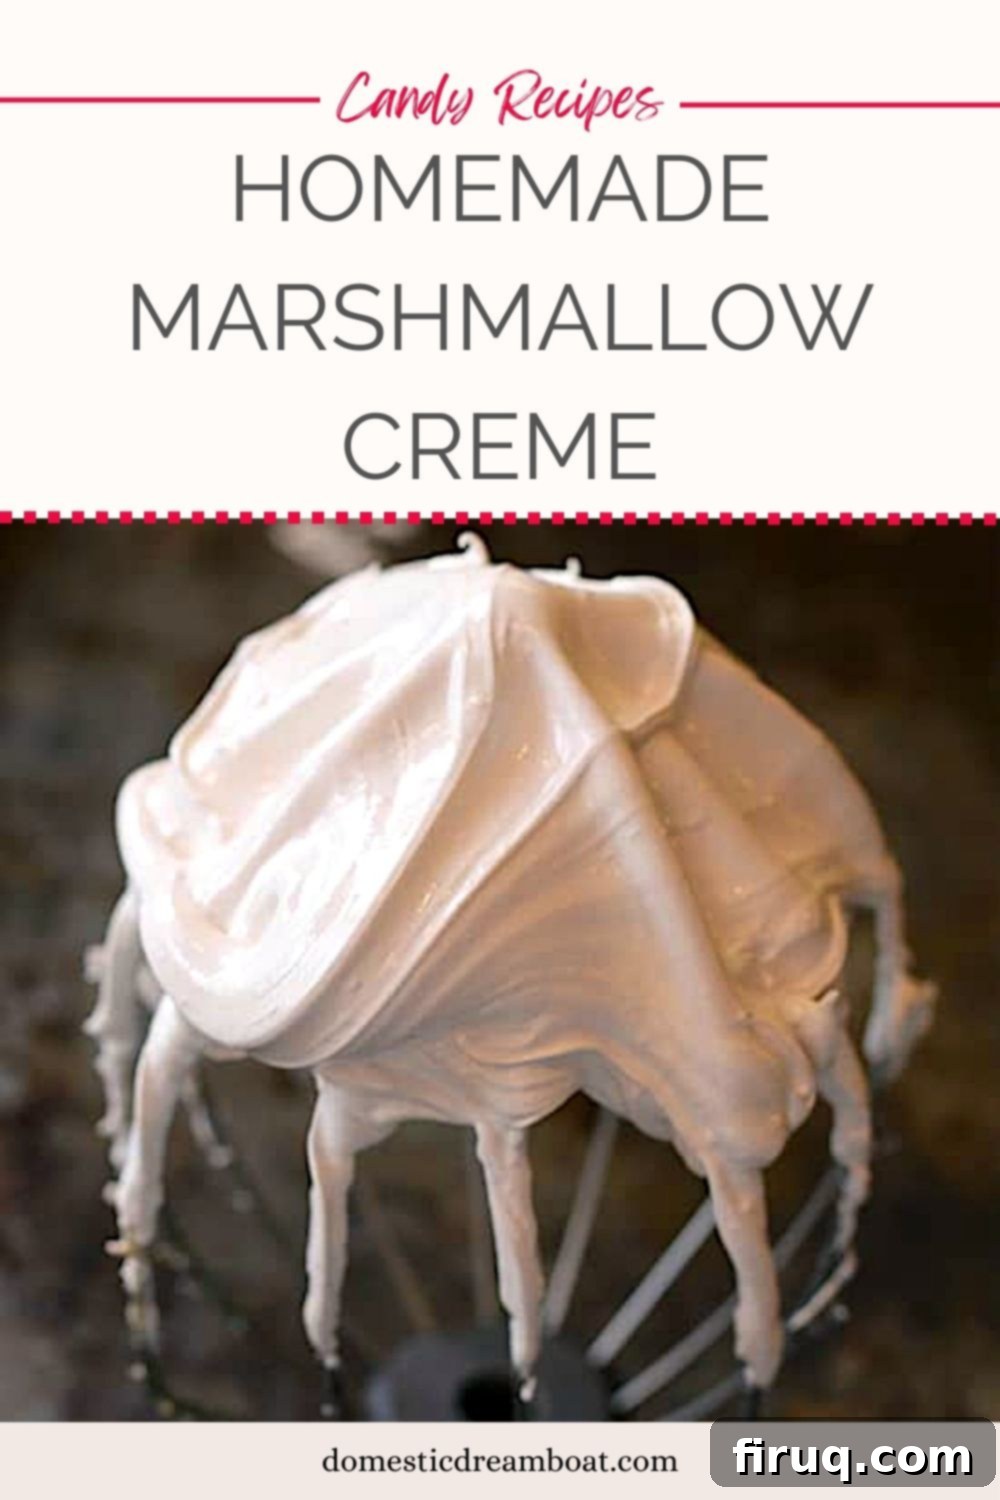
Homemade Marshmallow Creme: The Ultimate Guide to Easy, Flavorful Fluff
There’s a certain magic to homemade treats, and marshmallow creme is no exception. This delightful, airy, and incredibly versatile confection, often known as marshmallow fluff, is surprisingly simple to make from scratch. The best part? When you make it yourself, you can be sure it’s free from artificial ingredients and preservatives, offering a pure, sweet taste that store-bought versions often lack.
My journey with marshmallow creme began much later in life than most. I hadn’t encountered it during childhood, and my first experience in my 30s was, frankly, a disappointment. I purchased a tub of a generic store brand for a recipe, and the artificial aftertaste was unbearable. It left me wondering why anyone would enjoy such a product.
However, my perspective completely shifted when I stumbled upon a recipe for a homemade version. Intrigued, I decided to give it a try. The difference was truly astounding – night and day. The homemade marshmallow creme had none of those unpleasant, artificial notes. Instead, it offered a clean, sweet, and wonderfully vanilla-infused flavor that was utterly addictive. It opened up a world of possibilities for desserts and treats, and I quickly realized the simple joy of creating this sweet staple at home.
If you’ve ever been disappointed by the cloying sweetness or chemical undertones of commercial marshmallow fluff, or if you’re simply looking for a fun and rewarding kitchen project, this recipe for homemade marshmallow creme is for you. It’s a game-changer that will elevate your desserts and become a favorite in your kitchen.
Why Make Homemade Marshmallow Creme?
Beyond the superior taste, there are several compelling reasons to whip up your own batch of marshmallow creme:
- No Artificial Ingredients: Commercial brands often contain high fructose corn syrup, artificial flavors, and preservatives. Making it at home ensures you use only natural, wholesome ingredients.
- Customizable Flavor: While vanilla is classic, you can experiment with different extracts like almond, peppermint, or even a hint of citrus zest to match your dessert creations.
- Perfect Texture: Homemade marshmallow creme boasts a uniquely silky, glossy texture that is both stable and wonderfully spreadable, ideal for various culinary applications.
- Cost-Effective: The ingredients are inexpensive and readily available, making it a budget-friendly option compared to specialty store-bought versions.
- Sense of Accomplishment: There’s immense satisfaction in creating something so delicious and versatile from scratch. It’s an impressive addition to any dessert table!
Key Equipment for Flawless Marshmallow Creme
While making marshmallow creme is straightforward, having the right tools is crucial for success. These pieces of equipment ensure the proper consistency and temperature, which are non-negotiable for this recipe:
- Stand Mixer: This is arguably the most important tool. Whipping marshmallow creme requires sustained beating, which can be exhausting with a hand mixer. A stand mixer allows you to pour in the hot syrup safely while the egg whites are continuously whipped, ensuring a smooth, consistent final product.
- Candy Thermometer or an Instant-Read Thermometer with a Pot Clip: Do not attempt this recipe without one of these! The temperature of the sugar syrup is absolutely critical. If the syrup isn’t cooked to precisely 240°F (the soft ball stage), your marshmallow creme will likely fail. Too low, and it will be runny; too high, and it will be hard and brittle. An accurate thermometer ensures the egg whites are properly cooked and the texture is perfect.
- Small Saucepan: For cooking the sugar syrup. Choose one that allows the syrup to boil without overflowing.
These tools, especially the thermometer and stand mixer, make the process efficient and guarantee delicious results every time. Don’t skip them!
Crafting Your Homemade Marshmallow Creme: A Step-by-Step Guide
Making marshmallow creme is a straightforward process that combines the art of sugar cookery with the science of meringue. The method essentially involves whipping egg whites to perfection, then carefully incorporating a hot sugar syrup, which simultaneously cooks the egg whites and creates that signature fluffy texture. Your stand mixer will truly be your best friend here, handling most of the heavy lifting.
The Sugar Syrup: Foundation of Your Fluff
Begin by combining the water, light corn syrup, and salt in a small, heavy-bottomed saucepan. This mixture will form the base of your syrup. Next, carefully add the granulated sugar to the center of the saucepan. It’s very important to avoid getting any sugar crystals on the sides of the pot. If sugar crystals cling to the sides, they can cause the entire syrup to re-crystallize, resulting in a grainy marshmallow creme instead of a smooth, glossy one. You can use a pastry brush dipped in water to gently wash down any stray sugar crystals from the sides of the pot once it starts boiling.
Bring the mixture to a boil over medium-high heat, stirring gently until the sugar dissolves. Once boiling, insert your candy thermometer or instant-read thermometer (with a pot clip) and continue to cook without stirring until the temperature precisely reaches 240°F (115°C). This is the “soft ball” stage, crucial for the marshmallow creme’s texture and stability.
Whipping the Egg Whites: Building the Volume
While your sugar syrup is bubbling away, you can start preparing the egg whites. In the bowl of your stand mixer, combine the large egg whites (ensure they are at room temperature for optimal whipping volume) and the cream of tartar. Cream of tartar acts as a stabilizer, helping the egg whites whip up faster, achieve greater volume, and hold their peaks without deflating.
Begin whipping the egg whites on medium speed until they reach a soft peak stage. At this point, the egg whites will be foamy and white, and when you lift the whisk, the peak will gently flop over. It’s important not to over-whip them at this stage, as they will continue to be whipped once the syrup is added.
Combining and Final Whip: The Magic Happens
Once your sugar syrup hits exactly 240°F and your egg whites are at soft peak, it’s time for the crucial combining step. Reduce your stand mixer speed to low. With the mixer still running, slowly and carefully drizzle about two tablespoons of the hot sugar syrup into the egg whites. This initial drizzle helps to gently warm the egg whites, preventing them from scrambling when the rest of the hot syrup is added.
After the initial warm-up, slowly and steadily drizzle in the remaining hot syrup in a thin stream down the side of the bowl, trying to avoid letting it hit the whisk directly. This ensures the syrup is evenly incorporated and the egg whites are cooked safely by the residual heat. Once all the syrup has been added, increase the mixer speed to medium-high.
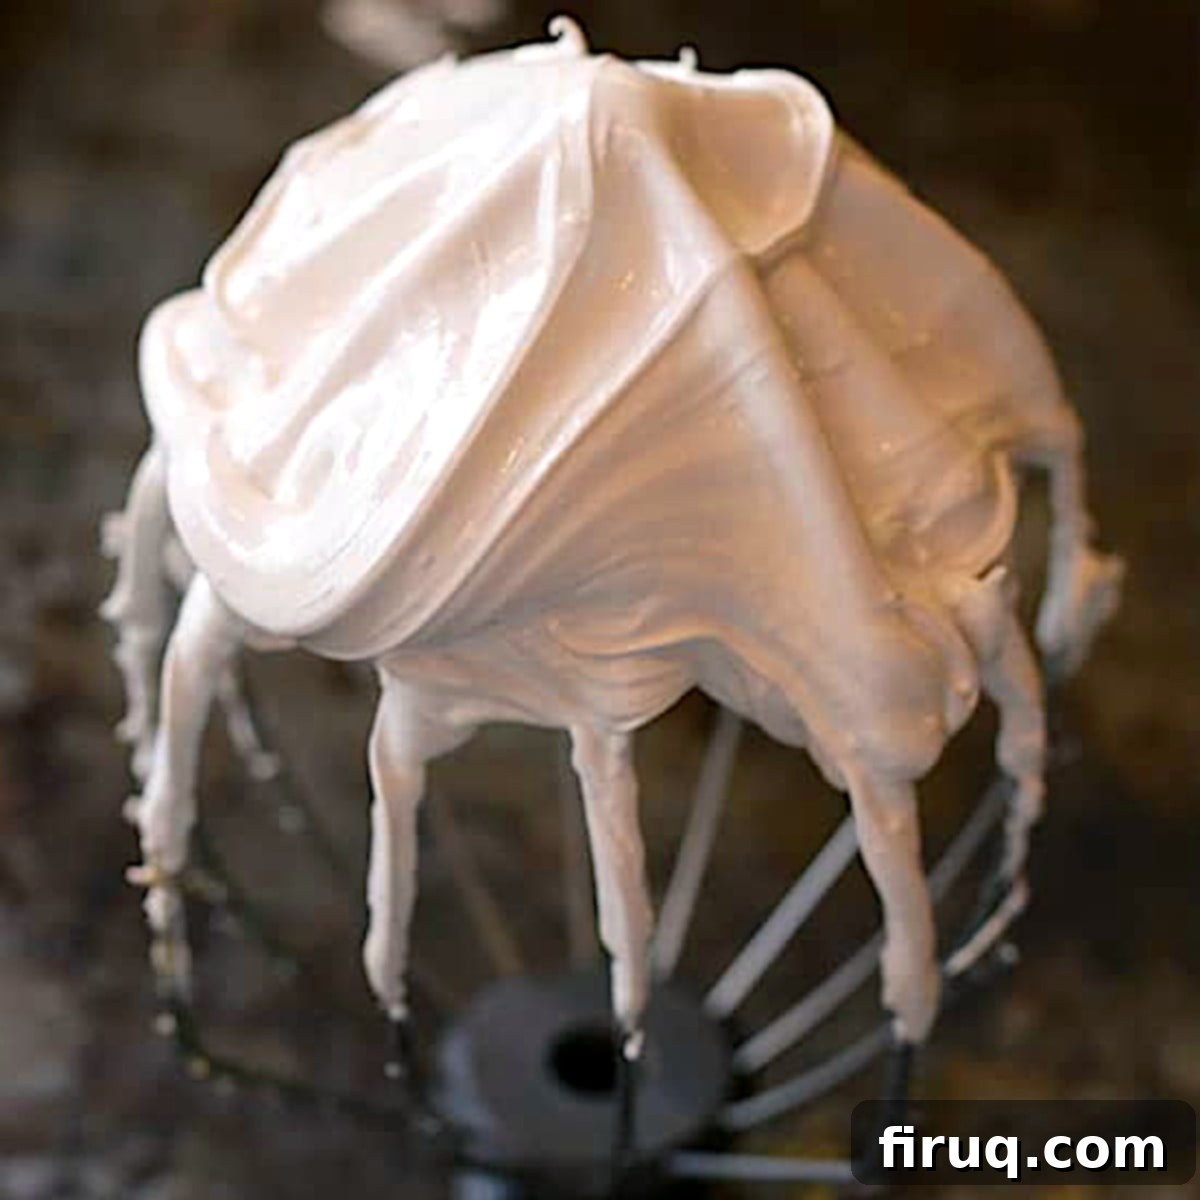
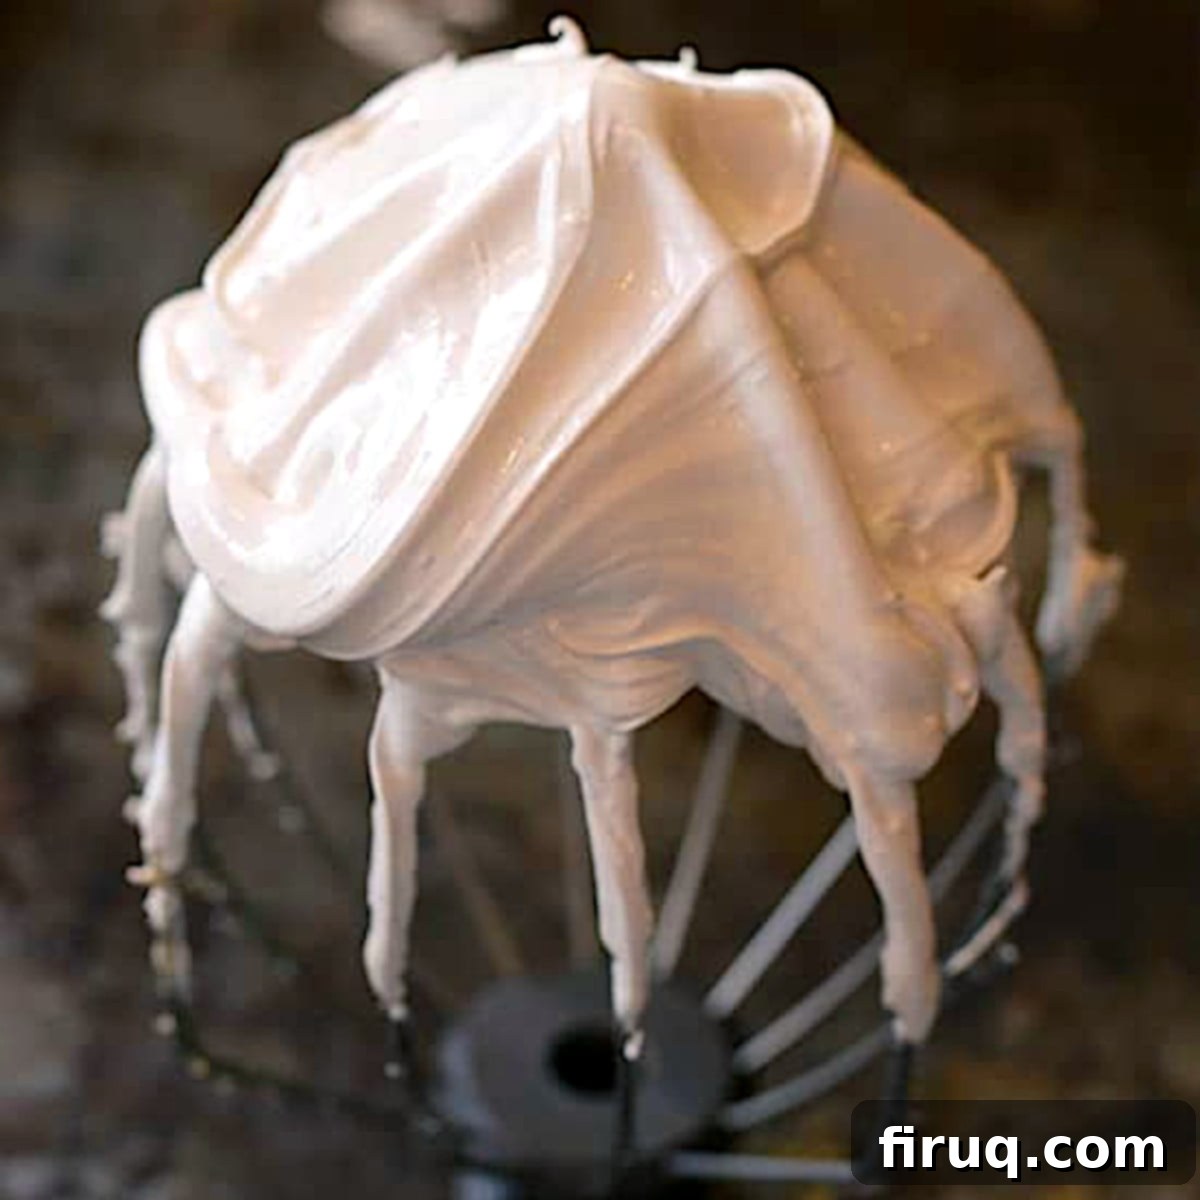
Continue whipping the mixture for about 7-10 minutes. During this time, the marshmallow creme will transform. It will become incredibly thick, glossy, and white, holding stiff peaks. The volume will increase significantly. You’ll know it’s ready when the bottom of the mixing bowl feels warm to the touch, not hot, indicating that the mixture has cooled sufficiently.
Finally, add the vanilla extract and whip for another minute or two to thoroughly incorporate the flavor. The vanilla adds that signature sweet, aromatic finish to your homemade fluff.
What you’re left with is a luscious, thick, glossy, sweet, and wonderfully vanilla-y treat that’s incredibly versatile. It’s excellent as a topping for cakes, cupcakes, or ice cream. I particularly love to use a generous dab of it on a graham cracker with a small piece of chocolate to create instant indoor s’mores – pure heaven! This is also the secret ingredient I used to cover my s’mores ice cream cake, giving it that authentic gooey texture. Or, for a fun twist, use it to make s’mores pizza. The possibilities for enjoyment are truly endless!
Homemade Marshmallow Creme Ingredients: Essential Components
Each ingredient plays a vital role in achieving the perfect texture and flavor:
- Light Corn Syrup: This is a key ingredient for preventing sugar crystallization and contributing to the smooth, glossy texture of the marshmallow creme. You’ll typically find it in the baking aisle near the sugar. While not ideal, golden syrup can be used as a substitute, though it will impart a slightly different flavor and color.
- Water: Simple tap water is perfectly fine for this recipe, acting as a solvent for the sugar.
- Table Salt: A small amount of salt enhances the overall flavor and balances the sweetness, preventing the marshmallow creme from tasting one-dimensional.
- Granulated Sugar: The primary sweetener and structural component. Ensure it’s granulated for consistent results.
- Large Egg Whites: These provide the airy, fluffy structure of the creme. It’s crucial to let them come to room temperature before whipping. Room temperature egg whites whip up much faster and achieve greater volume than cold ones.
- Cream of Tartar: A powerful stabilizer for egg whites. It helps them reach their maximum volume and maintain a stable, stiff peak without collapsing. Look for it in the baking aisle, often near spices or other leavening agents like baking powder and baking soda.
- Vanilla Extract: Essential for that classic, comforting marshmallow flavor. Use a good quality pure vanilla extract for the best results.
Troubleshooting Common Marshmallow Creme Issues
Even with precise instructions, sometimes things can go awry. Here are some common problems and how to avoid or fix them:
- Grainy Texture: This is almost always due to sugar crystallization. Ensure no sugar crystals cling to the sides of the saucepan when making the syrup, and avoid stirring the syrup once it boils until it reaches the correct temperature. A pastry brush dipped in water can help dissolve any rogue crystals early on.
- Too Runny or Loose: If your marshmallow creme isn’t holding its shape, the sugar syrup likely didn’t reach the full 240°F. The higher temperature is crucial for the syrup to reach the “soft ball” stage, providing the necessary structure. Always use a reliable thermometer!
- Too Stiff or Hard: Conversely, if the marshmallow creme is overly firm or hard to work with, the sugar syrup might have been cooked past 240°F, or it was whipped for too long. Keep a close eye on your thermometer and avoid over-whipping once it’s thick and glossy.
- Egg Whites Won’t Whip: This often happens if there’s even a tiny bit of egg yolk in your egg whites, or if your mixing bowl or whisk has any grease residue. Ensure all equipment is spotlessly clean and dry, and separate eggs carefully. Also, make sure your egg whites are at room temperature.
Creative Uses for Your Homemade Marshmallow Creme
Once you’ve mastered this recipe, you’ll find countless ways to enjoy your homemade marshmallow creme:
- Hot Chocolate Topping: A dollop on top of hot cocoa is pure indulgence, melting into a creamy, sweet cloud.
- Pie Filling: Use it as a base for chocolate, banana, or coconut cream pies.
- Cupcake & Cake Frosting: Light, airy, and stable, it makes a fantastic alternative to traditional buttercream.
- Fruit Dip: Mix it with cream cheese or yogurt for a delicious and easy fruit dip.
- Fluffernutter Sandwiches: Recreate this classic American sandwich with peanut butter and your homemade fluff.
- S’mores Galore: Beyond indoor s’mores, use it to make s’mores bars, s’mores pizza, or as a layer in ice cream cakes.
- Sweet Potato Casserole: A traditional topping for many holiday casseroles, providing a sweet, toasted crust.
- Ambrosia Salad: A key ingredient for that classic fluffy fruit salad.
- Rice Krispie Treats: While marshmallows are traditional, marshmallow creme can give your treats an extra gooey and soft texture.
With its delightful flavor and versatile nature, homemade marshmallow creme is sure to become a beloved ingredient in your kitchen repertoire.
Want more marshmallow recipes?
Homemade Marshmallow Creme Nutrition Notes:
The nutrition information provided in the recipe below is calculated for a 2-tablespoon serving of this homemade marshmallow creme. As written, this recipe is naturally gluten-free and dairy-free, making it a suitable option for those with specific dietary needs.
Homemade Marshmallow Creme

Print Recipe
Pin Recipe
Equipment
-
Stand Mixer
-
Instant-Read Thermometer or candy thermometer
-
Pot Clip optional
Ingredients
- 1/2 cup light corn syrup
- 1/4 cup water
- 1/8 teaspoon table salt
- 3/4 cup granulated sugar
- 2 large egg whites room temperature
- 1/4 teaspoon cream of tartar
- 1 1/2 teaspoons vanilla
Instructions
-
Add 1/2 cup light corn syrup, 1/4 cup water, and 1/8 teaspoon table salt to a small saucepan. Pour 3/4 cup granulated sugar into the center of the pot, being careful not to get any on the sides. Stir together and bring to a boil over high heat. Continue to boil until the temperature reaches 240°F on an instant-read or candy thermometer.
-
Meanwhile, add 2 large egg whites and 1/4 teaspoon cream of tartar to the bowl of a stand mixer fitted with a whisk attachment. Begin to whip the eggs to a soft peak at medium speed.
-
When the syrup reaches 240°F, reduce the mixer speed to low and slowly drizzle in about 2 Tablespoons of the hot syrup to warm the egg white. Slowly drizzle in the rest of the syrup, then increase the speed of the mixer to medium-high. Whip until the mixer is stiff and glossy, about 7 minutes. Add 1 1/2 teaspoons vanilla and mix for 2 more minutes. Refrigerate in an airtight container for up to 2 weeks.
Nutrition
Tried this recipe?
Please Consider Leaving a Review!

