Effortlessly Delicious: The Ultimate Guide to Making Savory Crepes at Home
Savory crepes are a culinary delight, known for their delicate texture, incredible versatility, and utterly delicious flavor profile. Forget the notion that crepes are solely for sweet treats; this comprehensive guide and easy crepe recipe will show you how to master the art of savory crepes right in your own kitchen. You won’t need any special equipment – just a simple nonstick skillet – making it accessible for any home cook to get creative and enjoy these exquisite French pancakes anytime, whether for breakfast, lunch, or dinner. With step-by-step instructions and inspiring filling suggestions, you’ll be creating gourmet savory crepes in no time.
This website uses affiliate links. See our Privacy Policy for more information.
If you love this recipe, consider exploring these delightful variations: Sausage Crepes with Maple Béchamel Sauce and Lemon Crepes with Lemon Mascarpone.
What Exactly Are Crepes?
Often, it’s easier to ask what crepes aren’t, because these thin, tender pancakes are incredibly versatile and bring so much culinary joy. Originally hailing from France, crepes are an integral part of French cuisine, served in a myriad of dishes for any meal of the day – be it a sophisticated breakfast, a light lunch, or a hearty dinner.
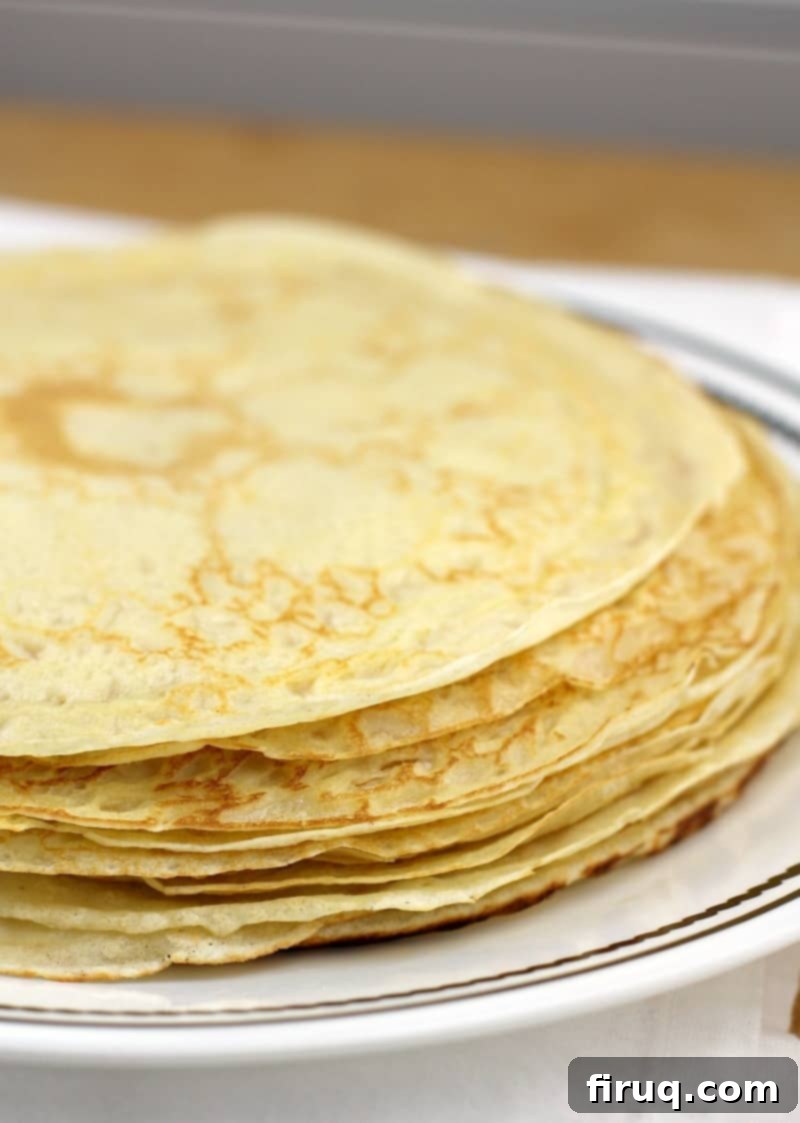
At their core, crepes are an ultra-thin, flat form of pancake. When we say “ultra-thin,” we mean incredibly delicate, almost translucent. While they might be likened to pancakes, there’s a crucial distinction. Traditional American pancakes rely on leavening agents like baking powder or baking soda to achieve their fluffy, thick texture. Crepes, on the other hand, are designed to remain flat and pliable, thanks to a batter that contains no such leavening. This fundamental difference gives them their distinctive silky texture and delicate structure.
The batter for crepes, surprisingly, shares more similarities with popover batter than with typical pancake batter. It’s a simple blend of basic ingredients: flour, eggs, milk, melted butter, and a pinch of salt. That’s it! The magic truly happens in how this simple batter is cooked.
One common misconception is that you need specialized equipment to make perfect crepes. While crepe pans exist and are often touted as essential, I’ve found that a good quality, simple nonstick skillet yields equally, if not more, consistent and excellent results. The key is in the technique of spreading the batter thinly and evenly, which we’ll delve into shortly.
The Delightful World of Sweet vs. Savory Crepes
For many, the first image that comes to mind when thinking about crepes is often a sweet indulgence – perhaps generously slathered with Nutella, piled high with fresh fruit, or both. Indeed, dessert crepes, typically made with a slightly sweetened batter, are incredibly popular and rightfully so. They’re a classic for a reason.
However, for those of us who lean towards savory flavors, the world of unsweetened crepes offers an exciting canvas for culinary creativity. My palate, for instance, gravitates towards the rich and robust. Give me popovers, artisan bread, creamy pasta, or a hearty pizza over a chocolate bar any day of the week. This preference led me to perfect this savory crepe recipe.
This particular recipe features a batter intentionally free of sugar and vanilla, making it the perfect foundation for a vast array of savory fillings. Imagine these delicate wrappers cradling succulent meats, vibrant vegetables, fresh seafood, or a medley of cheeses and herbs. The absence of sweetness in the crepe itself allows the rich, savory flavors of your chosen filling to truly shine, creating a harmonious and satisfying meal. It transforms the crepe from a dessert item into a versatile and elegant component for any part of your meal.
Inspiring Savory Crepe Filling Suggestions
The beauty of savory crepes lies in their incredible adaptability. Think of them as a delicate, French-style tortilla – a thin, tender vessel awaiting a myriad of delicious fillings. The possibilities are truly endless, limited only by your imagination! Let these ideas spark your culinary creativity for your next homemade crepe meal:
- Classic Beef Stroganoff: A rich and creamy beef stroganoff, featuring tender beef, mushrooms, and a sour cream sauce, is elevated to new heights when enveloped in a warm, savory crepe. It’s comfort food with a French twist.
- Gourmet Roast Beef & Swiss: Combine thinly sliced roast beef, deeply caramelized onions, melty Swiss cheese, and sautéed mushrooms. For an even more decadent meal, you could include creamy gratin potatoes within the crepe or serve them on the side.
- Decadent Crab Stuffing: Transform the flavors of a classic crab cake into a sophisticated crepe filling. A savory crab mixture, seasoned with herbs and spices, offers a delightful taste of the sea.
- Chicken, Mushroom & Spinach: A beloved combination! Sautéed chicken pieces, fresh mushrooms, vibrant spinach, and Swiss cheese create a wholesome and incredibly flavorful filling. This is a staple at many crepe eateries, often accompanied by gratin potatoes.
- Roasted Vegetable Medley: Embrace the flavors of the garden with roasted seasonal vegetables like tender asparagus spears and florets of broccoli. Toss them with your favorite herbs, a touch of garlic, and a sprinkle of cheese for a healthy and satisfying option.
- Italian Prosciutto & Mozzarella: For an Italian-inspired experience, fill your crepes with fresh mozzarella, sun-dried tomatoes, and salty prosciutto. A delicate drizzle of balsamic glaze over the top truly completes this gourmet combination. Check out my recipe here for a similar concept.
- French Breakfast Taco: Elevate your breakfast with a unique fusion. Scrambled eggs, crispy potatoes, and rich Gruyere cheese tucked into a crepe make for an elegant and flavorful take on a breakfast taco.
While these crepes are specifically designed to be savory, their unsweetened nature also means they can perfectly complement sweet fillings should you desire. Feel free to use them with classics like Nutella and strawberries, or indulge in combinations like bananas, marshmallows, and whipped cream (a personal favorite of my son!). The key is that the crepes themselves don’t impose a flavor profile, allowing you to choose your adventure. Of course, if you prefer a subtly sweet base, a tiny hint of sugar or vanilla can always be added to the batter.
Essential Savory Crepe Batter Ingredients
The beauty of crepe batter lies in its simplicity, requiring just a few common pantry staples. Quality ingredients, however, can make a noticeable difference in the final product. Here’s a closer look at what you’ll need and why:
- Eggs: Two large eggs are the binding agent for our crepes. Lightly beating them before adding to the mixture helps achieve a smoother, more uniform batter and ensures even distribution. Eggs provide structure and richness to the delicate crepes.
- Milk: I typically use 1% or 2% milk as it’s what I always have readily available. These percentages work perfectly well, providing enough fat for a tender crepe without being overly rich. Whole milk is also an excellent choice, adding a little more richness. While I haven’t experimented with skim milk, using a higher fat content usually contributes to a more tender and flavorful crepe, so I can’t confidently recommend skim milk without testing.
- Unsalted Butter: This is a non-negotiable ingredient for flavor and texture. I always advocate for unsalted butter (sometimes labeled as sweet cream butter) in baking and cooking, but it’s especially critical here. Using unsalted butter allows you complete control over the salt content in your recipe. Salted butter can vary widely in its sodium levels, making it difficult to achieve consistent seasoning. Melted butter also adds a wonderful, subtle richness and helps prevent the crepes from sticking.
- All-Purpose Flour: The foundational ingredient for the crepe’s structure. Proper flour measurement is paramount for consistent results. Always gently spoon or pour flour into your measuring cup, then use a straight edge (like the back of a knife) to level it off without packing it down. Never scoop directly from the bag or tap the cup, as this compresses the flour, leading to too much flour and a dense, tough crepe. While measuring by weight (grams) is the most accurate method, this spoon-and-level technique is the best alternative for volume measurements commonly used in American kitchens.
- Kosher Salt: Always kosher salt. Its larger flakes and pure taste enhance the savory profile of the crepes without making them overtly salty. Unlike fine table salt, kosher salt disperses well and seasons evenly. Its importance cannot be overstated in balancing the flavors of any savory dish, including our crepe batter.
Mastering Homemade Crepes: A Step-by-Step Guide
Making crepes at home is far from daunting; it’s an incredibly rewarding process, especially with this easy recipe. Grab a glass of your favorite beverage, roll up your sleeves, and get ready to find your rhythm. Once you do, you’ll be churning out perfect crepes like a pro!
Step 1: Preparing the Batter
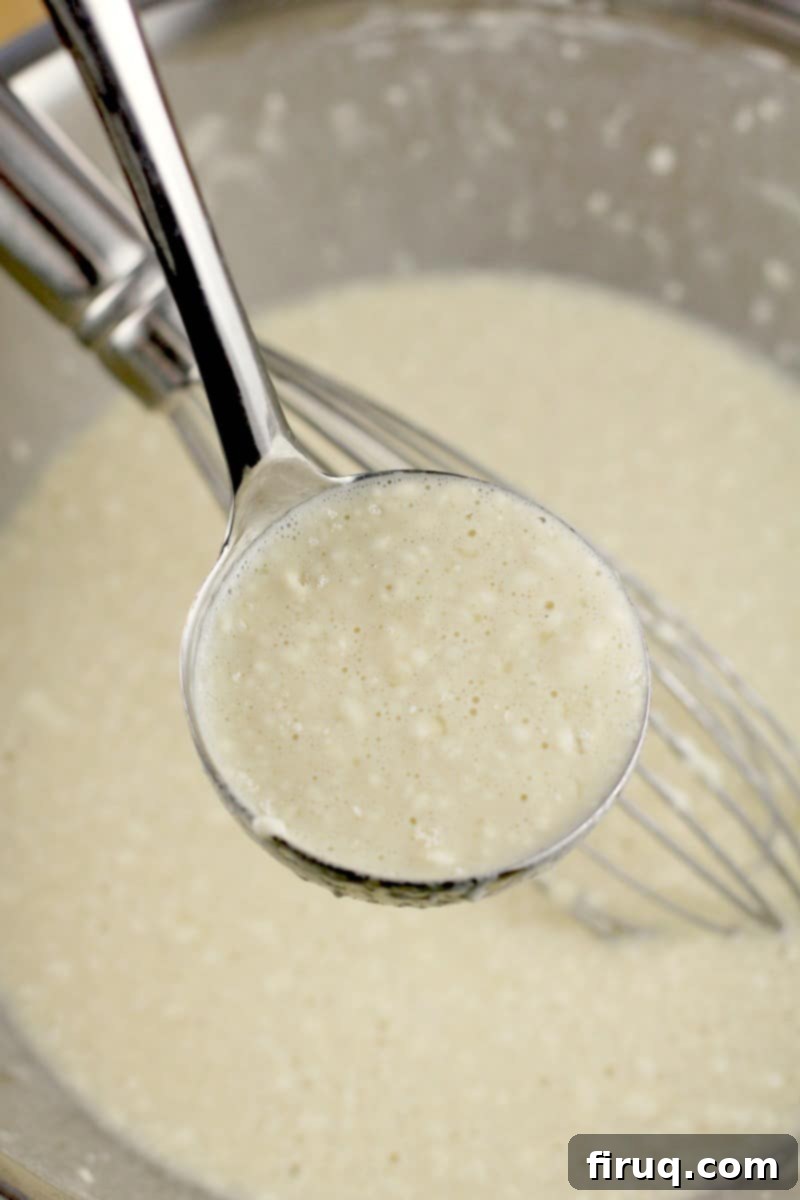
First and foremost, let’s prepare the batter. Combine all the ingredients – the lightly beaten eggs, milk, melted unsalted butter, all-purpose flour, and kosher salt – in a mixing bowl. Whisk them together until they are just combined. It’s perfectly normal, and even desirable, for there to be small lumps of flour in the batter. Over-mixing the batter to achieve a perfectly smooth consistency can develop the gluten too much, resulting in tougher crepes. A slightly lumpy batter yields tender, delicate crepes.
After mixing, it’s often recommended to let the batter rest for at least 30 minutes at room temperature, or even overnight in the refrigerator. This resting period allows the flour to fully hydrate and the gluten to relax, which contributes to a more tender and pliable crepe. If refrigerating, give it a quick whisk before cooking.
Step 2: Heating the Pan
Next, we prepare our cooking surface. While specialized crepe pans exist, I’ve consistently achieved superior, more uniform crepes using a simple, good quality nonstick skillet. Heat your skillet over medium-high heat. The pan needs to be hot enough to cook quickly but not so hot that it burns the batter instantly. A good indicator is when a drop of water sizzles and evaporates immediately. Once heated, lightly spray the pan with cooking spray before adding the batter for each crepe.
Step 3: Cooking the Crepes, One by One
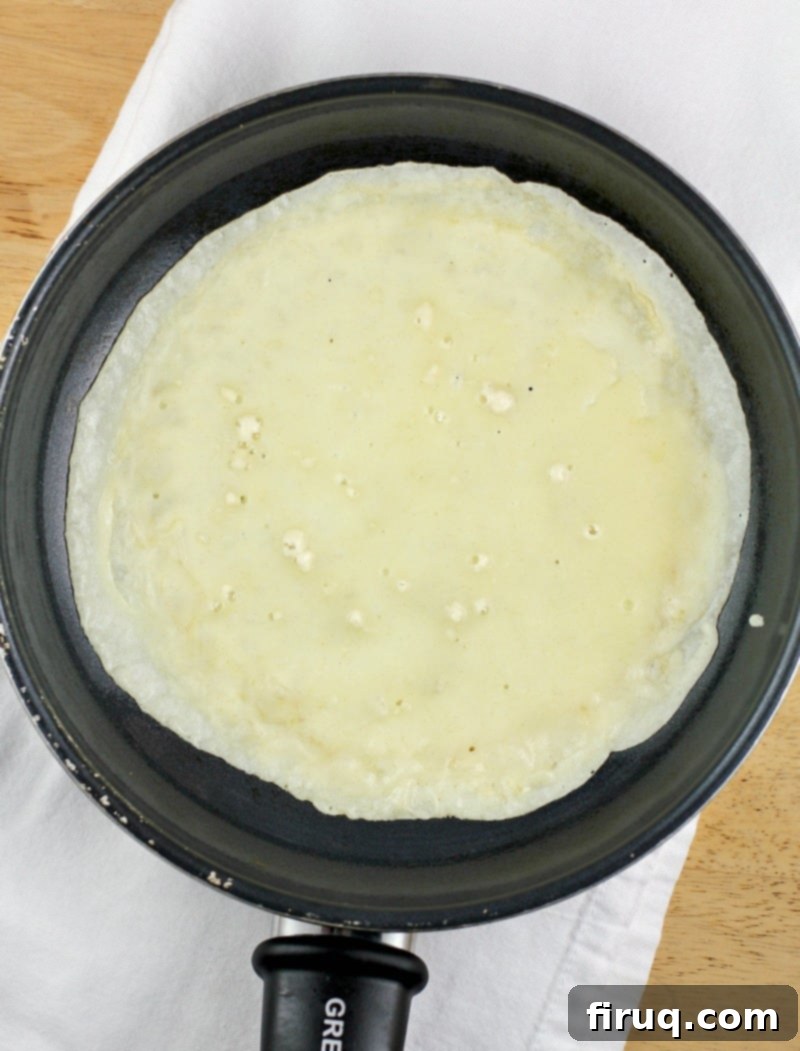
Now for the main event! With a scant 1/4 cup of batter (a little less than a full 1/4 cup) in your ladle or measuring cup, pour the batter directly into the center of the hot, lightly sprayed pan. Immediately, and simultaneously, begin to lift and gently twirl the pan in a circular motion. Think of it like a “Tilt-a-Whirl” ride – you want to distribute the batter as thinly and evenly as possible, covering the entire bottom surface of the pan and allowing it to creep up the sides by about half an inch. This quick, fluid motion is key to achieving that signature thin crepe. The batter cooks very quickly, so don’t let it sit in the center for too long, or you’ll end up with a thick, uneven “disk” rather than a delicate crepe.
Step 4: Checking for Doneness and Flipping
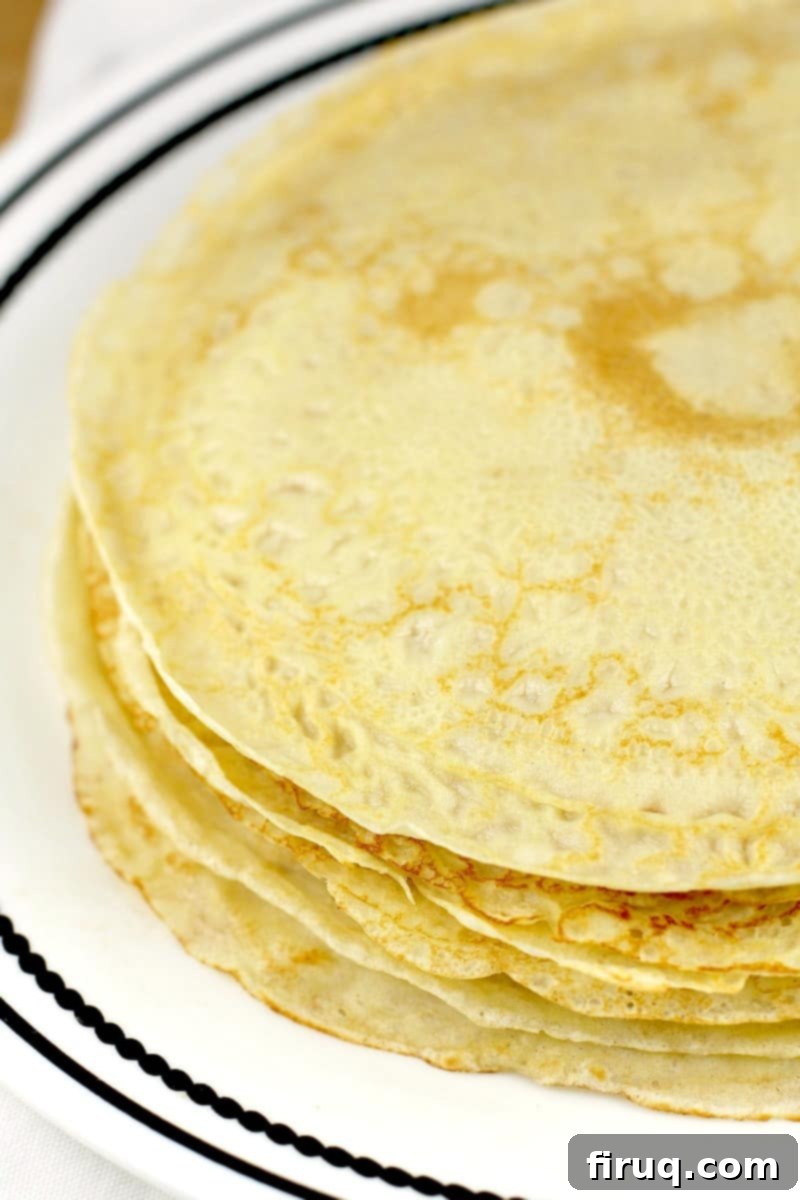
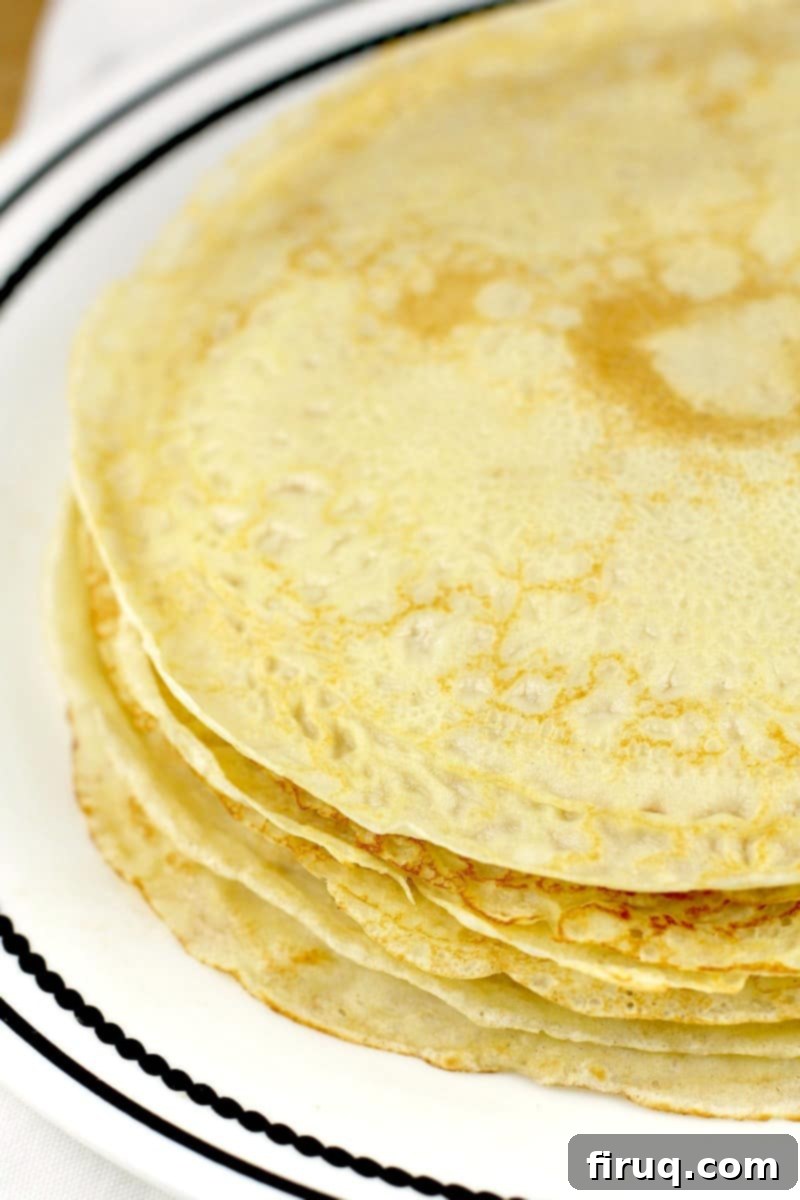
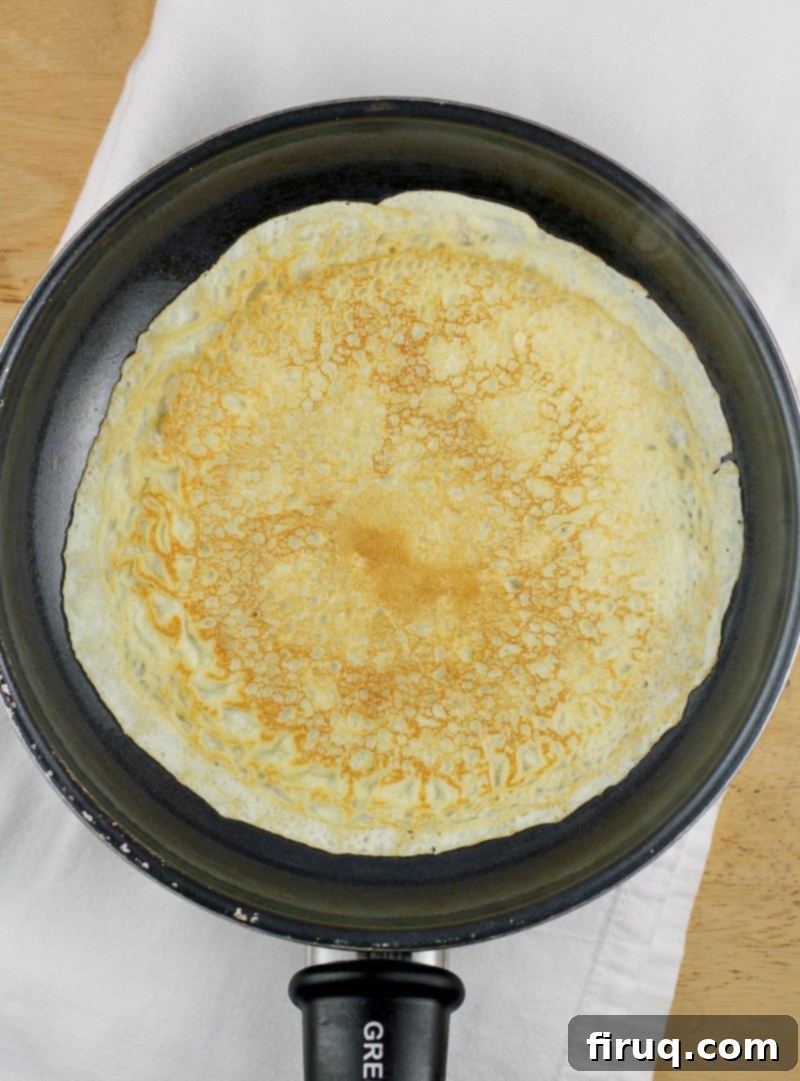
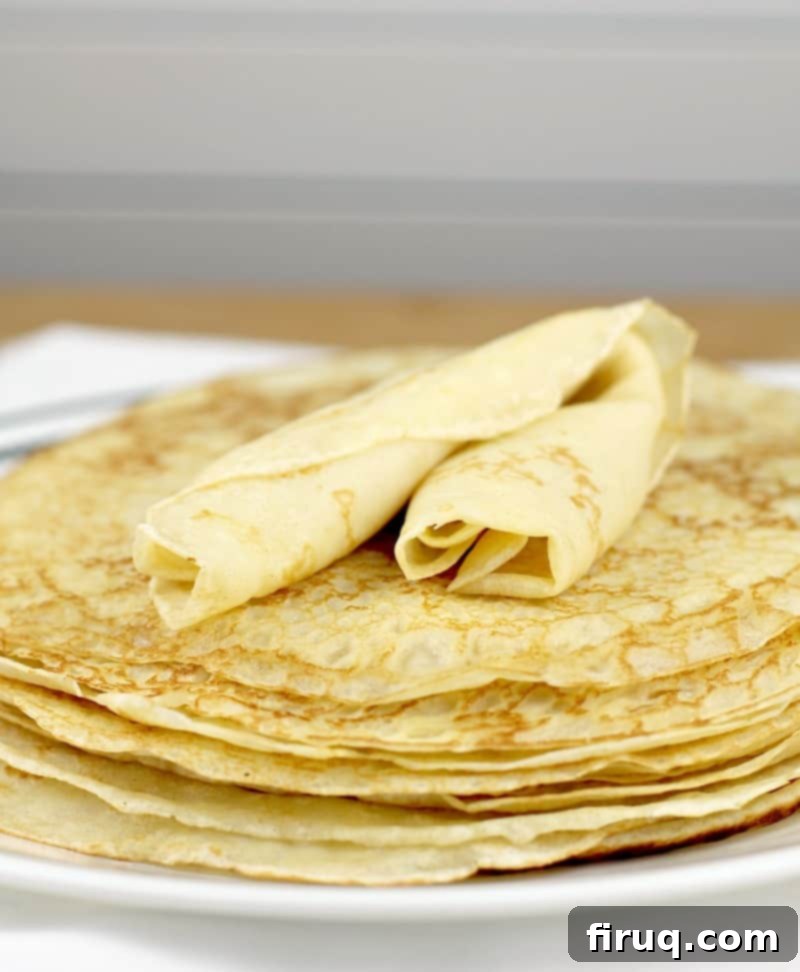
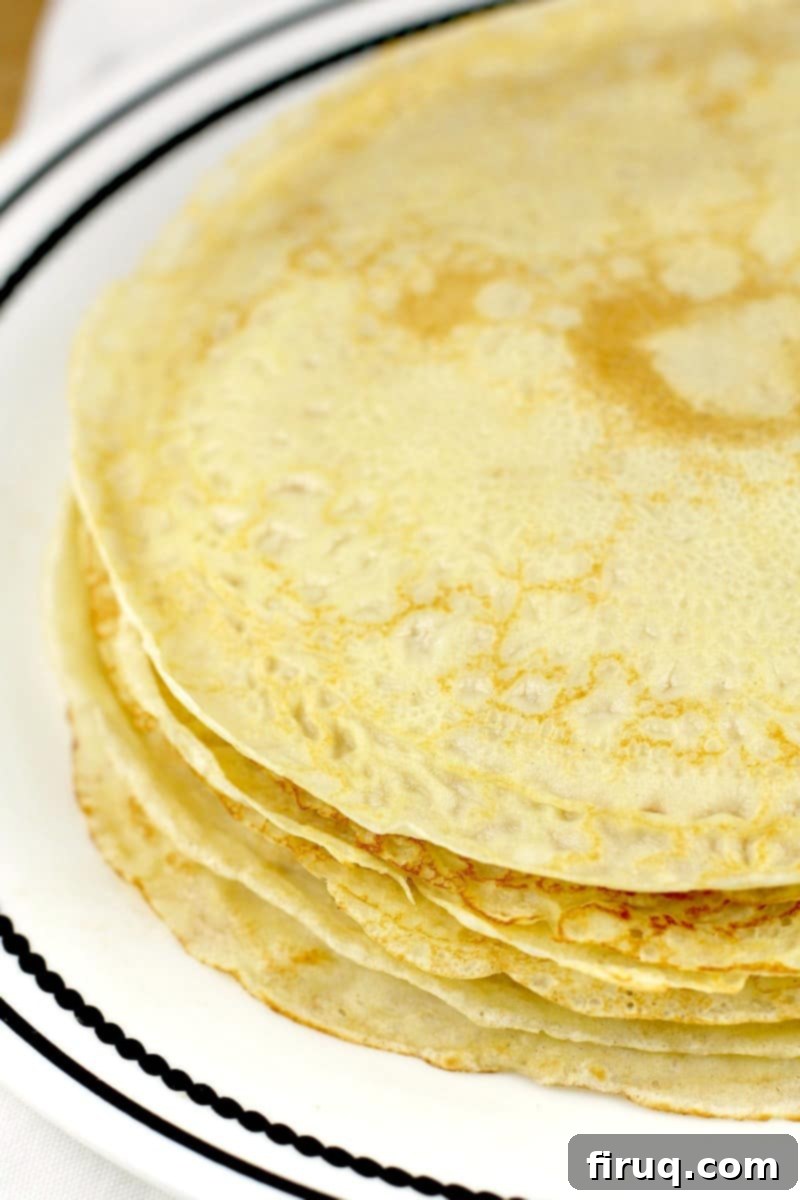
The first side of the crepe will cook rapidly. After about 30-60 seconds, gently lift one edge of the crepe with a thin rubber spatula to check for doneness. You’re looking for a beautiful, light golden-brown color on the underside (refer to the photo above for the ideal hue). Once you see this golden color, carefully slide the spatula under the entire crepe and confidently flip it over. This might take a little practice, but you’ll quickly get the hang of it.
Step 5: Cooking the Second Side and Repeating
Allow the second side to cook for another 15-30 seconds. This side will not get as golden as the first, which is entirely normal. It simply needs to set. Once cooked, slide the finished crepe onto a plate. Repeat the entire process for the remaining batter, remembering to lightly spray the pan with cooking spray before each new crepe to prevent sticking and ensure consistent results.
Essential Tips for Perfect Homemade Crepes Every Time
To ensure your crepe-making journey is smooth and successful, please take a moment to review these detailed tips. They cover nuances not always captured in a recipe card and are especially helpful for beginners or anyone looking to refine their technique.
- Embrace Lumpy Batter: As mentioned, a perfectly smooth batter isn’t the goal. Small lumps of flour are actually a good sign that you haven’t over-mixed, which would develop the gluten too much and lead to tough, chewy crepes rather than delicate ones. So, don’t fret over a few tiny bumps!
- The Right Ladle Measurement: I typically use a 1/4 cup ladle for adding batter to the pan. However, the crucial detail is to use a “scant” measure – meaning, fill the ladle or measuring cup slightly less than full. This ensures you have just enough batter to spread thinly without creating overly thick crepes.
- Consistent Lubrication: It is vital to re-spray your nonstick pan with cooking spray each and every time before adding a new batch of batter. This prevents sticking, ensures easy flipping, and contributes to the beautiful golden color of your crepes. A quick, light spray is all you need.
- The “Give” Test for Flipping: When the batter is first added to a hot, oiled pan, it will spread and move easily. As it cooks, it will subtly release from the pan. This “give” or slight looseness is a key indicator that the first side is ready to be checked and flipped. You can gently shake the pan; if the crepe slides freely, it’s ready.
- Don’t Fear the First Crepe (or Two): It’s a common culinary adage that the first pancake or crepe is often a “test run.” Don’t be discouraged if your initial attempts aren’t perfect. This is your chance to adjust the pan temperature and get a feel for the batter consistency and swirling motion. Consider these your learning crepes, and enjoy them as a chef’s snack!
- Managing Pan Temperature: You need a hot pan, but not a smoking hot one. If your cooking spray instantly smokes or the batter burns immediately upon contact, your pan is too hot. Remove it from the heat for a couple of minutes to allow it to cool down slightly, then try again. Conversely, if your crepes are cooking too slowly or not browning, increase the heat slightly. Consistency in temperature is key.
- The Swift Swirl: Hold your batter-filled ladle or measuring cup in one hand and the pan in the other. As soon as the batter hits the center of the pan, immediately begin the swirling motion. The batter sets quickly, so any delay will result in an unevenly thick center.
- The Right Tool for the Job: A large, thin, flexible rubber spatula is your best friend for crepe making. It allows you to gently lift the delicate edges to check for doneness without tearing and is ideal for carefully flipping the crepe.
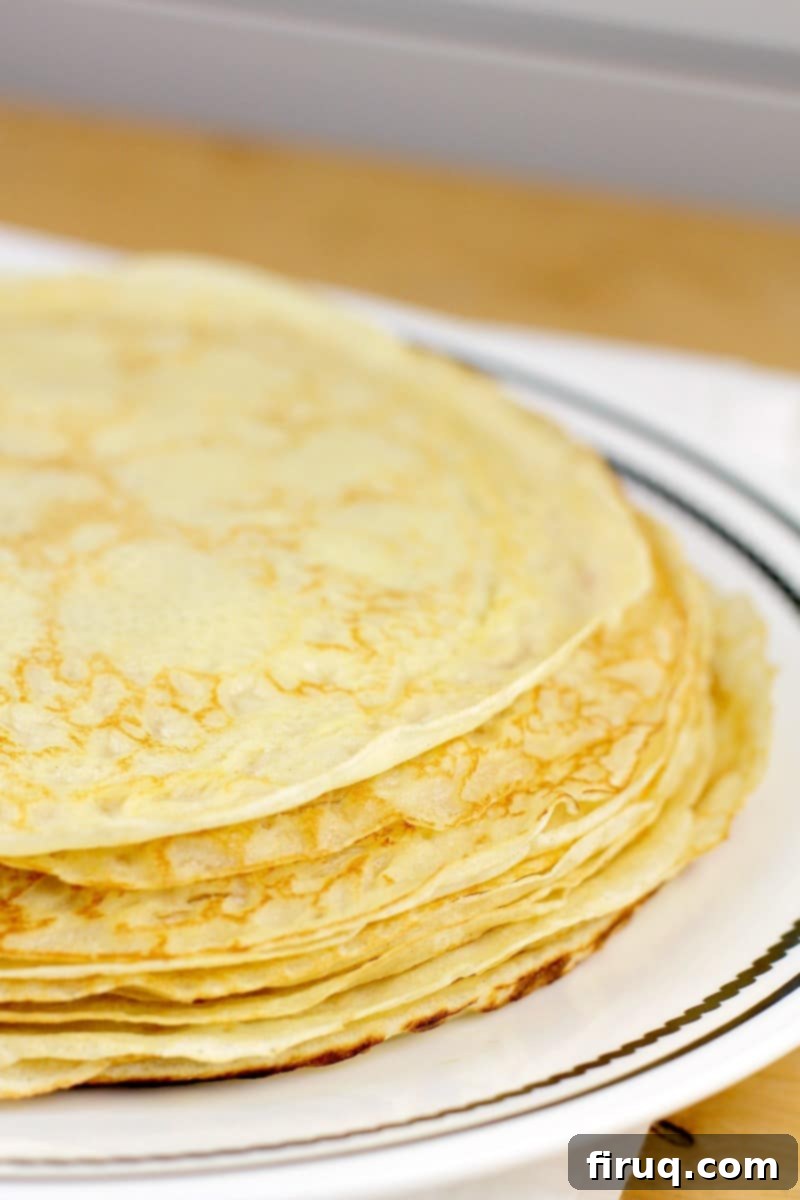
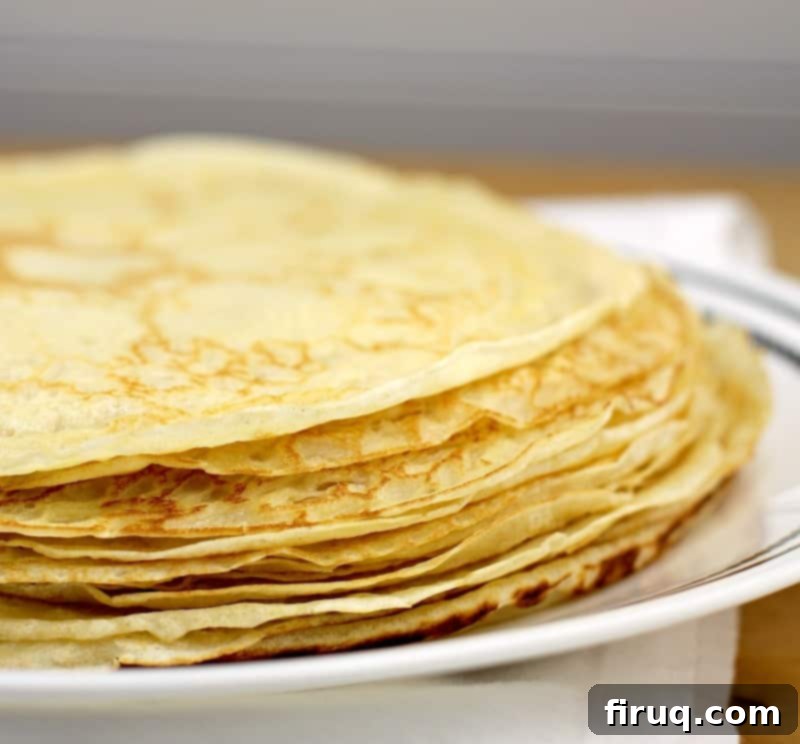
- Batch Size and Storage: This recipe, as written and assuming no casualties, typically yields 10-12 crepes, depending on the size of your pan. If you’re feeding a crowd or want leftovers, feel free to double the recipe; the quality of the crepes remains consistently excellent. Cooked crepes can be made a day in advance. Simply stack them with parchment paper in between (to prevent sticking), cover the plate tightly with plastic wrap, and refrigerate overnight. They reheat beautifully.
Looking for More French-Inspired Recipes?
If you’ve enjoyed venturing into French cuisine with these savory crepes, you might be interested in exploring other delightful dishes with a French touch:
- Herbed Potato Gratin: A creamy, cheesy, and utterly comforting side dish or main.
- French Onion Pizza: All the rich, savory flavors of classic French onion soup, reimagined on a pizza crust.
- Blackberry Basil Galette with Lemon Cream: A rustic and elegant dessert bursting with fresh fruit and aromatic herbs.
- Asparagus Gratin: A luxurious way to enjoy fresh asparagus, baked in a rich, cheesy sauce.
- Julia’s Boeuf Bourguignon: A timeless French classic, rich and hearty beef stew inspired by Julia Child.

How to Make Savory Crepes at Home
Print
Pin
Rate
Equipment
-
oil mister
-
Small Skillet
Ingredients
- 2 large eggs lightly beaten
- 1 ⅓ cups milk
- 2 Tbsp unsalted butter melted
- 1 cup all-purpose flour
- ½ tsp kosher salt
- cooking spray
Instructions
-
In a mixing bowl, combine eggs, milk, melted unsalted butter, all-purpose flour, and kosher salt. Whisk until all ingredients are just incorporated. Small lumps of flour are expected; avoid over-mixing.
-
Heat a small nonstick skillet (or crepe pan) over medium-high heat. Lightly spray the pan with cooking spray.
-
Add a scant ¼ cup of batter to the center of the hot pan. Immediately tilt and twirl the pan in a circular motion (like a Tilt-A-Whirl) to spread the batter as thinly and evenly as possible, covering the entire bottom and extending about ½-inch up the sides (adjusting for pan size).
-
Cook for about 30-60 seconds, or until the bottom side of the crepe is lightly golden. Use a thin rubber spatula to gently check for doneness. Carefully flip the crepe to cook the second side until it’s very lightly golden, about 15-30 seconds. Transfer the cooked crepe to a plate.
-
Repeat this process for the remaining batter, making 10-12 crepes in total. Remember to lightly spray the pan with cooking spray before adding batter for each subsequent crepe.
Notes
For more detailed information, tips, and common troubleshooting advice not fully covered in this recipe card, please refer to the main body of this post.
