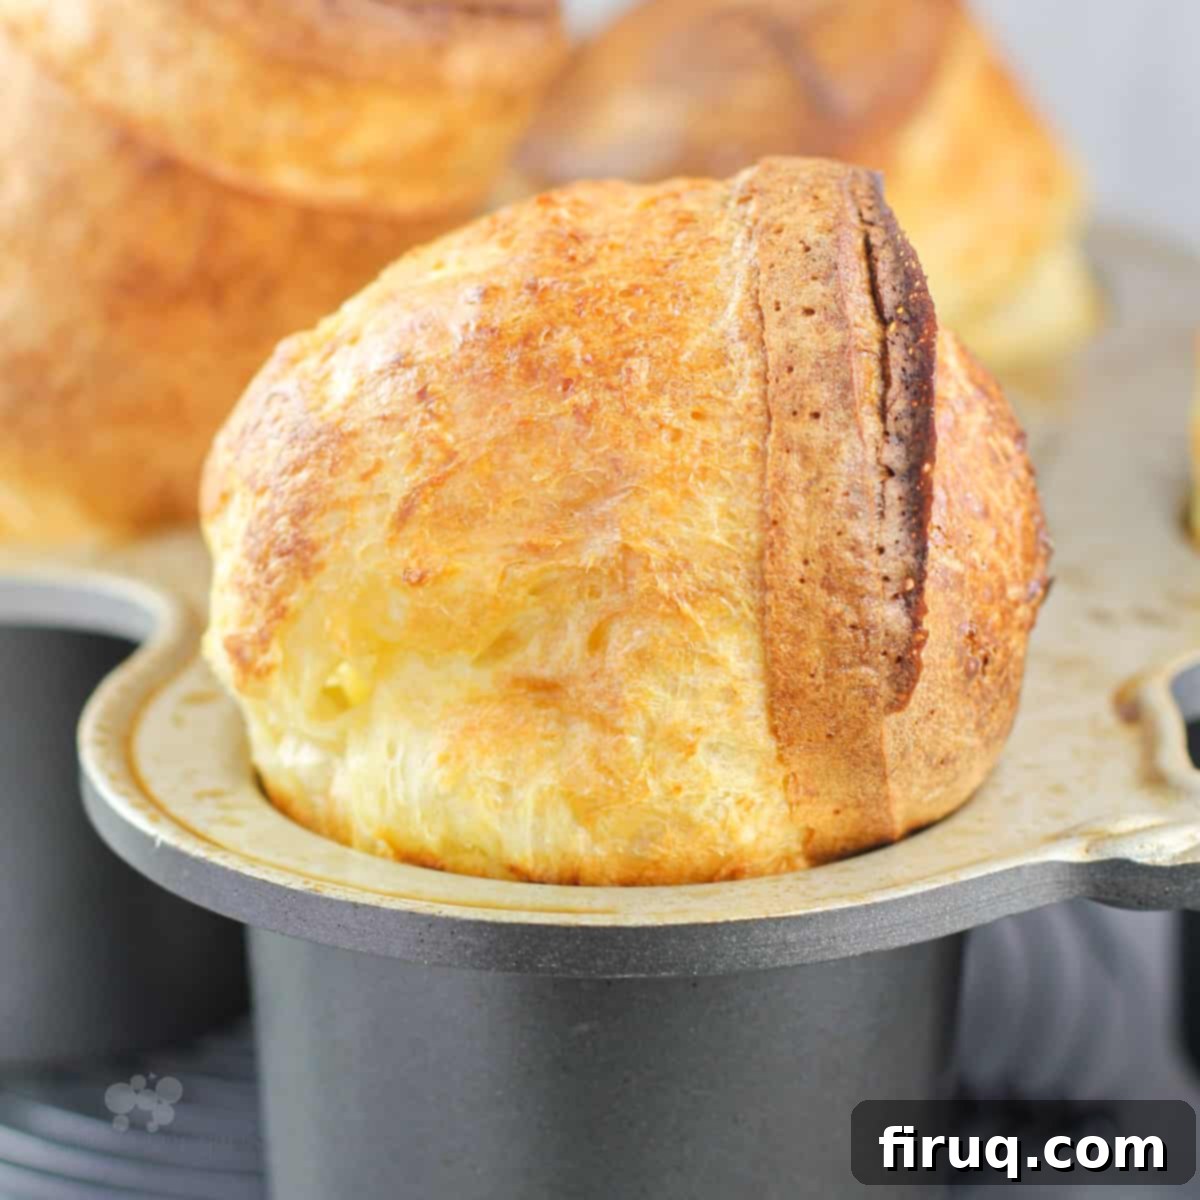
The Ultimate Guide to Perfect Popovers: Crispy, Airy, and Effortlessly Delicious
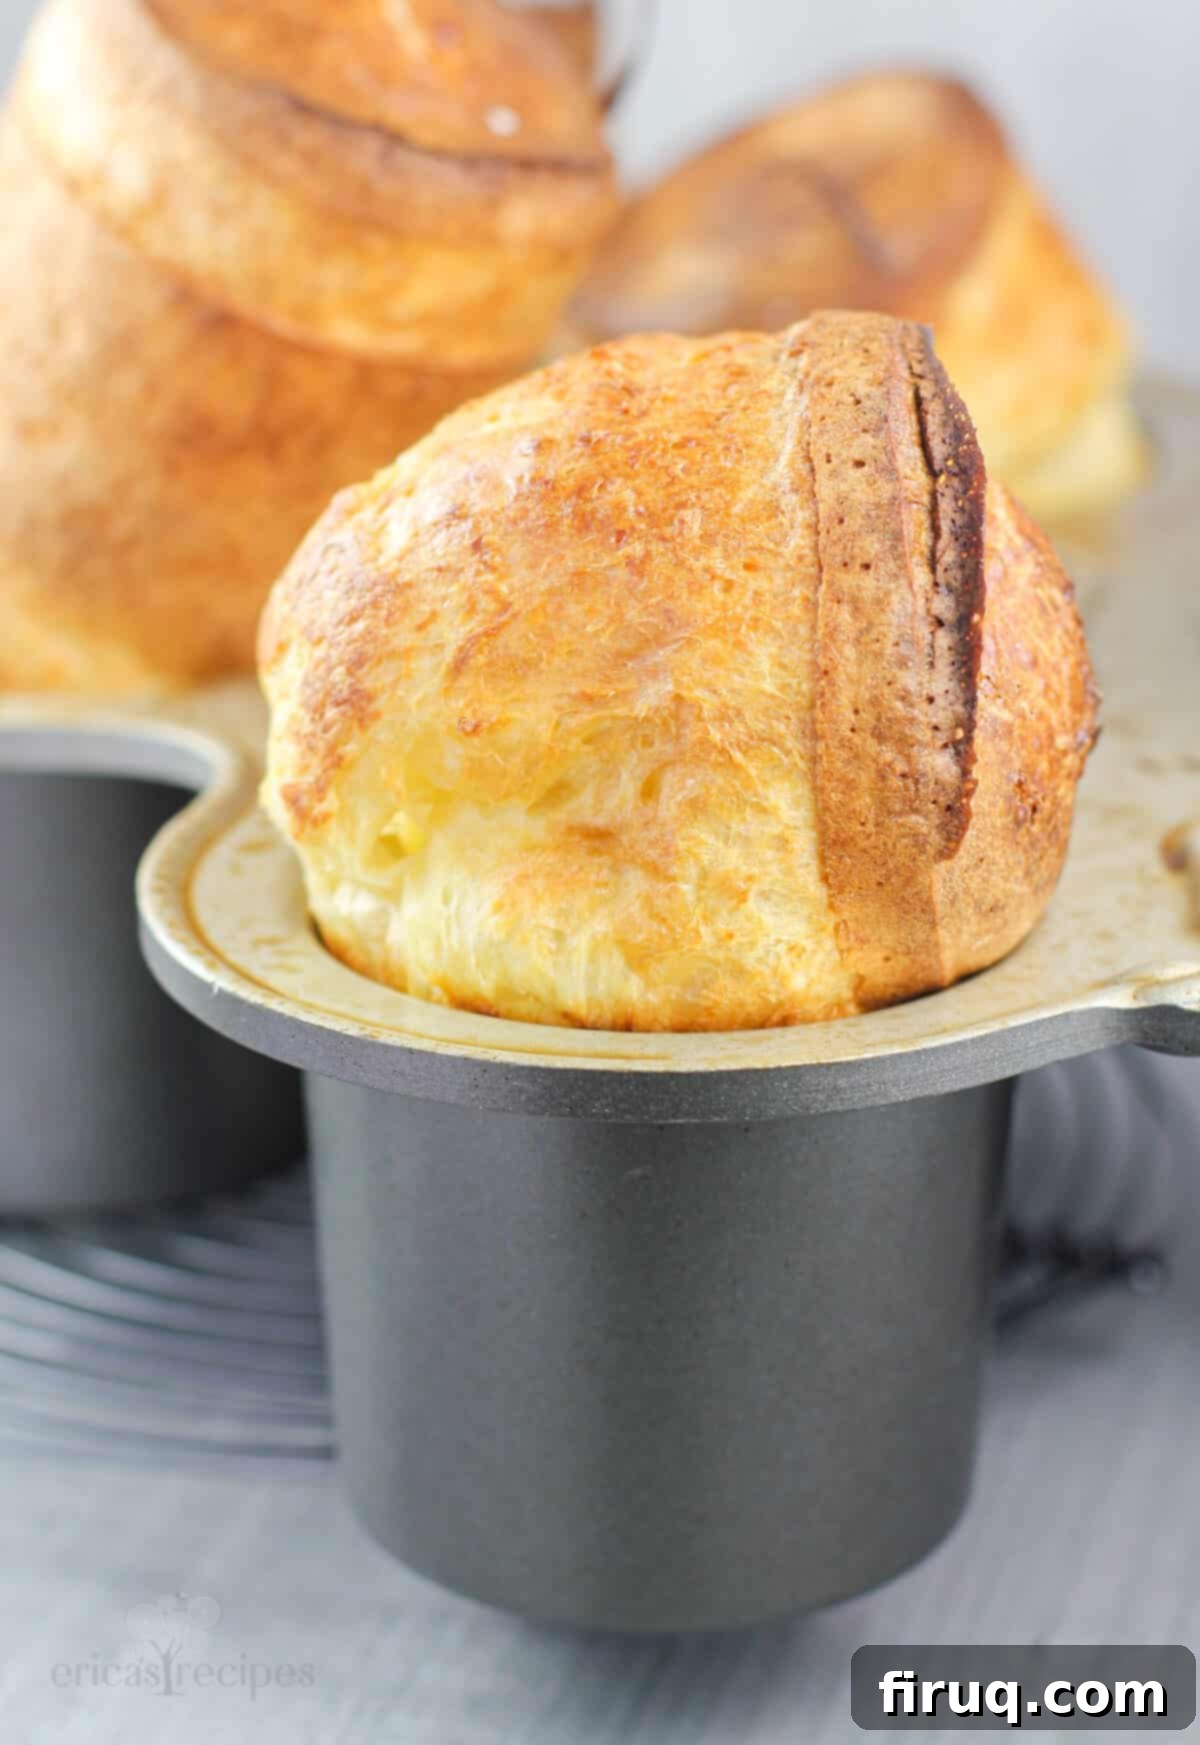
Welcome to the world of perfect popovers – where a simple batter transforms into a culinary marvel! These delightful rolls boast an irresistible crispy exterior that gives way to a light, airy, and wonderfully hollow interior, making them an ideal accompaniment to any meal or a delightful treat on their own. Crafted from basic kitchen staples like eggs, milk, flour, and butter, this classic recipe is your foolproof guide to achieving tall, beautifully puffed popover rolls every single time. Forget the myth that popovers are complicated; with our expert tips and tricks, you’ll discover just how easy it is to master this impressive dish.
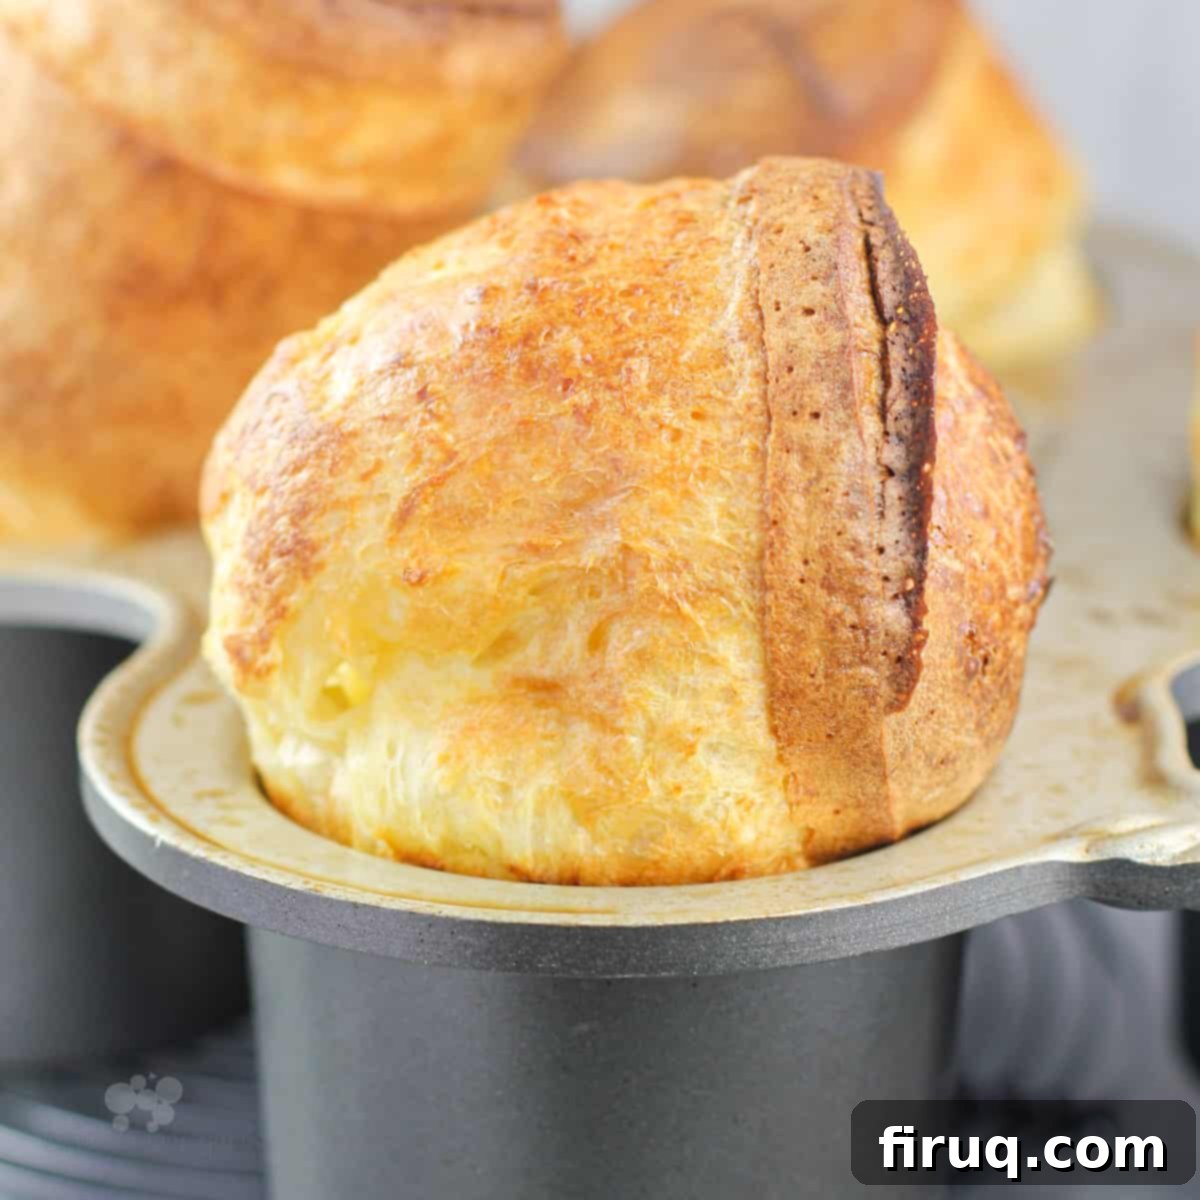
There’s a well-kept family secret that, fueled by a bit too much evening relaxation, often leads to a spontaneous late-night popover baking session in my kitchen. My kids know the drill: “So, it was a popover night, huh Mom?” And I wholeheartedly own it! This playful confession simply underscores a crucial point: making truly perfect popovers is absolutely No Big Deal. It’s a testament to how straightforward this recipe can be when you know the simple yet effective techniques.
What Exactly Are Popovers?
Popover rolls are a cherished culinary tradition, with roots tracing back to the 1800s when English settlers introduced them to New England. Over time, these European-inspired pastries were “Americanized,” evolving into the larger, dramatically airy creations we adore today. Essentially, popovers are made from a remarkably simple batter, quite similar in composition to a thin pancake batter, but with one key distinction: they contain no leavening agents like baking powder or baking soda.
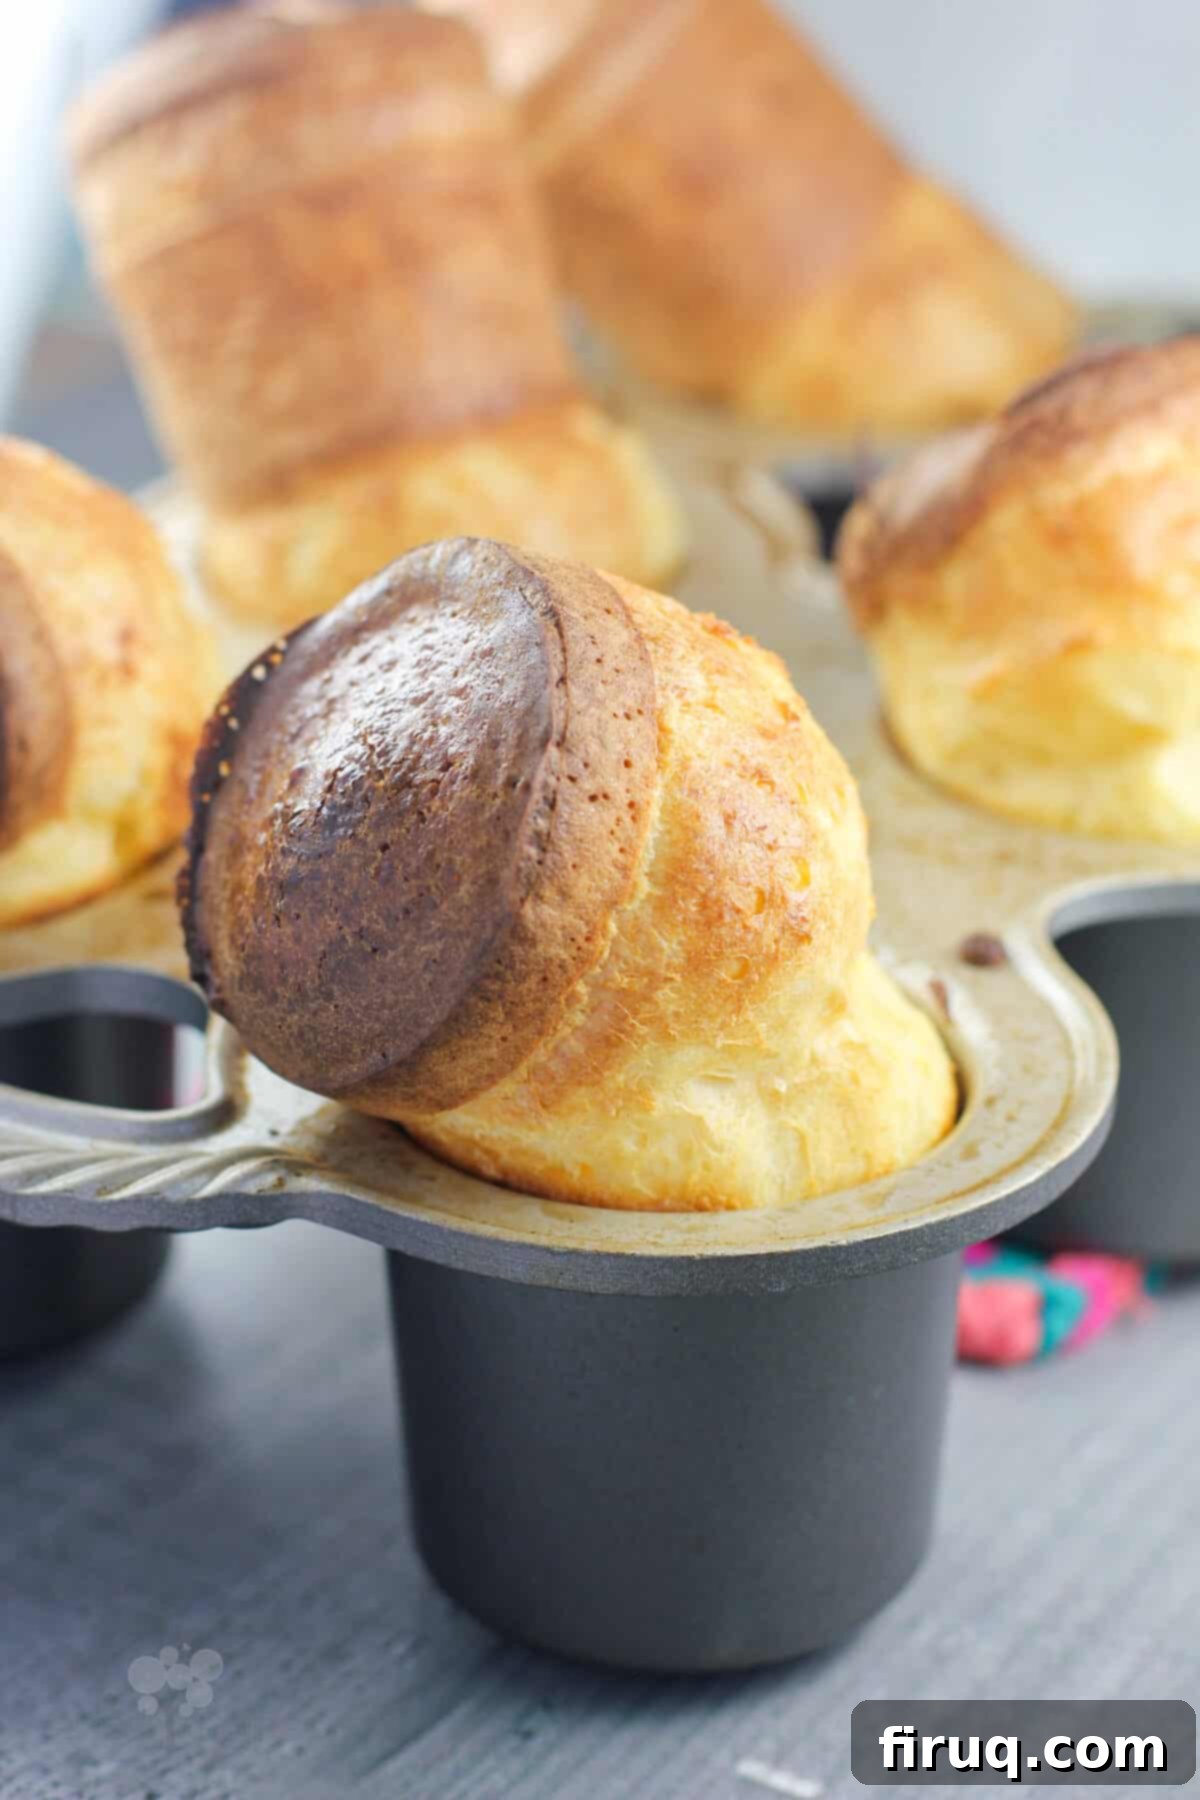
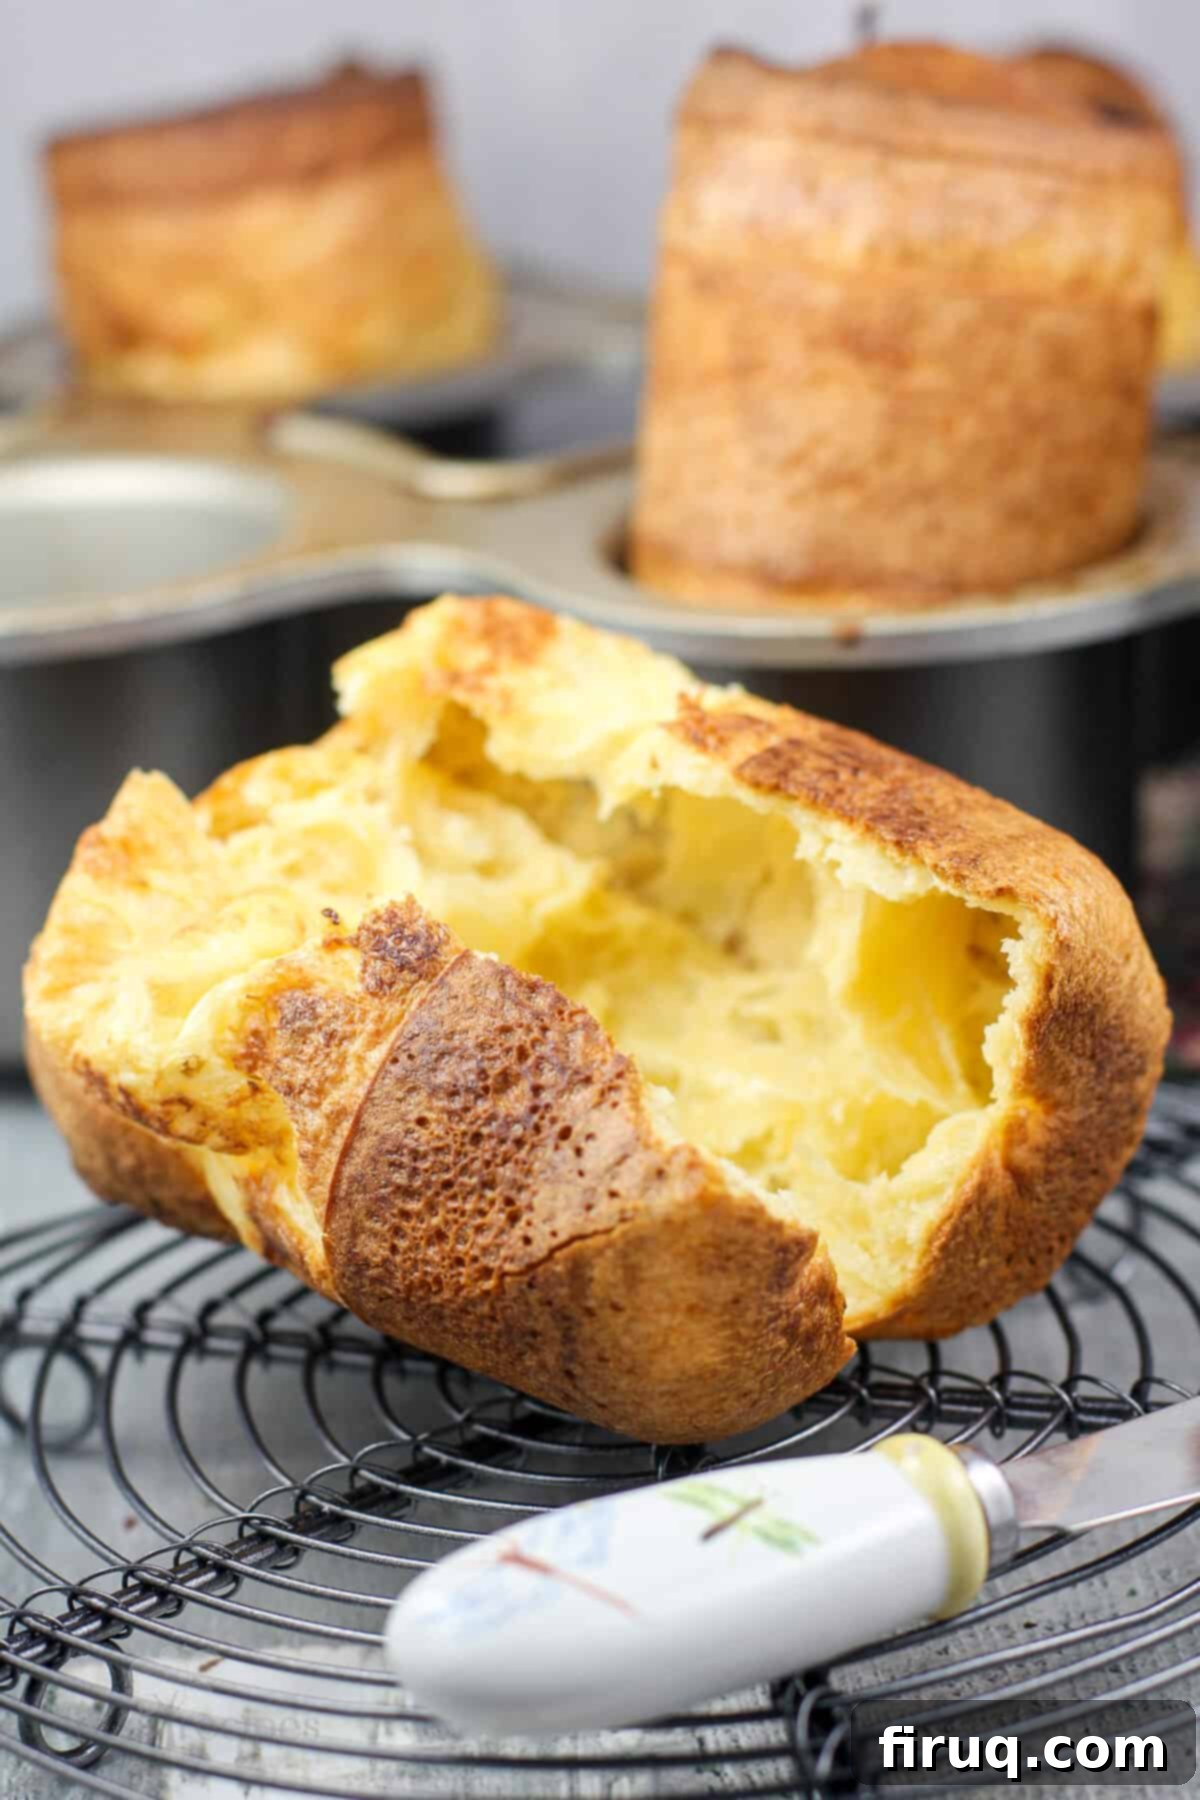
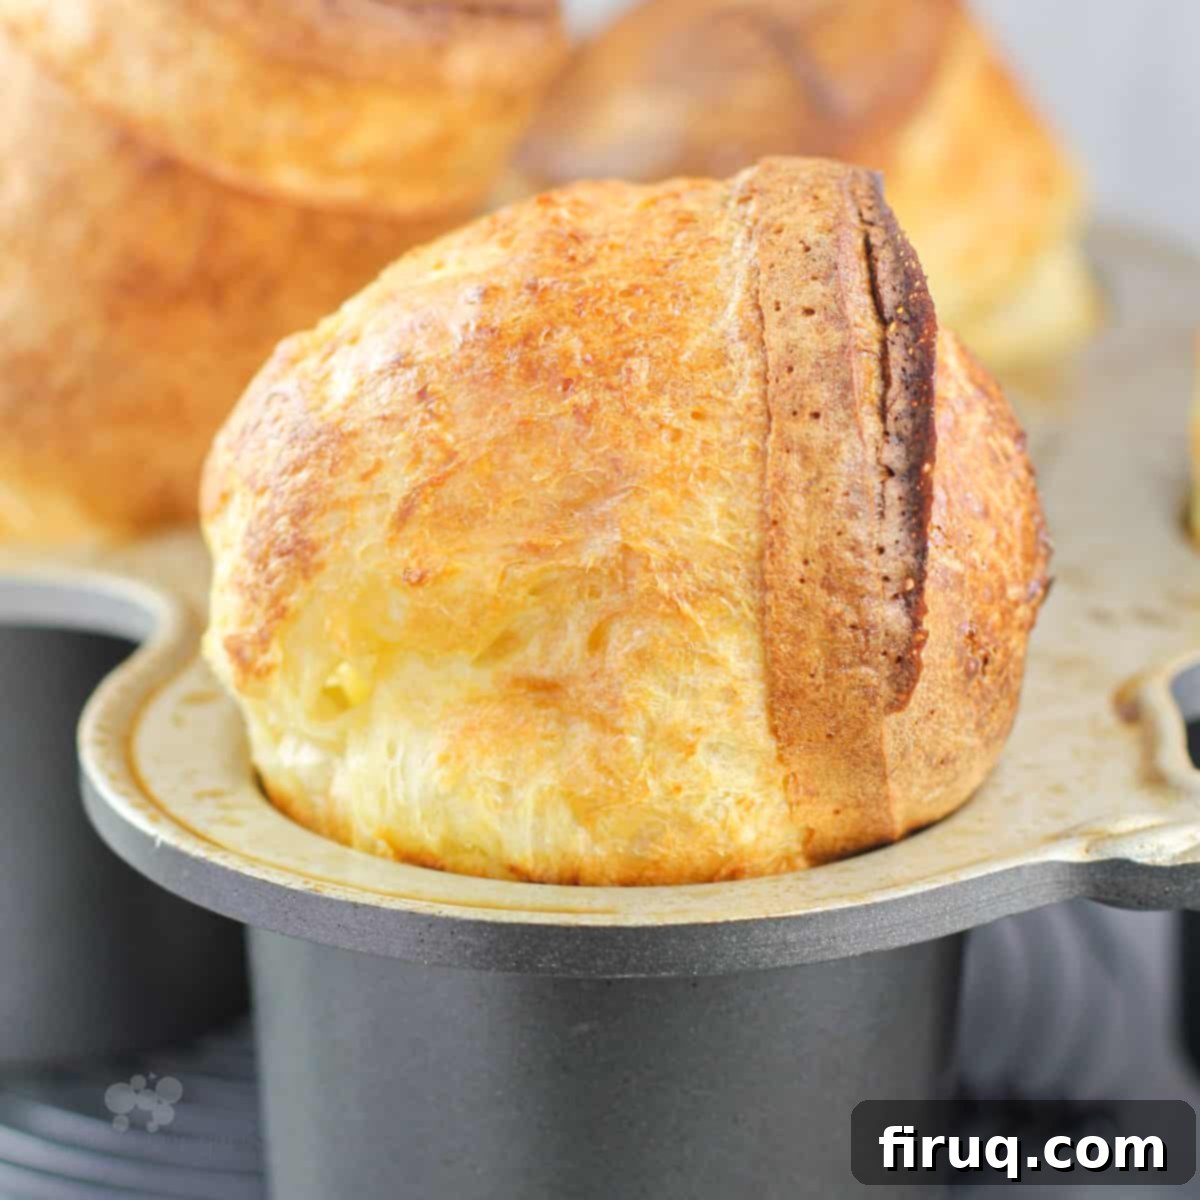
Instead, the magic of the popover’s impressive rise comes from a unique interplay of ingredients, specialized bakeware, and intense heat. The basic batter, a blend of eggs, milk, flour, and butter, is poured into a dedicated popover pan. These pans are specifically designed with deep, widely spaced wells and straight sides to facilitate optimal heat circulation around each individual popover. When this batter hits the sudden, high heat of a preheated oven, the moisture within the batter rapidly converts into steam. This steam expands forcefully, puffing up the batter to create those characteristic tall, hollow, and incredibly light structures that give popovers their name.
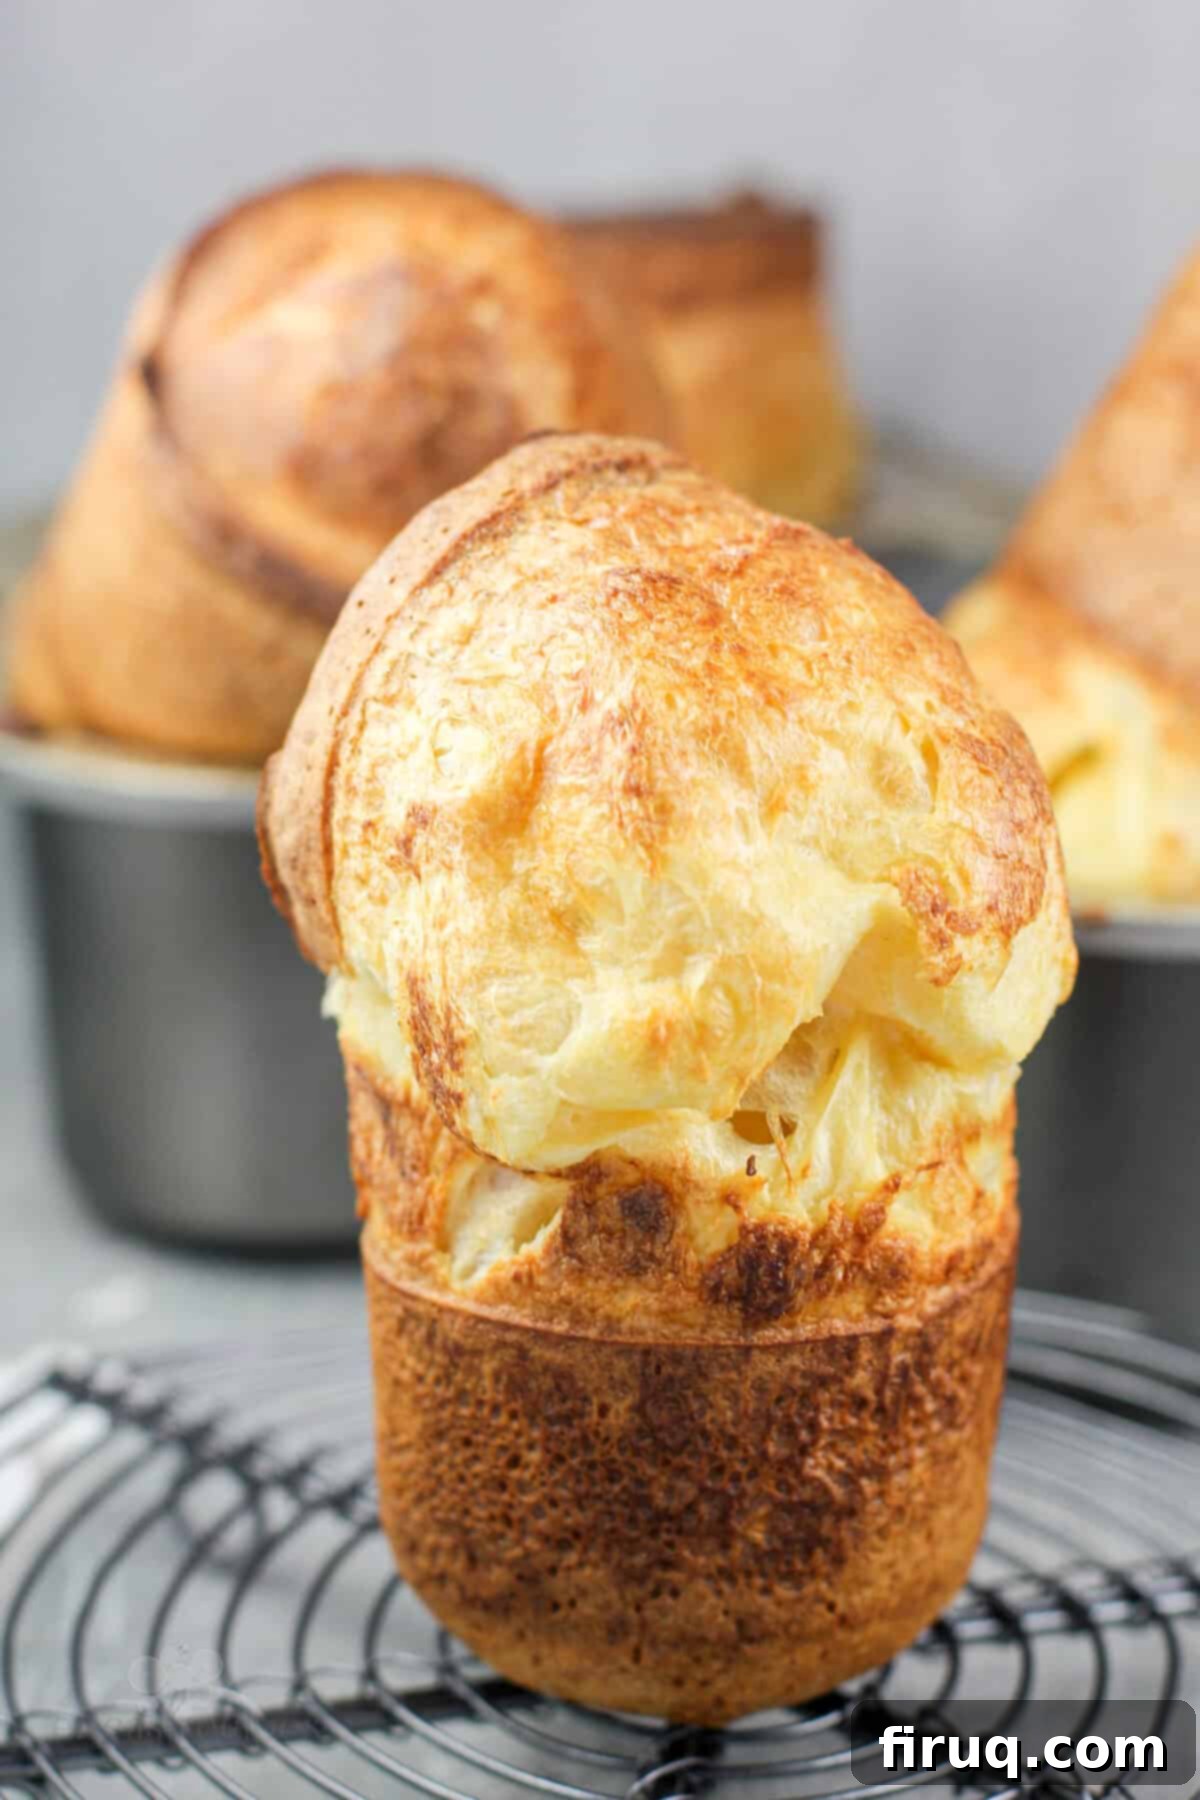
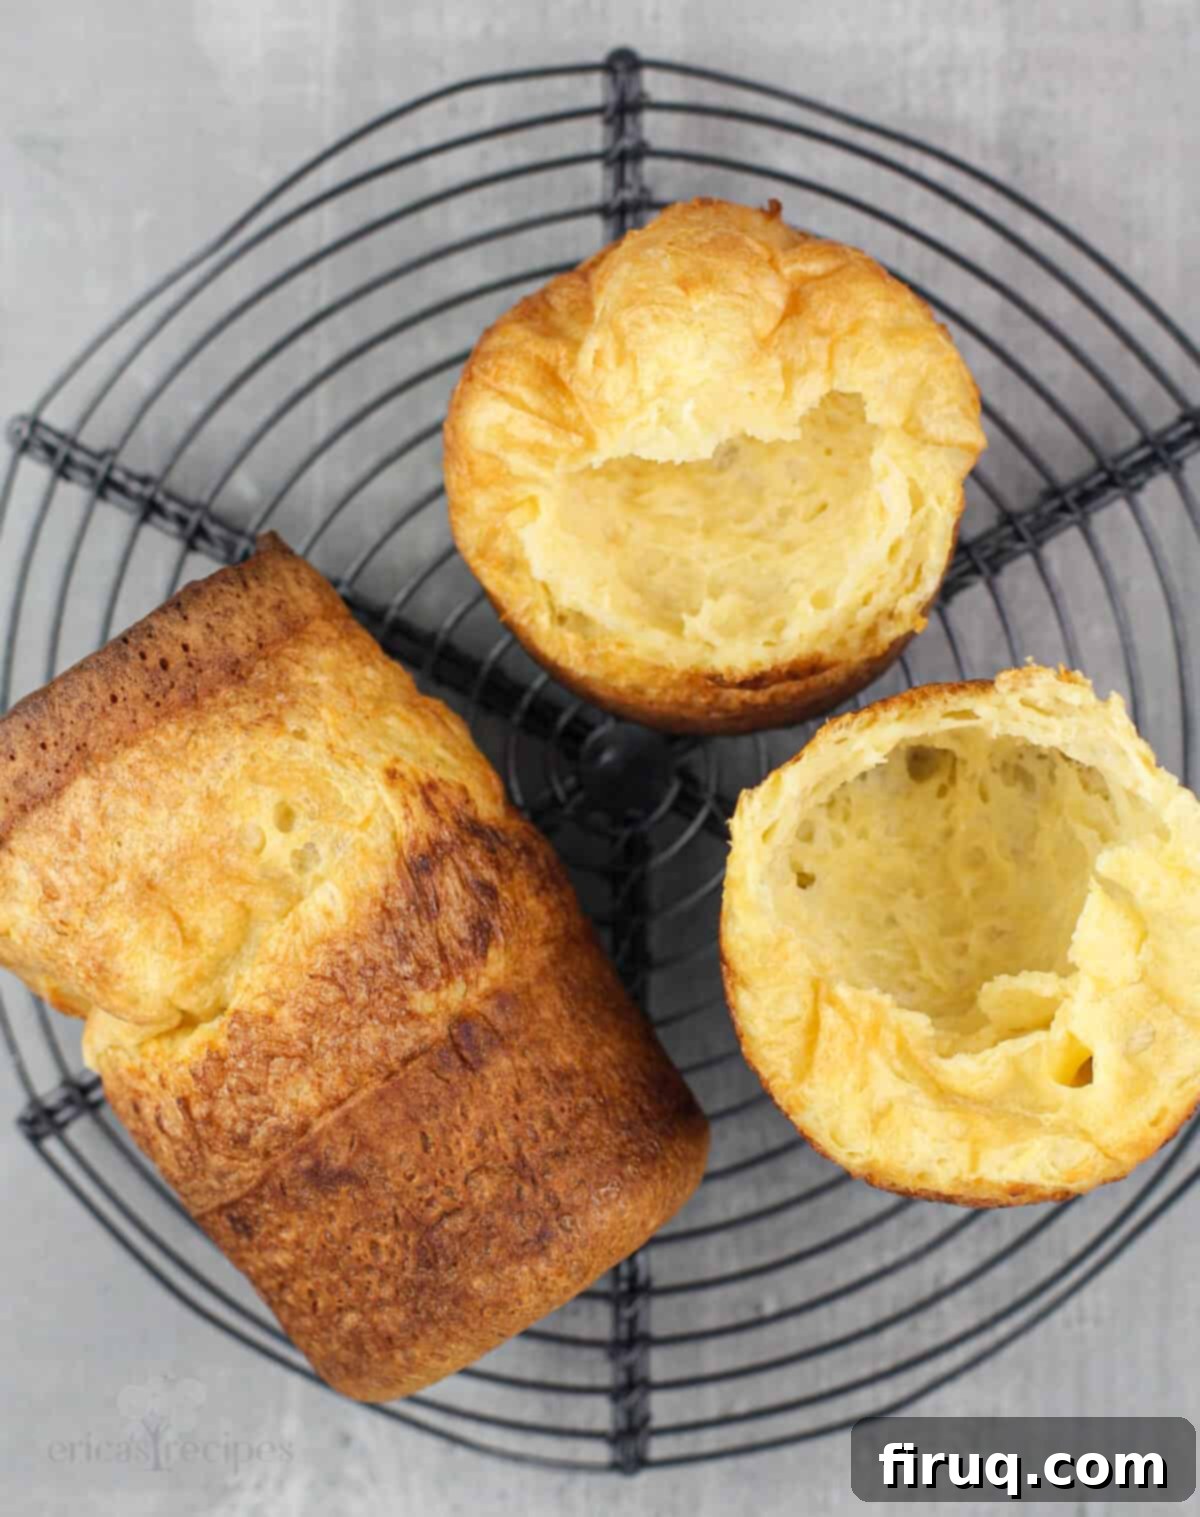
Popovers are more than just bread; they are a special, impressive, and deeply satisfying treat. The ideal popover should be wonderfully light and exquisitely crispy on the outside, never dense or overly eggy. Achieving this consistent perfection relies on a few critical tips and tricks, which I’ve meticulously gathered and refined to ensure you get perfect results every single time you bake them.
Are Popovers the Same as Yorkshire Pudding?
This is a common question with a nuanced answer: yes and no. Popovers and Yorkshire puddings are indeed made from the same fundamental batter—eggs, flour, and milk—making them very close cousins. However, their preparation and traditional serving differ. Yorkshire pudding is typically baked in standard muffin tins (or sometimes larger roasting pans), and traditionally, these tins are generously greased with hot beef fat. This savory fat imparts a distinct flavor and helps achieve a specific texture. Yorkshire puddings are almost always served as a savory side dish, accompanying roasted beef or other meat dishes. Popovers, while share a similar heritage, are typically larger, taller, and can be enjoyed with both sweet and savory accompaniments, often using butter or cooking spray for greasing.
About the Key Ingredients for Perfect Popovers
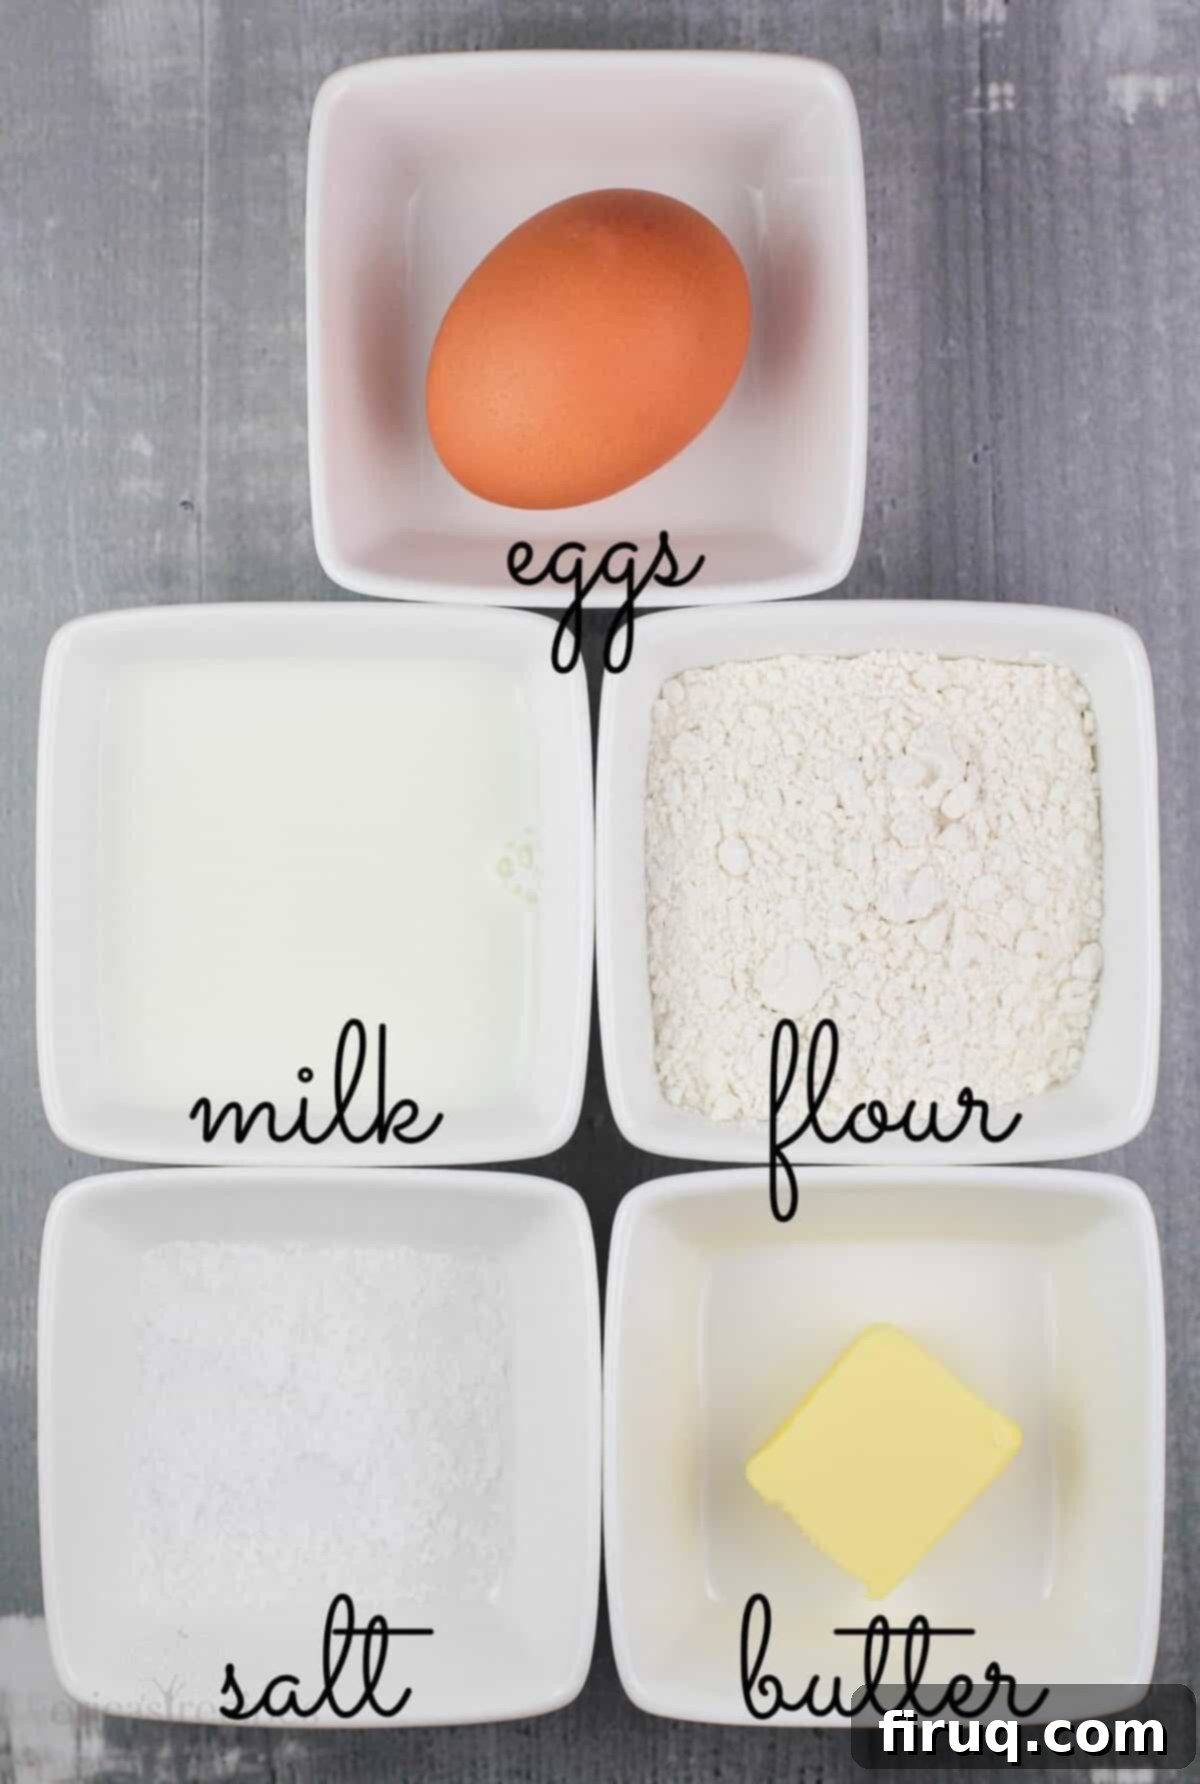
While the ingredient list for popovers is wonderfully short and simple, the quality and temperature of each component play a pivotal role in achieving that signature rise and texture. Here’s a closer look at what you’ll need and why:
- Eggs: This recipe calls for 2 whole, large eggs. The most critical factor for eggs in popovers is their temperature – they absolutely must be at room temperature, not cold from the refrigerator. Room temperature eggs emulsify better with the other ingredients, leading to a smoother batter. More importantly, they contribute to the batter’s overall temperature, which is essential for rapid steam creation in the hot oven. If you’re in a rush (like during a late-night baking impulse!), simply place the eggs in a bowl of hot tap water for about 15 minutes to quickly bring them to temperature.
- Milk: I typically use 1% or 2% milk because that’s what I consistently have on hand. While I don’t recommend skim milk (due to its lower fat content potentially impacting richness and texture), and haven’t experimented with whole milk, the key here, much like with the eggs, is temperature. The milk needs to be at room temperature or even slightly warm. A quick zap in the microwave for 30-60 seconds can bring it to the ideal warmth without scalding. Warm milk helps create a smooth batter and contributes to the rapid steam production needed for towering popovers.
- Flour: Regular all-purpose flour is perfect for this recipe. To ensure accurate measurement and prevent a dense batter, it’s crucial to use the “spoon and level” method: gently spoon the flour into your measuring cup until it overflows, then level it off with the straight edge of a knife. Never scoop the flour directly from the bag with the measuring cup, as this compacts the flour, leading to an excess amount and a heavier batter.
- Salt: Popovers, despite their simplicity, truly benefit from the right amount of salt to enhance their flavor. Forgetting the salt once resulted in a batch I had to discard, highlighting its importance. Kosher salt is recommended for this recipe over table salt due to its coarser texture and cleaner flavor profile.
- Butter: Butter is an indispensable component, contributing to both the flavor and the tender texture of the popovers. Unsalted butter is preferred as it allows you to control the overall saltiness of the recipe more precisely. It’s also essential that the butter is melted before being incorporated into the batter, ensuring it disperses evenly throughout.
Beyond the batter ingredients, you’ll also need a reliable way to grease your popover tins. For convenience, I often use cooking spray, which works beautifully. However, melted butter or even a dab of lard can also be used, potentially adding another layer of flavor and crispness to the crust.
How to Make Perfect Popovers: Step-by-Step
Creating beautiful, sky-high popovers is a straightforward process when you follow these key steps. The primary tools you’ll need are the five core ingredients listed above (eggs, milk, flour, salt, and butter) and, crucially, a proper popover pan. If you’re debating whether a dedicated popover pan is truly necessary, my answer is a resounding yes! For those iconic, big, beautifully puffed popovers, a specialized pan is absolutely essential to achieve their signature shape and rise.
- Prepare Your Oven: Begin by preheating your oven to a blazing 450 degrees Fahrenheit (232 degrees Celsius). This initial high heat is critical for creating the explosive steam needed for the popovers to rise dramatically.
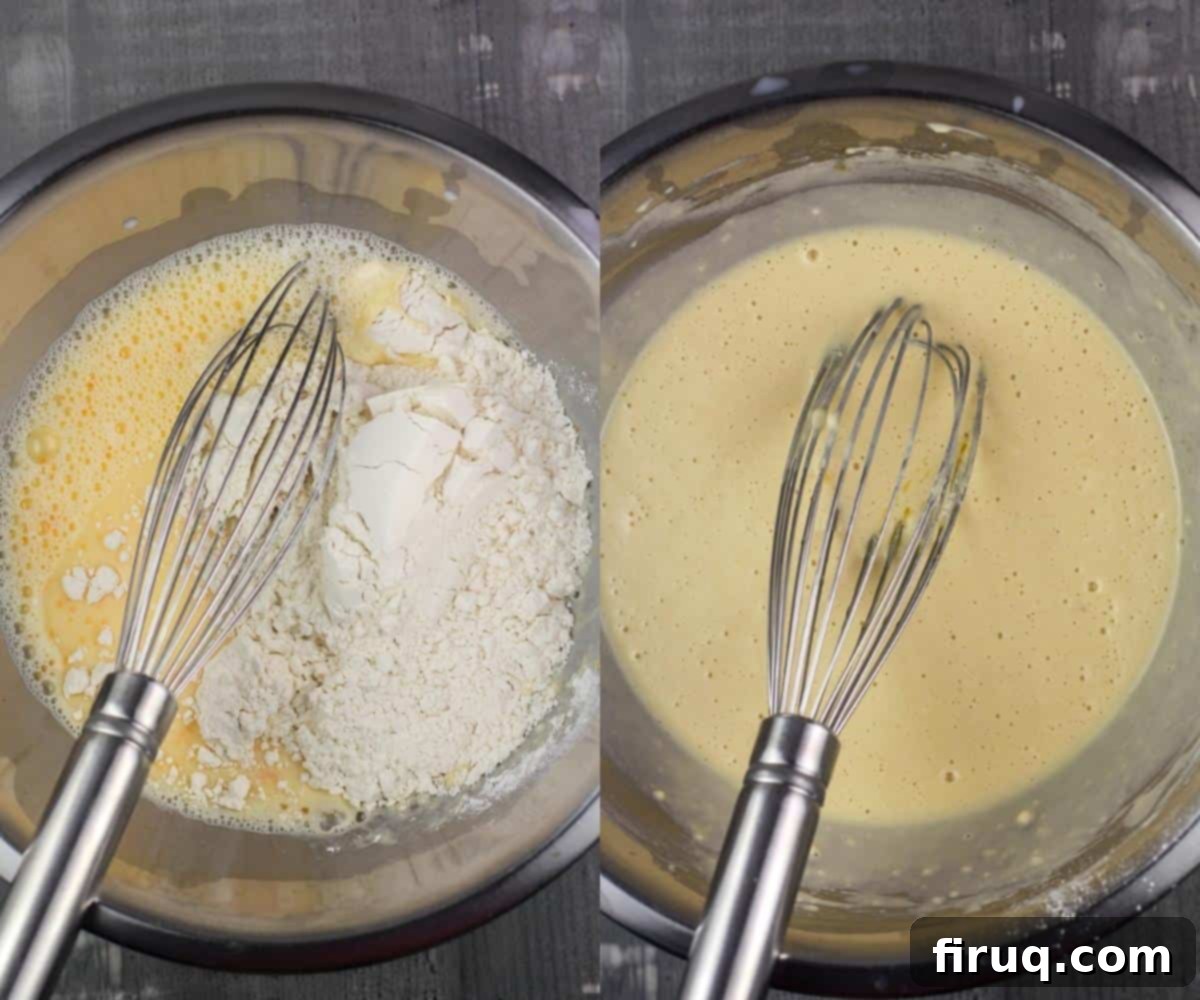
- Whisk the Batter: While your oven is coming up to temperature, prepare the batter. This is incredibly easy: simply combine all the ingredients in a large bowl and whisk them together until just combined. A few small lumps are perfectly fine and even preferred; overmixing can develop too much gluten, leading to a tough popover. The goal is a batter with the consistency of heavy cream. Allow the batter to rest for about 10 minutes while the oven finishes heating. This brief rest time allows the flour to fully hydrate, absorbing moisture from the eggs and milk, which is crucial for maximizing steam production.
- Preheat the Popover Pan: During the batter’s resting time, place your empty popover pan into the preheated oven for about 2-5 minutes. Getting the pan scorching hot is another non-negotiable step. A hot pan immediately sears the batter upon contact, trapping steam instantly and forcing the popovers to puff upward quickly. This is also a significant reason why using room temperature eggs and milk is so vital—they prevent the batter from cooling down the hot pan too much.
- Fill and Bake (Initial High Heat): Using high-quality oven mitts, carefully remove the incredibly hot popover pan from the oven. Lightly spray each well with cooking spray (or brush with melted butter). Immediately divide the popover batter evenly among the tins, filling each well roughly halfway. Do not overfill, as this can prevent the proper rise. Promptly return the filled pan to the oven for the magic to unfold.
- Bake at Two Temperatures: Bake the popovers at 450°F (232°C) for the first 15 minutes. This intense heat provides the initial powerful lift. After 15 minutes, and this is crucial, **without opening the oven door at all**, reduce the oven temperature to 350°F (175°C) and continue baking for another 15 minutes. This lower temperature allows the popovers to set fully and achieve a beautiful golden-brown, crispy crust without burning. Opening the oven door will cause the delicate structures to deflate.
- Finish and Serve Immediately: Once baked, take the pan out of the oven. To prevent them from becoming soggy, immediately pierce each popover with a sharp knife to allow any trapped steam to escape. Promptly remove them from the popover tins. Popovers are truly at their absolute best when eaten fresh from the oven, while they are still warm, crisp, and wonderfully airy.
The synergy of room temperature ingredients, a preheated hot pan, and the initial burst of high oven heat all work together to rapidly create steam within the batter, providing that impressive lift. Subsequently, the bake at a lower 350°F temperature allows the batter to set properly, creating the desired crispy, golden-brown exterior while maintaining that iconic hollow, tender interior. This dual-temperature method is key to their structural integrity and delicious texture.
After cooking, piercing the popover rolls with a knife and removing them from the pan allows any residual steam to escape. This is vital because if steam remains trapped, it will condense and soften the popovers, diminishing their delightful crispness. For the best experience, always serve them straight away!
What is the Secret to Sky-High Popovers? The Power of Steam!
The ultimate secret to consistently making perfectly puffed popovers lies entirely in the strategic creation and expansion of steam within the batter the moment they enter the oven. It’s a precise chain reaction that, when executed correctly, guarantees magnificent results. First, having all your liquid ingredients—eggs and milk—at room temperature is paramount. This ensures the batter isn’t too cold, allowing it to heat up rapidly. Second, resting the batter for about 10 minutes after mixing allows the flour ample time to fully absorb the moisture from the egg and milk. This hydration is crucial because properly hydrated flour means more moisture is available to instantly convert into steam. Finally, preheating the popover pan itself to a high temperature, combined with the unique shape of the pan, creates an immediate, intense heat environment. This forces the trapped air and rapidly forming steam in the batter to expand with incredible speed, culminating in that dramatic and characteristic “puff” we all love.
Essential Popover Tips for Consistent Success
Even with a simple recipe, a few critical details can make all the difference between good popovers and truly extraordinary ones. Here are my tried-and-true tips for consistent success:
- Invest in the Right Popover Pan: This is perhaps one of the most significant factors. **Not all popover pans are created equal**. For years, I relied on a beloved pan that always delivered perfect results. When it finally retired, I went through several disappointing replacements from Amazon that looked similar but failed to perform. The key is the material and design. Look for pans made of **graphite or carbonized steel**, which conduct heat evenly and efficiently. Avoid cheaper aluminized steel pans, which often don’t provide the same consistent heat distribution necessary for a spectacular rise. The deep wells and straight sides of a quality popover pan are specifically engineered to encourage maximum expansion and achieve that signature tall shape.
- Temperature is Everything: It is absolutely crucial to **have your eggs and milk at room temperature** before you even begin mixing the batter. Cold ingredients will shock the hot pan and inhibit the rapid steam production needed for the dramatic puff. You can quickly warm eggs in hot tap water and milk in the microwave if needed.
- Let the Batter Rest: After mixing, **allow the batter to rest** for at least 10 minutes. This gives the flour time to absorb moisture, leading to a smoother batter and ensuring maximum steam is generated when baked.
- Preheat the Pan: Always **heat the popover pan in the oven** for a few minutes before adding the batter. A scorching hot pan is vital for creating an immediate crust on the batter, trapping the steam inside and forcing it upwards.
- Measure Flour Correctly: The ratio of ingredients is paramount. Be sure to **spoon the flour into the measuring cup** and then level it off, rather than scooping directly from the bag. Scooping compacts the flour, resulting in too much flour and a dense, heavy popover.
- Do Not Overmix the Batter: Some recipes controversially suggest blending the batter, which I strongly advise against! The last thing you want is to overdevelop the gluten in the flour by beating it vigorously. Simply **whisk the ingredients until just combined** and any large lumps have disappeared. A slightly lumpy batter is actually preferable to an overmixed, smooth one, which can result in tough popovers.
- Resist the Urge to Peek!: Once the popovers are in the oven, **do not open the oven door**, especially during the initial high-heat phase. The sudden drop in temperature and release of steam will cause them to collapse, and they won’t recover. Trust the process and keep that door closed!
Delicious Popover Recipe Variations
While classic popovers are divine on their own, their neutral flavor profile makes them a fantastic canvas for various additions, transforming them into either savory delights or sweet indulgences. The key to successful variations is not to overload the batter, as too many added ingredients can weigh it down and interfere with the crucial puffing process.
For savory options, a touch of cheese and finely chopped herbs can elevate a simple popover into a gourmet side. Imagine the aromatic burst of fresh thyme, rosemary, or chives, perfectly complemented by a sharp cheddar or a creamy Gruyere. These are wonderful with soups, stews, or alongside roasted meats. I’ve developed a few favorite savory popover recipes:
- Poblano Pepper and Pepperjack Popovers
- Smoked Gruyere and Thyme Popovers
- Cheddar Bay and Chive Popovers
If your sweet tooth calls, popovers can also be transformed into dessert. Think chocolate chips, a dusting of cinnamon sugar, or even a drizzle of glaze after baking. These sweet versions make for a unique breakfast pastry or a light, satisfying dessert. The versatility of popovers truly knows no bounds, allowing you to experiment and find your own perfect flavor combinations.
How to Store and Reheat Popovers for Best Results
Let’s be honest: popover rolls are undeniably at their absolute peak when devoured piping hot, straight from the oven. The crispy exterior, the steamy, airy interior – it’s an experience that’s hard to beat. I’m a big proponent of potluck-friendly and make-ahead recipes, but popovers are a rare exception to that rule; their ephemeral texture is best enjoyed immediately. That said, if you find yourself with leftovers (a rare but possible occurrence!), there are ways to store and reheat them to regain some of their former glory.
To store, allow popovers to cool completely to prevent condensation, then place them in an airtight container or a plastic bag with a lid. They will lose their crispness and become softer, but they will still be delicious. For longer storage, you can freeze popovers for up to a month. Ensure they are completely cool, then place them in a freezer-safe bag or container.
When reheating, the oven is your best friend for restoring their desirable crispness. Preheat your oven to 350°F (175°C) and place the popovers directly on the oven rack (or on a baking sheet). Reheat for 5-10 minutes if thawed, or 10-15 minutes if frozen, until they are hot through and their crust has crisped up once more. While they may not be *exactly* as good as fresh, this method comes remarkably close to recreating their original texture.
Frequently Asked Questions About Popovers
For short-term storage, allow popovers to cool completely, then place them in an airtight plastic bag or container, tightly sealed. While they will soften, this prevents them from drying out. Popovers can also be frozen for up to 1 month. To ensure they regain their crispy texture, always reheat them in a 350°F (175°C) oven until they are crisp on the outside and hot all the way through.
Dense popovers, whether they fail to rise or lack those desirable hollow interiors, typically stem from a few common issues. The most frequent culprits include not starting with room temperature eggs and milk, failing to properly preheat your popover pan, or using a popover tin of inferior quality. Additionally, making a batter that is too thick can hinder its ability to puff up. For optimal results, seek out popover pans made from graphite or carbonized steel, as these materials offer superior heat conductivity. Sometimes, despite all best efforts, popovers simply don’t rise as expected, and there’s no clear explanation – it happens to even the most experienced bakers! But rest assured, they are usually still quite tasty, so enjoy them nonetheless.
While a dedicated popover pan is not strictly “required” to bake popovers, it is absolutely essential if you desire the iconic tall, dramatically puffed, and beautifully shaped classic popovers. I have successfully made this recipe using a traditional 12-tin muffin pan, and they turned out delicious. However, those made in muffin tins will be shorter and more muffin-shaped, lacking the signature height and distinct hollow interior that a specialized popover pan facilitates. For the true popover experience, investing in a proper popover pan is highly recommended.
Perfect Popovers
Print
Pin
Rate
Equipment
-
popover pan
Ingredients
- 2 large eggs at room temperature
- 1 ½ cup milk at room temperature (1% or 2% recommended)
- 1 ¼ cup all-purpose flour (spooned and leveled)
- ½ tsp kosher salt
- 1 Tbsp unsalted butter melted
Instructions
-
Preheat your oven to a blazing 450°F (232°C). This high initial heat is crucial for the dramatic rise.
-
In a large bowl, combine all ingredients in the order listed. Whisk just until everything is combined and any large lumps are gone. Avoid overbeating the batter, as this can lead to tough popovers (a bit lumpy is perfectly fine). Allow the batter to rest at room temperature for 10 minutes. At this point, the batter should have a consistency similar to heavy cream, not thick like Alfredo sauce.
-
While the batter is resting, place your empty popover pan into the preheated oven to heat for 2-5 minutes. This step is vital for ensuring the pan is scorching hot.
-
Carefully remove the preheated pan from the oven using sturdy oven mitts. Lightly spray each popover well with cooking spray (or brush with melted butter). Promptly divide the batter, filling each tin approximately halfway.
-
Return the filled pan to the oven and bake at 450°F for 15 minutes. Then, **without opening the oven door at all**, reduce the oven temperature to 350°F (175°C) and continue cooking for another 15 minutes, or until the popovers are beautifully golden brown and crispy. It is critical not to open the oven door during this entire baking process to prevent deflation.
-
Once baked, remove the pan from the oven. Immediately pierce each popover with a sharp knife to allow steam to escape and then carefully remove them from their tins. Serve immediately for the best crispy, airy texture.
