From Neglected Strip to Buzzing Oasis: My DIY Bee Garden Transformation for Low Maintenance and Pollinator Support
Embark on a journey to reclaim your backyard with this inspiring guide to transforming an unpromising strip of land into a thriving, eco-friendly haven. Discover how I converted my neglected yard into a beautiful Bee Garden, complete with innovative Do-It-Yourself bee hotels, enchanting solar mason jar lights, and a charming beer bottle hummingbird feeder. This start-to-finish transformation proves that even the most challenging spaces can become a vibrant oasis for both nature and relaxation.
This post contains affiliate links. Rest assured, these links are carefully chosen to highlight the exact products and tools I used for this garden remodel, enabling you to replicate my DIY solar mason jar lights and bee hotels with ease. And yes, a small commission helps fund future garden adventures (and perhaps a pony!).
The Challenging Beginning: A Useless Strip of Yard
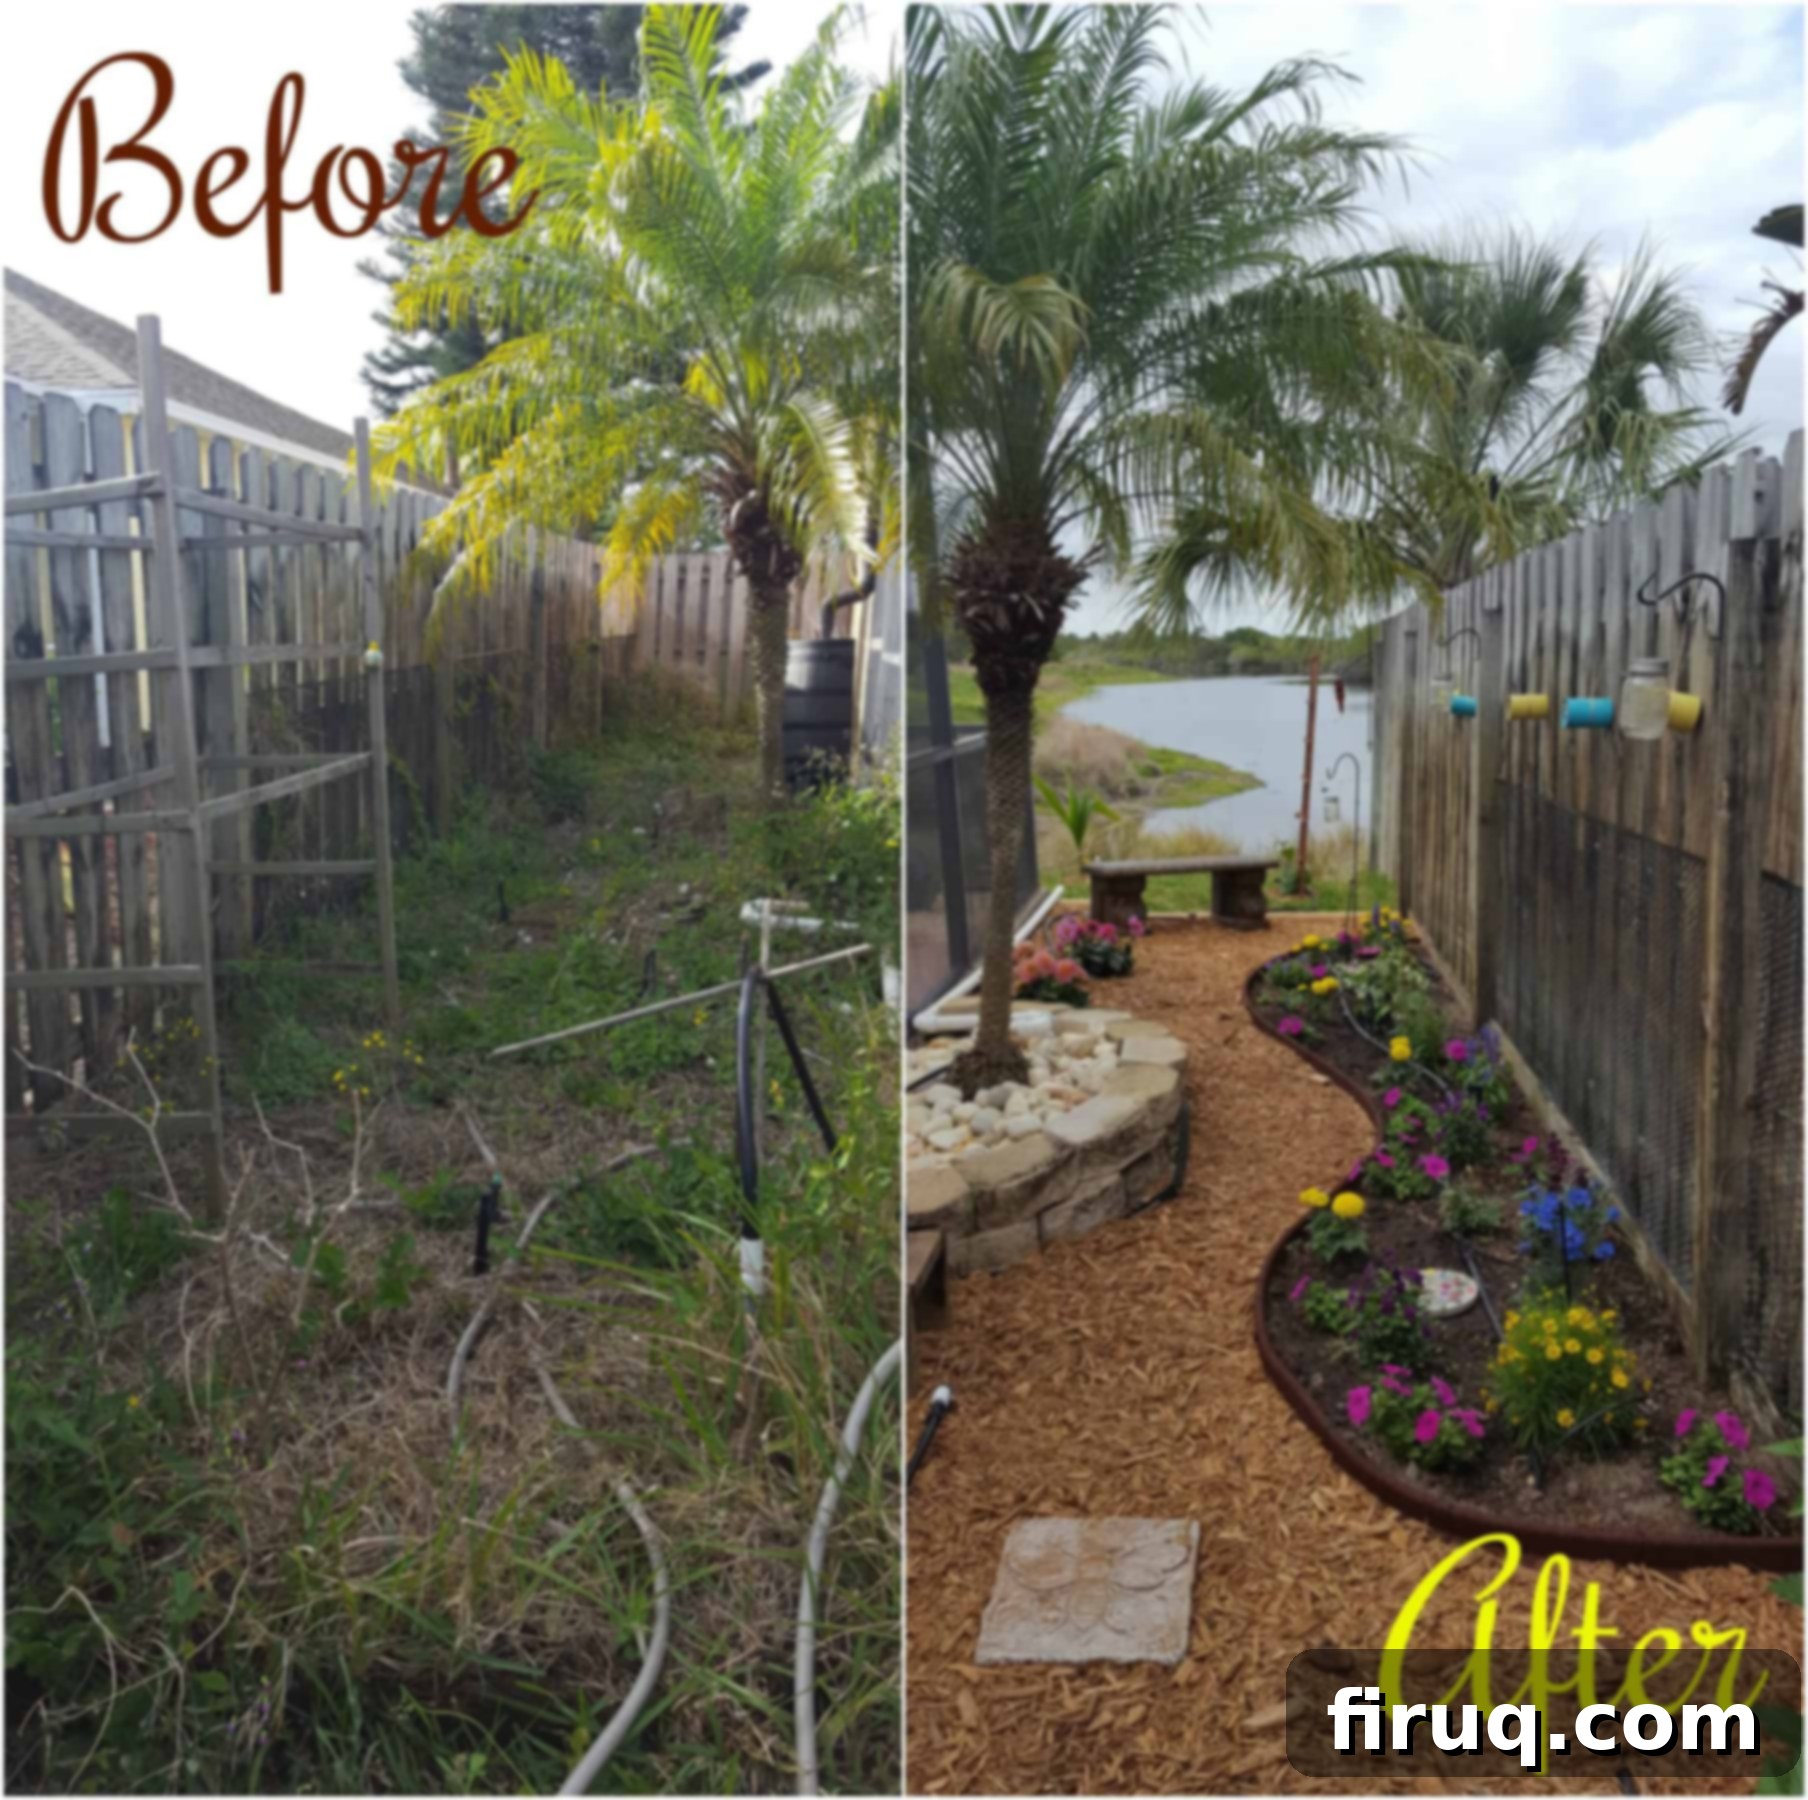
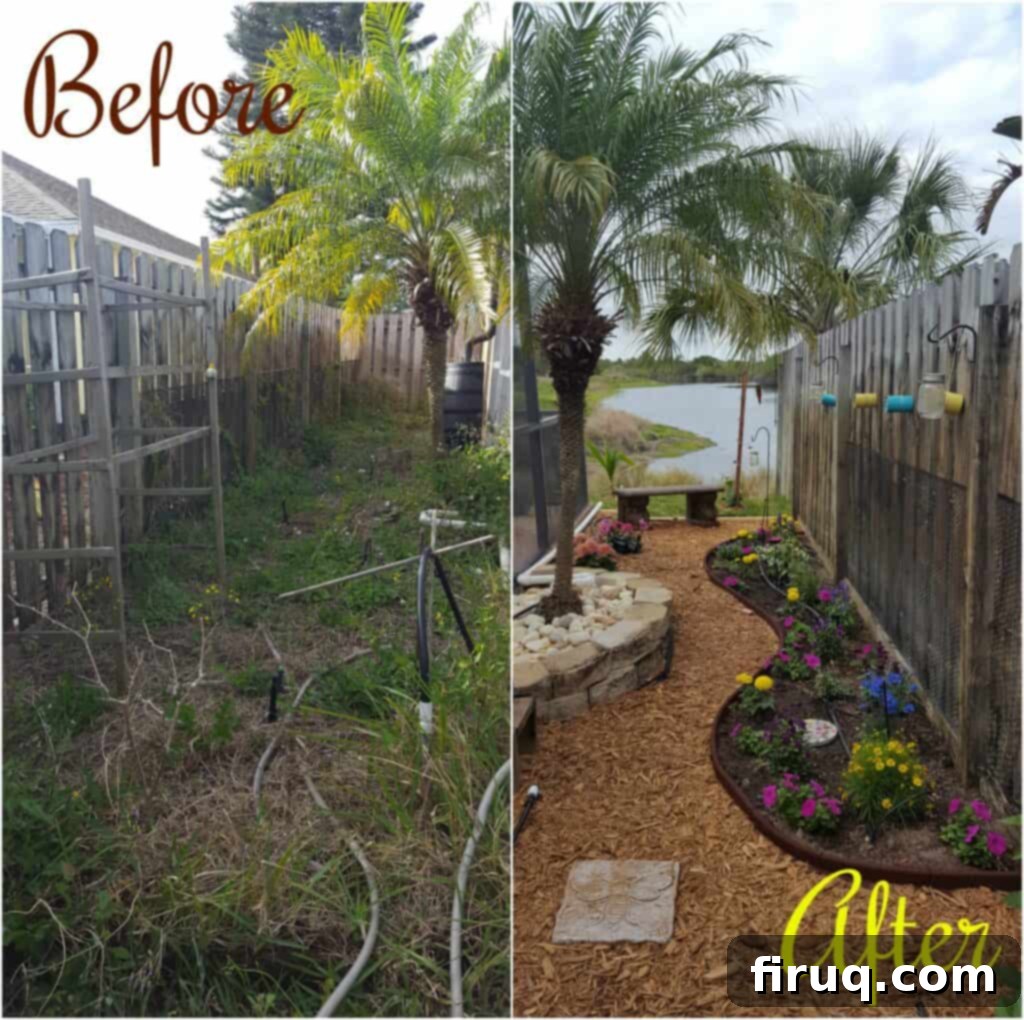
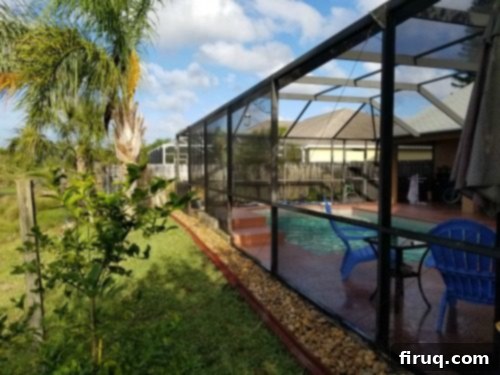
For years, a particular stretch of my backyard has been nothing short of a headache. Tucked between our screened pool area and the property fence, this narrow strip of land offered limited space and even fewer possibilities. The soil was perpetually dry and sandy, an inhospitable environment where grass consistently failed to flourish. Adding to its woes, the area received an abundance of shade, making it a truly useless, ignored portion of our outdoor space.
A couple of years ago, brimming with misguided enthusiasm, I attempted to establish a vegetable garden in this very spot. It seemed like a good idea at the time, but my lack of gardening knowledge, especially concerning coastal sandy soil in Zone 10, sunny, bug-heaven Florida, quickly turned this ambitious project into a recurring nightmare. Each season became an relentless battle against persistent weeds, an army of pests, and an insatiable demand for water. Inevitably, by August, Mother Nature would claim victory, and I would surrender, allowing the garden to revert to its wild, untamed state. This cycle of hopeful planting and disheartened abandonment repeated itself, year after arduous year.
The most memorable (and perhaps painful) experience involved painstakingly nurturing broccoli plants all season, only to harvest just enough for a single, glorious floret for each member of my family. Just one. After all that effort, it simply wasn’t worth it.
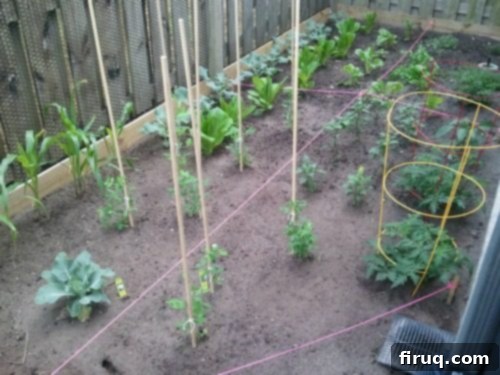
Every February, I would muster the energy to clear it all out, only to restart the Sisyphean task. It was a cycle of frustration, best met with an eye-roll – a truly significant one.
The Catalyst for Change: From Ironman Training to Garden Revival
Fast forward to 2016, a pivotal year marked by my rigorous Ironman training. If you’ve ever known a triathlete deep in their training cycle, you’ll understand that their yard often becomes an unfortunate casualty. My backyard certainly reflected this reality.
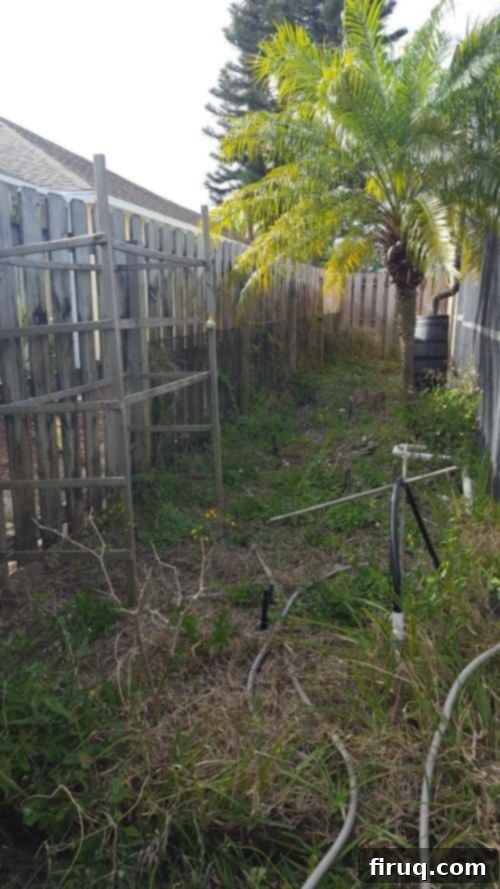
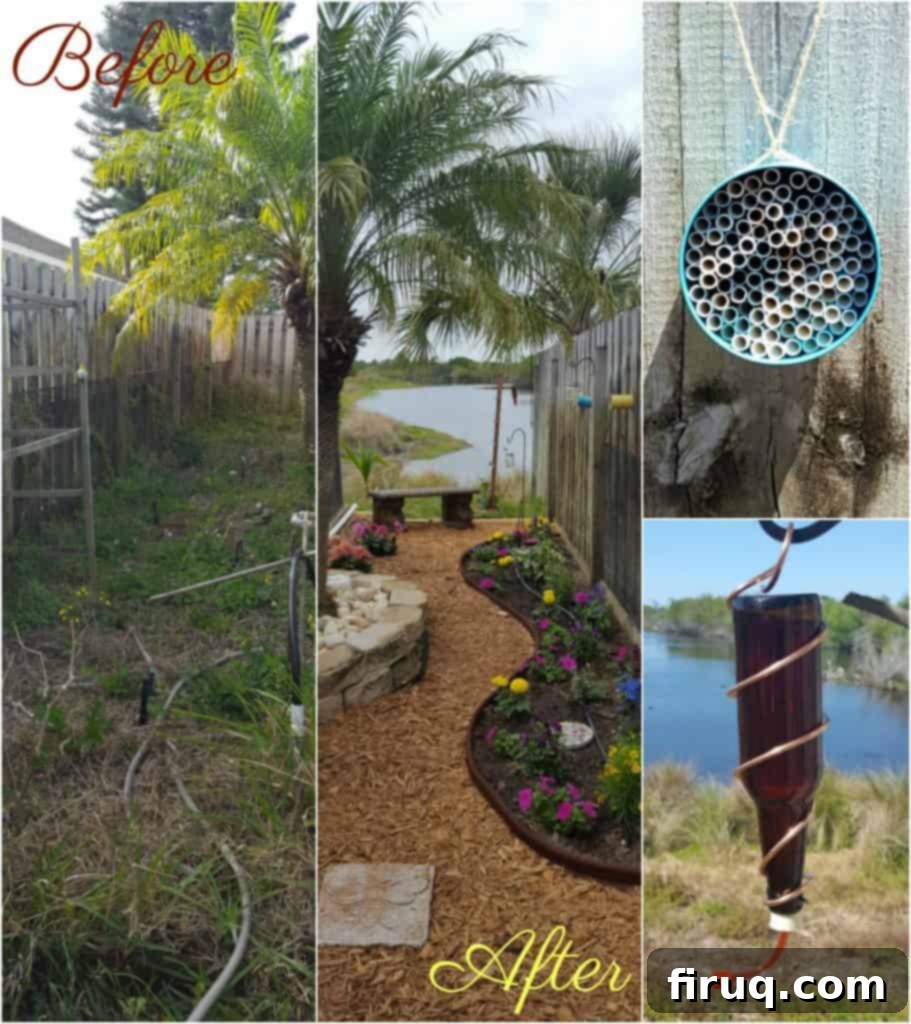
Indeed, this was the state of my yard just a month and a half ago, and honestly, it had been that way for quite some time. Then, unexpectedly and quite suddenly, a powerful surge of motivation struck. I decided it was time to address this situation once and for all, to devise a new plan, and finally triumph over my gardening challenges. (Whispering: …and because, between you and me, I’m secretly contemplating another Ironman next year! Shhh!)
My core motivation for this renewed effort stemmed from two key insights: first, my previous gardening methods simply hadn’t worked, and second, I desperately needed a low-maintenance solution. This meant addressing critical issues like irrigation, finding natural pest control methods, and developing effective strategies for weed management. The goal was to create a sustainable and enjoyable outdoor space, not another source of endless toil.
With this newfound determination, I took the very next day off from work, ready to make a significant change.
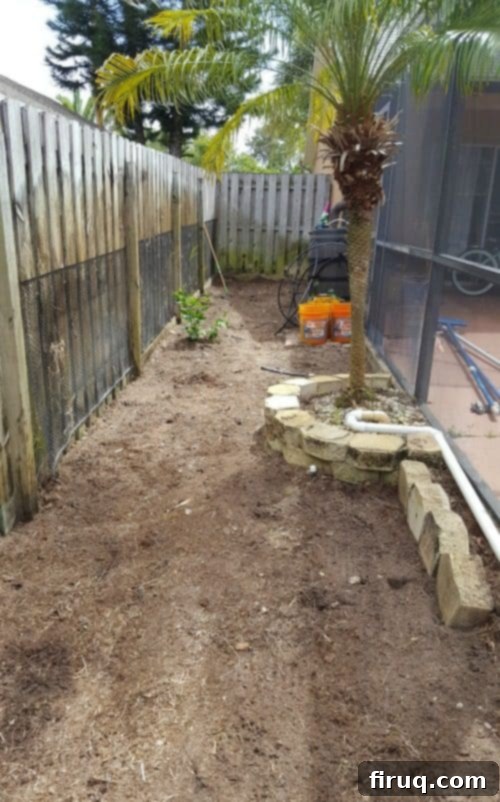
It was a great start! Fueled by motivation, I meticulously mapped out my two primary goals on paper. First, I would relegate the vegetable patch to a much smaller, more manageable area, focusing only on plants I knew could thrive in our climate. Second, and most importantly, I aimed to create a dedicated Bee Garden. This vision included a tranquil, Zen-like space adorned with beautiful flowers, inviting bee houses, and a refreshing bee bath, truly a #beeswelcome haven.
Why a Bee Garden? Supporting Our Essential Pollinators
The urgency of creating a Bee Garden became deeply personal when I learned that some species of bees were added to the endangered species list in 2017. Bees, of all creatures, facing extinction! This news was both shocking and deeply upsetting, given their absolutely crucial role in our ecosystem. To nature, to us, to all life on Earth, bees are indispensable. Few other lifeforms hold such central importance for the survival of countless other species. And when we consider the broader picture of what is happening to life on our planet, it becomes even more terrifying. We are currently experiencing the sixth mass extinction, and it’s unfolding right now. I urge everyone to research this, to read about it from reputable sources. Life is vanishing, and at an alarming rate. This isn’t theoretical; it’s a direct consequence of human impact. It’s a sad, tragic, and maddeningly preventable crisis. If each of us, even just a little, committed to caring, we could make a profound difference.
(For practical steps you can take, explore “25 Ridiculously Simple Ways To Not Be An Asshat To The Planet” here for my personal suggestions.)
So, my mission was clear: to create a BEE SAFESPACE. And for my own well-being, I envisioned a tranquil, Zen-like garden – a chill, peaceful retreat for my family and me to enjoy alongside our buzzing visitors.
Building a Streamlined and Productive Vegetable Patch
Once my husband witnessed the scope of my plan and the progress I made on that first dedicated day, he quickly realized I wasn’t crazy after all and enthusiastically joined the effort. Together, we crafted a robust raised veggie bed using sturdy timbers sourced from Home Depot. We filled it with a rich blend of fresh garden soil, my homemade compost, and nutrient-dense manure, providing the perfect foundation for healthy plant growth. We then installed a dedicated irrigation system (more details on that below) and began planting our chosen vegetables.
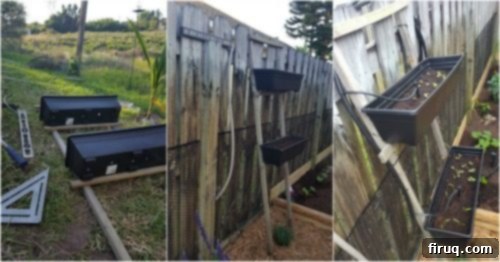
To outsmart the local rabbit population, I also constructed a simple scaffold off the ground, where I placed several flower boxes specifically for growing lettuces. This elevation provides crucial protection for vulnerable greens (a photo of this setup is included below).
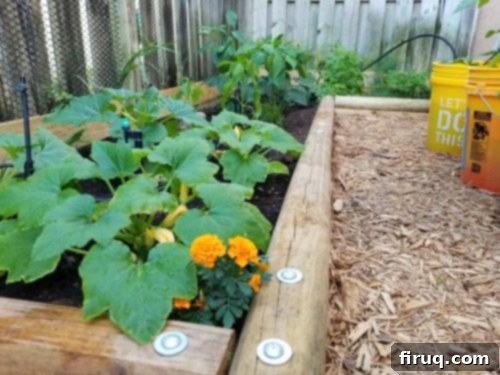
For tomatoes and some pepper varieties, I opted for a bucket system. I drilled drainage holes at the bottom of each bucket, lined them with a layer of gravel for superior drainage, and then filled them with soil and compost. In previous seasons, caterpillars had been a persistent and frustrating problem for my tomatoes, particularly in late summer. My bucket strategy allows me to easily isolate and “quarantine” an infested plant, preventing the spread of pests to others. Additionally, I strategically interplanted marigolds throughout the garden. While some consider this an anecdote or old wives’ tale, their purported natural pest repellent qualities are worth trying given my past struggles.
Our diverse selection of plants included: yellow summer squash, green bell peppers, yellow bell peppers, poblano peppers, jalapeños, banana peppers, Thai chili peppers, pimento peppers, mini Mexican peppers, yellow tomatoes, heat-resistant “Solar Flair” tomatoes, beefsteak tomatoes, red cherry tomatoes, yellow cherry tomatoes, cilantro, chives, parsley, rosemary, thyme, dill, and basil. This variety ensures a bountiful and flavorful harvest.
Creating a Vibrant Bee Garden Oasis
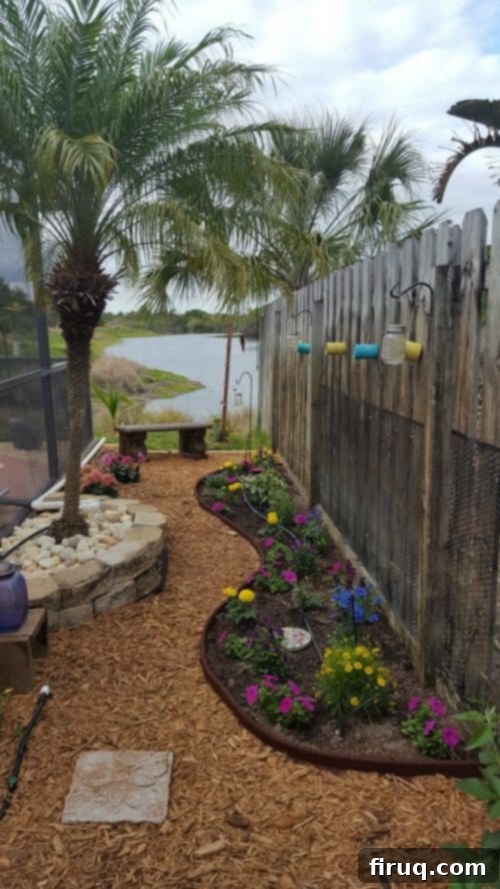
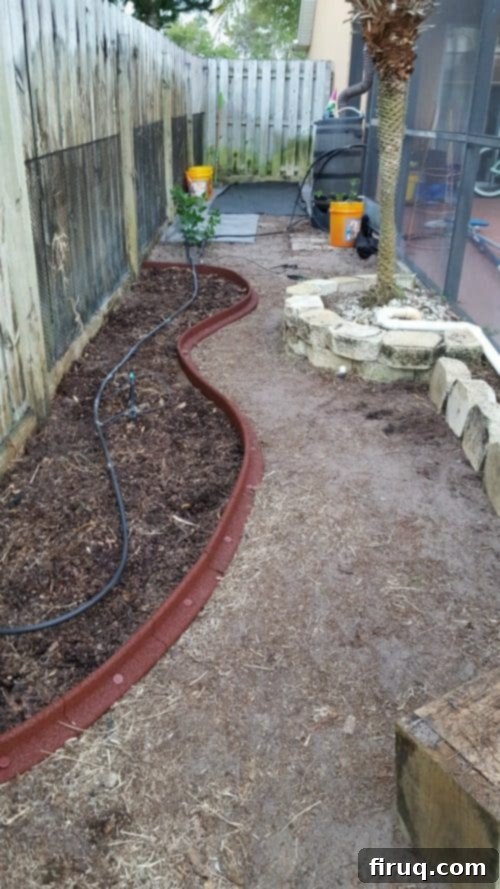
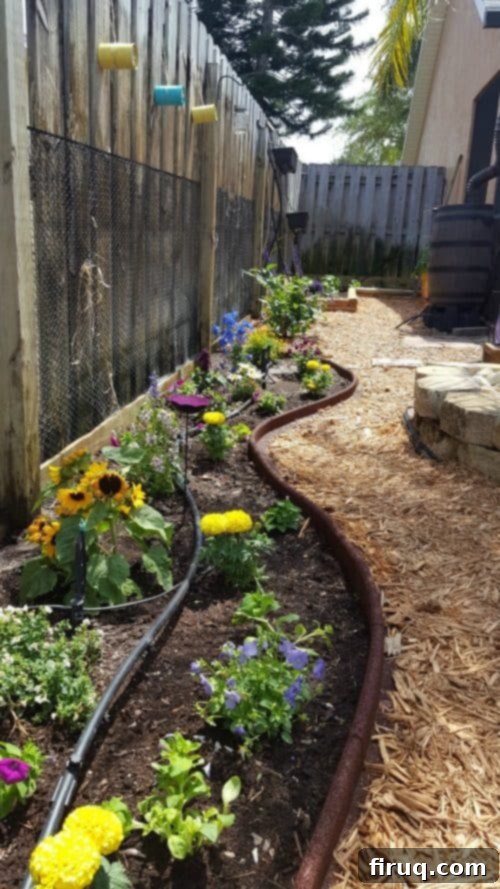
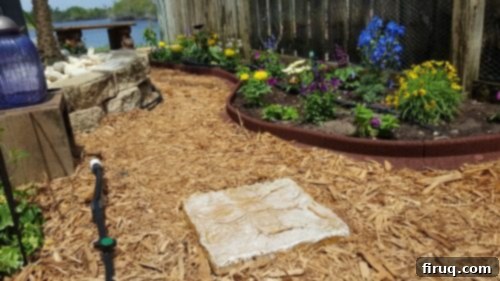
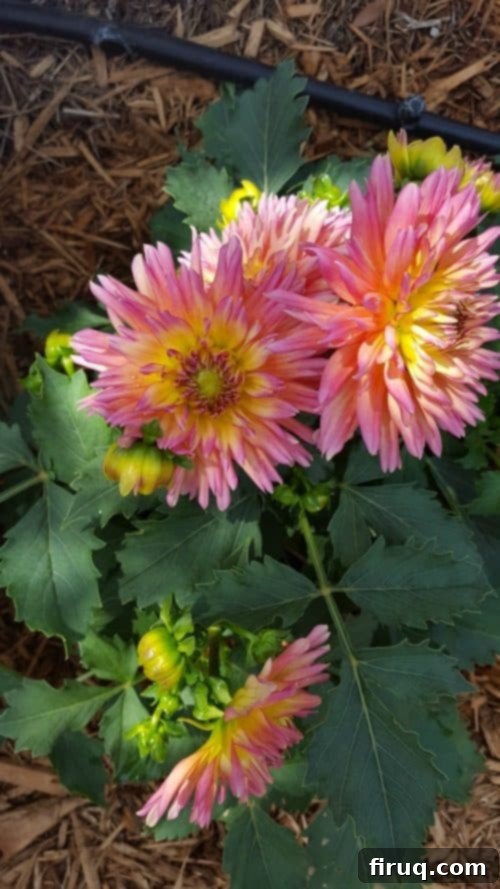
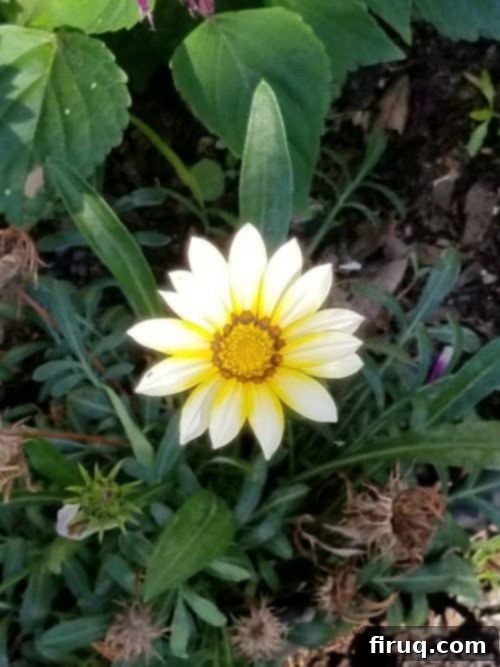
With the vegetable garden efficiently established, it was time to move on to the truly exciting part: the bee garden! This is where the real fun began. First, I clearly defined and cordoned off the area with attractive edging (more on this versatile product below). Next, I delved into some research to select the best flowers for pollinators. It’s fascinating how different bee species—honey bees, Mason bees, and various Florida native bees—each have their distinct floral preferences. For instance, plump and fluffy bumble bees typically favor flowers with broad petals that double as convenient landing pads, such as black-eyed Susans, pansies, petunias, and marigolds. Other species are drawn to longer, tubular blooms like salvia, snapdragons, and lavender.
After absorbing this valuable information, my practical approach at the nursery became quite simple: I looked for a diverse array of flowers that were already buzzing with bees. This ensured I was selecting proven pollinator magnets for my new garden.
Smart Irrigation and Eco-Friendly Edging Solutions
If you’ve noticed the ubiquitous black tubing weaving through the garden, that’s my highly efficient irrigation system. Its primary benefit is targeted watering, delivering water directly to the plant roots rather than broadcasting it across the entire area. This precision significantly cuts down on weed growth, conserving water and reducing labor. I utilize the reliable Rain Bird irrigation system (linked below), seamlessly integrated with my existing sprinkler system. This, in turn, is connected to a smart home device, ensuring water is only deployed when rain isn’t in the forecast – a truly sophisticated approach! However, it’s worth noting that this versatile irrigation system can also be operated off a simple spigot, making it accessible for various setups. I highly recommend it, particularly because I was able to repurpose much of the irrigation tubing from my previous garden attempts, highlighting its adaptability and durability.
The garden edging I mentioned earlier is another feature I’m exceptionally pleased with. Crafted from recycled tires, this flexible edging proved remarkably simple to install and offers a clean, attractive finish. We were so impressed with its appearance and functionality that we extended it around the entire pool area as well, creating a cohesive and polished look for the entire backyard.
DIY Touches: Bee Hotels, Mason Jar Lights, and Hummingbird Feeders
Now for my favorite part – the personalized, Do-It-Yourself elements that add unique charm and functionality to the garden. These include my custom bee houses, ambient garden lights, and the distinctive hummingbird feeder. ❤
DIY Bee Houses: A Safe Haven for Mason Bees
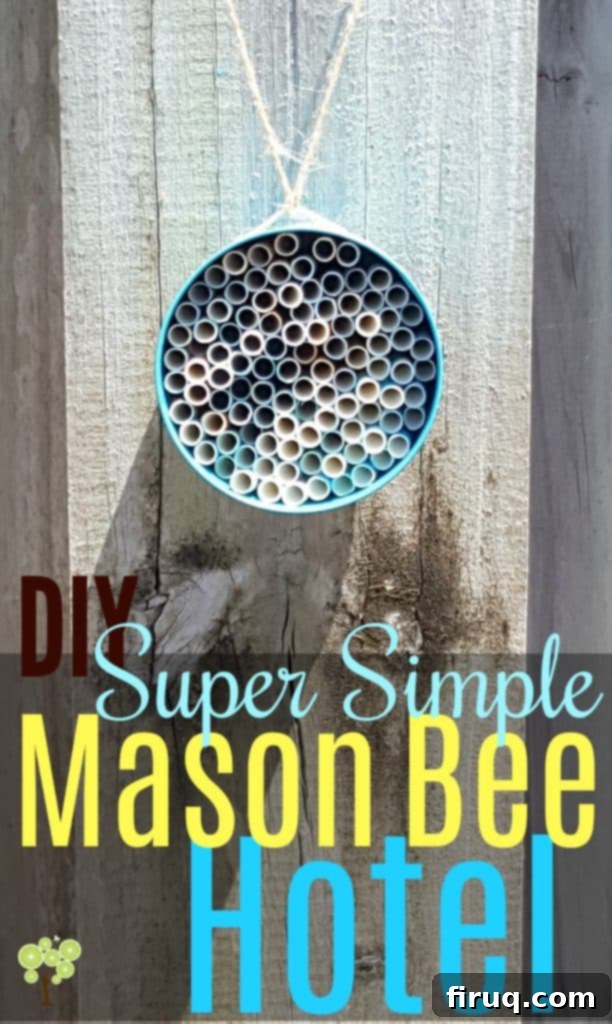
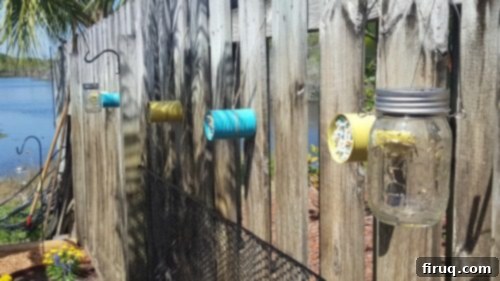
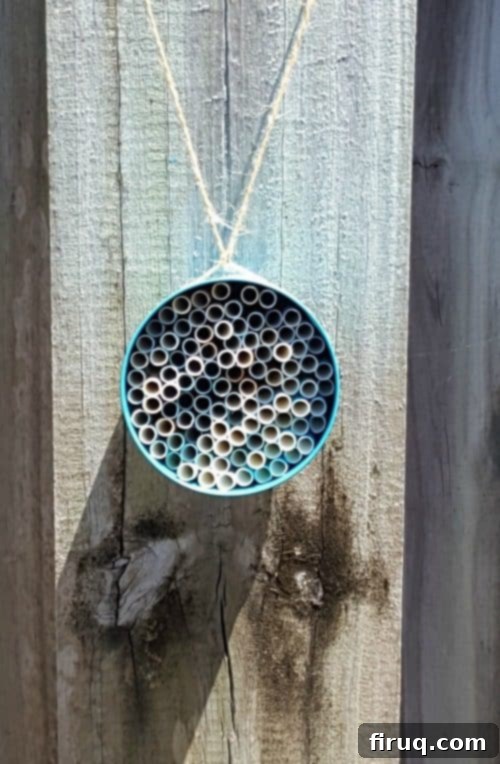
Creating these bee houses was incredibly simple and rewarding. All I did was take empty, clean soup cans and spray paint them with Rustoleum color paint, which not only provides a protective, decorative finish but also adds a splash of color. The key element is stuffing these cans with paper straws cut to size. The diameter of these straws is absolutely perfect for attracting Mason bees, providing them with safe nesting tunnels. A significant advantage of using paper straws is their ability to dry out quickly after rain, preventing the growth of mold that can often plague bamboo-based bee hotels. Furthermore, the colorful ink on the straws I chose is non-toxic, ensuring the safety of our tiny residents. Once assembled, I simply hung them with rustic string, and they were ready! The beauty of this DIY design is its maintainability: if the straws ever become soiled or if undesirable inhabitants move in, you can easily replace just the straws, extending the life and hygiene of your bee hotel.
Enchanting Garden Lights for Nighttime Ambiance
Next, I tackled the garden lights to bring a magical glow to the evenings. I created two distinct types of solar-powered illumination.
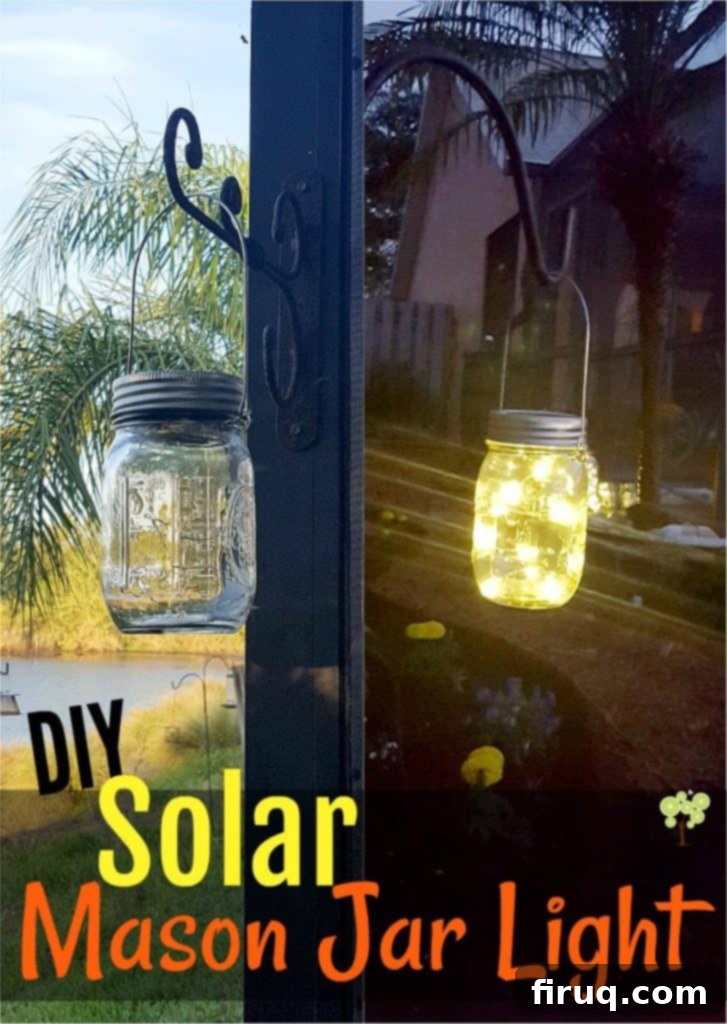
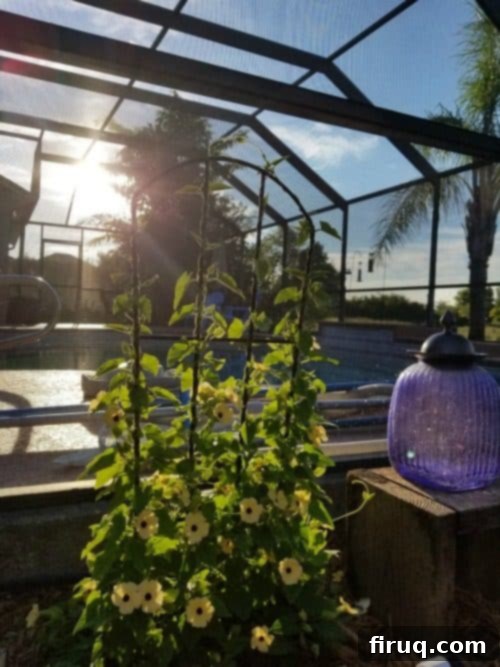
For the first type, I began by visiting a local thrift store, where I discovered a beautiful, large, tinted glass jar with a sturdy metal lid. To enhance its durability and aesthetic appeal, I spray painted the lid with Rustoleum paint, giving it an attractive hammered metal finish that also provides weather protection. Inside, I carefully placed a long string of solar-powered fairy lights. These lights are wonderfully convenient, automatically turning on at dusk and off at dawn, requiring no manual intervention or external power source.
DIY Solar Mason Jar Lights: Effortless Charm
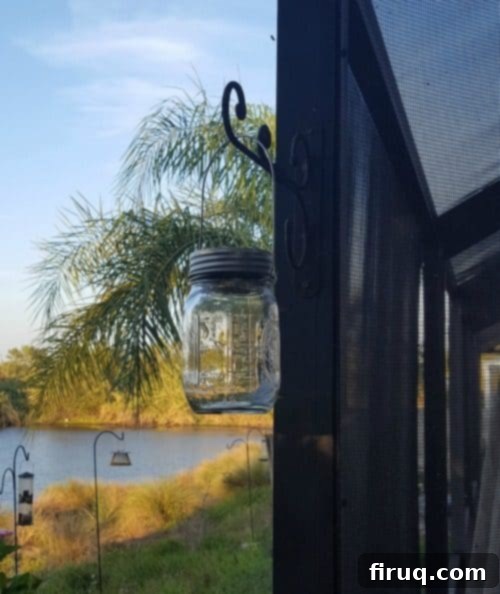
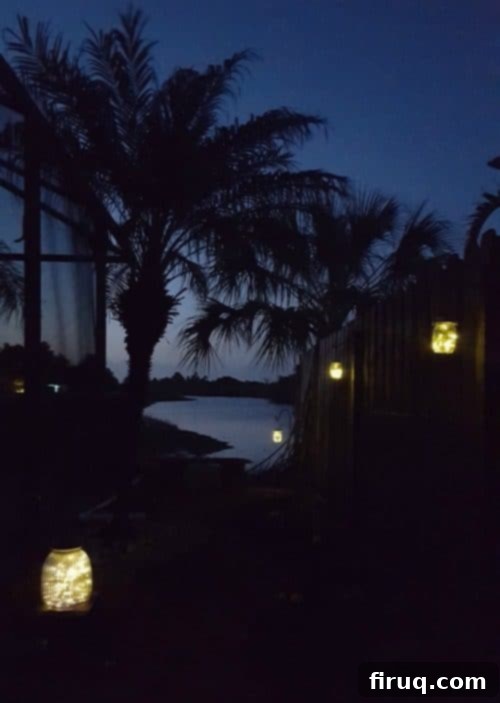
The Mason jar lights are, without a doubt, one of my favorite DIY additions and incredibly simple to create. The magic lies in replacing the standard lid insert of regular, pint-sized Mason jars with specialized solar panel lids, each containing a delicate string of fairy lights. It’s fantastically easy to assemble, and the effect at night is absolutely captivating. With the addition of a handy jar hanger, these lights can be suspended effortlessly throughout the garden. Just like their larger counterpart, these lights operate automatically from dusk till dawn, powered entirely by the sun. I’ve strategically placed about half a dozen around the garden and pool area, and they truly create a wonderfully serene and inviting atmosphere. The only minor drawback I’ve observed is that rainwater can sometimes collect inside them. While this hasn’t affected their functionality, it’s a slight aesthetic annoyance that I might address by drilling small drainage holes in the bottoms at some point. Despite this small detail, I’ve been thoroughly delighted with my Mason jar lights.
A Quirky DIY Hummingbird Feeder from a Beer Bottle
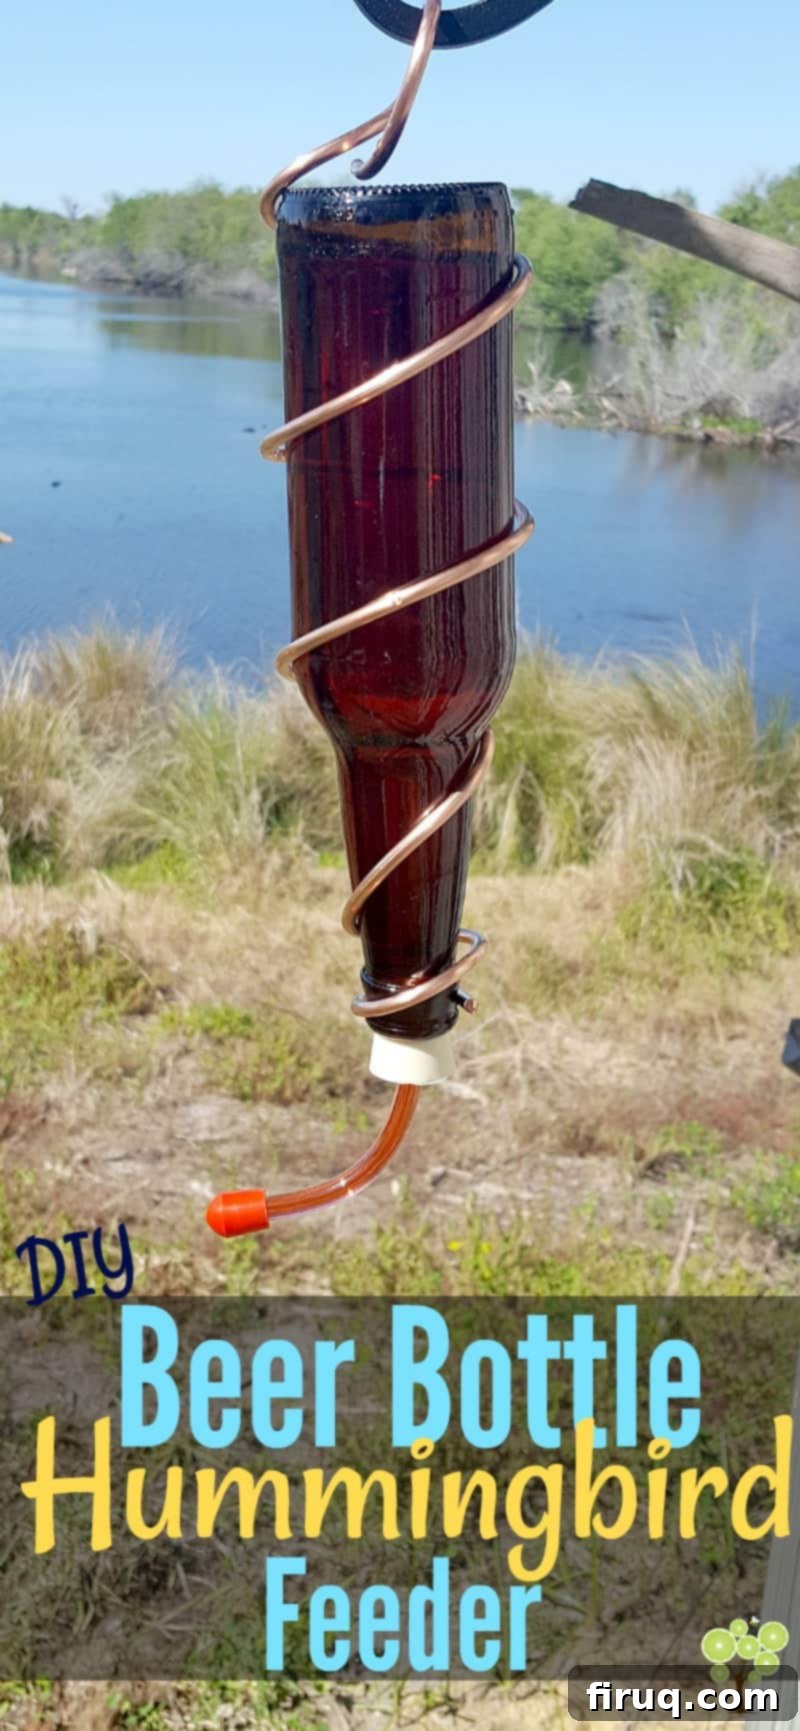
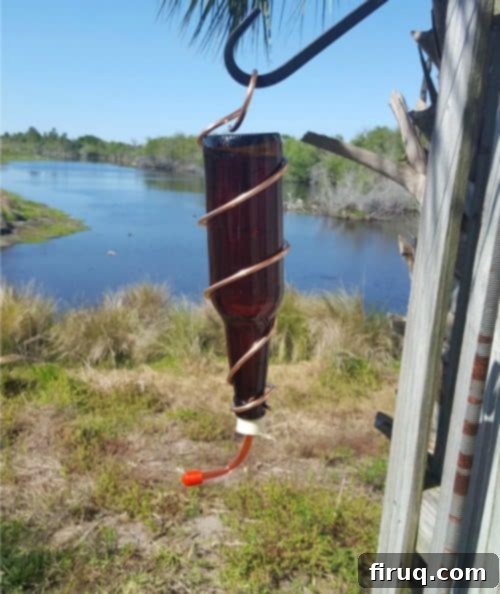
Finally, for a touch of unique charm, I crafted a hummingbird feeder from an unexpected item: a beer bottle! While it might not be the most elegant design ever conceived, I absolutely adore its rustic, upcycled appeal. The construction is straightforward: it’s simply a clean beer bottle fitted with a specialized spout and encircled by copper wire. I chose to keep my design minimal, without additional bobbles, but you could certainly embellish yours further. When researching spouts on Amazon (and navigating through many negative reviews), I learned a crucial detail: ensure the spout you select contains a ball bearing. This tiny mechanism is essential for preventing the nectar from simply pouring straight through, ensuring it dispenses only when accessed by a hummingbird. For the copper wire, I picked up a few feet of 8-gauge copper wire from Home Depot. Using sturdy pliers and a protective rag (to prevent scratching the wire), I carefully bent and shaped it around the bottle to create a hanger. It might seem a little unconventional, yes, but its unique charm brings me so much joy. And that’s all that matters!
The Rewards of a Thoughtfully Transformed Garden
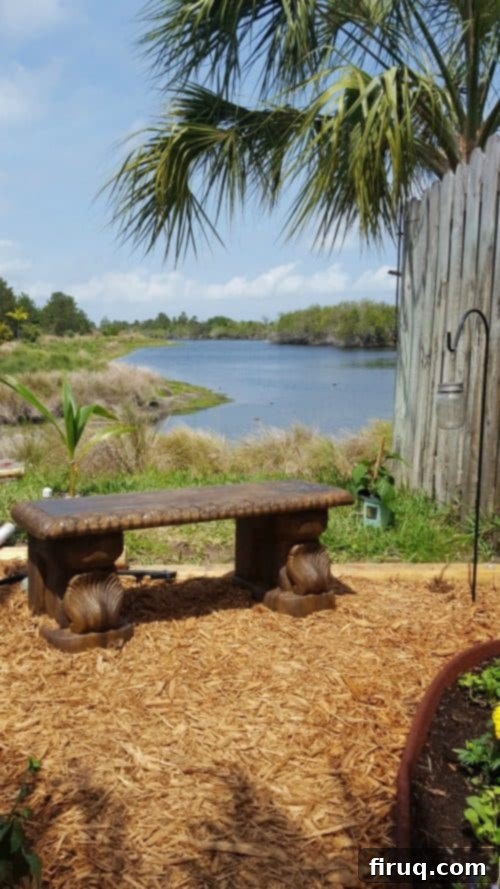
And there you have it, folks! This garden transformation project demanded a significant amount of effort, but I can unequivocally say it was worth every ounce of work. The once-neglected strip of yard has been reborn into a thriving, inviting space. My young son now spends considerable time out there; he even brought a friend to sit on the garden bench recently, a sight that was utterly adorable and truly melted my heart. Beyond the aesthetics and the joy it brings, the core objective of this project was to scale back complexity, simplify processes, and approach gardening with greater intelligence.
Weeks later, I can confidently declare that this revitalized garden is immeasurably more enjoyable, its vibrant flowers creating a stunning vista, especially when viewed from my pool area. Most importantly, it is dramatically, wonderfully, and immensely easier to manage. It’s only early June, and I know the full heat of summer lies ahead, but so far, this thoughtful design – particularly with its targeted water and fertilizer application – is drastically reducing the need for weeding. And the plants? They are thriving, happy, and flourishing in their new home. This transformation proves that with a bit of planning and a lot of heart, a challenging space can truly become a cherished oasis.
