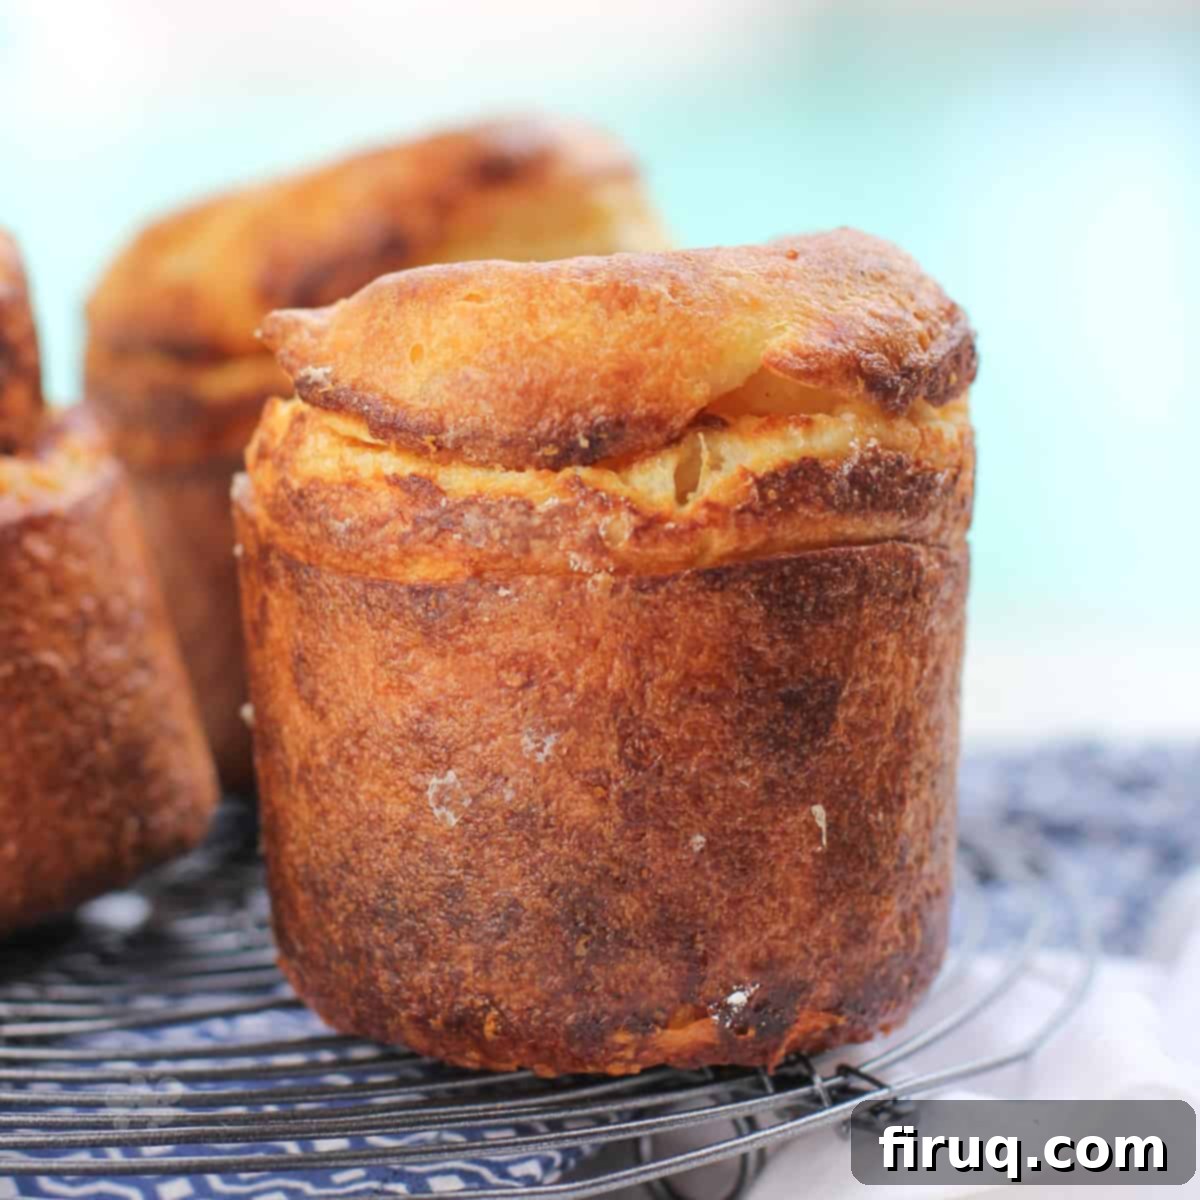
Irresistible Garlic Parmesan Popovers: Your Guide to Perfectly Puffed & Flavorful Rolls
Garlic Parmesan Popovers with their rich herb and cheese flavor are a truly delightful addition to any meal. These light, airy rolls are worthy of your family dinner table, special occasions, or simply a cozy evening at home. Whether you choose to slather them with extra butter or dip them into a savory sauce, these magical popovers promise an exceptional culinary experience. Their soft, eggy interior contrasts beautifully with a crisp, golden-brown exterior, all infused with the irresistible taste of garlic and Parmesan. Get ready to elevate your bread game with this standout recipe!
This website uses affiliate links. See our Privacy Policy for more information.
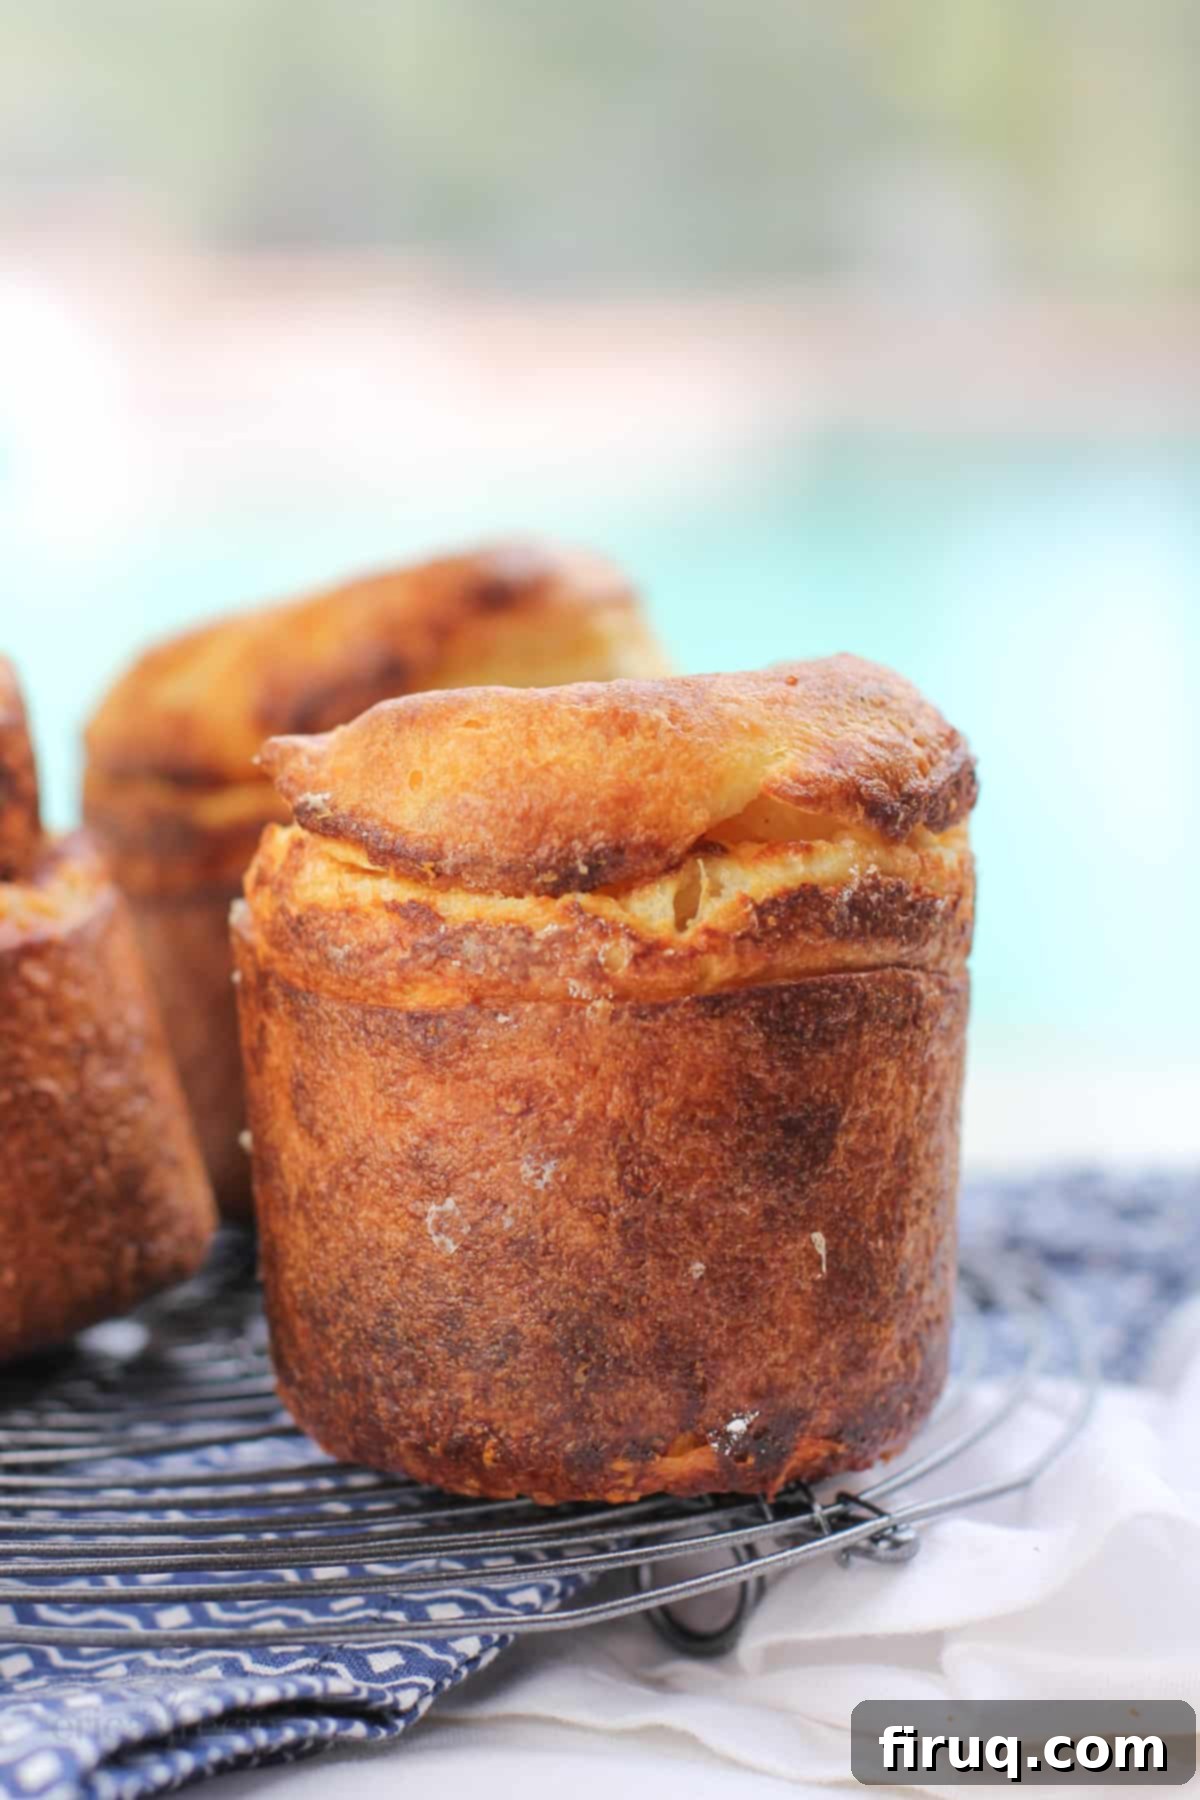
Why This Garlic Parmesan Popover Recipe Stands Out
As an avid foodie, I often find myself proclaiming favorites when it comes to delicious dishes. However, there are a select few categories that consistently capture my culinary heart, irrespective of their myriad forms and varieties. These include pizza, crepes, biscuits, and, of course, POPOVERS! These are truly the great gastronomic loves of my life (and let’s not forget mac and cheese, and pasta Alfredo… essentially, any creamy, cheesy pasta dish!).
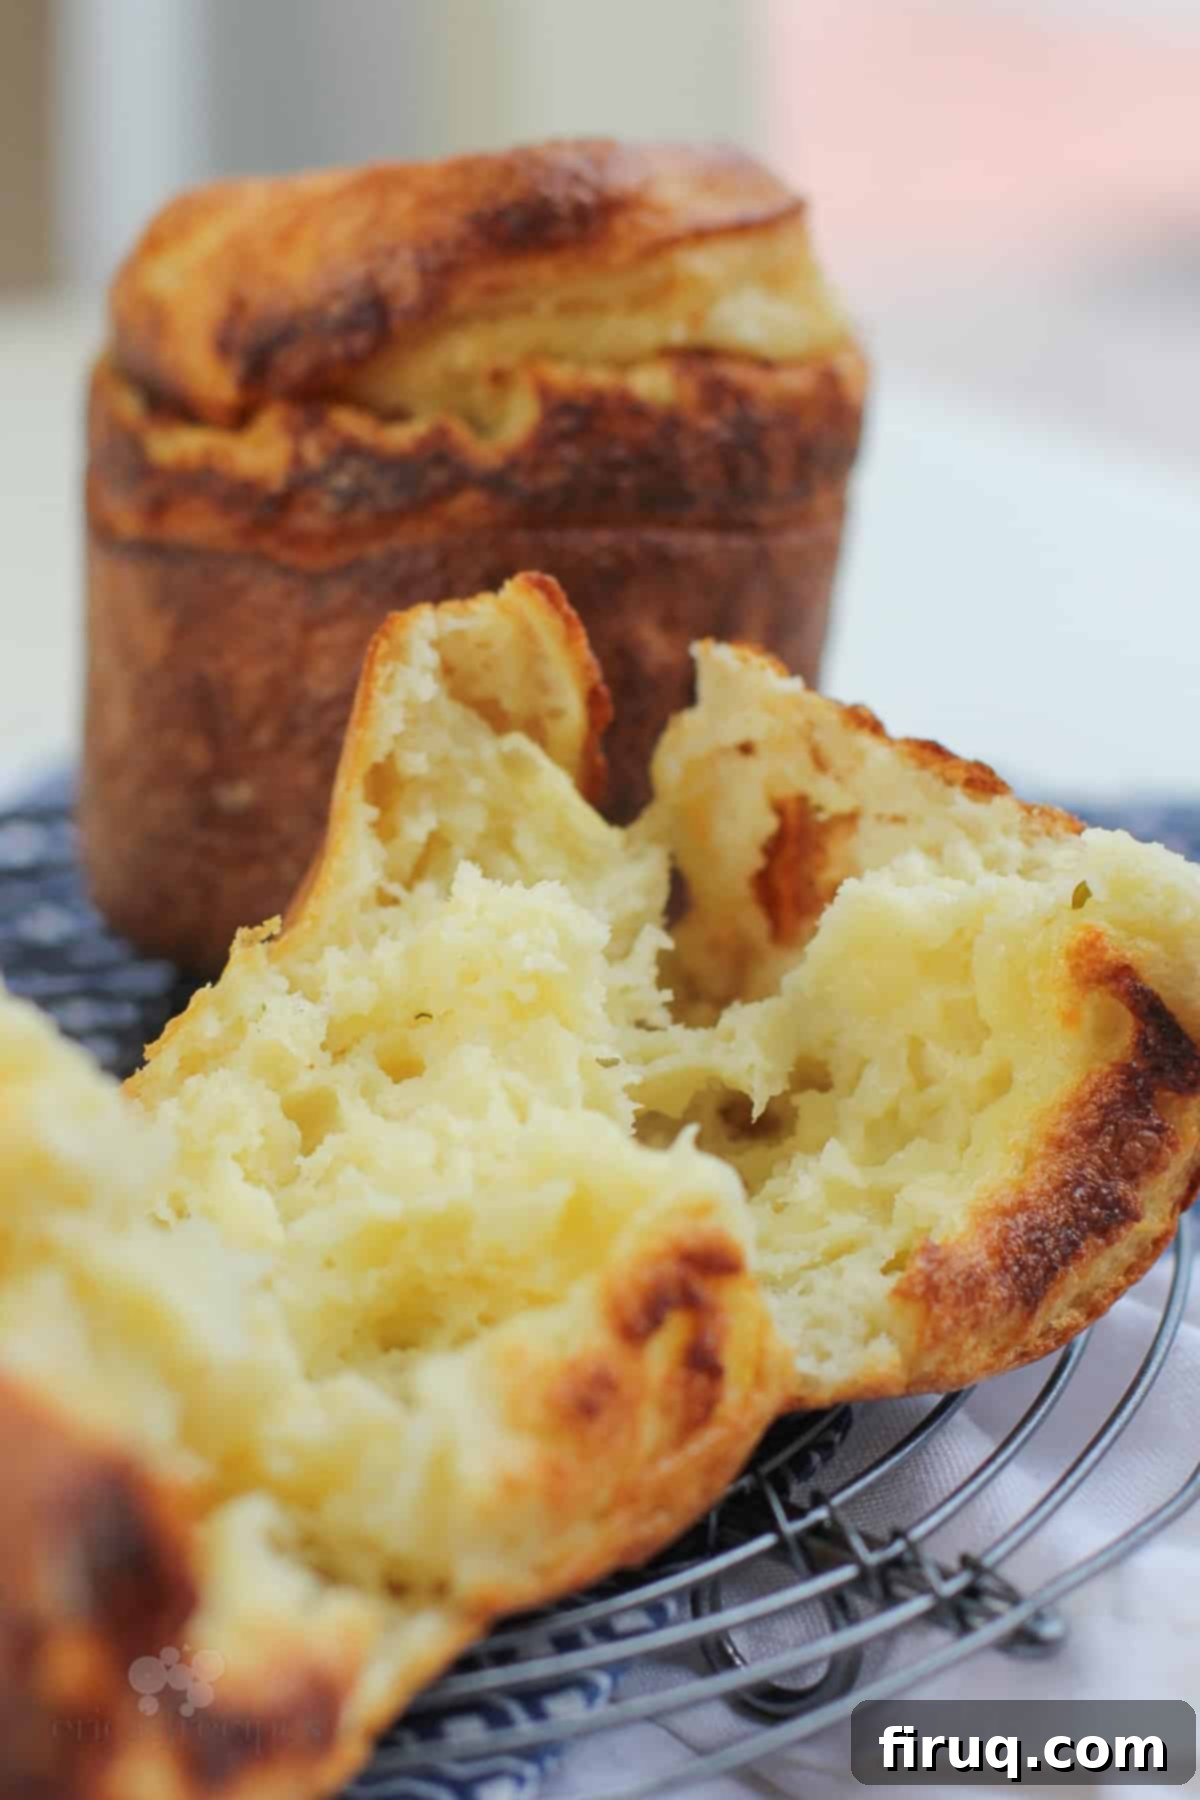
This specific recipe for Garlic Parmesan Popovers isn’t just another bread roll; it’s a revelation. It works because it masterfully delivers those coveted light, eggy, and ethereal popovers, but with a profoundly flavorful twist: garlic and Parmesan. The inclusion of a strategic amount of cheese ensures a wonderfully crisp exterior that yields to a buttery-soft, airy interior. This perfect textural harmony, combined with the savory depth of garlic and the nutty richness of Parmesan, makes these popovers incredibly satisfying and utterly addictive. They’re designed to “pop” perfectly every time, creating those iconic hollow centers that are ideal for filling or soaking up sauces.
Essential Ingredients for Perfect Garlic Parmesan Popovers
Crafting these delectable popovers requires a thoughtful selection of ingredients, most of which are likely already in your pantry. The true magic, however, lies in how we introduce the garlic and Parmesan flavors without compromising the popover’s signature rise. Popover batter is inherently thin, akin to heavy cream in consistency. This delicate balance is crucial for achieving their lofty height. Any heavy additions, especially cheese or too much minced garlic, can weigh the batter down, preventing that spectacular rise. This is a fundamental truth in the world of popovers, and it’s perfectly fine – we just need to be smart about it.
Our secret weapon for infusing robust garlic flavor without added weight is garlic butter. While garlic powder provides a base, using a high-quality garlic butter dramatically enhances the aroma and taste. I personally love Kerrygold Garlic and Herb butter, which is conveniently sold in individual sticks in many US dairy sections. This allows you to purchase just what you need without committing to a whole pound. If Kerrygold isn’t available, don’t despair! You can easily create your own garlic-infused butter: simply melt one tablespoon of unsalted butter and add a small, finely minced clove of fresh garlic. Warm this gently to allow the garlic flavor to infuse into the butter, then add it to your batter. You might even find you prefer the vibrant taste of fresh garlic!
For the Parmesan cheese, quality makes all the difference. Always opt for fresh, finely grated Parmesan, not the pre-shredded varieties. Freshly grated cheese melts beautifully because it lacks the anti-caking agents found in packaged shredded cheeses. These agents, while preventing clumps, can also hinder melting and affect the texture. Beyond functionality, fresh Parmesan simply tastes superior, offering a sharper, more complex flavor that truly shines in these garlic cheese popovers. While that green shaker can of pantry Parmesan has its place, it’s definitely not in this recipe for achieving gourmet results.
Mastering the Art of Garlic Parmesan Popovers
Achieving perfectly puffed popovers every time might seem daunting, but it boils down to three fundamental principles. These pillars of popover success are non-negotiable and, once mastered, will consistently yield those coveted airy, golden rolls. For a more comprehensive discussion and detailed troubleshooting tips for any popover woes, I highly recommend consulting my dedicated Perfect Popovers post.
- Start with room temperature ingredients: This isn’t just a suggestion; it’s a critical step. Room temperature eggs and milk emulsify more easily and create a smoother, more uniform batter. A consistent temperature throughout the batter also ensures a more even rise in the oven.
- Allow the batter to rest: Patience is a virtue when making popovers. The resting period, even if just for a short while, allows the flour to fully hydrate and absorb the liquid. This crucial hydration process is what helps create the steam necessary for the popovers to puff up dramatically in the hot oven.
- Do not open the oven door during baking: This is perhaps the most important rule. Opening the oven door, even for a peek, causes a sudden drop in temperature. This immediate cooling can lead to your popovers deflating and failing to achieve their signature height. Resist the temptation!
The consistency of popover batter is unique – thinner than pancake or waffle batter, but thicker than crepe batter. Unlike many baked goods, popovers do not rely on chemical leavening agents like baking powder or soda. Their incredible rise comes solely from steam, which is generated when the thin, liquid-rich batter hits a very hot oven. This steam pushes the batter upwards, creating those iconic hollow interiors. The precise ratio of milk, eggs, and flour is vital. While a longer rest can be beneficial for some batters, I cap the rest time for popover batter at 10 minutes. In my experience, any longer and the batter can thicken too much, making it harder for the steam to work its magic.
Now, let’s walk through the detailed steps for creating these culinary wonders:
- Preheat your oven to a scorching 450℉ (230°C). While some recipes might suggest starting with a cold oven or a slightly lower temperature like 400℉, I have consistently found that starting in a blazing hot oven is the key to maximum lift and crispness. The initial blast of heat is what sets the exterior quickly, trapping the steam inside.
- Prepare the batter with care. Begin by whisking your room temperature eggs with the kosher salt, garlic powder, and the tablespoon of freshly grated Parmesan. Once well combined, gradually whisk in the room temperature milk until everything is smoothly blended. Finally, gently incorporate the all-purpose flour and melted garlic butter. It’s crucial not to overmix the flour; whisk just until it’s incorporated. A few small lumps are perfectly acceptable – in fact, they’re often a sign you haven’t overworked the gluten, which can lead to tough popovers. Avoid using a blender or beating the batter vigorously; gentle mixing is best.
- Let the batter rest. This is your cue for a brief moment of relaxation! Allow the batter to rest for 10 minutes at room temperature. This brief pause is essential for the flour to fully hydrate. You might even want to pour yourself a glass of wine while you wait.
- Warm the popover pan. Towards the end of the batter’s resting period, place your empty popover pan into the preheated 450℉ oven for the last 2 minutes. Getting the pan screaming hot is another secret to achieving that incredible puff and a beautifully crisp bottom.
- Prepare the tins and fill. Carefully remove the hot popover pan from the oven. Working quickly but safely, generously coat each individual tin with cooking spray. Then, lightly dust the sides of each tin with a little extra freshly grated Parmesan. Don’t worry about complete coverage; a random sprinkling is enough. This cheese layer not only adds another layer of flavor but also gives the batter something to cling to, aiding in the spectacular rise and creating a delicious, crispy edge. Fill each warmed tin approximately halfway with your rested batter.
- Bake to perfection with a temperature change. Immediately return the filled popover pan to the 450℉ oven. Bake for precisely 15 minutes. This initial high-heat phase creates the rapid steam necessary for the dramatic rise. After 15 minutes, *without opening the oven door at all*, reduce the oven temperature to 350℉ (175°C) and continue baking for another 15 minutes. The lower temperature helps the popovers cook through without burning, ensuring a perfectly set interior.
- Release the steam and serve. Once baked, promptly remove the pan from the oven. To prevent the popovers from becoming soggy, quickly pierce each one with a small knife to release the trapped steam. Then, remove them from the tins and serve them immediately. Popovers are best enjoyed fresh from the oven when their exterior is at its crispiest and their interior at its airiest.
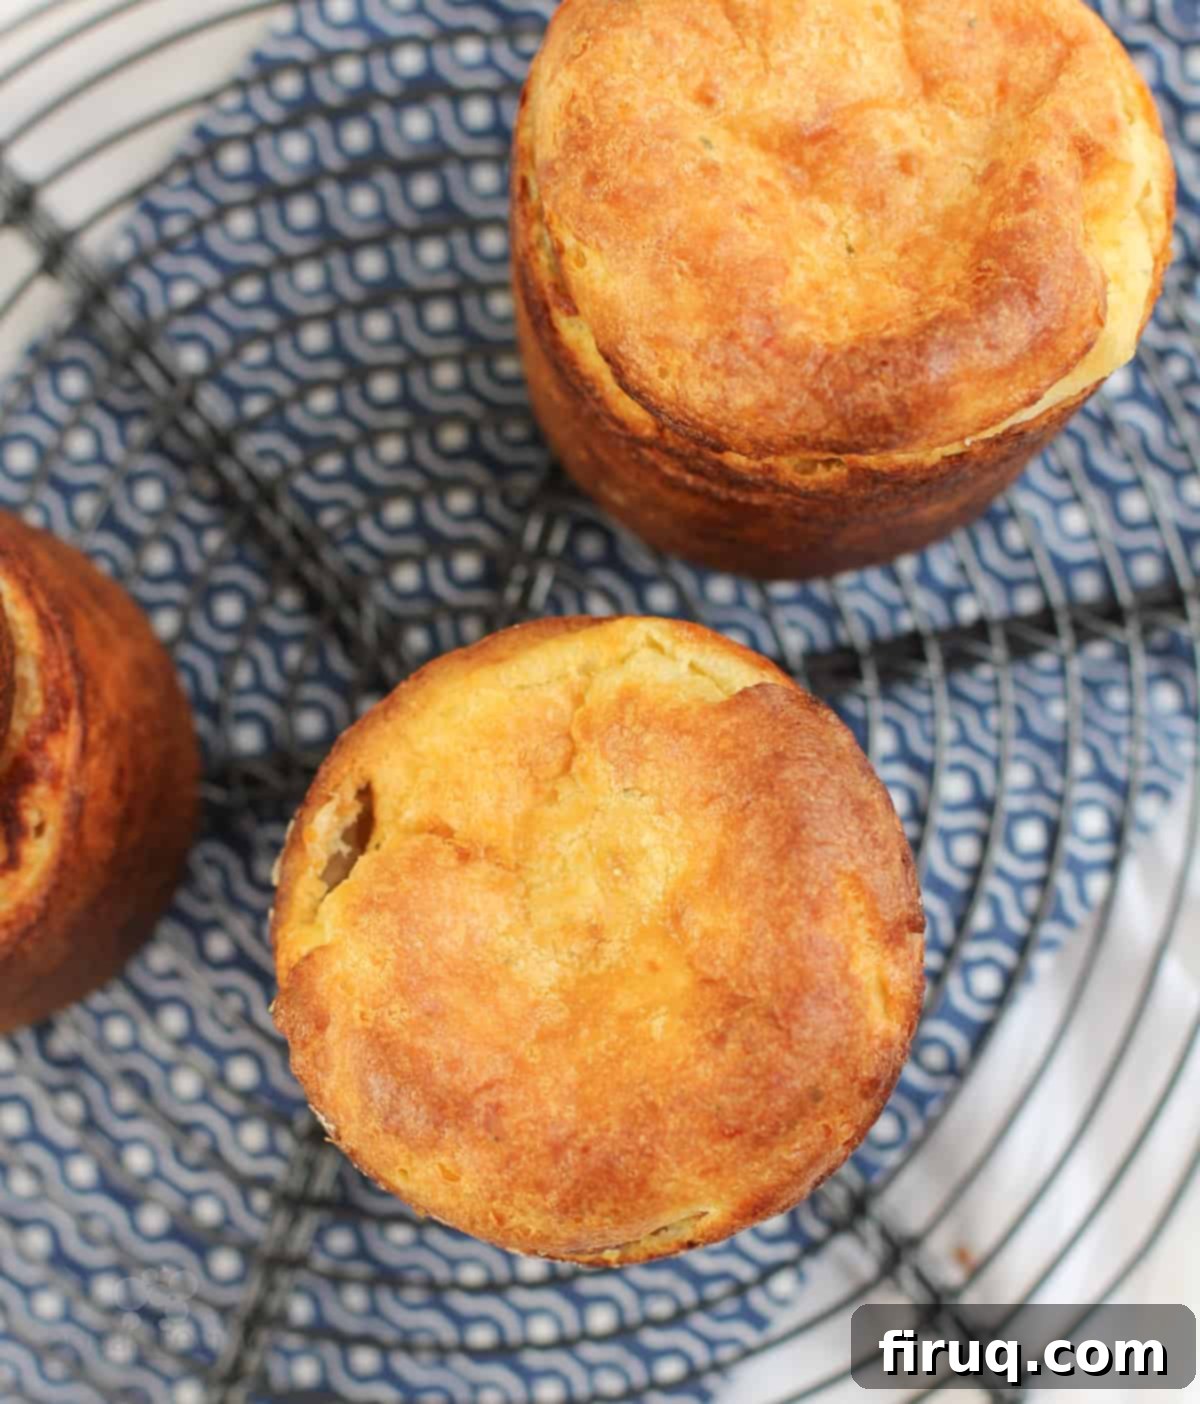
Delectable Serving Suggestions for Garlic Parmesan Popovers
Honestly, I’m such a popover enthusiast that I’d happily eat them with just about any dish imaginable – I’m truly not particular! However, given the distinct and savory garlic Parmesan flavor profile of these specific popovers, certain dishes naturally come to mind that would complement them absolutely beautifully. The common thread among these suggestions is that they are either ideal for making ahead of time or can be cooked quickly on the stovetop or in a non-oven appliance. This strategic pairing ensures that you won’t be competing for oven space, allowing you to focus on baking your popovers to perfection.
Let’s face it, most of us don’t have the luxury of a double oven (lucky you if you do!). So, for us “peasants” with a single oven, smart meal planning is key. Here are some fantastic pairings:
- Classic Lasagna: Lasagna is a dish that requires a substantial amount of baking time and emerges from the oven like molten lava, needing to cool significantly before serving. This cooling period creates the perfect window to whip up a batch of fresh, hot popovers. Their light texture and savory flavor cut through the richness of the lasagna beautifully.
- Seafood Pairings: Popovers, with their New England heritage, are often traditionally served alongside various seafood dishes. These Garlic Parmesan Popovers are no exception, with their flavors marrying exceptionally well with seafood. Consider serving them with a rich Creamy Pesto Shrimp Pasta or a luxurious Lemon Garlic Cream Sauce for Lobster Ravioli. The savory garlic and Parmesan notes in the popovers will elevate the delicate flavors of the seafood and cream sauces to an “OMG” level.
- Hearty Stovetop Dinners: Not a fan of seafood? No problem! These popovers are equally fantastic with humble, yet satisfying, stovetop meals. Imagine them alongside a comforting Sloppy Joe Pasta or a rustic Broccoli and Sausage with Orecchiette Pasta. The popovers act as the perfect vehicle to sop up every last drop of the delicious sauces from these hearty dishes.
- Cajun Instant Pot Pot Roast: This flavorful pot roast, which also includes slow cooker directions, yields a rich, savory gravy that practically begs for something absorbent to dive into. Garlic Parmesan Popovers are the ideal candidate, soaking up the robust Cajun-spiced gravy and adding a wonderfully light counterpoint to the tender meat.
- Bistro Garlic Butter Skirt Steak with Mushrooms: For a truly decadent yet manageable meal, grill up a succulent skirt steak with garlic butter mushrooms while your popovers are baking. With a bit of careful timing (remember to let your steak rest for 5 minutes after cooking!), both components can be ready to serve at the same moment, creating a restaurant-quality meal right in your own kitchen. The popovers are excellent for dipping into any leftover steak juices or garlic butter.
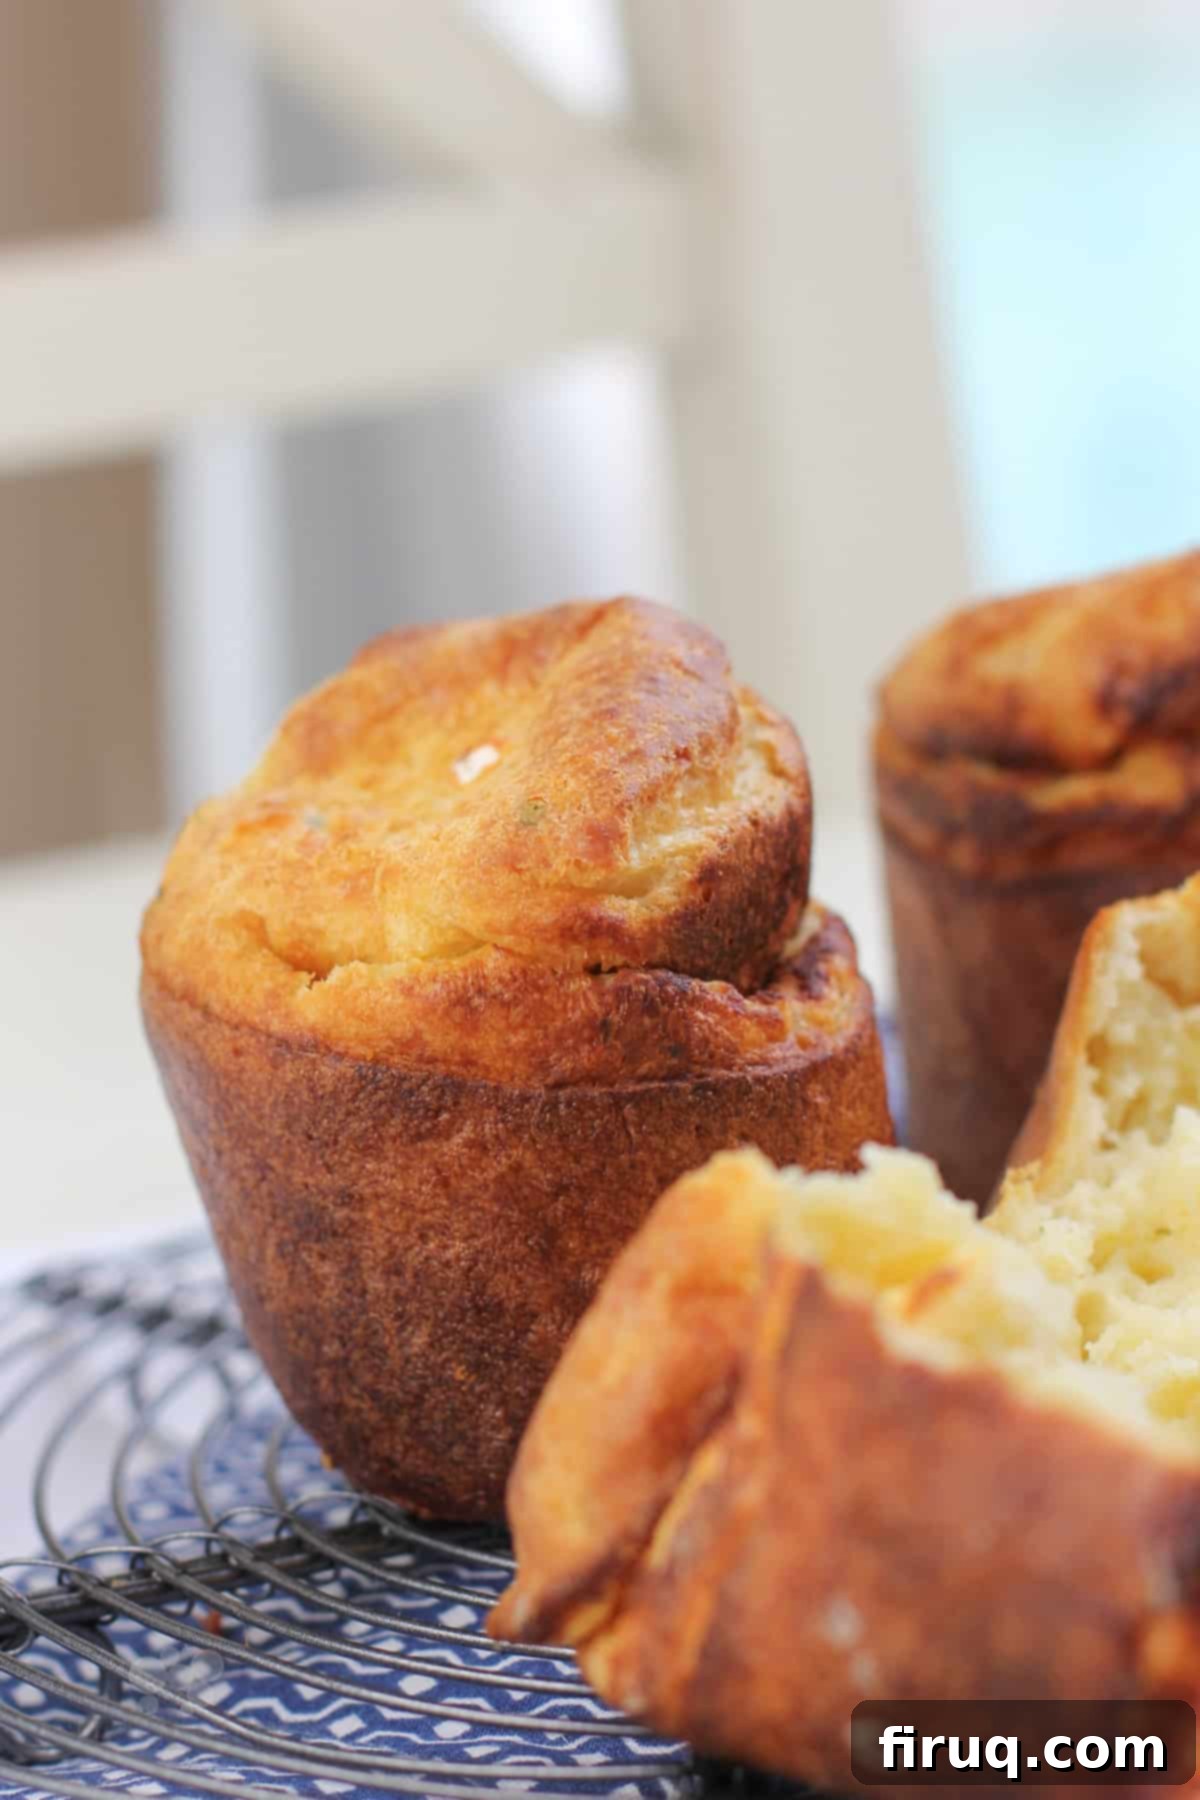
Looking for more cheesy popover inspiration? Be sure to explore my Smoked Gruyère Popovers with Thyme and these incredibly flavorful Cheddar Bay and Chive Popovers. Each offers a unique twist on this classic favorite!
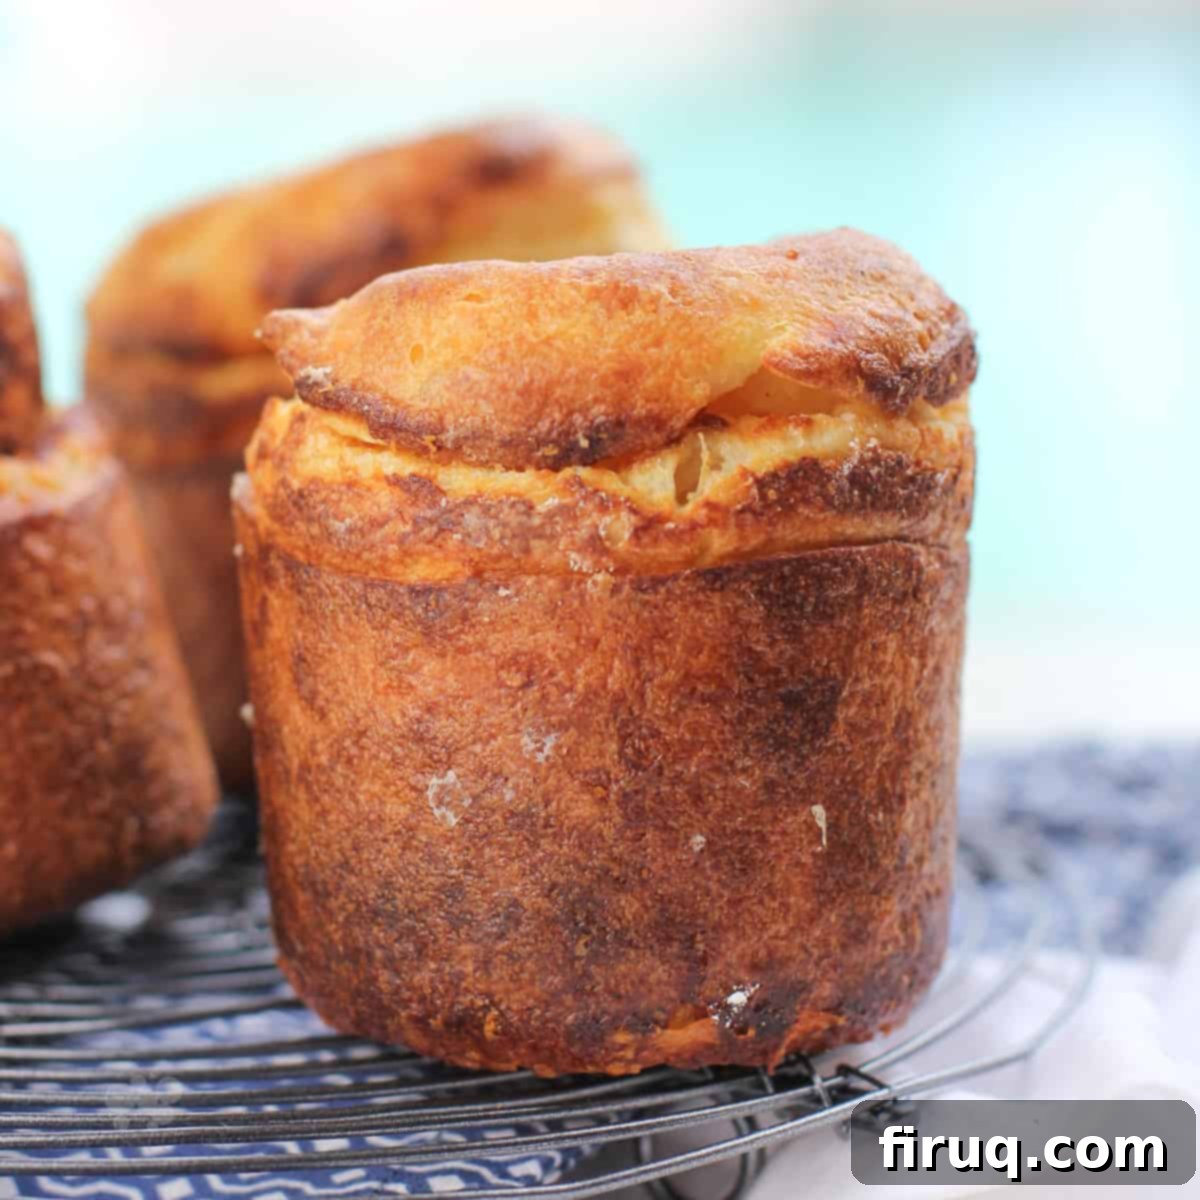
Garlic Parmesan Popovers
Print
Pin
Rate
Equipment
-
popover pan
Ingredients
- 2 large eggs room temperature is key for optimal rise
- ½ tsp kosher salt
- ½ tsp garlic powder
- 1 Tbsp freshly grated parmesan cheese plus additional for dusting the pan – use fresh, not pre-shredded
- 1 ½ cups milk full-fat, room temperature
- 1 ¼ cups all-purpose flour
- 1 Tbsp garlic and herb butter melted (such as Kerrygold, or make your own with melted unsalted butter and finely minced garlic)
- cooking spray
Instructions
-
Preheat your oven to a blazing 450℉ (230°C). This high initial heat is essential for a good rise.
-
In a large bowl, whisk the room temperature eggs together with the kosher salt, garlic powder, and 1 tablespoon of freshly grated Parmesan cheese. Continue whisking until the ingredients are well combined. Then, gradually whisk in the room temperature milk until the mixture is smooth.
-
Add the all-purpose flour and the melted garlic and herb butter to the wet ingredients. Whisk gently, just until the flour is incorporated and no dry streaks remain. Be careful not to overmix; a few small lumps are perfectly normal and preferred to an overdeveloped gluten structure.
-
Let the popover batter rest at room temperature for 10 minutes. During the last 2 minutes of the resting time, place your empty popover pan into the preheated 450℉ oven to heat up thoroughly.
-
Carefully remove the hot popover pan from the oven. Generously spray each tin with cooking spray, ensuring good coverage. Lightly dust the inside of each tin with a bit of extra freshly grated Parmesan cheese. Quickly fill each hot tin about halfway full with the rested batter.
-
Return the pan to the 450℉ oven and bake for 15 minutes. Crucially, without opening the oven door, lower the oven temperature to 350℉ (175°C) and continue baking for another 15 minutes. This two-stage baking ensures maximum puff and thorough cooking.
-
Once baked, remove the pan from the oven. Immediately pierce each popover with a small knife or skewer to allow steam to escape, which helps prevent them from becoming soggy. Carefully remove the popovers from their tins and serve them hot and fresh for the best flavor and texture.
