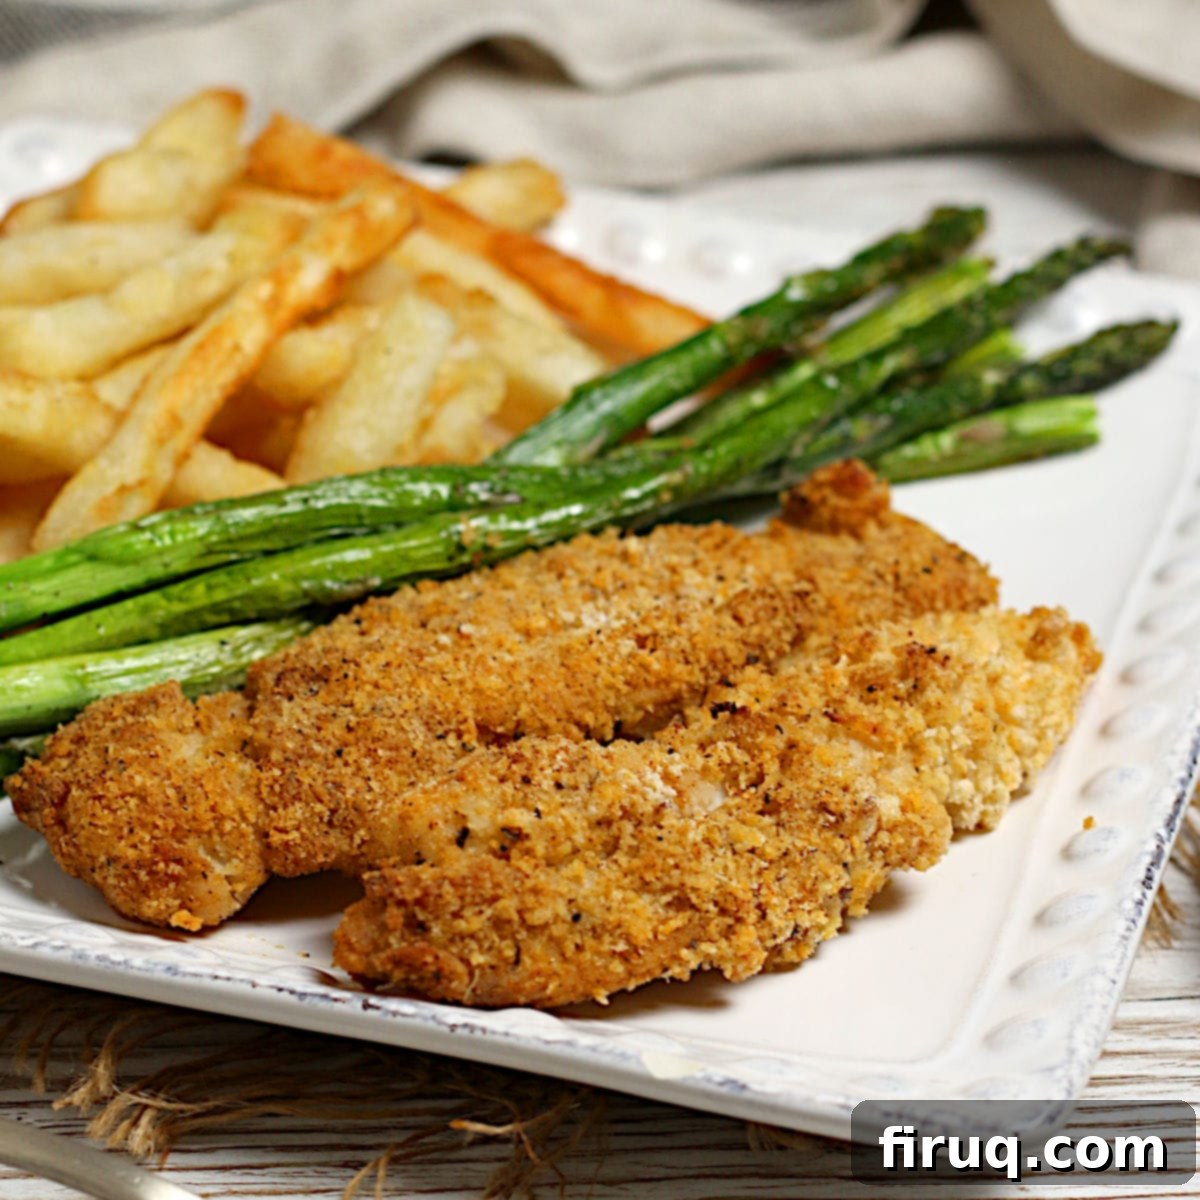
The Ultimate Guide to Perfectly Crunchy Oven-Baked Chicken Fingers (Healthier & Delicious!)
Chicken fingers, a timeless classic and beloved staple, hold a special place in the hearts of children and adults alike. From fast-food joints to upscale casual dining, these crispy strips of chicken are often the go-to choice. While the convenience of ordering out is undeniable, nothing quite compares to the flavor, freshness, and satisfaction of homemade chicken fingers. If you’ve been hesitant to make them at home, thinking it’s too complicated or messy, prepare to change your mind!
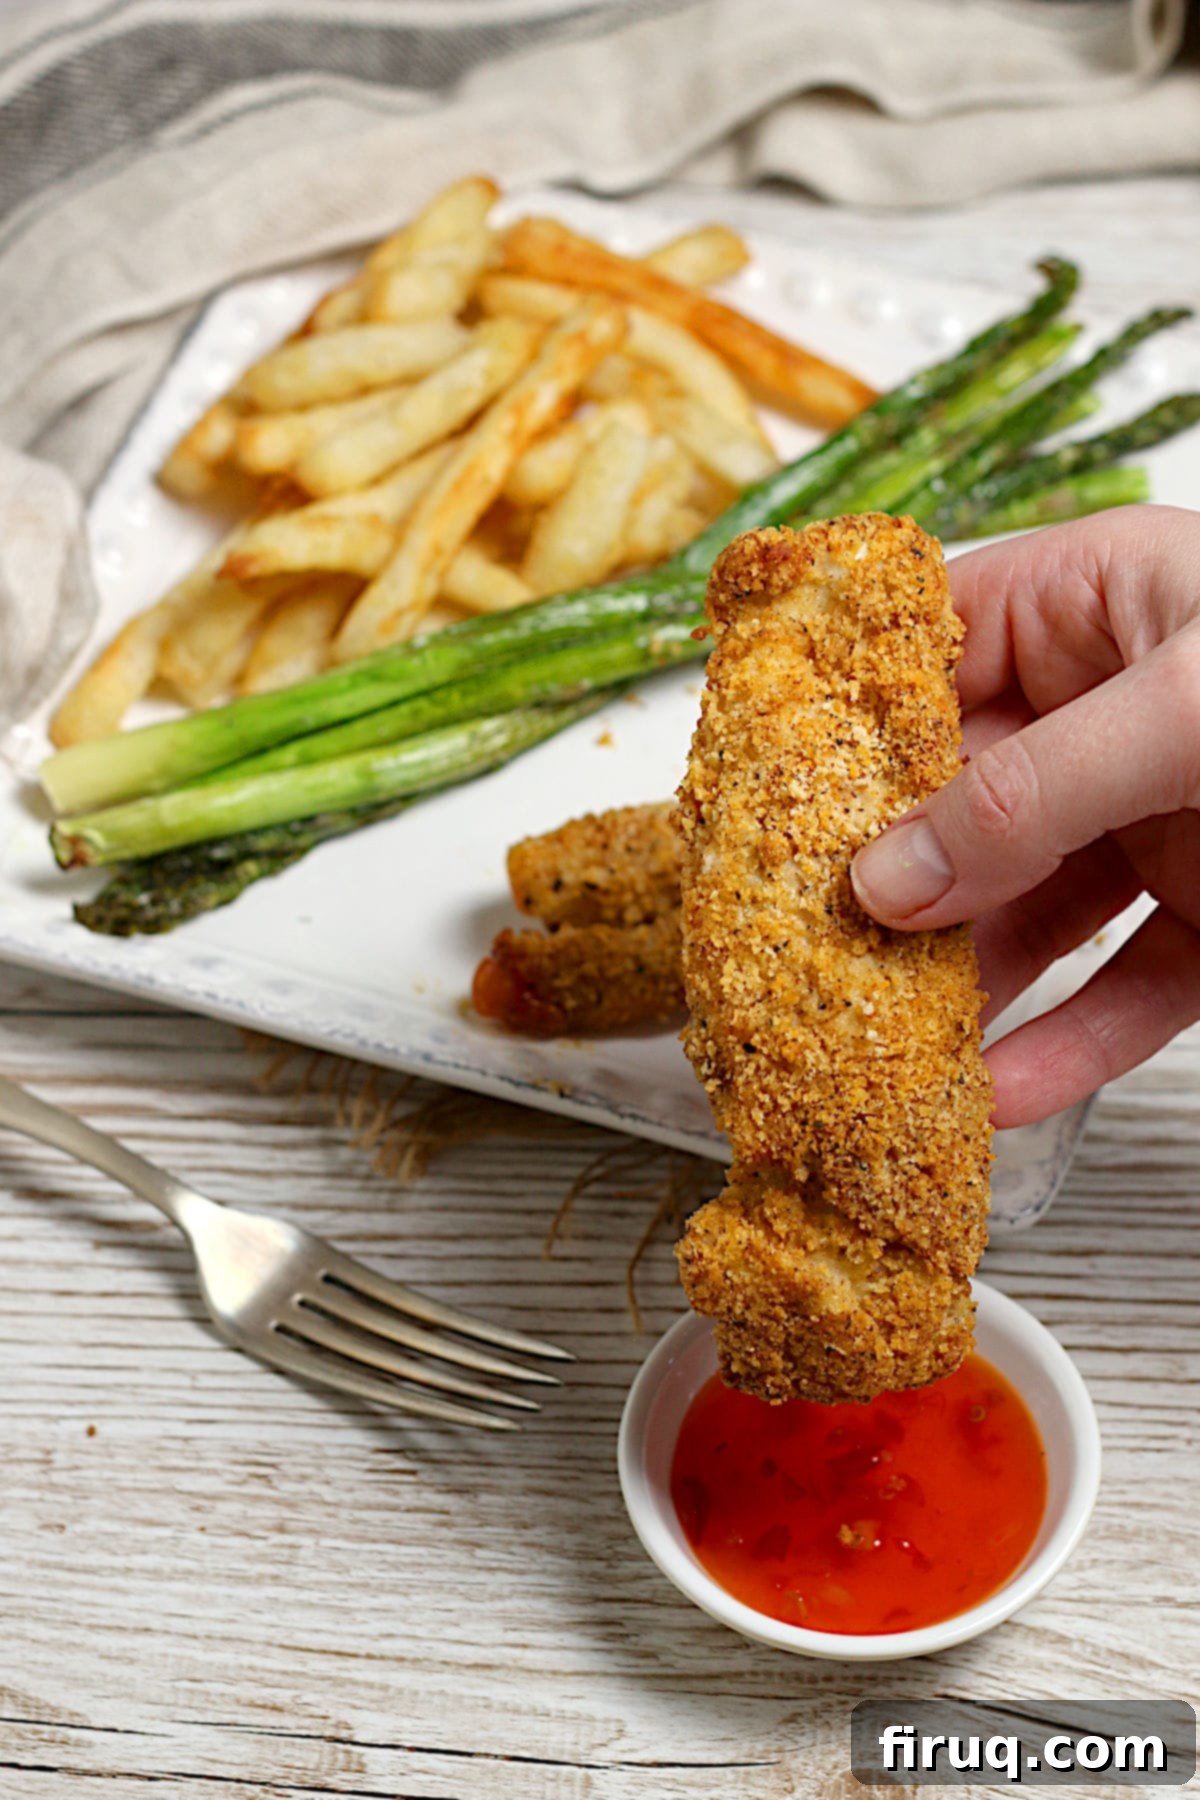
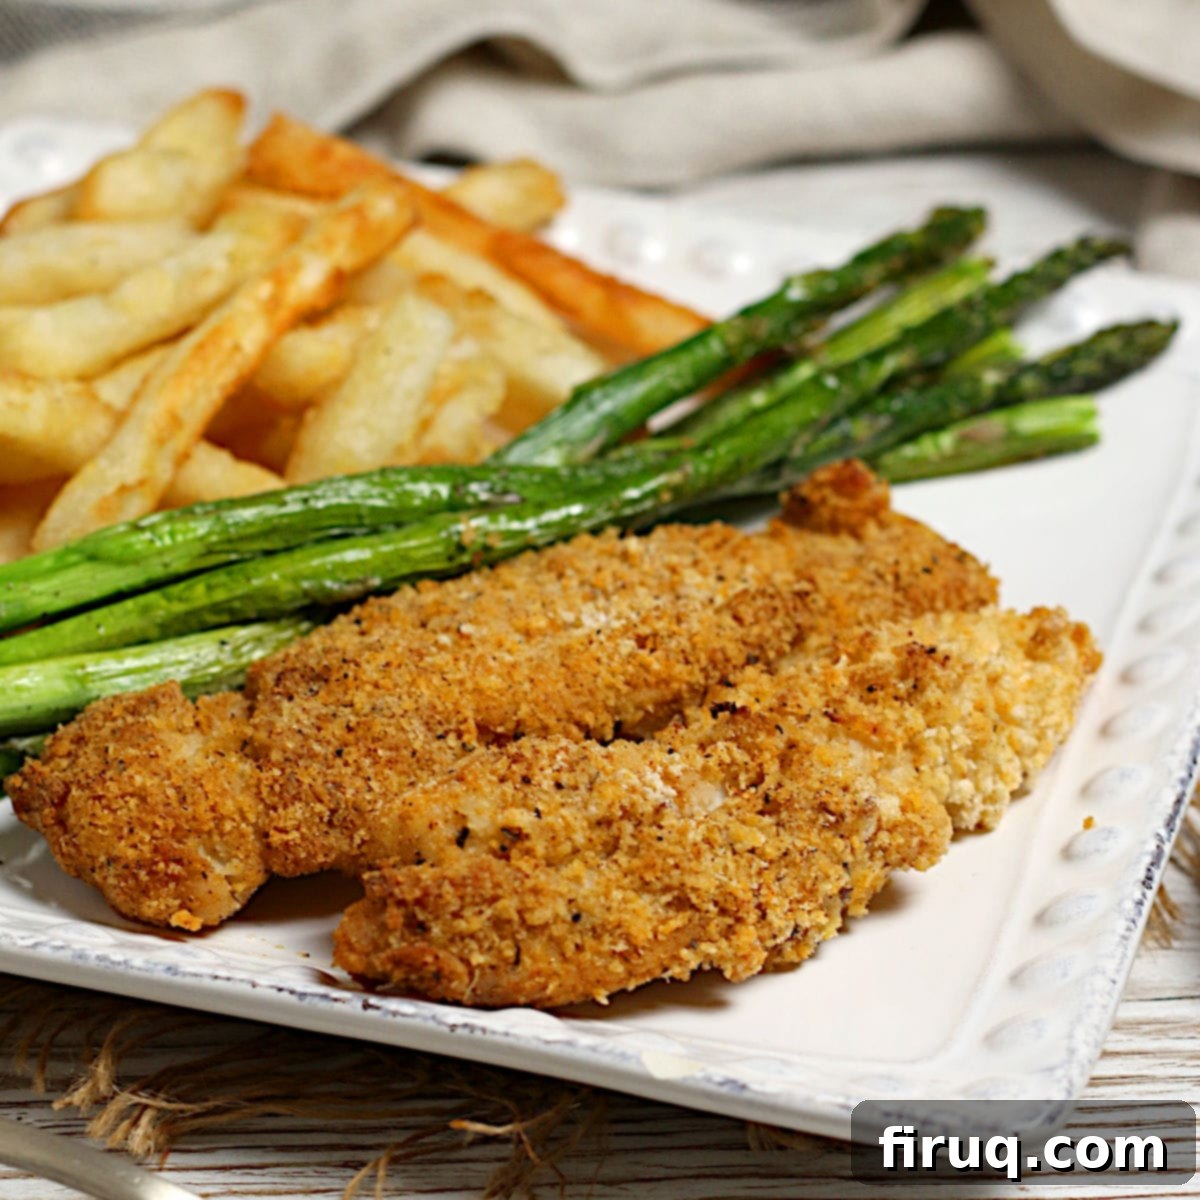
Inspired by the success of our Oven-Fried Chicken Drumsticks, we set out to apply the same principles of a crunchy, flavorful panko coating to another family favorite: chicken tenders. The result? These Oven-Baked Chicken Fingers were an instant hit, proving that you don’t need a deep fryer to achieve that irresistible crunch. They’re so good, your family might just start requesting them over the restaurant version!
Why Oven-Baked Chicken Fingers Are a Game Changer
Opting for oven-baked chicken fingers instead of their deep-fried counterparts offers a multitude of benefits, making them a smarter and more convenient choice for home cooks. First and foremost, they are significantly healthier. By using the oven, you eliminate the need for excessive oil, drastically cutting down on fat and calories without sacrificing flavor or texture. This means you can enjoy a comforting classic with less guilt.
Beyond health, oven baking simplifies the cooking process. Say goodbye to greasy splatters, hot oil hazards, and the lingering smell of fried food in your kitchen. Baking is a much cleaner and safer method. Plus, once the chicken is in the oven, it’s largely hands-off, freeing you up to prepare side dishes or simply relax. The consistent heat of the oven also promotes even cooking, ensuring each chicken strip is perfectly done from edge to center.
The Secret to Unbeatable Crunch: Mastering Your Panko Coating
The hallmark of a great chicken finger is its satisfying crunch, and for this recipe, the secret lies in panko breadcrumbs. Unlike traditional breadcrumbs, panko is made from crustless white bread that is processed into larger, flakier shards. This unique texture allows panko to absorb less oil and become exceptionally crispy when baked, creating a delicate, airy crust that truly sets these chicken fingers apart.
Our carefully crafted panko coating isn’t just about crunch; it’s bursting with flavor too. We combine panko with a blend of all-purpose flour and a symphony of spices, ensuring every bite is seasoned to perfection. The flour helps the coating adhere, while the spices infuse the chicken with savory depth.
Crafting the Perfect Spice Blend for Flavorful Tenders
The magic of these oven-baked chicken fingers extends beyond panko to a thoughtfully balanced blend of spices. Each ingredient plays a crucial role in building a complex and irresistible flavor profile:
- Garlic Powder & Onion Powder: These aromatic powerhouses provide a foundational savory base, ensuring the chicken isn’t bland. Granulated versions work just as well, or if you only have onion flakes, a quick grind in a coffee grinder will transform them into a fine powder.
- Paprika: We recommend using either sweet or hot paprika for this recipe, which adds a warm, vibrant color and a mild, earthy sweetness or a subtle kick. Smoked paprika, while delicious, would impart a different flavor profile that might overpower the other spices here.
- Celery Salt: This often-underestimated spice adds a distinctive, bright, and slightly herbaceous note, contributing to the overall savory “chicken” flavor. It’s important to use celery salt, not celery seed, as they are different in potency and flavor. You’ll find celery salt readily available in the spice aisle.
- Dried Basil: A hint of dried basil introduces an aromatic, slightly sweet, and peppery nuance, elevating the flavor beyond a simple savory profile.
- Kosher Salt & Freshly Ground Black Pepper: These are fundamental for seasoning, bringing out all the other flavors. For an extra layer of umami, consider using MSG-salt if you’re open to it.
This harmonious blend ensures that your chicken fingers are not only crispy but also incredibly flavorful, making them a standout dish.
How to Make Oven-Baked Chicken Fingers: Step-by-Step Perfection
Making these delicious, crispy chicken tenders at home is simpler than you might think. Follow these steps for guaranteed success:
1. Prepare Your Coating Mixture
Begin by combining all the dry ingredients for the coating in a medium bowl. This includes panko breadcrumbs, all-purpose flour, kosher salt, garlic powder, onion powder, paprika, celery salt, dried basil, and freshly ground black pepper. Stir them thoroughly until evenly mixed. This mixture is precisely measured for 1 ½ pounds of chicken breast, so if you plan to increase your chicken quantity, remember to scale up the coating ingredients proportionally to ensure full coverage and maximum crispiness.
2. Prep the Chicken for Optimal Crispiness
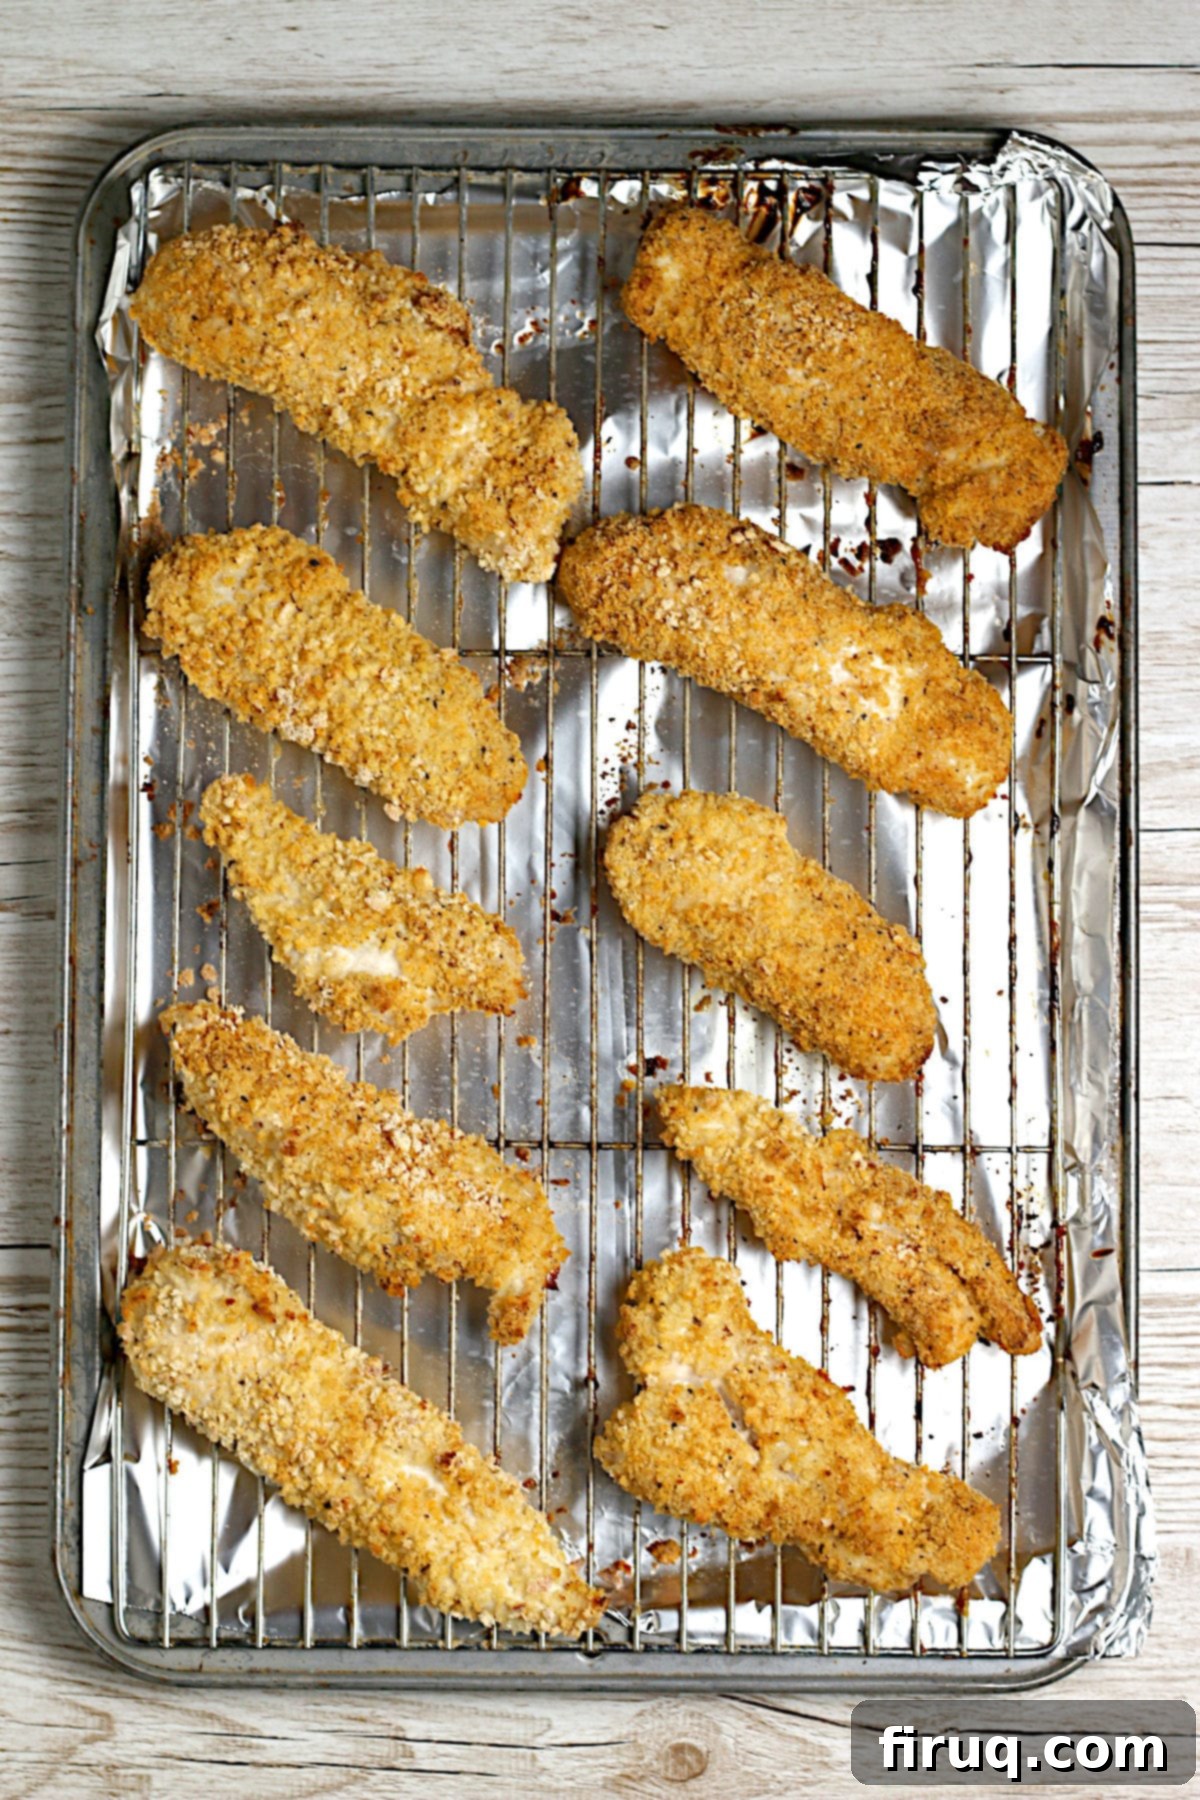
The key to truly crispy chicken starts with proper preparation. First, pat the chicken breasts thoroughly dry with clean paper towels. This step is crucial as excess moisture prevents the coating from adhering properly and inhibits crisping in the oven. Next, cut each chicken breast lengthwise into 3-4 uniform strips. Consistency in size ensures even cooking. Lay the prepared strips on a wire rack that has been placed over a baking sheet. Lining the baking sheet with aluminum foil beforehand is optional, but highly recommended, as it significantly aids in cleanup.
3. The Mayonnaise Magic: Binding and Flavor
Now for the ingenious binding agent: mayonnaise. Scoop about 2 tablespoons of mayonnaise into a small bowl. Using a silicone brush, lightly and evenly brush both sides of each chicken strip with mayonnaise. The mayonnaise serves a dual purpose: it acts as an excellent adhesive for the panko coating, and its oils contribute to a beautifully golden-brown and crispy exterior when baked. It also adds a subtle richness that enhances the flavor of the chicken.
4. Coat and Arrange
Working one chicken strip at a time, place it into the bowl containing your panko and spice mixture. Gently toss and press the strip into the mixture until it is completely and evenly coated with breading. Ensure there are no bare spots. Once coated, return the strip to the wire rack on the baking sheet. Repeat this process for all remaining chicken strips, arranging them in a single layer with a little space between each to allow for proper air circulation and even crisping.
5. Bake to Golden Perfection
Preheat your oven to 425°F (220°C). If your oven has a convection setting, we highly recommend using it, as it circulates hot air for even crispier results. Bake the chicken strips for approximately 10-15 minutes, or until the coating is golden brown and the internal temperature of the chicken reaches 165°F (74°C). For the absolute best crispiness and even browning, make sure to flip the chicken strips halfway through the baking time. Serve these delightful, crunchy chicken fingers immediately and watch them disappear!
Crunchy Oven-Baked Chicken Fingers Make-Ahead Instructions and Reheating Tips
Preparing meals in advance can be a lifesaver on busy days. These oven-baked chicken fingers are perfect for make-ahead meal prep, allowing you to save precious time without compromising on quality. To prep them ahead of time, simply follow all the steps up to coating the chicken strips. Once coated, place the baking sheet containing the panko-coated chicken into the fridge. It’s crucial to leave them uncovered for up to 4 hours. This brief exposure to air helps dry out the coating slightly, which contributes to an even crispier result when baked. Storing them covered for too long might cause the panko to become soggy. When ready to bake, simply preheat your oven as instructed and bake as usual.
For reheating leftovers, an air fryer is your best friend for restoring that fresh-from-the-oven crispiness. Reheat at 375°F (190°C) for 5-8 minutes, or until heated through and crispy. Alternatively, you can reheat them in a conventional oven at 400°F (200°C) for 10-15 minutes, flipping once, until they are hot and crunchy again.
Oven-Baked Chicken Fingers Ingredients Spotlight
Let’s take a closer look at the key ingredients and some helpful notes for ensuring your chicken fingers are perfect every time:
- Panko: This is non-negotiable for maximum crunch! For a gluten-free option, readily available gluten-free panko works wonderfully and tastes just as good.
- All-purpose flour: Provides an additional layer for the panko to adhere to. To keep the recipe gluten-free, simply use a gluten-free all-purpose flour blend.
- Kosher salt: Its larger crystals are great for seasoning. As mentioned, you can experiment with MSG-salt for an umami boost.
- Garlic powder or granulated garlic: A staple for savory flavor.
- Onion powder or granulated onion: Essential for a balanced savory base. Pro-tip: If you only have dried onion flakes, you can easily grind them in a clean coffee grinder to create onion powder.
- Paprika: Use hot or sweet paprika to control the heat and add a beautiful color. Avoid smoked paprika if you’re aiming for the classic chicken finger flavor, as it will impart a distinct smoky taste.
- Celery salt: This ingredient adds a unique, tangy, and slightly herbaceous depth. Note that celery salt is a blend of salt and ground celery seeds (or celery flavor), not just celery seeds. Do not substitute celery seed for celery salt, as the flavor profile and saltiness will be significantly different.
- Dried basil: Contributes a subtle, aromatic herbal note.
- Freshly ground black pepper: For a fresh, pungent kick that rounds out the spice blend.
- Chicken breasts: You’ll need about 1.5 pounds, typically 3-4 medium breasts, which you’ll cut into strips. You can also use pre-cut chicken tenders.
- Mayonnaise: Acts as an excellent binder for the coating and helps achieve that beautiful golden-brown crust. Regular mayonnaise works perfectly, but light mayonnaise is also a suitable alternative.
Want more delicious chicken breast recipes?
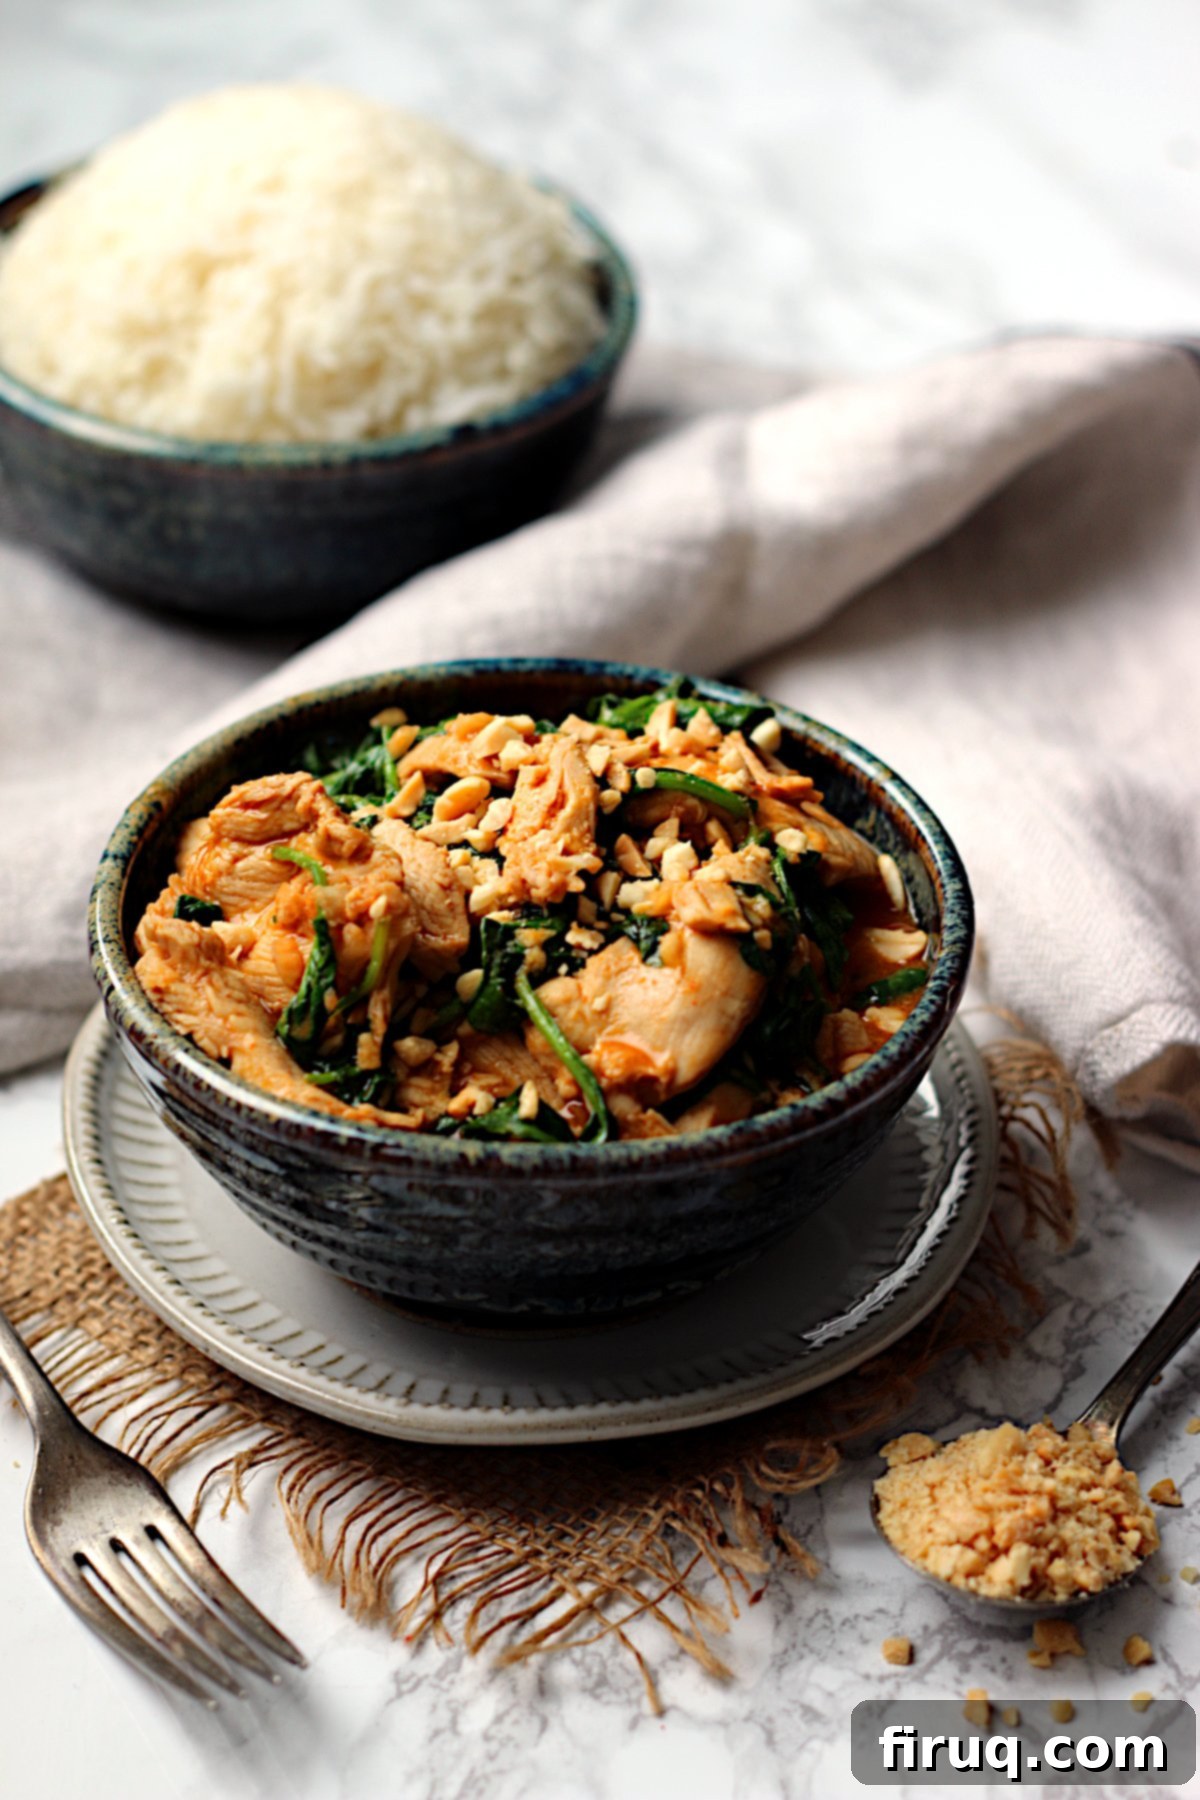
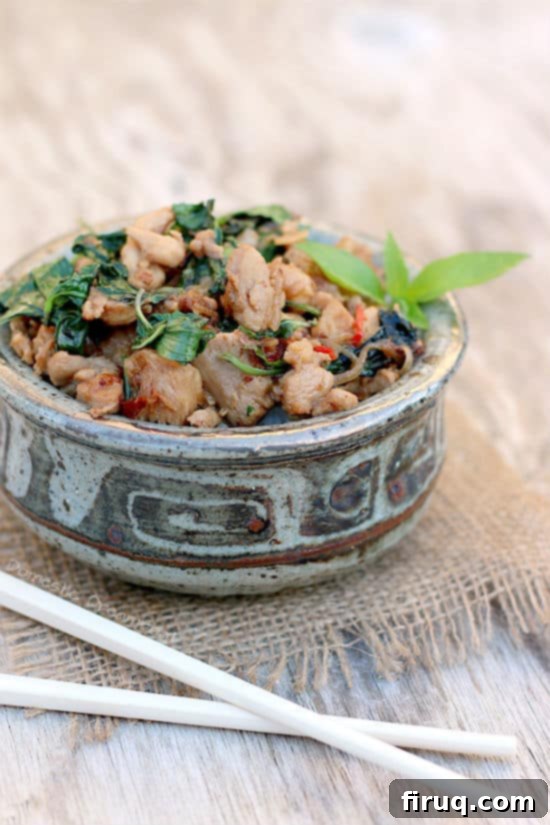
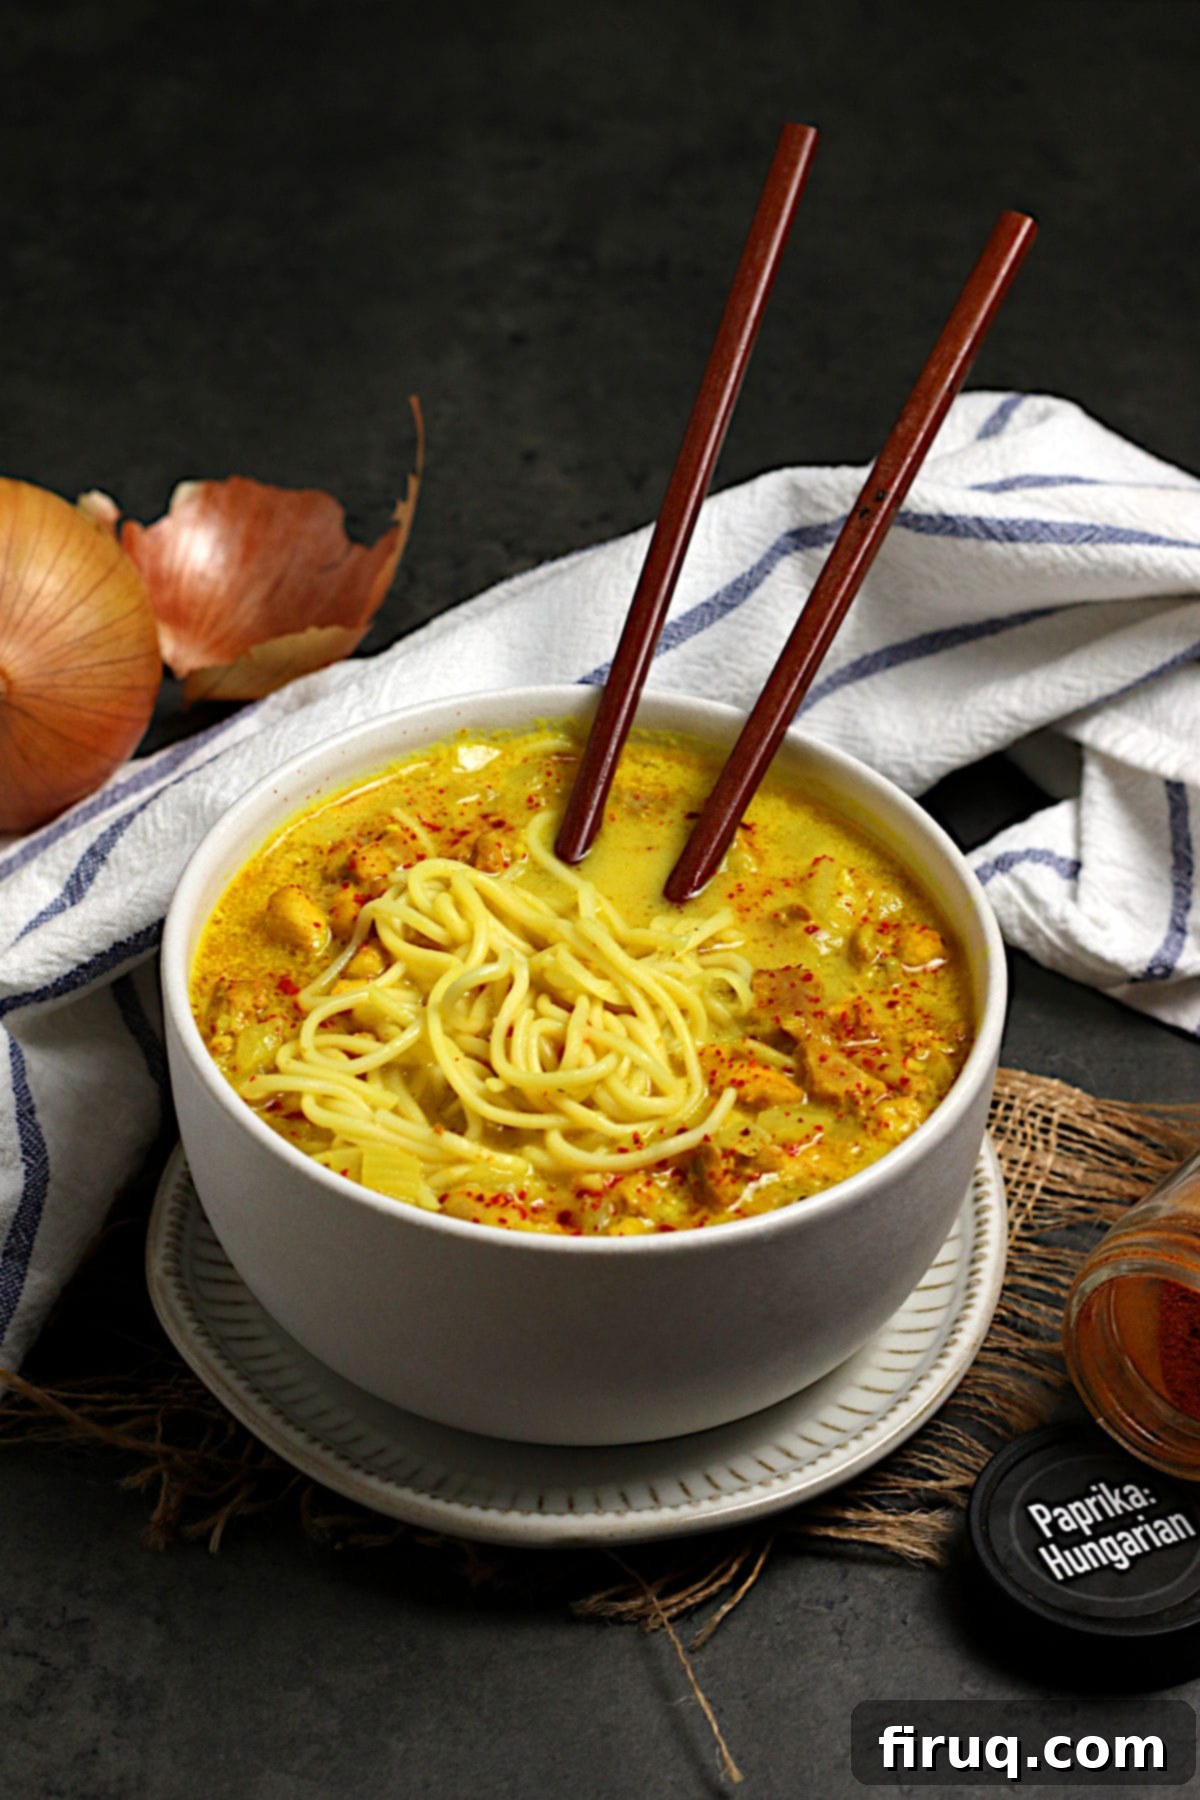
If you’re a fan of versatile chicken breast recipes, explore some of our other popular dishes:
Oven-Baked Chicken Fingers Nutrition Notes
The nutrition information provided in the recipe card below is calculated for 1/4 of the recipe, which typically amounts to approximately 2-3 chicken tenders. Please note that nutritional values can vary slightly based on specific ingredients and brands used.
This recipe is naturally dairy-free as written, making it suitable for those with dairy sensitivities or allergies. To easily adapt this recipe to be completely gluten-free, simply ensure you use gluten-free panko and a reliable gluten-free all-purpose flour blend in your coating mixture. This small substitution will allow everyone to enjoy these crunchy, flavorful chicken fingers.
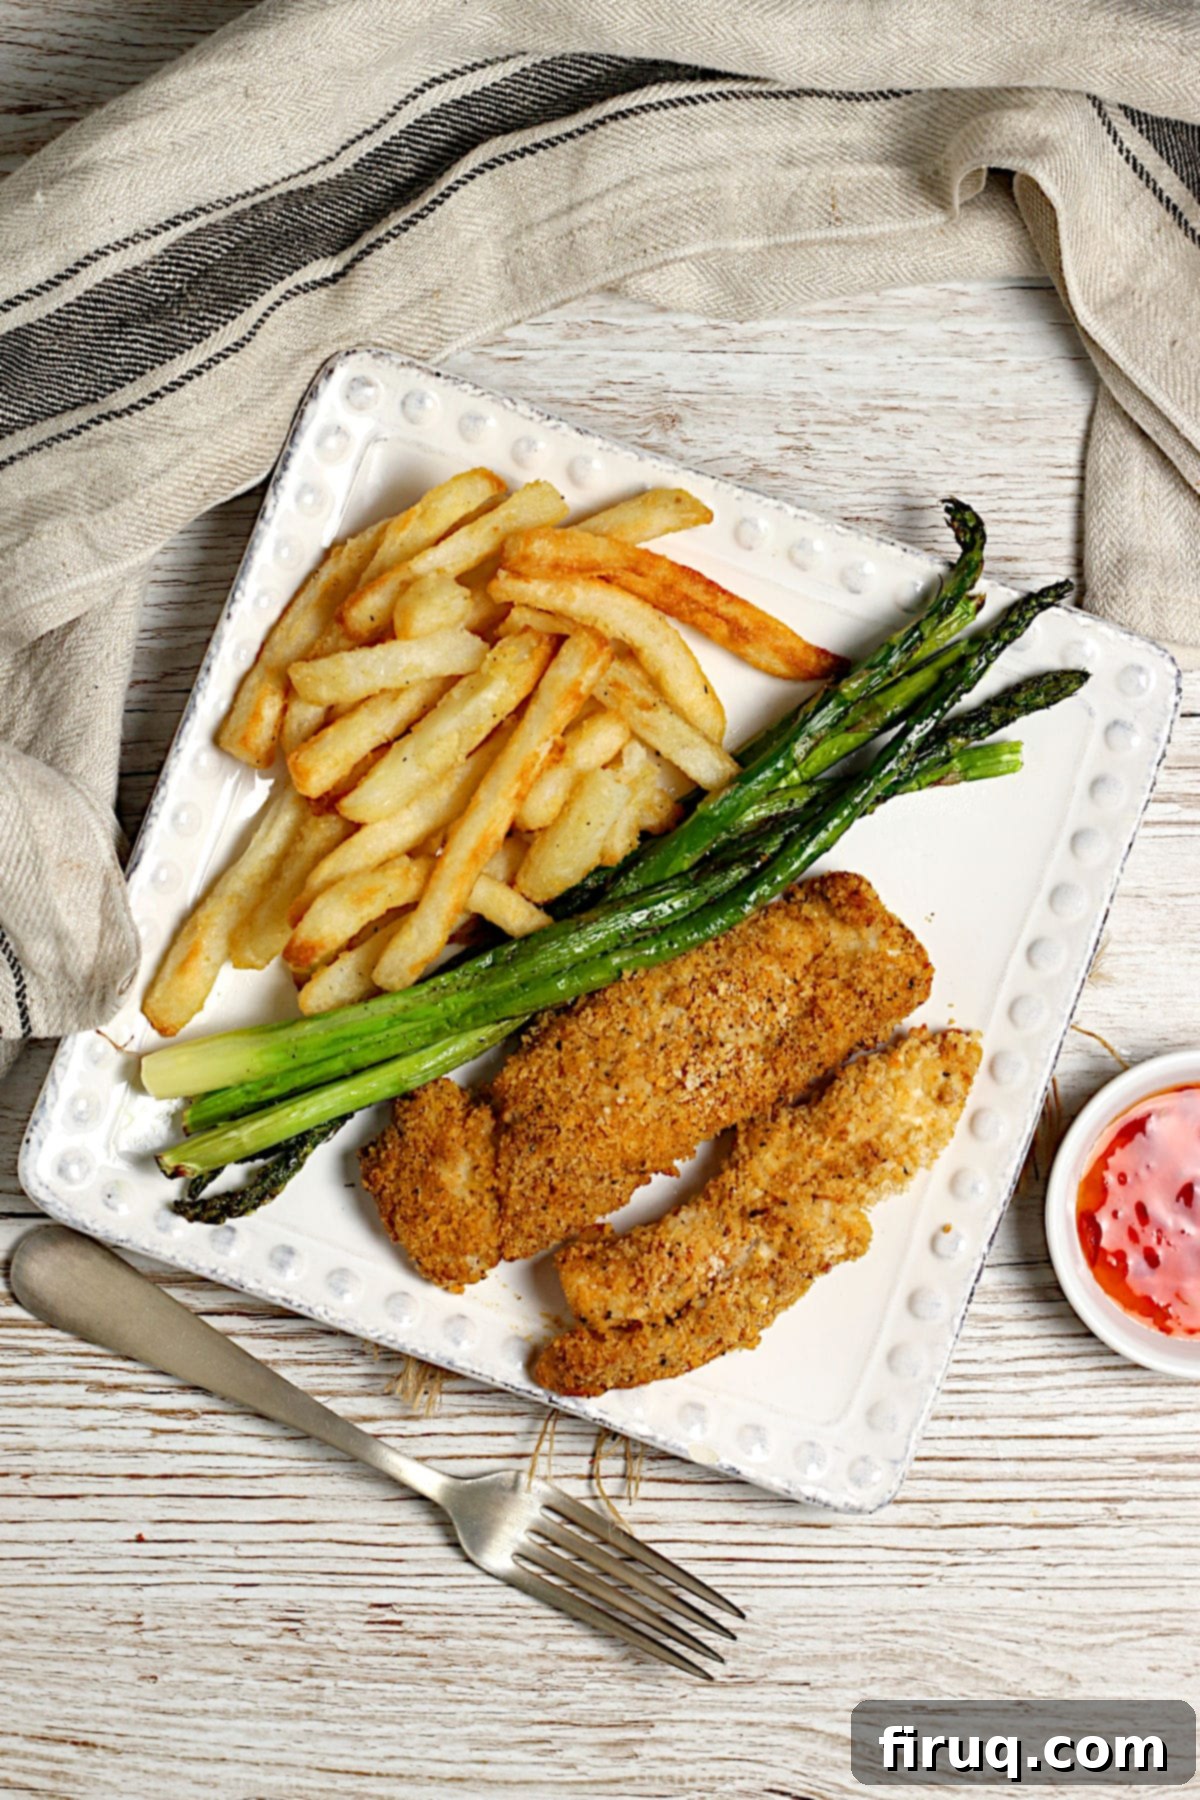
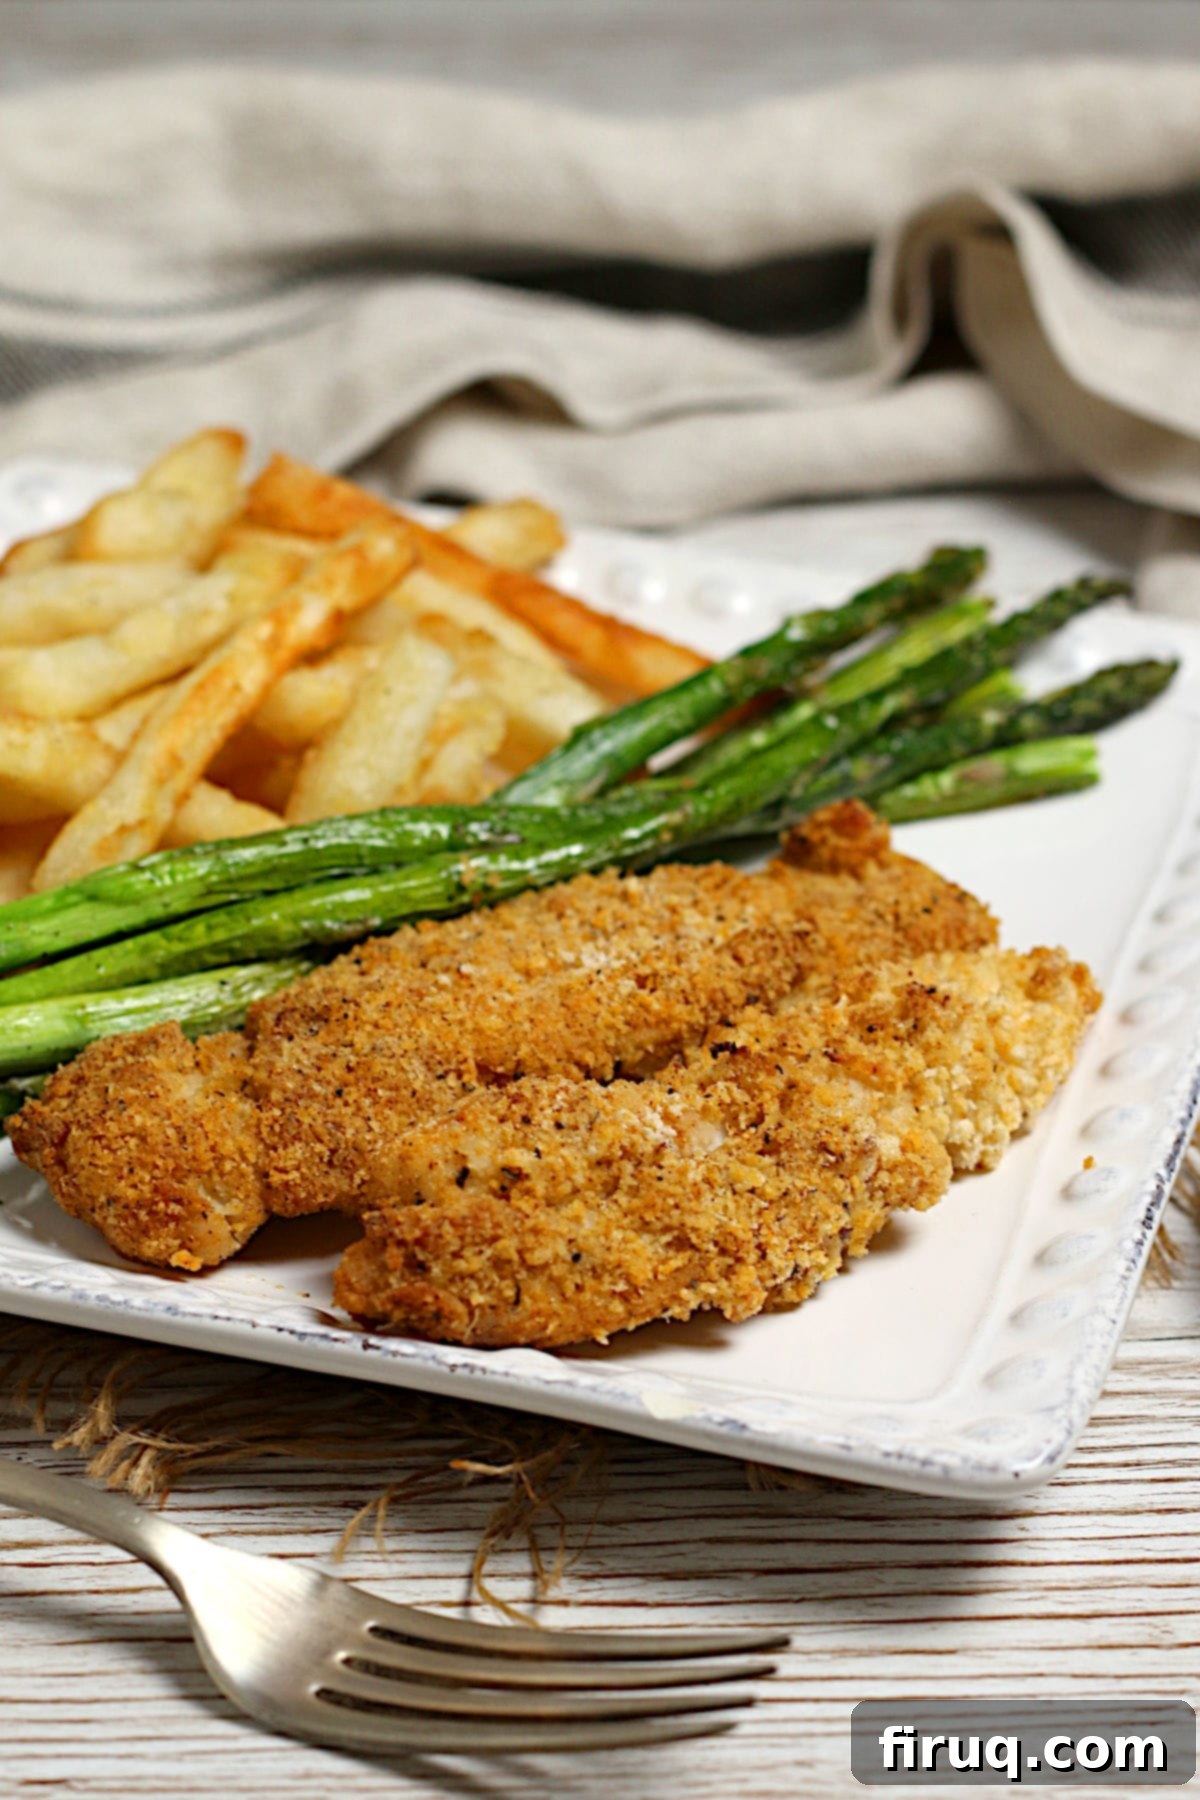
For a well-rounded and complete meal, serve these delicious chicken fingers with your favorite cooked grains like rice or quinoa, or a side of crispy roasted potatoes. Complement them with a fresh green salad, steamed vegetables, or another vibrant, vegetable-based side dish to boost your nutrient intake. They also pair wonderfully with a variety of dipping sauces, from classic ketchup and honey mustard to tangy BBQ or sweet chili sauce.
Oven Baked Chicken Fingers
Print Recipe
Pin Recipe
Equipment
-
Silicone brush
-
Baking sheet
-
Wire Rack
-
Aluminum foil optional
Ingredients
- 1 cup panko use gluten-free panko to make your chicken fingers gluten-free
- ¼ cup all-purpose flour use a gluten-free all-purpose flour blend to make your chicken fingers gluten-free
- 1 teaspoon kosher salt or MSG-salt
- ½ teaspoon garlic powder
- ½ teaspoon onion powder
- ½ teaspoon paprika
- ¼ teaspoon celery salt
- ¼ teaspoon dried basil
- ¼ teaspoon freshly ground black pepper
- 1 1/2 pounds chicken breasts (about 3-4 breasts)
- 2 Tablespoons mayonnaise
Instructions
-
Prepare a baking sheet by lining it with aluminum foil (this is optional, but it makes cleaning up much easier) and fitting an oven-safe wire rack inside it. Heat the oven to 425°F (use the convection setting if possible).
-
Stir together 1 cup panko, ¼ cup all-purpose flour, 1 teaspoon kosher salt, ½ teaspoon garlic powder,½ teaspoon onion powder, ½ teaspoon paprika, ¼ teaspoon celery salt, ¼ teaspoon dried basil, and ¼ teaspoon freshly ground black pepper in a medium bowl. Set aside.
-
Prepare 1 1/2 pounds chicken breasts by patting them dry with clean paper towels and cutting each breast lengthwise into 3-4 strips. Lay them on the prepared wire rack.
-
Put 2 Tablespoons mayonnaise in a small bowl. Use a silicone brush to brush both sides of each chicken strip with mayonnaise. Once coated, toss each strip gently in the bowl containing the panko mixture until it’s completely coated. Return the coated chicken strips to the wire rack.

-
Bake the chicken strips until golden brown, about 10-15 minutes. For best results, flip the chicken strips once halfway through cooking. Serve immediately. Reheat any leftovers in an air-fryer for the crispiest results.
-
Complete the recipe to the end of step 4. Place the baking sheet into the fridge uncovered for up to 4 hours. Complete step 5 of the recipe, pre-heating the oven before you bake the chicken.
Nutrition
Tried this recipe?
Please Consider Leaving a Review!
Conclusion: Your New Favorite Homemade Chicken Fingers
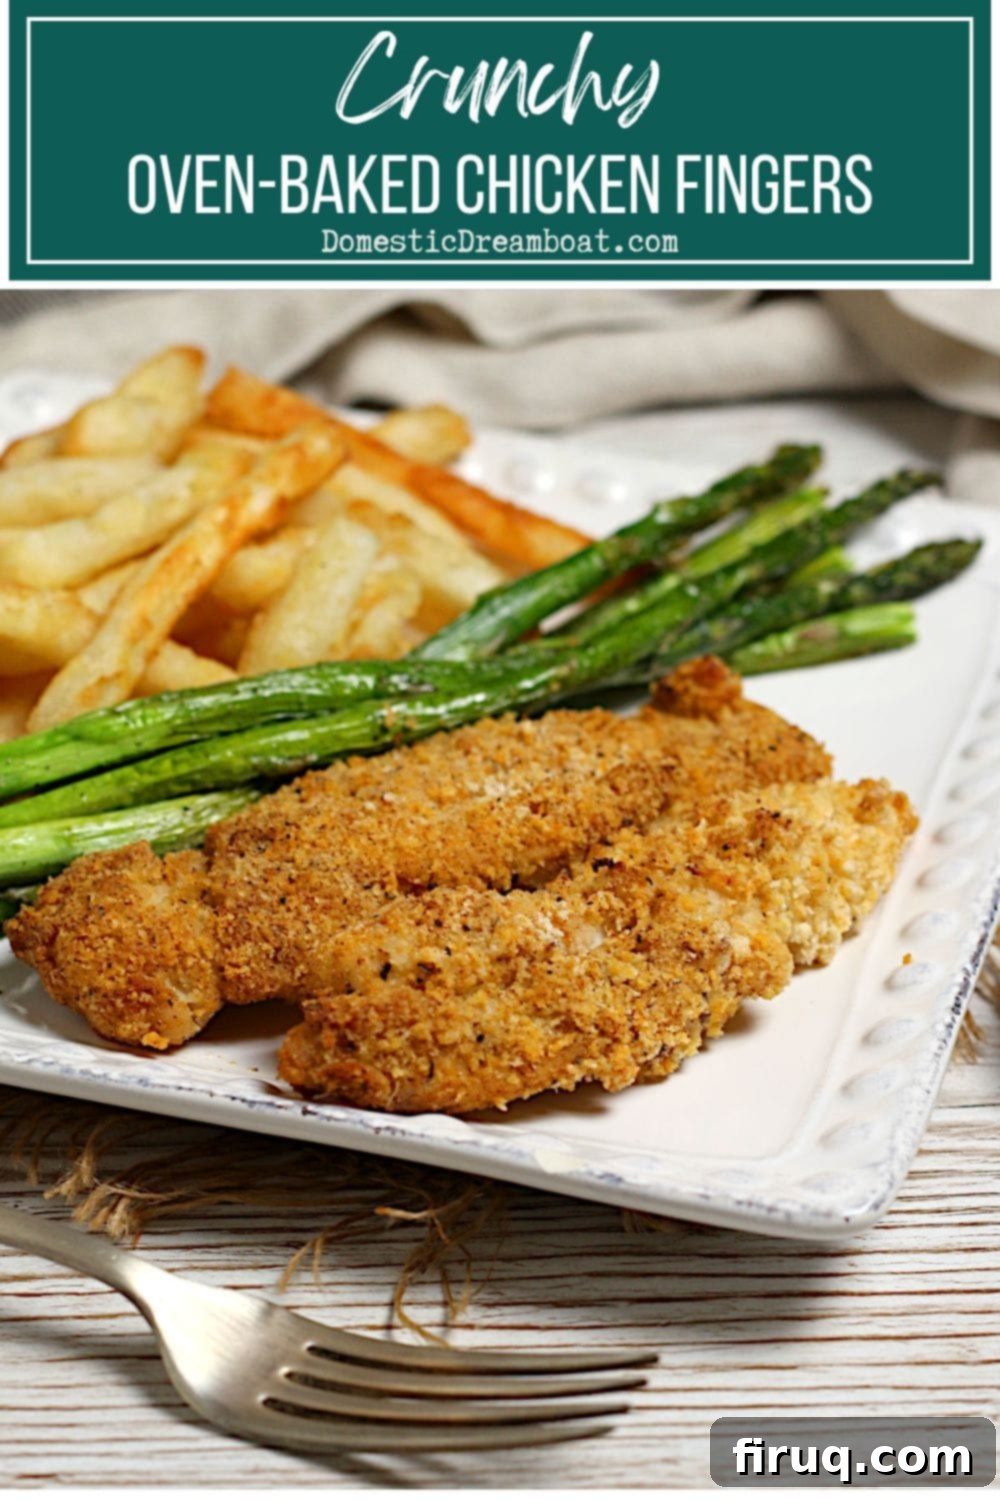
These crunchy oven-baked chicken fingers are more than just a meal; they’re a testament to how simple, healthy, and incredibly satisfying homemade food can be. By utilizing the magic of panko breadcrumbs and a thoughtful blend of spices, you can achieve a superior texture and flavor that rivals any restaurant version, all while keeping your kitchen clean and your family happy.
Whether you’re looking for a quick weeknight dinner, a healthier alternative to fried food, or a crowd-pleasing appetizer, these chicken fingers tick all the boxes. They’re versatile, easy to customize, and perfect for meal prepping. So go ahead, give this recipe a try, and discover the joy of perfectly crispy, flavorful chicken tenders made right in your own oven!
