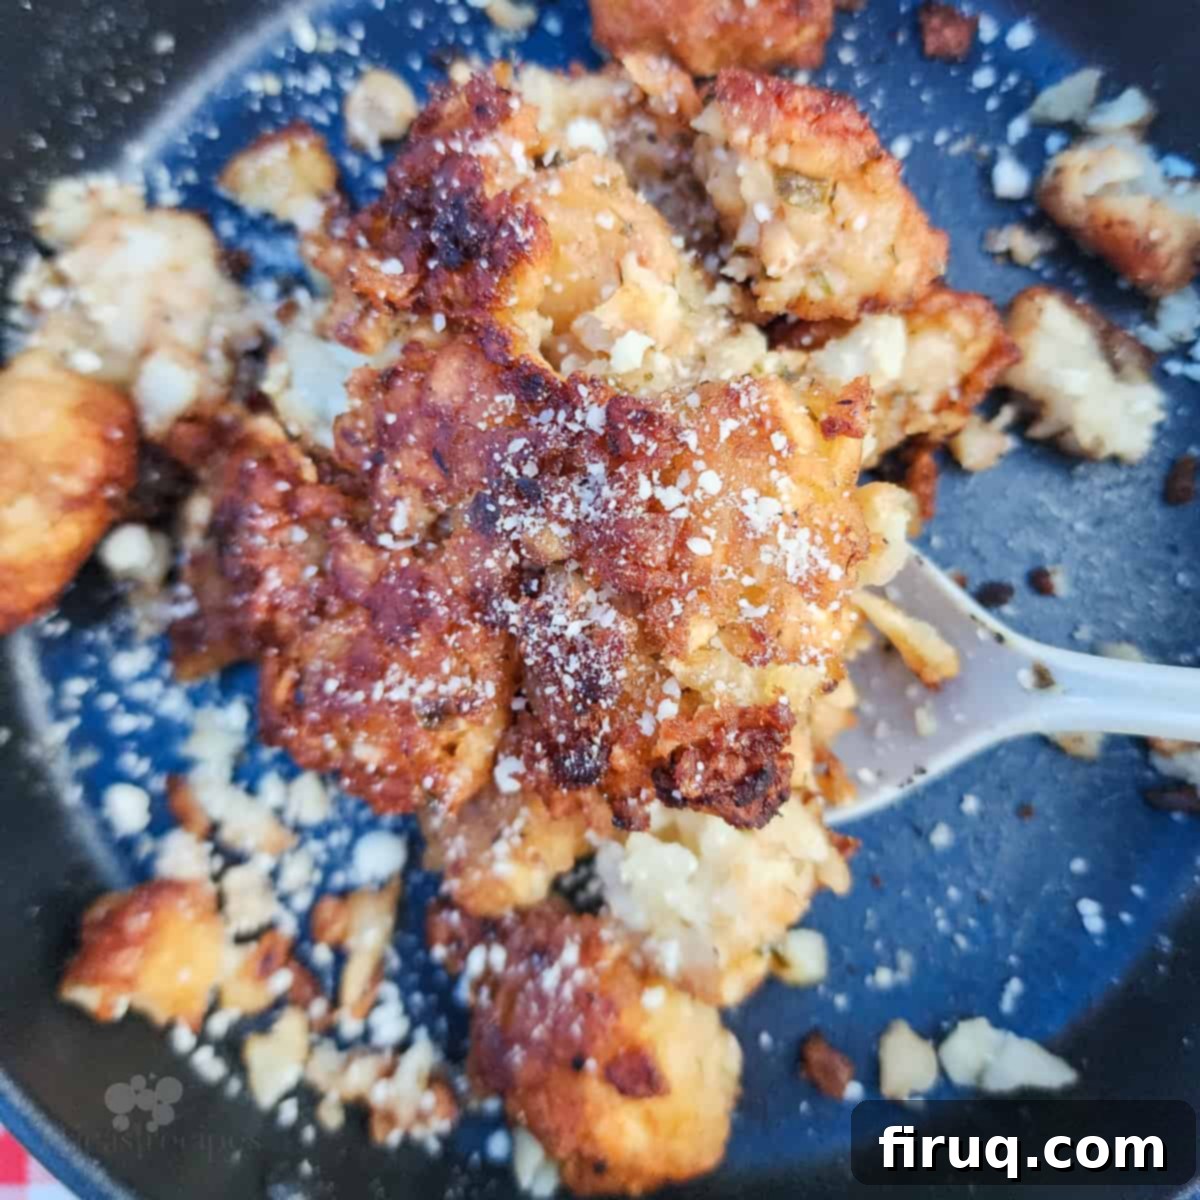
The Ultimate Guide to Campfire Garlic Parmesan Tater Tots: Crispy Pie Iron Perfection
Imagine the crackling sounds of a campfire, the scent of pine in the air, and the irresistible aroma of buttery garlic parmesan tater tots cooking to perfection. These weren’t just any tater tots; these were the buttery, crispy, and incredibly flavorful garlic parmesan tater tots, cooked right in a pie iron over an open flame. This unique cooking method infuses each bite with a delicious smoky essence, transforming a simple frozen potato snack into an unforgettable camping delicacy. This recipe for pie iron tater tots isn’t just a side dish; it’s an experience that will have your fellow campers raving and asking for more!
This website uses affiliate links. See our Privacy Policy for more information.
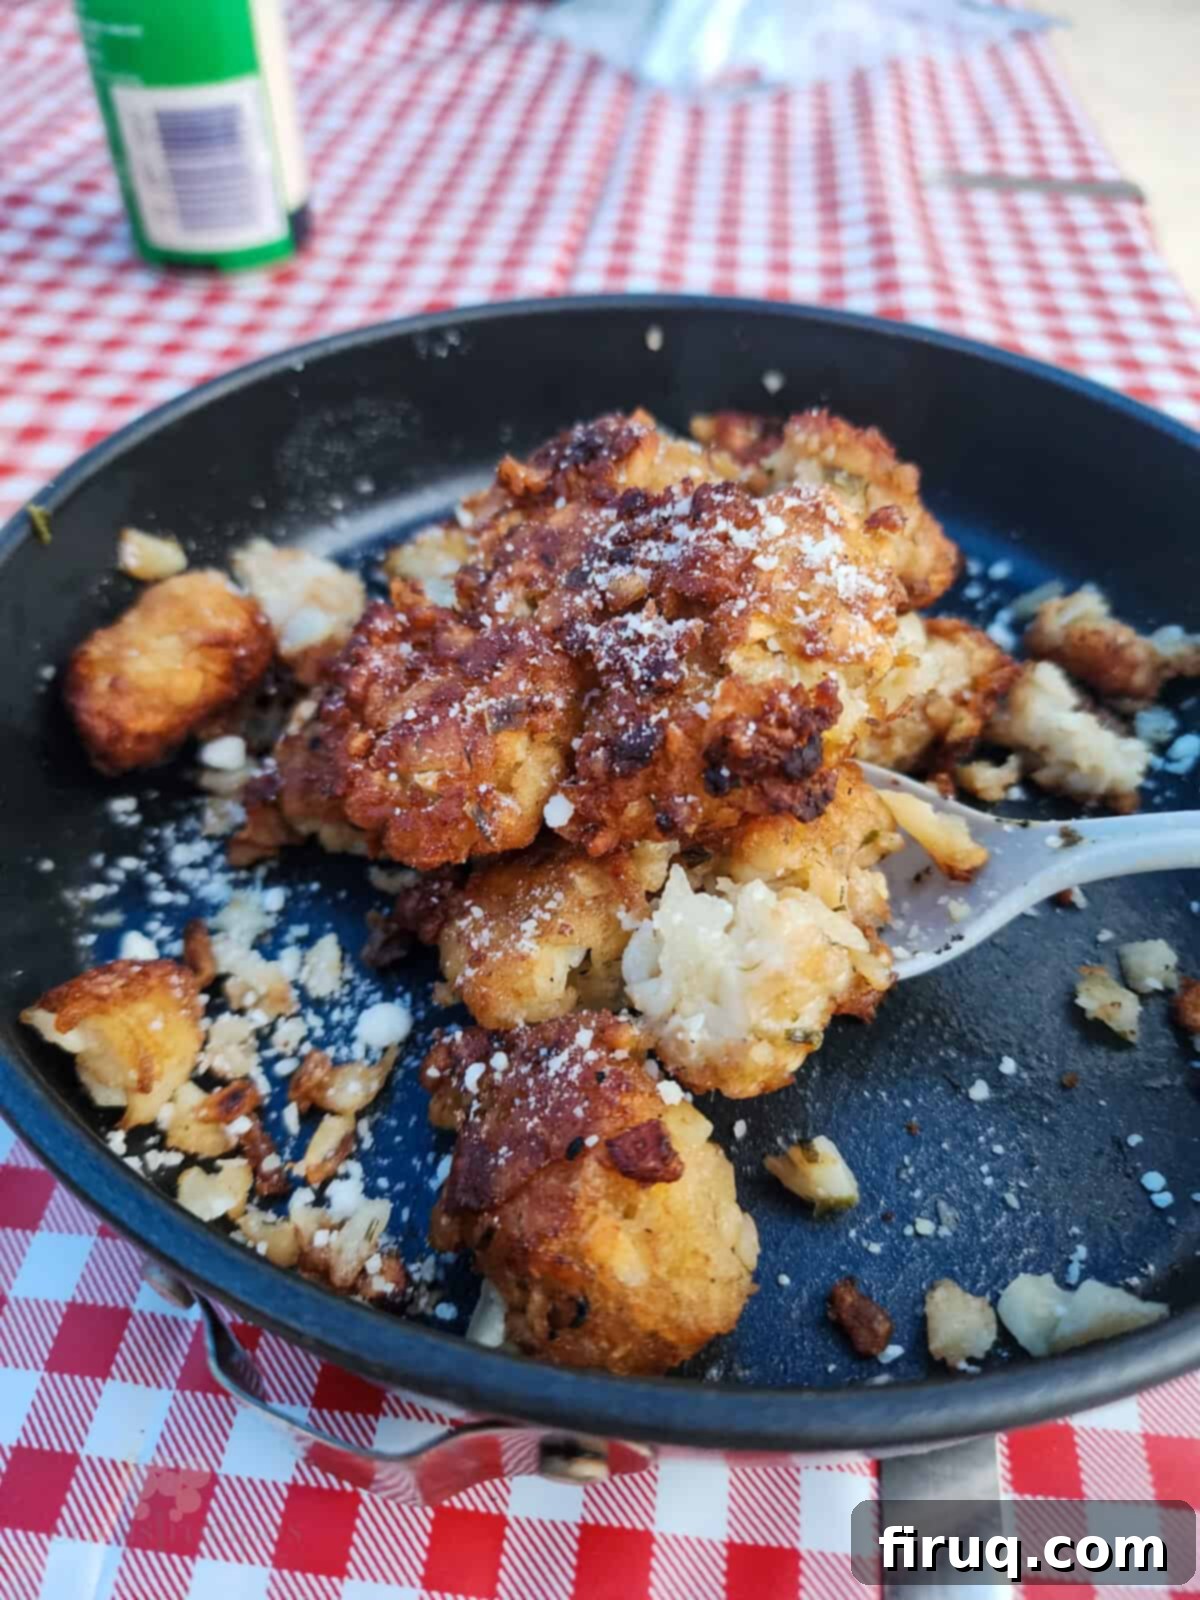
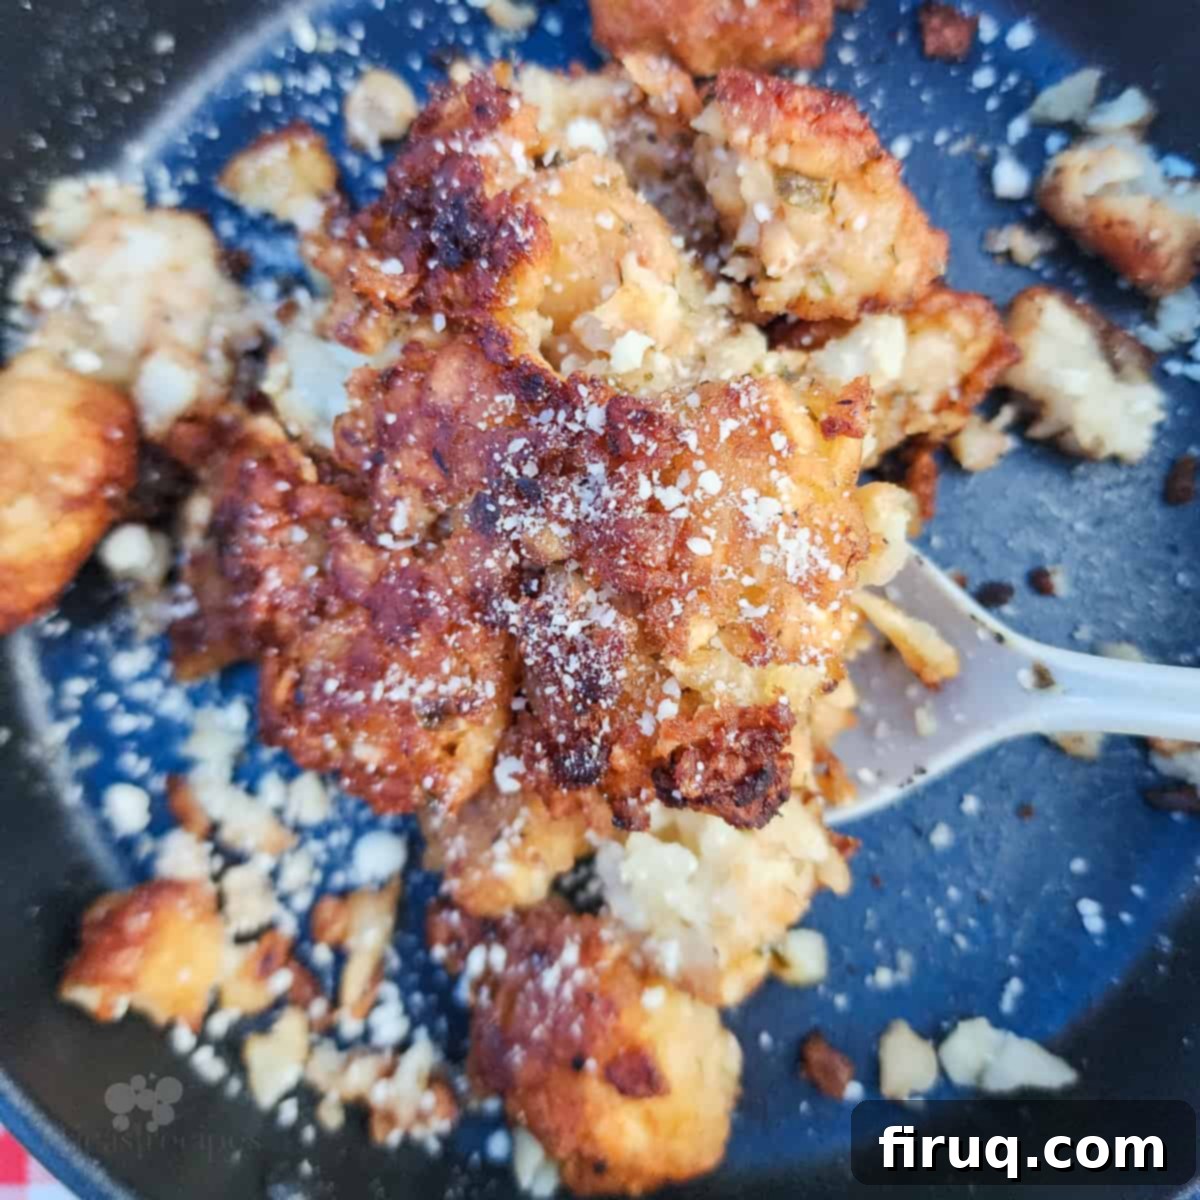
On a recent family camping trip in sunny Florida, I decided to experiment with these campfire tater tots one evening. The result? Pure culinary magic. I found myself devouring so many that I practically ate my weight! Each tot was a symphony of textures and flavors: wonderfully crispy on the outside, fluffy on the inside, infused with that distinct campfire smokiness, and utterly drenched in rich, aromatic garlic butter. These garlic parmesan tater tots have now secured their spot as a mandatory dish on every single one of my future camping adventures. They are that good!
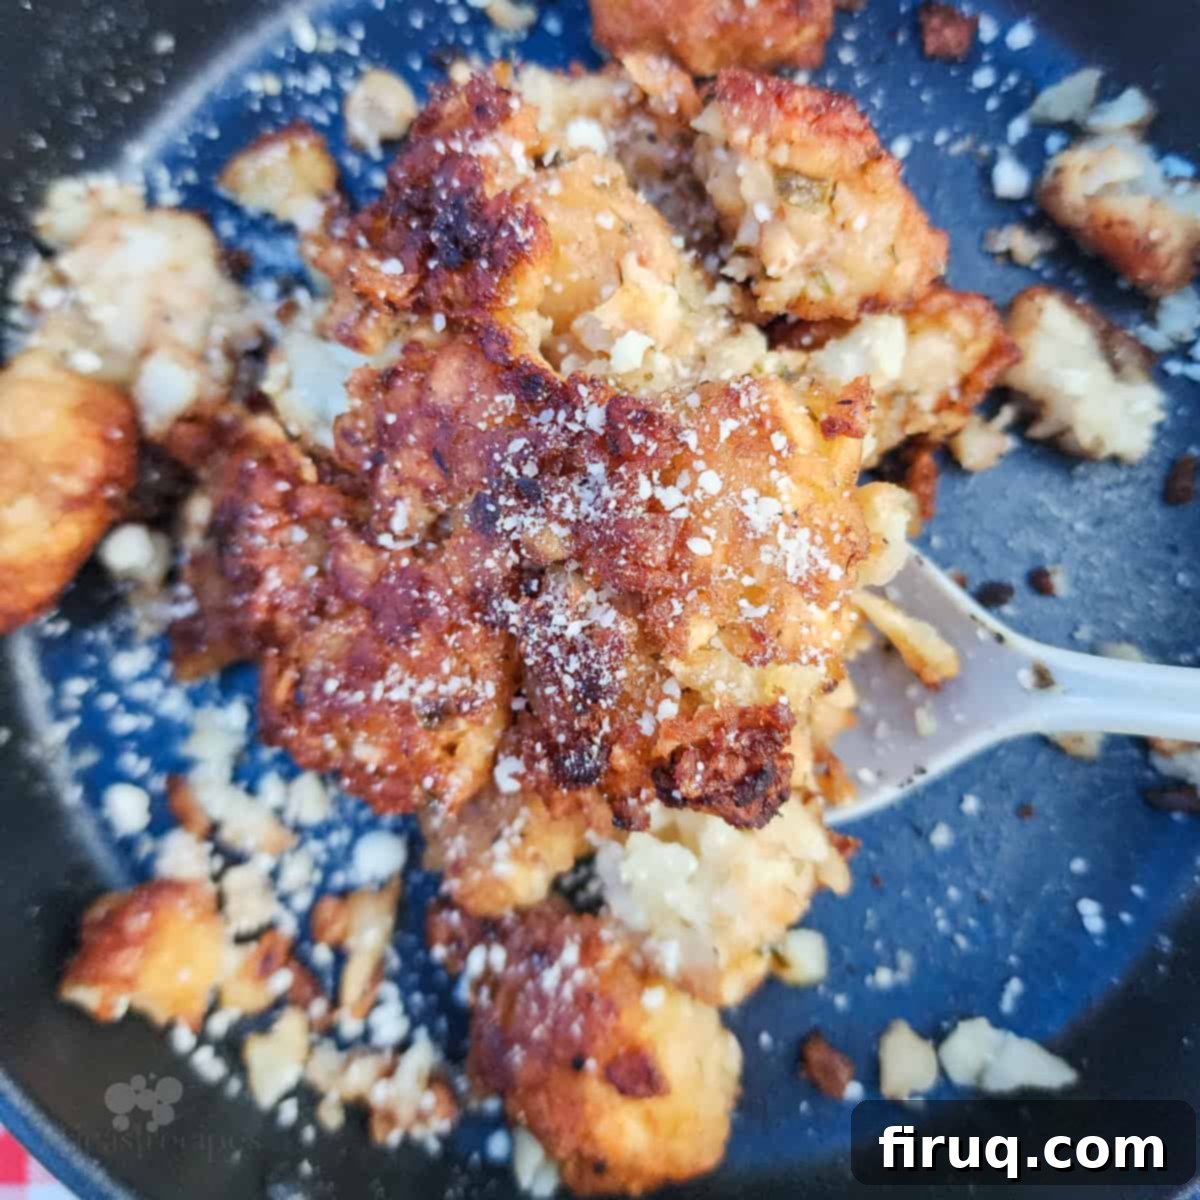
Cooking Tater Tots Over a Campfire: A Resounding Yes!
Can you cook tater tots over a fire? Absolutely, and not only can you, but you truly should! Campfire cooking offers a unique charm and flavor that no indoor kitchen can replicate. While I often rely on my trusty Coleman stove and small Blackstone griddle for most camping meals, there’s a special place in my heart for pie iron cooking. It adds an element of fun, a sense of rustic satisfaction, and, most importantly, results in incredibly flavorful food that stands out from the ordinary. The direct heat and smoky environment of a campfire impart a depth of flavor to tater tots that simply cannot be achieved through conventional frying or baking.
The beauty of campfire tater tots lies in their versatility and the ease with which they can be prepared. It transforms a humble freezer staple into a gourmet camping treat. The smoky nuances complement the potato flavor, while the pie iron ensures a perfect, uniform crispness. It’s an interactive cooking experience that makes mealtime an event, rather than just a necessity.
Mastering Campfire Tater Tots: Pie Iron vs. Foil Packet
When it comes to cooking tater tots while camping, you generally have two excellent methods: using a pie iron or creating foil packets. My personal preference, by far, is the pie iron method, and I own several. For cooking a larger batch of tater tots efficiently, I often use a Double Pie Iron, which allows me to cook more at once. However, a single sandwich iron works just as well if you’re cooking for a smaller group or enjoying the slower pace of campfire cooking. Each method has its advantages, but both promise delicious results when done correctly.
The Pie Iron Method: Achieving Ultimate Crispness
Using a pie iron is fantastic for achieving an even, golden-brown crisp on your tater tots. The cast iron construction distributes heat beautifully, creating a perfectly sealed environment that cooks the tots thoroughly while giving them that sought-after crunch. To prevent sticking and encourage even cooking, the key is generous lubrication. Start by thoroughly coating the inside of your pie iron with plenty of cooking spray and butter. This creates a non-stick surface and contributes to the rich, buttery flavor. Once loaded with tots, remember to flip the pie iron frequently throughout the cooking process. This crucial step promotes uniform crisping, prevents burning on one side, and ensures the taters cook evenly from edge to center.
The Foil Packet Method: A Simple Alternative
Alternatively, tater tots can be prepared in a double layer of heavy-duty aluminum foil. This method is ideal if you don’t own a pie iron or prefer a more hands-off approach. To make a foil packet, simply spread the seasoned tater tots in the center of a large piece of foil, then fold the edges tightly to create a sealed pouch. The double layer of foil provides insulation and prevents tears. While foil packets still deliver delicious, smoky tater tots, they might not achieve the same level of all-around crispness as a pie iron, but they are incredibly convenient for campfire cooking.
Temperature Control is Key
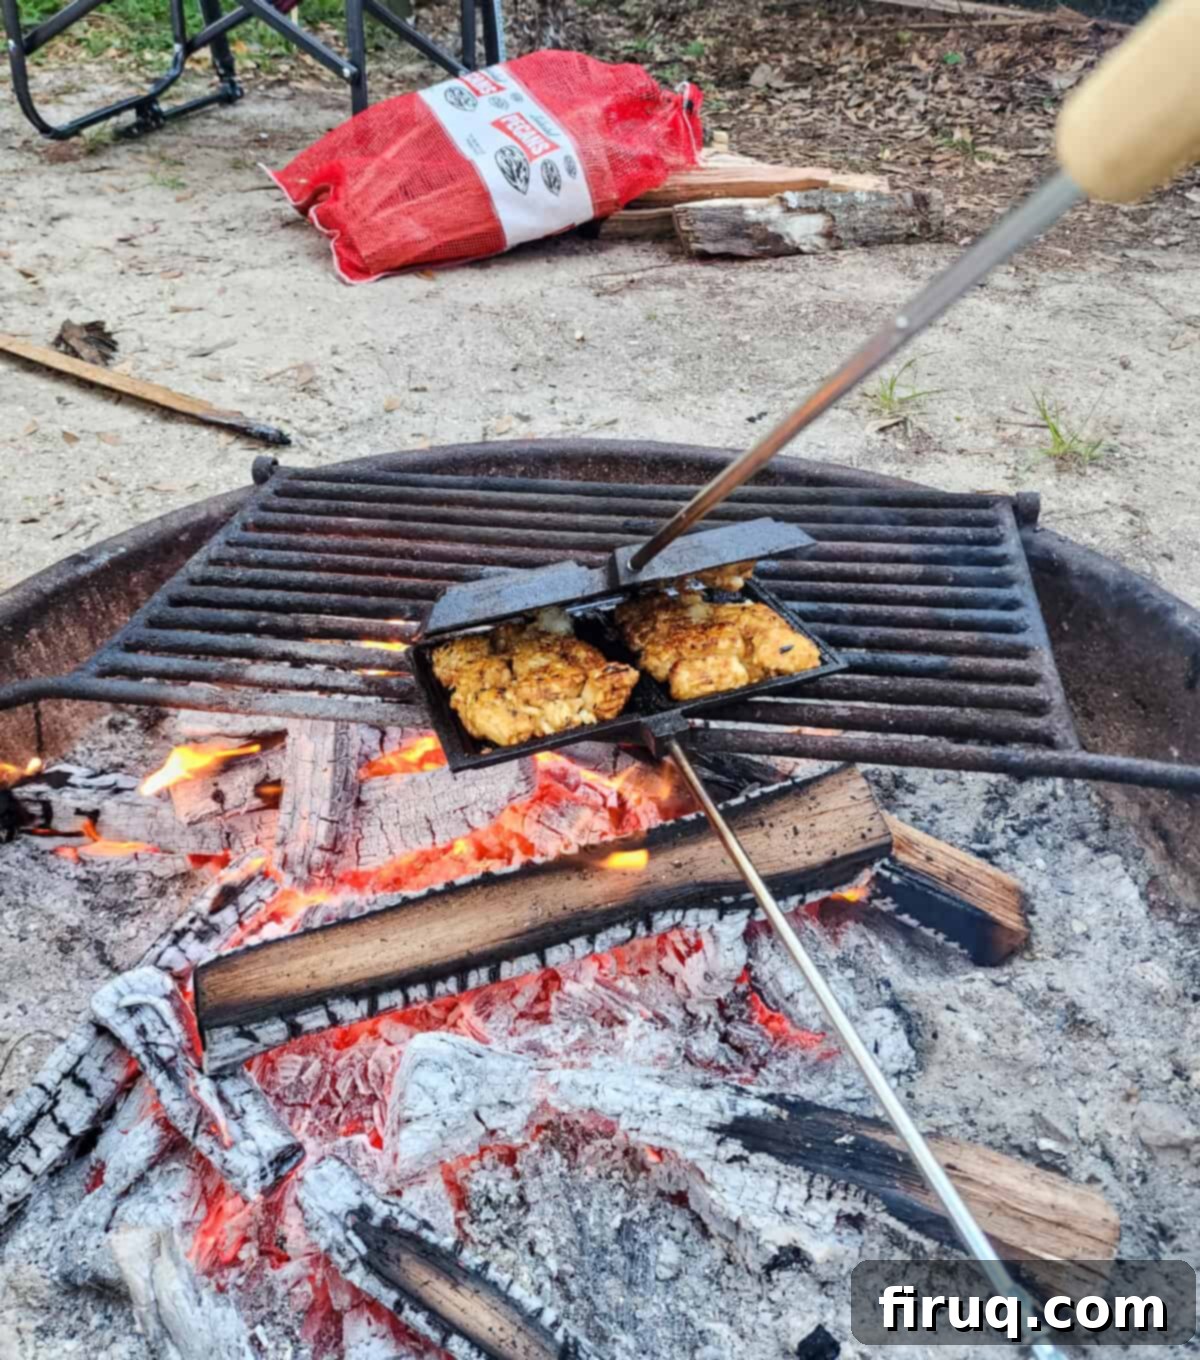
Regardless of the method you choose, proper heat management is paramount. I’ve learned from experience that placing the pie iron or foil packet directly into the roaring flames of the fire is a recipe for disaster. Direct flame causes the taters to cook too quickly on the outside, resulting in a burned exterior and a raw, uncooked interior. Instead, I always position the pie iron on the grill grate of the fire ring, if available. This allows the tots to cook at a more controlled, moderate temperature for the recommended 15-20 minutes, ensuring they become delightfully fluffy on the inside and perfectly crispy (not charred) on the outside. If your fire pit lacks a grate, simply place the iron or foil packet next to the hot coals, leveraging their radiant heat rather than direct flame. This gentle, consistent heat is essential for achieving optimal texture and flavor.
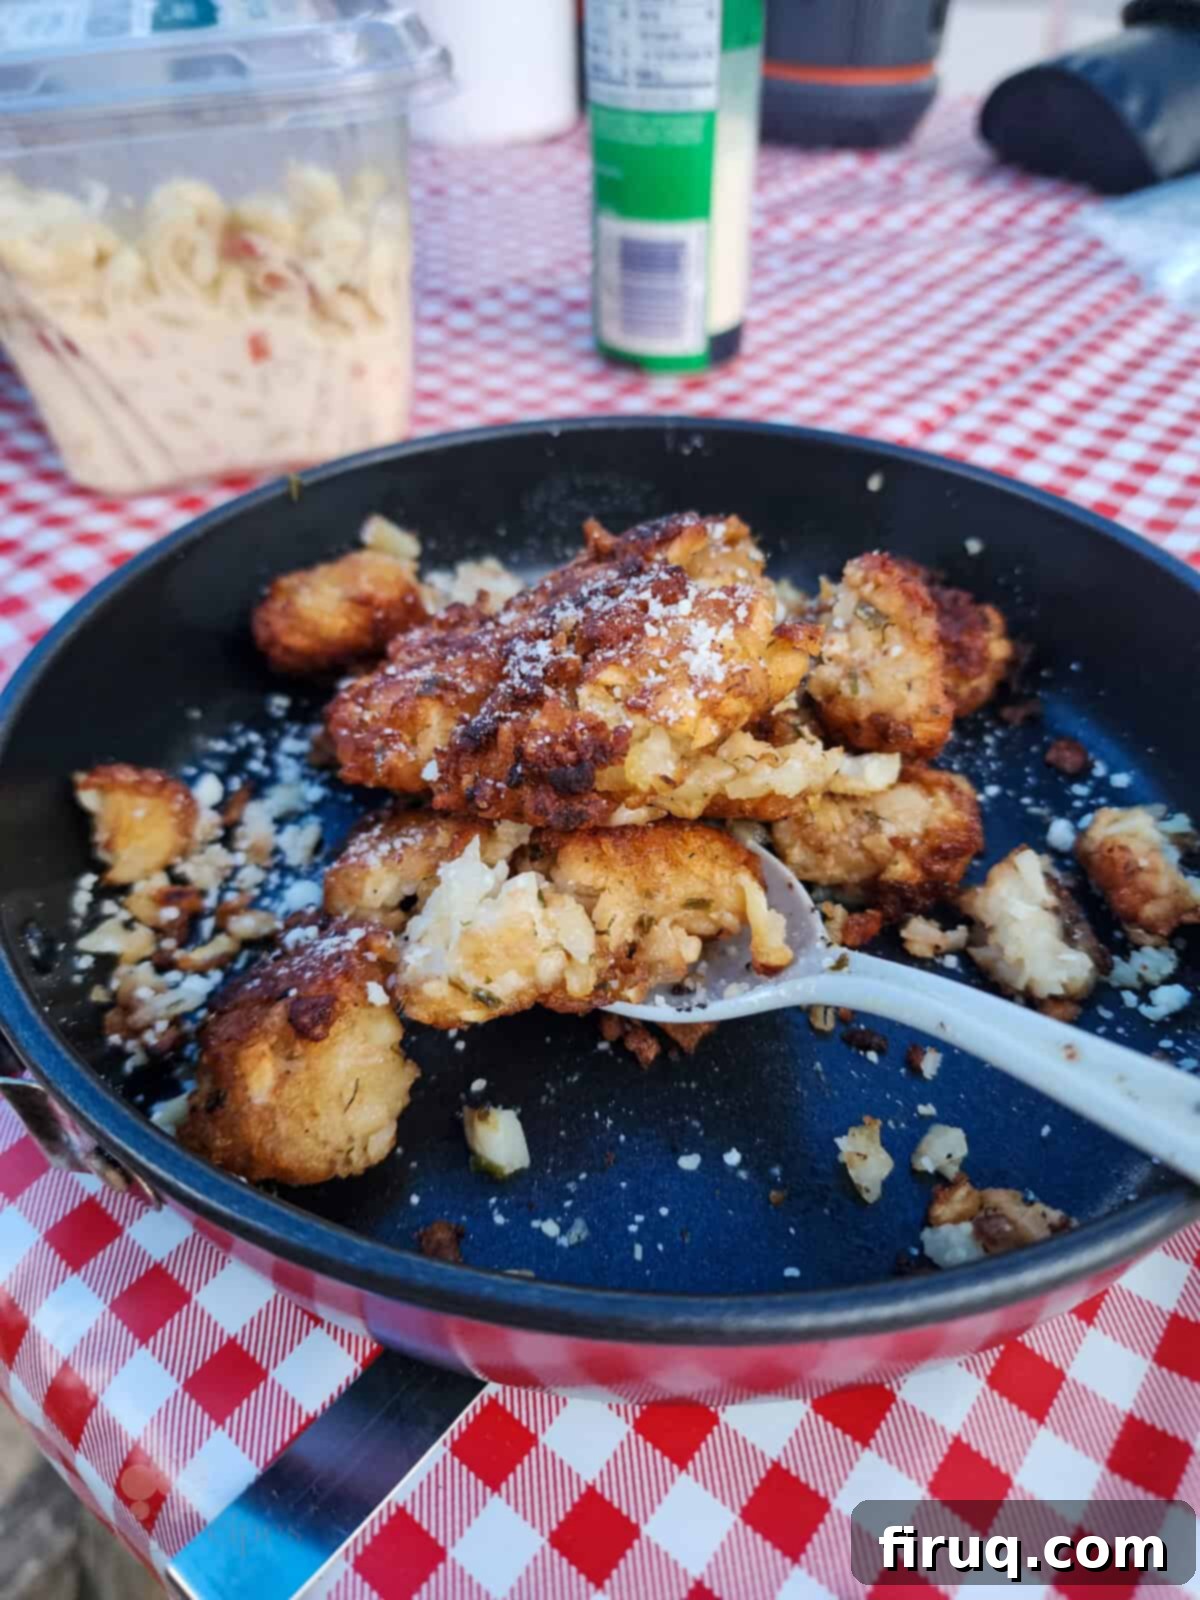
Essential Tips for Successful Pie Iron Cooking
Pie iron cooking is a truly enjoyable part of the camping experience, but it does require a bit of patience since you’re typically cooking in batches due to the iron’s size. Embrace it as an activity and follow these tips for the best results:
- Plan Your Timing Wisely: Start cooking your pie iron creations early in the evening. This way, you won’t find yourself wrestling with food and a fading fire after dark, making the process much more relaxed and enjoyable.
- Master Heat Placement: As mentioned, avoid placing the pie iron directly into the fire. Instead, rest it on a grill grate over the coals or position it on the ground right next to the hot, developed coals. This indirect heat ensures your food cooks through evenly and prevents scorching.
- Utilize Multiple Irons: If you’re cooking for a crowd, don’t hesitate to use more than one pie iron simultaneously. It’s surprisingly easy to manage two or even three irons at once, significantly speeding up the batch cooking process. This is especially true if you are cooking for a larger group or multiple families.
- Lubricate Generously: The golden rule of pie iron cooking is plenty of cooking spray, oil, and/or butter. This not only prevents food from sticking but also adds to the rich flavor and crisp texture, creating a beautiful golden crust.
- Ensure Proper Seasoning: A well-seasoned pie iron is crucial for a non-stick surface and even cooking. Most pie irons come pre-seasoned, but if yours doesn’t, or if you want to refresh it, you can season it just like any cast iron skillet. The handles usually screw off, making it easy to season before your trip. Here is a helpful tutorial if you need guidance.
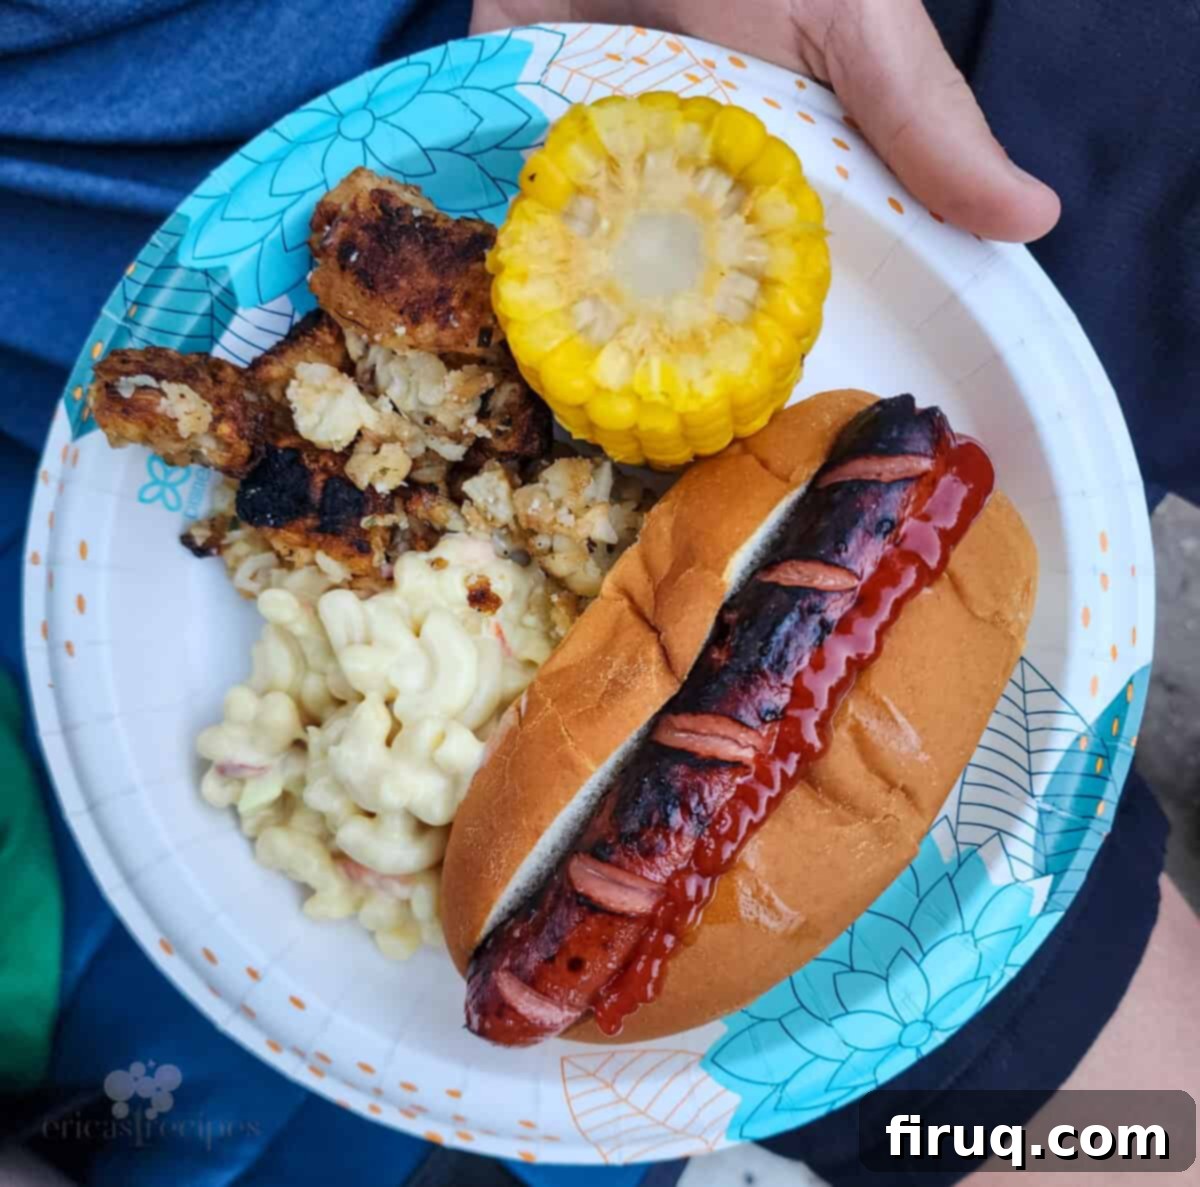
- Keep Other Dishes Simple: Since pie iron cooking is a bit more involved, balance your meal by keeping other components super easy. For instance, I often serve hot dogs (which everyone can cook themselves on sticks over the fire), pre-boiled corn on the cob, and a store-bought macaroni salad (no shame in that!) alongside these delicious tater tots. The goal is to minimize complexity and maximize enjoyment.
- Explore Other Pie Iron Recipes: Once you’ve mastered these tater tots, you’ll likely want to try more pie iron creations. There’s a whole world of possibilities! Here is a nice round-up of pie iron recipes if you are looking for more ideas to expand your camping culinary repertoire.
Simple and Savory Ingredients for Pie Iron Tater Tots
One of the many reasons to love garlic parmesan tater tots is how incredibly straightforward the ingredient list is. You won’t need to pack an entire pantry for these! Simply keep your ingredients chilled on ice in your cooler until you’re ready to cook.
Here’s what you’ll need for these irresistible pie iron tater tots:
- Freezer Tater Tots: I typically bring a 32-ounce bag of frozen tater tots. This quantity offers flexibility, allowing me to adjust how much I cook based on the number of people I’m serving and their appetites. Remember, freezer tots will naturally thaw in your cooler, which isn’t cold enough to keep them frozen. This is completely expected and perfectly fine; in fact, slightly thawed tots are often easier to work with in the pie iron.
- Garlic Butter: A stick of pre-made garlic butter is a game-changer for convenience. Many grocery stores, including mine, offer brands like Kerrygold garlic butter in individual sticks, which are ideal for camping. If pre-made garlic butter isn’t available, don’t fret! Simply use a stick of unsalted butter and about 1/2 teaspoon of garlic powder seasoning (or finely minced fresh garlic if you have refrigeration). The key is that rich, buttery garlic flavor.
- Kosher Salt: I always pack a small, airtight container of kosher salt for camping trips. Its larger flakes adhere well to food and provide a clean, essential seasoning that enhances the natural flavors of the potatoes.
- Grated Parmesan Cheese: For camping, I highly recommend using the more shelf-stable, pre-grated “parmesan” cheese that comes in a shaker container. Unlike fresh parmesan, this variety can go a couple of days without refrigeration, making it perfect for outdoor adventures where cooler space and temperature control are limited. Its salty, savory punch perfectly complements the garlic butter and crispy tots.
A note on the tater tots: As mentioned, freezer tots will likely thaw in your cooler, and that’s perfectly alright! Thawed tots are actually easier to coat with butter and season before going into the pie iron, and they cook up just as beautifully, becoming crispy on the outside and wonderfully tender on the inside.
Frequently Asked Questions About Campfire Tater Tots
No pie iron? No problem! You can easily make a cooking pouch using a double layer of heavy-duty aluminum foil. Just place your buttered and seasoned tater tots in the middle, fold the foil tightly to create a sealed packet, and cook it over or next to the coals, flipping occasionally. If you’re inspired to get a pie iron after reading this, you can find them at most outdoor supply stores like Walmart or online retailers such as Amazon. In my photos, I am using this convenient Double Pie Iron, which is great for cooking larger quantities.
It’s entirely normal for some tater tots to break apart slightly when they are thawed, as they lose some of their structural integrity compared to when they are solid frozen. Since they will thaw in your cooler, you should expect some crumbling. Don’t worry, this is perfectly fine! These broken pieces will still cook up beautifully, becoming crispy and delicious, adding even more textural variety to your final dish. Just embrace the rustic charm!
Yes, you absolutely can! If you prefer using fresh garlic, finely mince 1-2 cloves and mix it with a stick of melted unsalted butter. Be mindful that fresh garlic can burn more easily over direct heat, so keep a closer eye on your pie iron and ensure you’re cooking over coals rather than flames. The convenience of garlic butter or garlic powder is often preferred for camping to minimize prep and cleanup.
Cleaning a pie iron is similar to cleaning any cast iron cookware. While still warm (but not scalding hot), scrape off any stuck-on food with a spatula or plastic scraper. Avoid harsh soaps, which can strip the seasoning. For stubborn bits, you can use hot water and a stiff brush, then rinse thoroughly. Immediately dry the iron completely to prevent rust, and apply a very thin layer of cooking oil (like vegetable oil or flaxseed oil) before storing it. This re-seasons the iron and keeps it ready for your next adventure.
Campfire Garlic Parmesan Tater Tots (Pie Iron Recipe)
Print
Pin
Rate
Equipment
-
Double Pie Iron
-
Small Skillet
Ingredients
- 1 (32 oz) frozen tater tots
- 1 stick garlic butter see Notes
- 4 Tbsp grated parmesan cheese
- 4 pinches kosher salt
Instructions
-
In a small skillet (or directly in your pie iron if carefully monitored), melt the garlic butter over low heat from the campfire coals.
-
Once melted, gently transfer the thawed tater tots to a bowl and thoroughly coat them with the melted garlic butter. Season well with kosher salt. Ensure each tot is covered for maximum flavor and crispness.
-
Generously spray the inside of your pie iron with cooking spray to prevent sticking. Load the buttered and seasoned tater tots into the pie iron, making sure not to overfill it. Close the iron securely.
-
Place the pie iron on a grill grate directly over the developed campfire coals. If a grill grate isn’t available, position the pie iron next to (but not directly in) the hot coals to allow for even cooking without burning.
-
Cook for 15-20 minutes, flipping the pie iron often (every 2-3 minutes) to ensure even cooking and to prevent sticking. Regularly open the iron to check for doneness; the tots should be crispy and golden-brown on the outside and soft on the inside. Adjust cooking time as needed based on your fire’s heat.
-
Once perfectly cooked, carefully transfer the crispy tots to a plate. Immediately sprinkle generously with grated parmesan cheese, allowing it to melt slightly from the residual heat.
-
Repeat the process to cook additional batches of tater tots until everyone is satisfied. Serve hot and enjoy the best campfire side dish!
