The Ultimate Thin Crust Whole Wheat Pizza Dough Recipe for Homemade Perfection
There’s nothing quite like the aroma of freshly baked pizza wafting through your home, especially when you’ve crafted the crust from scratch. This recipe for whole wheat pizza dough delivers a beautifully thin, crispy, yet perfectly chewy crust that boasts a delightful nutty flavor. Whether you’re a seasoned baker or new to the world of homemade dough, our step-by-step guide, complete with helpful photos and instructions for both stand-mixer and hand preparation, will make your pizza night a resounding success.
My passion for homemade pizza runs deep, and making the dough myself is always the most rewarding part. While some might opt for whole wheat for its perceived health benefits, for me, it’s all about the unparalleled flavor. This particular recipe combines the earthy, nutty notes of whole wheat flour with a touch of honey and rich olive oil, creating a flavor profile that elevates any pizza topping you choose.
Over the years, I’ve experimented with countless pizza dough recipes, but this one consistently stands out. It’s not just the superior taste; I find this recipe remarkably easier to handle and more dependable than others, which is exactly what you need for a stress-free Friday-night pizza tradition. It yields enough dough for two generously sized thin-crust pizzas, making it perfect for family dinners or entertaining friends.
Essential Ingredients for Your Whole Wheat Pizza Dough
Crafting this exceptional whole wheat pizza dough requires a simple yet carefully selected list of ingredients, each playing a crucial role in achieving that perfect taste and texture:
- Sugar, Warm Water, and Yeast: These three kickstart the magic. The sugar acts as food for the yeast, which then ferments in warm water, producing the carbon dioxide gas that makes the dough rise and become airy. Proper proofing of the yeast is vital to ensure an active batch and a successful rise.
- Olive Oil, Honey, and Salt: Beyond mere seasoning, these ingredients are flavor powerhouses. Olive oil contributes to the dough’s tender texture, prevents sticking, and adds a subtle richness. Honey not only provides a hint of sweetness that beautifully complements the whole wheat but also aids in browning the crust and feeding the yeast. Salt is indispensable for enhancing all the other flavors and regulating yeast activity.
- Whole Wheat Flour and All-Purpose Flour: This combination is the secret to our perfect thin crust. Whole wheat flour brings its signature nutty flavor and a higher nutritional value. However, 100% whole wheat dough can sometimes be dense and less pliable. By incorporating a portion of all-purpose flour, we achieve the ideal balance. The all-purpose flour provides the necessary gluten structure for a truly stretchy, manageable dough that can be easily rolled out into a thin, crisp pizza base, ensuring it doesn’t become overly tough or crumbly.
The small amount of all-purpose flour is truly there for structural integrity – it’s the “gluten magic” ingredient that makes the dough stretchy and easy to shape into a beautiful pizza pie. Without it, a pure whole wheat dough would be much harder to work with and might not achieve the desired thinness and chewiness. Ultimately, it’s the thoughtful blend of whole wheat flour, honey, active yeast, a touch of salt, and a drizzle of olive oil that infuses this recipe with its distinctive and delicious flavor profile.
Breaking Down the Pizza Dough Making Process
Like any great bread dough, crafting this whole wheat pizza crust involves a few distinct stages. But don’t be intimidated – from start to finish, this dough can be ready in less than 2.5 hours, making it an achievable project for any home cook. The process is divided into three main parts:
- The initial mixing and first rise.
- Dividing the dough and allowing for a second, shorter rise.
- Finally, shaping, topping, and baking your delicious pizza pies.
Understanding these stages will help you appreciate the transformation of simple ingredients into a versatile, flavorful pizza crust.
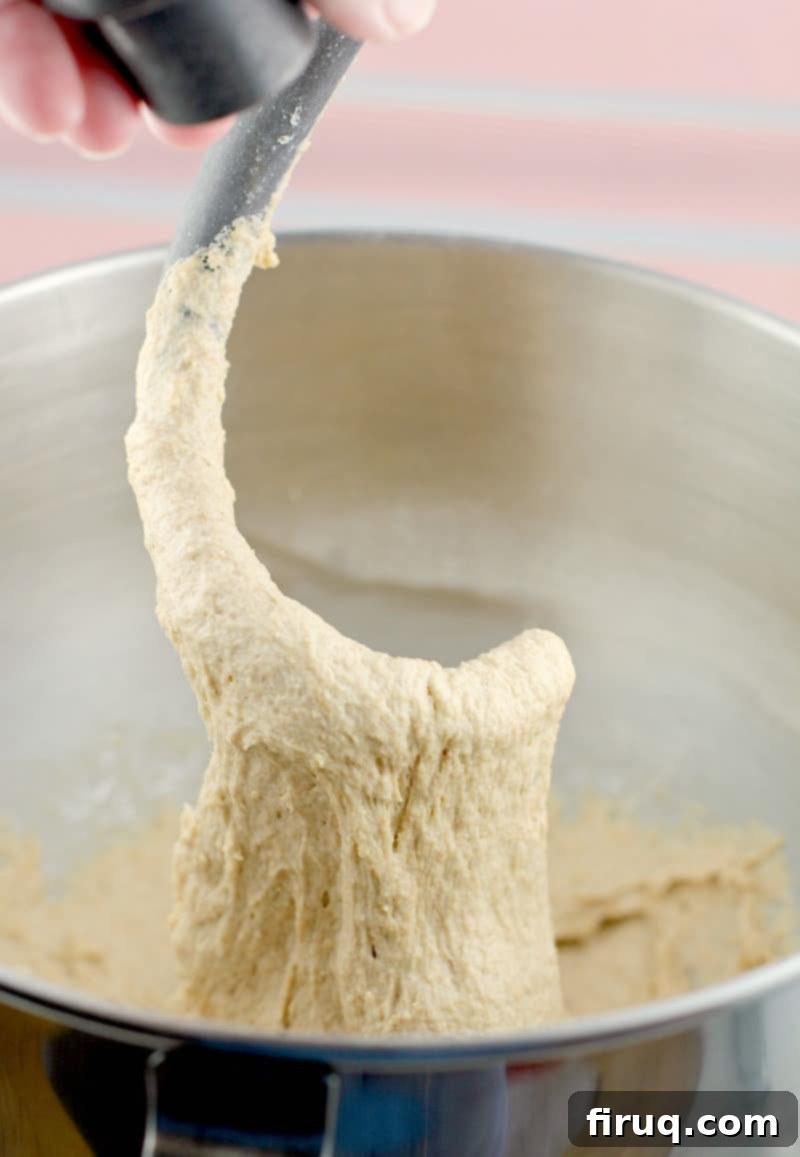
Stage 1: Assembling the Dough and the First Rise
This foundational stage is where the magic truly begins. Whether you’re using a trusty stand mixer or your own hands, the core principles remain the same:
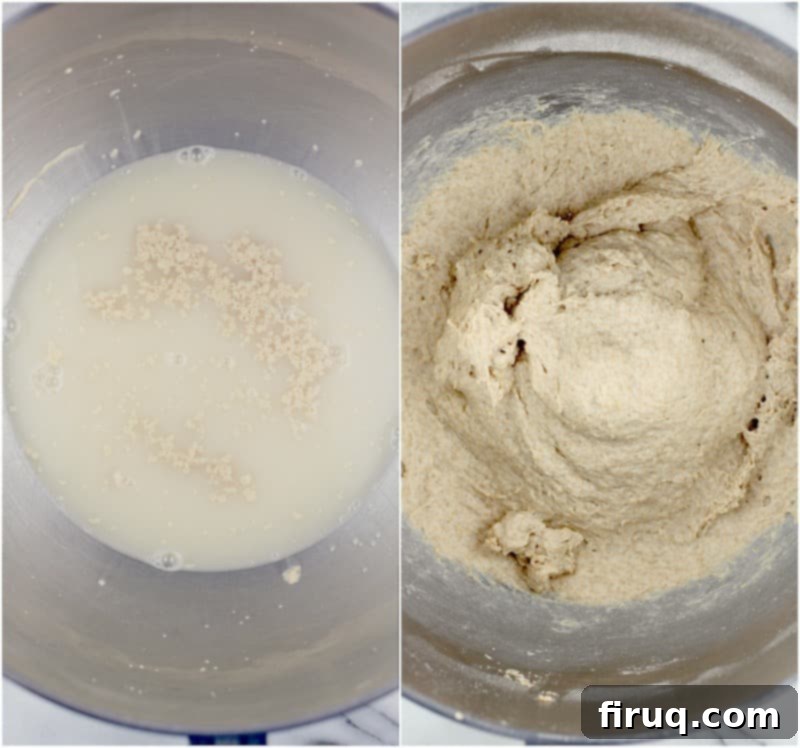
- Proofing the Yeast: Our first task is to “wake up” the yeast. This is done by dissolving a pinch of sugar in warm water (ideally between 90-110°F or 32-43°C – too hot will kill the yeast, too cold won’t activate it). Sprinkle the yeast over this sugary water and let it sit for about 5-10 minutes. You’ll know your yeast is active and ready when it becomes foamy and bubbly. This step is non-negotiable for a well-risen dough.
- Adding Ingredients and Kneading: Once your yeast is proofed, incorporate the olive oil, honey, salt, whole wheat flour, and all-purpose flour. Kneading is the most critical step for this recipe, especially given the whole wheat component. It develops the gluten, which is essential for the dough’s elasticity and stretch. If using a stand mixer with a dough hook, knead on a low setting for about 10 minutes until the dough is smooth, elastic, and pulls away from the sides of the bowl. If kneading by hand, be prepared for a good arm workout – about 10-15 minutes of vigorous kneading on a lightly floured surface until the dough is smooth, resilient, and passes the “windowpane test” (where a small piece can be stretched thin enough to see light through without tearing). I’ve had this recipe fail only once, and it was due to insufficient kneading. Without proper gluten development, you won’t get that wonderful pizza pie stretch.
- The First Rise: After kneading, form the dough into a ball and place it in a lightly oiled bowl. Cover the bowl loosely with a damp towel or plastic wrap to prevent drying. Find a warm, draft-free spot in your kitchen (around 70-75°F or 21-24°C is ideal) and let the dough rise until it has doubled in size. This usually takes about 1 hour, but can vary depending on your kitchen’s temperature and the yeast activity. During this rise, the yeast ferments, producing alcohol and carbon dioxide, which gives the dough its flavor and light, airy structure.
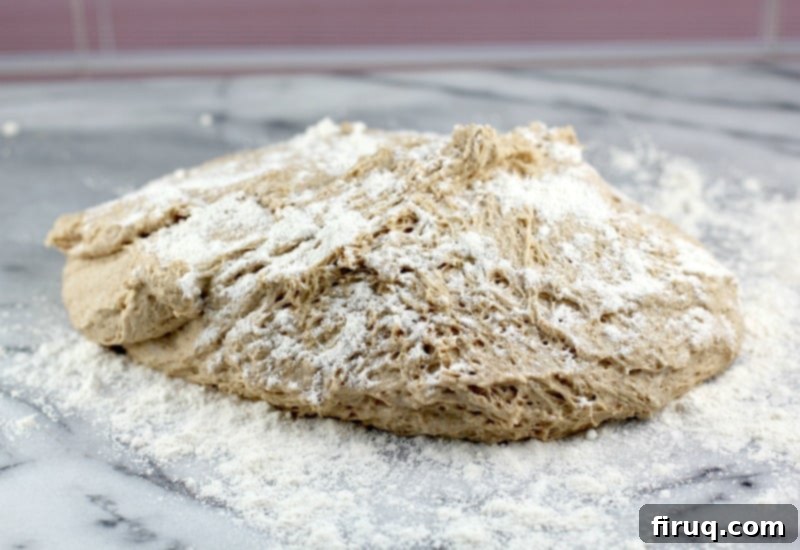
Stage 2: Dividing the Dough and the Second Rise
A second rise, often called proofing, is a common practice in many bread and dough recipes, and for good reason. It allows for further flavor development, results in a finer crumb structure, and significantly improves the overall texture of the dough, making for an even more delicious crust.
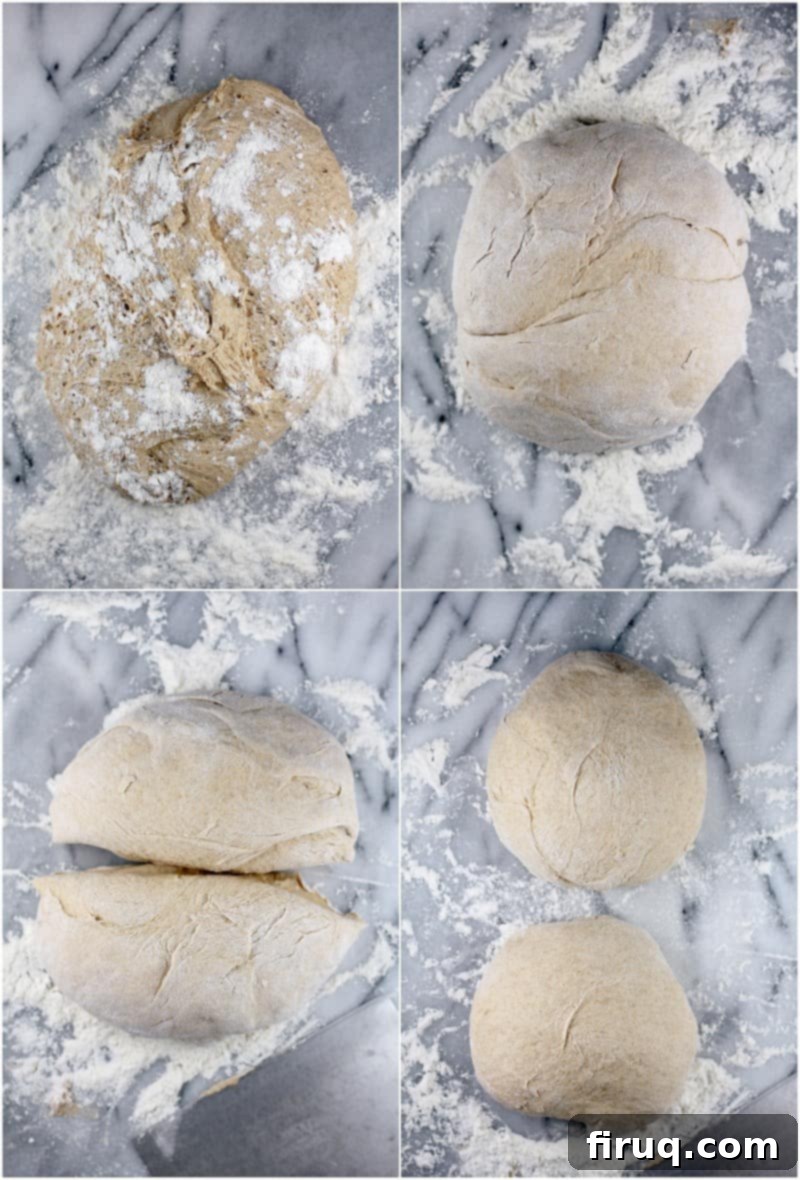
- Degassing and Dividing: Once your dough has beautifully doubled in size after the first rise, gently turn it out onto a lightly floured surface. Give it a quick, gentle knead for just 2-3 turns to release some of the gas and smooth it out. Then, using a dough spatula or a sharp knife, divide the dough neatly into two equal halves. This recipe yields enough for two large pizzas, so each half will be one pizza.
- Shaping Dough Balls: Take each half and lightly form it into a smooth ball. The key here is to be gentle; avoid overworking the dough, as you don’t want to activate too much gluten again. Just a few turns to create tension on the surface and you’re good.
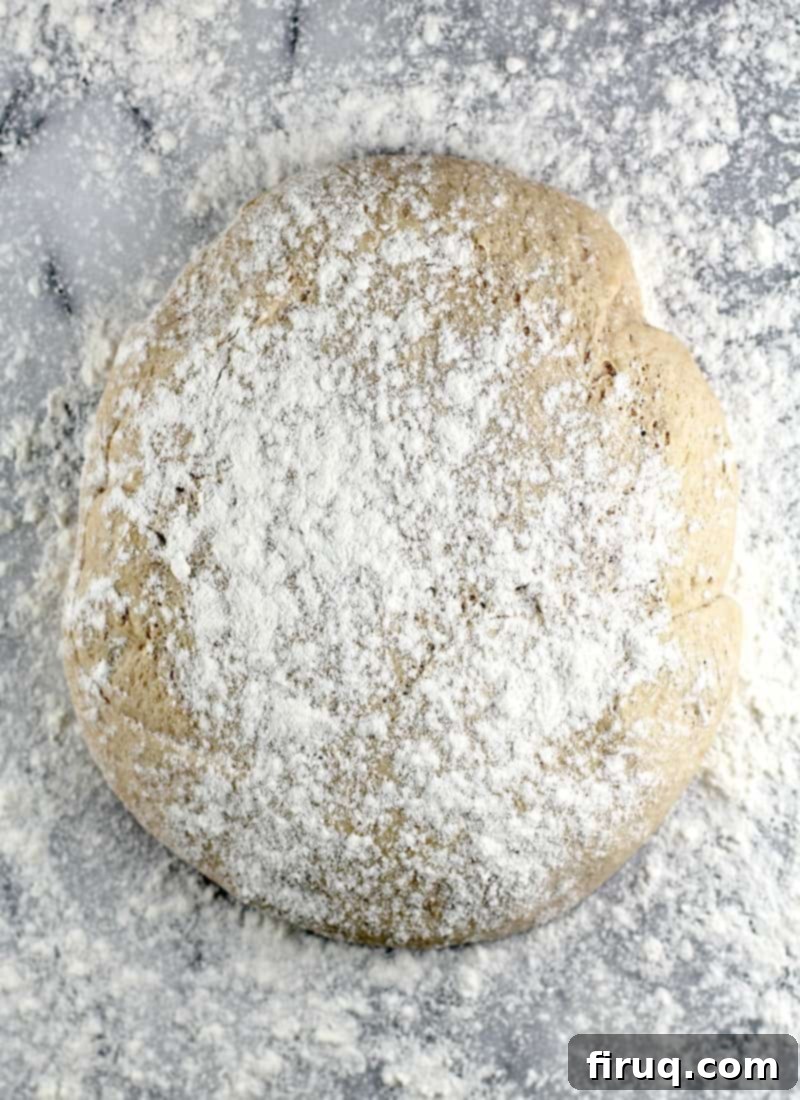
- The Second Rise: Place each dough ball into separate bowls that have been lightly sprayed with cooking spray. Cover each bowl with a damp paper towel or plastic wrap. Allow them to rise again in a warm spot for approximately 45 minutes, or until they have nearly doubled in size once more. This secondary rise ensures a light, airy texture and enhances the dough’s depth of flavor.
Stage 3: Assembling and Cooking Your Perfect Pizzas
With your dough perfectly risen and ready, it’s time for the most exciting part: creating and baking your pizzas! While the recipe card below provides specific guidance, remember that pizza-making is an art, and you can adjust the thickness, toppings, and bake time to suit your preferences.
One crucial step I advocate for, regardless of your chosen toppings or desired crust thickness, is to **always preheat your pizza stone or heavy baking sheet in the oven**. Place it in the oven as you begin preheating to 425-450°F (220-230°C), and then allow it to heat even longer once the oven reaches temperature. This is key to achieving that coveted crispy crust that can be challenging to replicate in a conventional home oven.
The science behind this is simple yet effective: a preheated pizza stone or baking steel acts as a thermal mass, providing an intense burst of heat to the bottom of the dough as soon as it makes contact. This rapid heat transfer ensures the crust cooks quickly and thoroughly from the bottom up, preventing a soggy middle and giving you a beautifully crisp, golden-brown base. It dramatically increases your chances for success and guarantees a truly delicious, restaurant-quality homemade pizza dinner.
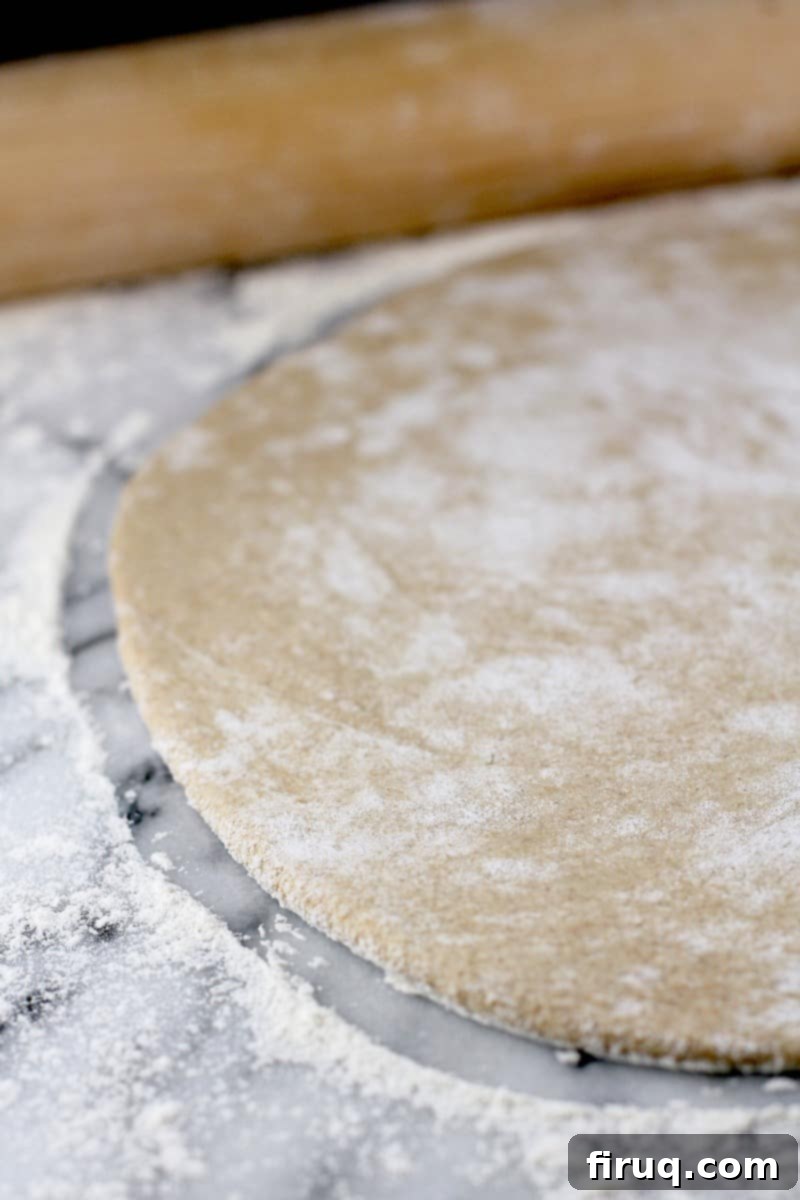
Pro Tips for Pizza Perfection and Troubleshooting
Achieving a consistently excellent homemade pizza often comes down to a few key techniques and tools. Here are some invaluable tips to ensure your whole wheat pizza dough turns into a masterpiece every time:
- Flavor and Crispness Boosters: The addition of olive oil and honey in the dough not only enriches its flavor profile but also contributes to a wonderfully crisp crust. These ingredients, combined with the intense heat from a thoroughly preheated pizza stone, work synergistically to create that desirable golden, crunchy texture.
- The Importance of Kneading: We cannot overstate the significance of proper kneading. This initial step is fundamental for developing the gluten structure within the dough. Gluten is the protein network that gives the dough its elasticity, allowing it to stretch thinly without tearing and creating that satisfying chewy bite. Invest the time in kneading, either by hand or with a mixer, until the dough is smooth and pliable.
- Essential Equipment for Regular Bakers: If homemade pizza is destined to become a regular fixture in your kitchen, consider investing in two key appliances. A **stand mixer with a dough hook attachment** will save you considerable time and effort, ensuring consistent and thorough kneading. A high-quality **pizza stone or steel** is equally vital for achieving a professional-grade crispy crust by providing a superheated surface. Both tools are game-changers for elevating your pizza game.
- Preventing a Soggy Bottom: The dreaded soggy middle is a common homemade pizza mishap. To combat this, always preheat your pizza stone or baking sheet in the oven to its highest temperature for at least 30-60 minutes before baking. This intense initial heat ensures the bottom of the crust cooks rapidly and crisps up beautifully, preventing it from becoming undercooked or limp under the weight of your toppings.
- Handling Wet Toppings: If you plan to load your pizza with a lot of moisture-rich vegetables (like mushrooms, spinach, or peppers) or extra cheese, which can release water during baking, consider pre-baking your crust for about 5 minutes before adding toppings. This helps to dry out the dough slightly, creating a barrier against moisture and ensuring your crust remains firm and crisp throughout the bake.
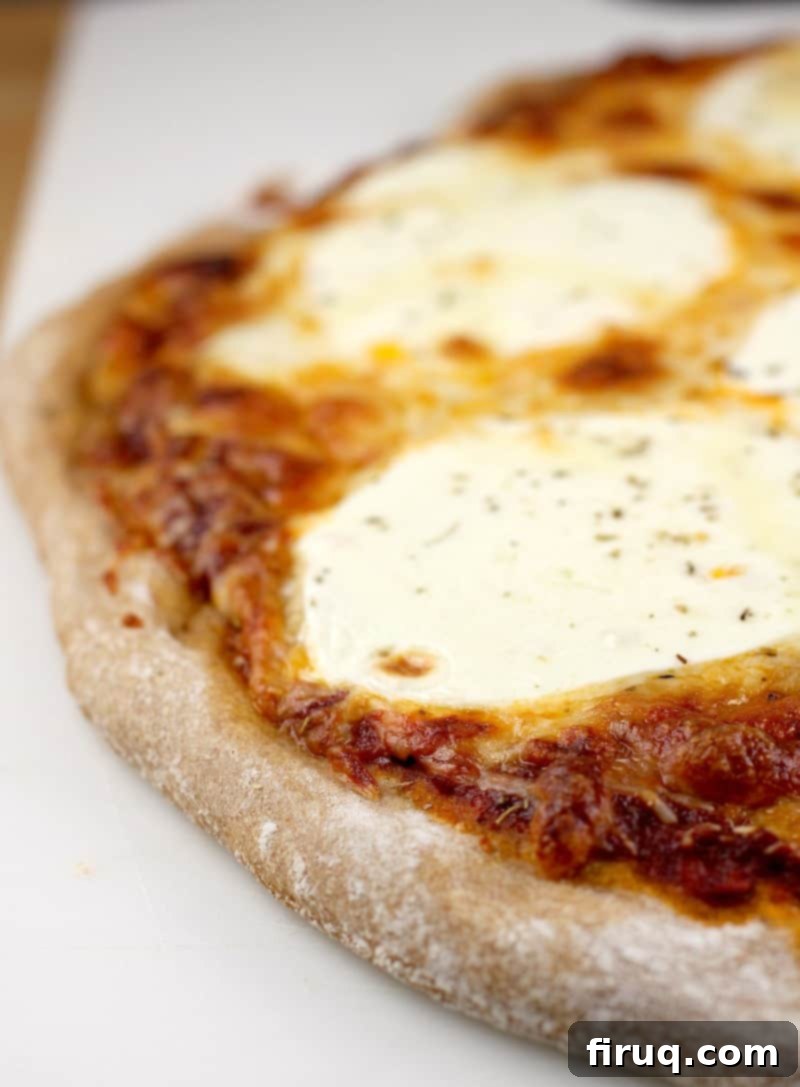
Inspiring Pizza Ideas to Use Your Freshly Made Dough
Now that you’ve mastered the art of making the perfect whole wheat thin crust pizza dough, it’s time to let your culinary imagination run wild with toppings! This versatile crust is an ideal foundation for a wide array of flavors. Here are some fantastic pizza ideas, including links to related recipes, to get you started:
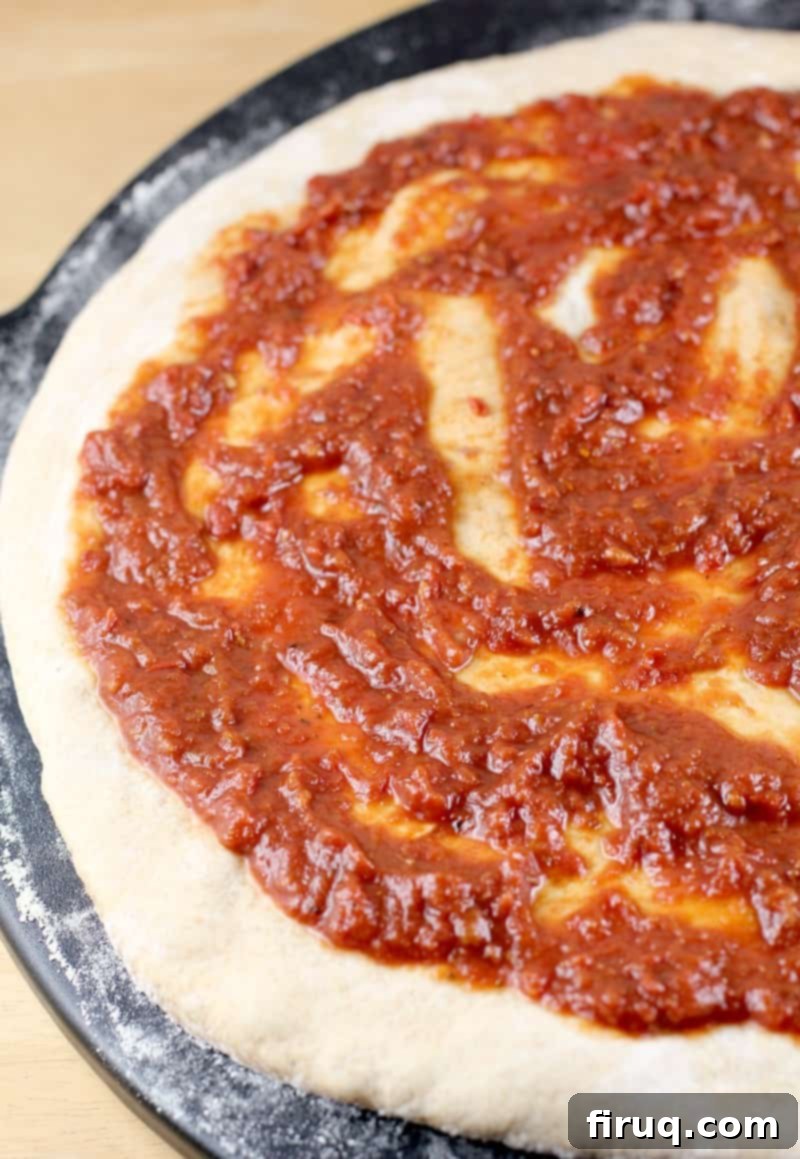
- Homemade Pizza Sauce: A great pizza starts with a great sauce. This simple recipe ensures a fresh, vibrant base that perfectly complements your whole wheat crust.
- Buffalo Turkey (or Chicken) Pizza: For those who love a kick, this pizza combines spicy buffalo flavor with tender turkey (or chicken), creating a bold and satisfying meal.
- Random Veggie Pizza: A delightful way to use up whatever fresh vegetables you have on hand. Get creative with your garden’s bounty for a colorful and nutritious pizza.
- Slow Cooker Barbecue Pulled Pork Pizza: Indulge in the smoky, sweet, and tangy flavors of pulled pork, made easy with your slow cooker, all piled onto your delicious crust.
- Classic Cheese Pizza (pictured above): Sometimes, simplicity is key. For an extra yummy take on this timeless favorite, use our Homemade Pizza Sauce as a base, then layer a blend of thick-shred mozzarella, Italian blend shredded cheese, and fresh mozzarella for a gooey, flavorful experience.
- Pepperoni Pineapple Pizza (my son’s favorite): A controversial but surprisingly delicious combination! Layer Homemade Pizza Sauce, sweet pineapple tidbits, creamy mozzarella, Italian blend shredded cheese, and savory pepperoni for a delightful sweet-and-salty treat.
Feel free to experiment with your own favorite toppings and combinations. The beauty of homemade pizza lies in its endless possibilities!
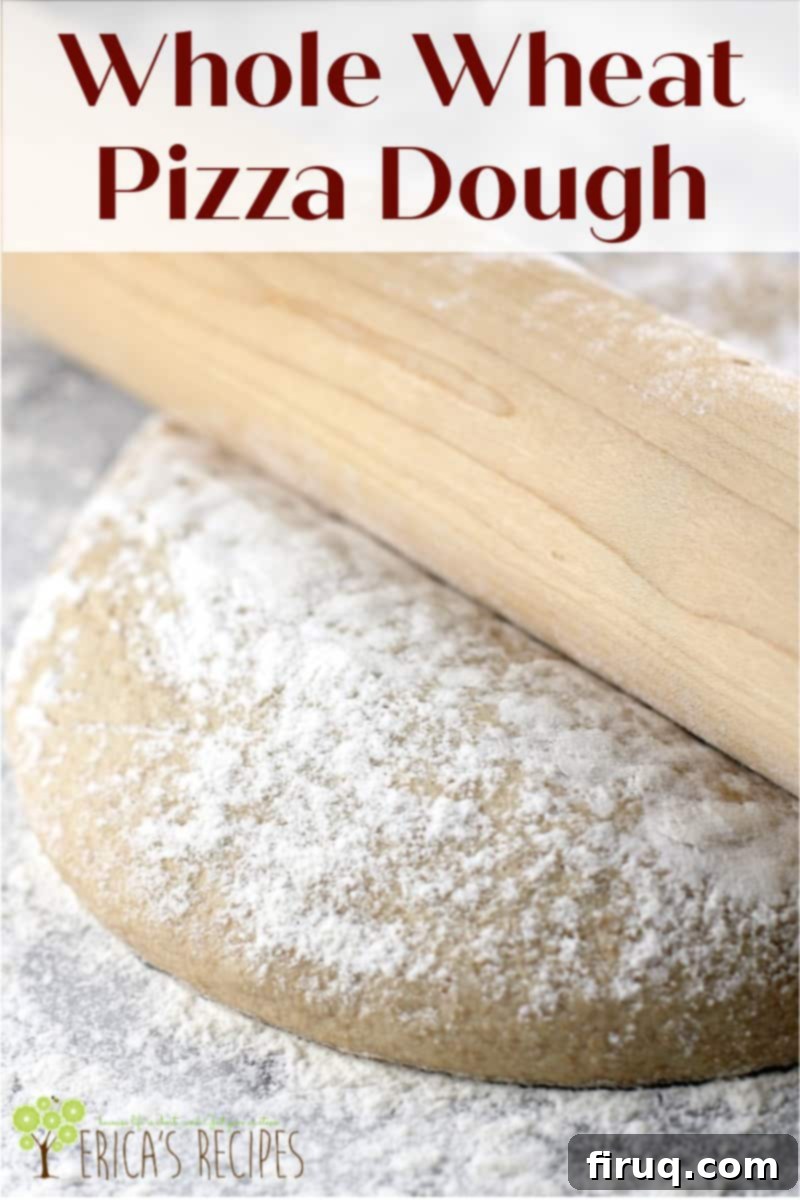
Whole Wheat Pizza Dough
Print
Pin
Rate
Equipment
-
stand-mixer
-
pizza stone
Ingredients
- 1 tsp sugar
- 1-1/2 cup warm water 90-110°F
- 1 Tbsp active dry yeast OR rapid rise/instant yeast
- 1 Tbsp extra virgin olive oil
- 1 Tbsp honey
- 1 tsp kosher salt
- 2 cup whole wheat flour
- 1-1/2 cup all-purpose flour
- cooking spray
Instructions
First rise (if using a stand-mixer)
-
In the bowl of the mixer, dissolve sugar in the warm water. Sprinkle yeast over the top, and let stand for 5 minutes to proof.
-
Add the olive oil, honey, salt, and both flours. Using the dough hook attachment on a low setting (such as speed setting 2 on a KitchenAid), stir/knead the dough 10 minutes. Remove the dough hook.
-
Cover the bowl loosely with a wet towel, and let stand in a warm place until doubled in size, 1 hour.
First rise (if not using a stand-mixer)
-
In a large bowl, dissolve sugar in the warm water. Sprinkle yeast over the top, and let stand for 5 minutes to proof.
-
Stir the olive oil, honey, and salt, into the yeast mixture, then mix in the flours. Tip dough out onto a floured surface, and knead until all of the flour has been absorbed, and the ball of dough becomes smooth, ~10 minutes.
-
Place dough back in the bowl. Cover loosely with a wet towel, and let stand in a warm place until doubled in size, 1 hour.
Second rise
-
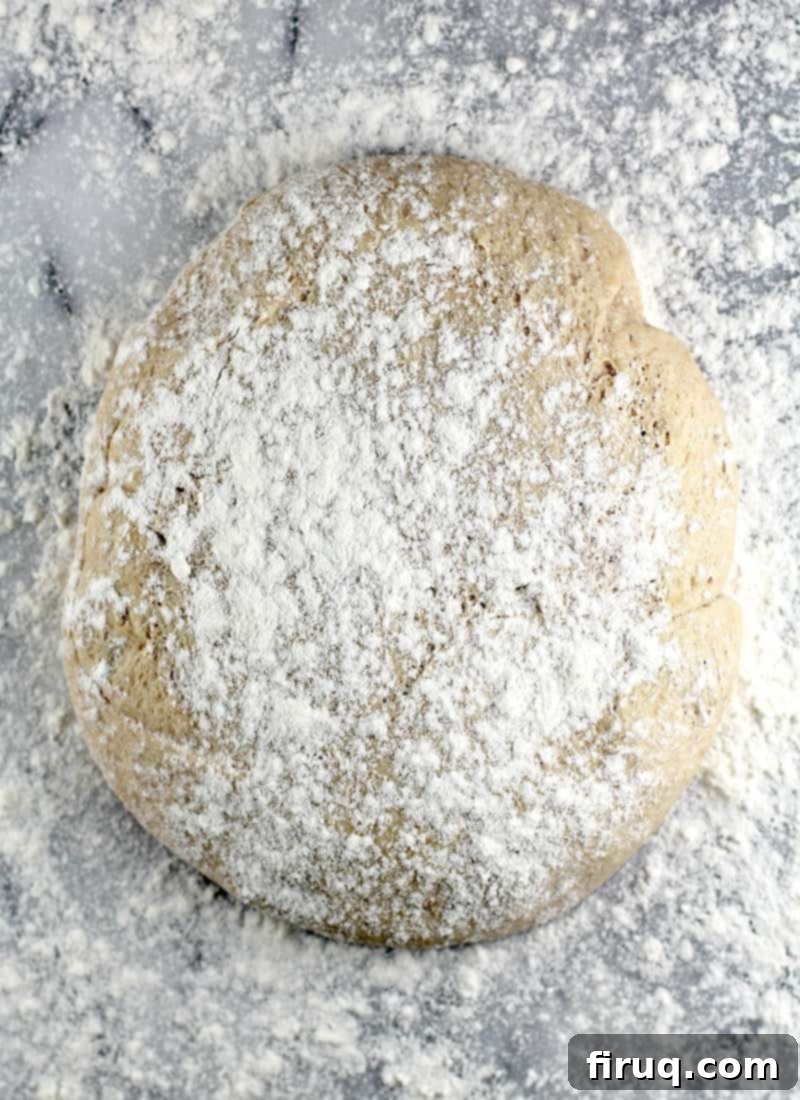
When the dough is doubled, tip out onto a lightly floured surface and give a quick knead (2-3 turns).
-
Divide dough into 2 pieces. Form lightly into two balls. Put into bowls sprayed lightly with cooking spray and cover each with a damp paper towel. Let rise 45 minutes until doubled again.
Making and baking a pizza
-
Preheat oven to 425-450°F with your pizza stone or baking sheet in the oven to heat too.
-
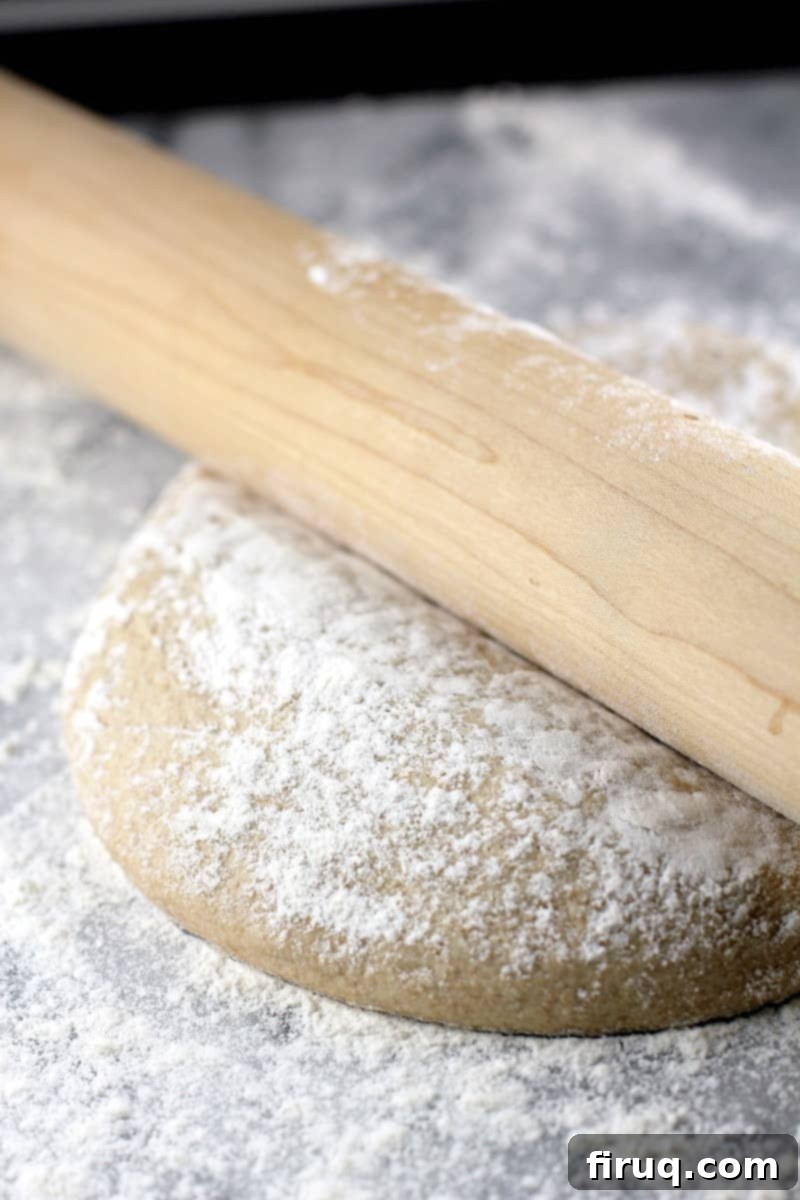
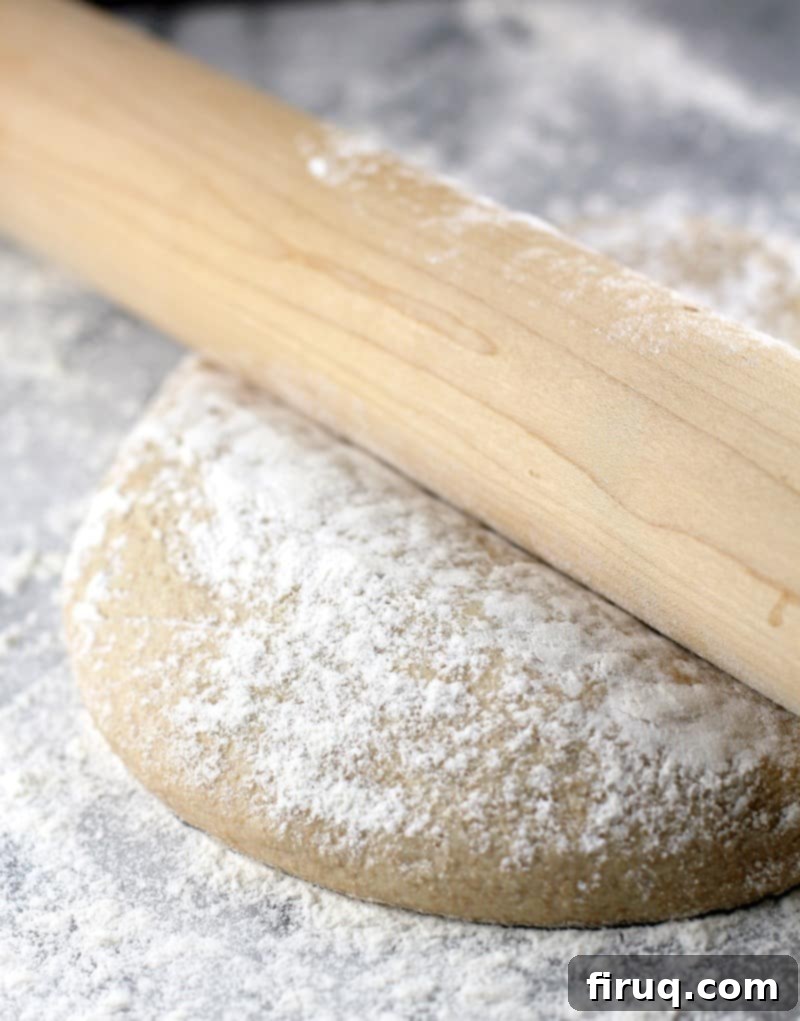
Put one ball of dough on a surface coated lightly with flour. Roll out with a rolling pin. When the circle has reached the desired size, place on the preheated pizza stone or baking sheet (draping it over the rolling pin to transfer helps). Top pizza with your toppings.
-
Bake pizza ~10-12 minutes until the crust is crisp and golden at the edges, and cheese is melted on the top.
Notes
Yields dough enough for 2 pizzas. Calorie estimation is approximate and based on a serving size of 2 slices pizza per person.
Nutrition
~✿♥✿~
