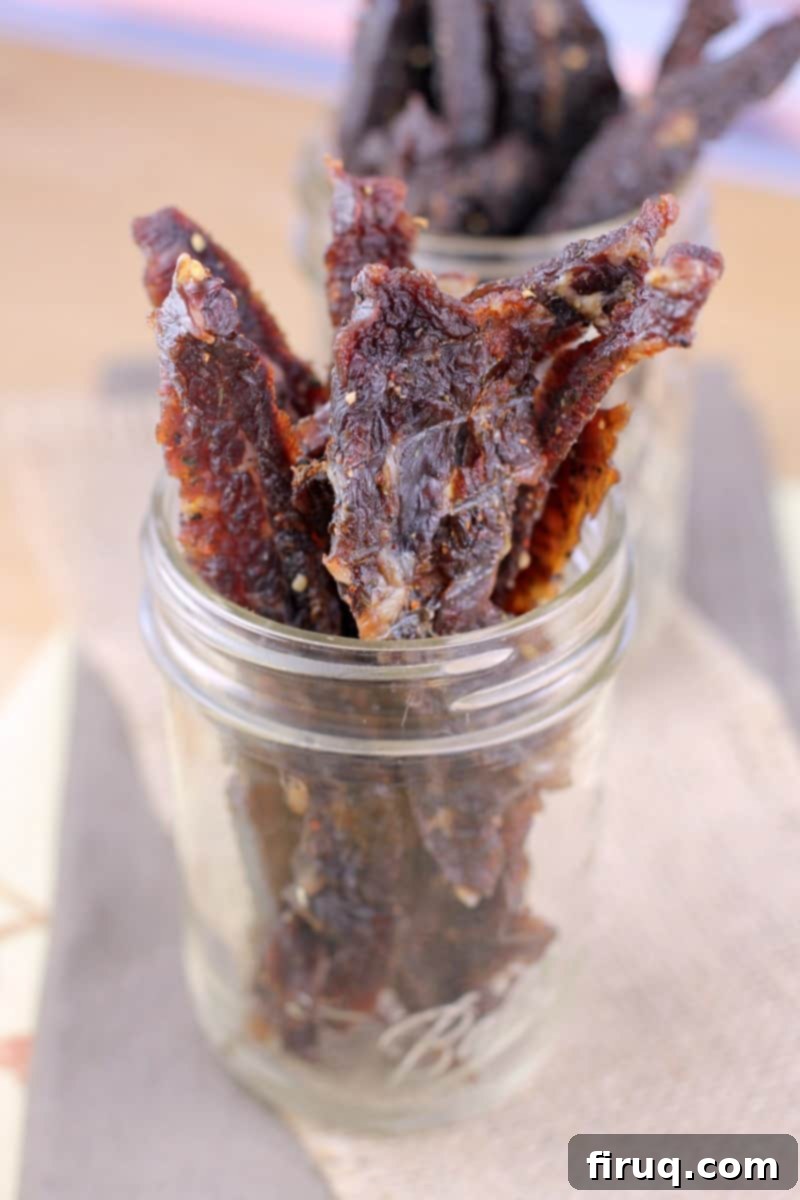
Mastering Homemade Beef Jerky: Tender & Flavorful Recipes for Dehydrator & Oven
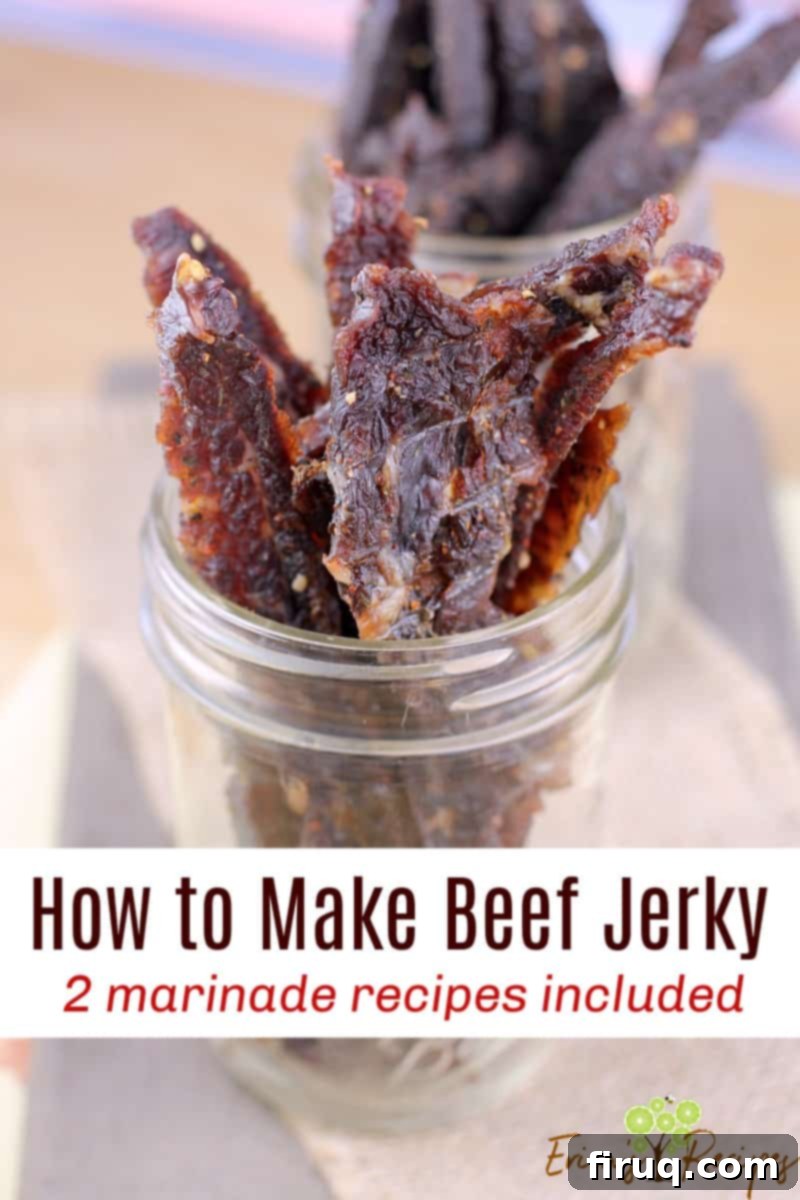
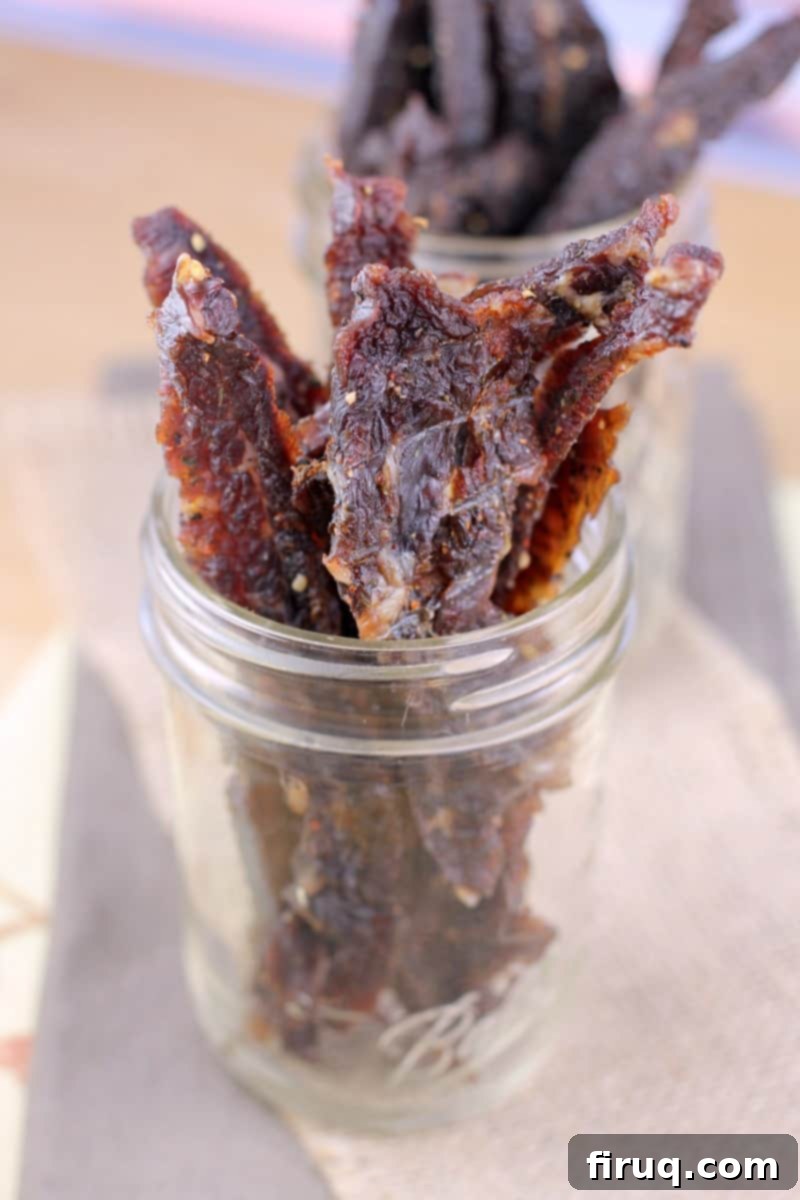
Embark on a culinary adventure to create your own irresistible beef jerky right in your kitchen! This comprehensive guide provides everything you need to craft tender, flavorful jerky, complete with detailed recipes for two popular marinades: a robust Beer BBQ Beef Jerky and a classic Teriyaki Beef Jerky. Whether you prefer using a food dehydrator or a convection oven, we’ve included precise instructions to ensure you can easily make this protein-packed snack at home. Prepare to elevate your snacking game with delicious, homemade jerky that far surpasses anything you’ll find in stores.
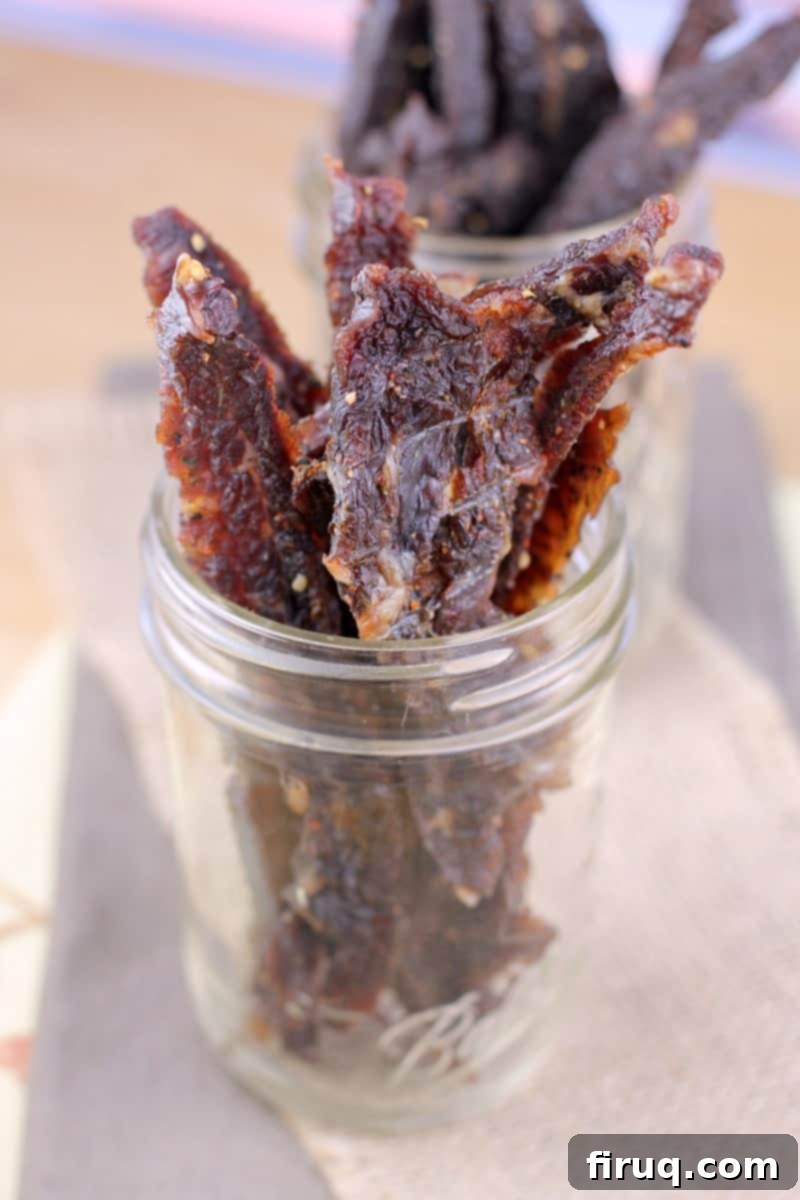
Making homemade beef jerky might seem like a daunting task, but with a few insider tips and tricks, it’s surprisingly straightforward. My own journey to perfect jerky involved a bit of trial and error. Initially, I struggled with jerky that turned out tough and leathery, and while the flavors were good, they lacked that undeniable “oomph.” It took experimenting with different cuts of beef, marinating times, cooking temperatures, and a variety of marinades to truly master the craft.
But the effort was well worth it! I’m now so confident in my homemade beef jerky process that I’m thrilled to share my tried-and-true methods with you. Get ready to enjoy a snack that’s not only incredibly tasty but also deeply satisfying to create from scratch.
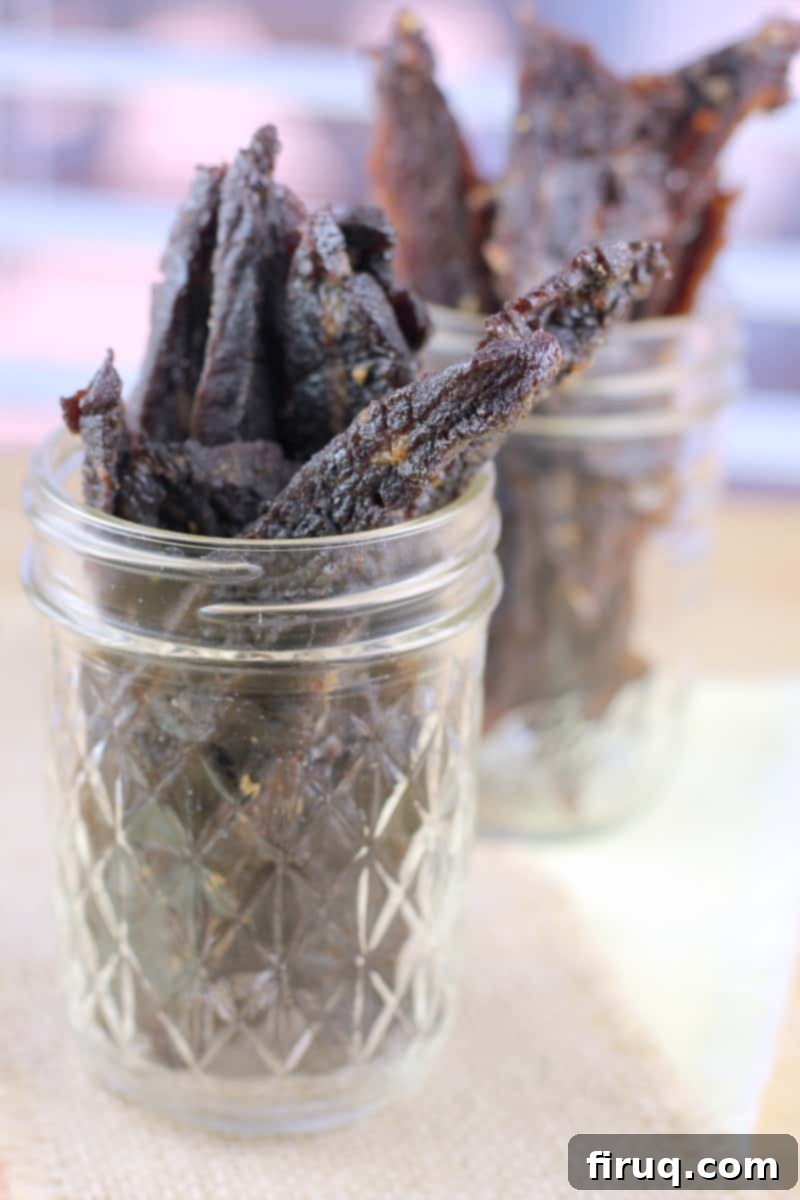
Why You Should Make Your Own Homemade Beef Jerky
There are countless compelling reasons to make your own beef jerky at home, extending far beyond just the delicious taste. Here’s an in-depth look at why homemade is always the best choice:
Unbeatable Value and Cost Savings
One of the most immediate benefits of making your own beef jerky is the significant cost savings. Store-bought beef jerky can be astonishingly expensive, often retailing for $25 to $35 per pound. This steep price explains why those small bags barely last for a couple of snacks. While it’s true that beef jerky is a dried product, meaning you start with a larger quantity of raw meat that reduces in weight during dehydration, the markup on commercial jerky is still prohibitive for many.
By purchasing a quality cut of beef and making it yourself, you can drastically reduce the cost per serving, allowing you to enjoy more of this savory snack without breaking the bank. Think about it: a good flank steak for homemade jerky will cost a fraction of what a comparable amount of store-bought jerky would. This makes homemade jerky a smart economic choice for regular snackers.
Superior Quality and Ingredient Control
Much like other processed meats, many varieties of store-bought beef jerky—especially those commonly found at gas stations—are “chopped and formed.” This means they are made from ground or finely minced meat scraps, which are then pressed into shapes and dried. This process can be quite unappetizing once you realize how it’s done. Homemade jerky, on the other hand, is made from whole slices of high-quality muscle meat, giving you a far more authentic and satisfying texture.
Beyond the form of the meat, commercial jerky often contains a long list of additives, preservatives, and artificial flavors designed to extend shelf-life and enhance taste. Many are also surprisingly high in sugar and sodium. When you make your own beef jerky, you have complete control over every ingredient. This allows you to adjust sugar and salt levels to your preference or dietary needs, avoid unwanted chemicals, and choose only the freshest, highest-quality components. It’s a cleaner, healthier alternative that you can feel good about eating.
Unrivaled Texture and Authentic Flavor
Homemade beef jerky, when prepared correctly, offers a distinct and superior texture compared to its commercial counterparts. Instead of being overly tough, dry, or rubbery, homemade jerky is typically more pliable and satisfyingly chewy, making it easier and more enjoyable to eat. It also boasts a more authentic, rich “beefy” flavor, as opposed to the often overly sweet or artificial taste of some store-bought brands that can sometimes resemble candy more than meat.
The process of slow dehydration combined with carefully selected cuts of meat results in a product that highlights the natural flavors of the beef, enhanced by your chosen marinade. This nuanced flavor profile is a hallmark of truly excellent jerky.
Endless Customization Possibilities
One of the greatest joys of making your own jerky is the freedom to customize the flavors to your heart’s desire. While this guide offers two fantastic marinade recipes—Teriyaki and Beer BBQ—the possibilities are truly endless. You can experiment with different dry rubs, a variety of spices, unique sauces, or even create entirely new flavor profiles. From spicy sriracha jerky to tangy Worcestershire-based marinades, or even exotic herb blends, you are only limited by your imagination. This customization allows you to cater to your personal preferences or create unique gifts for friends and family. It transforms the lean, protein-rich snack into a culinary canvas.
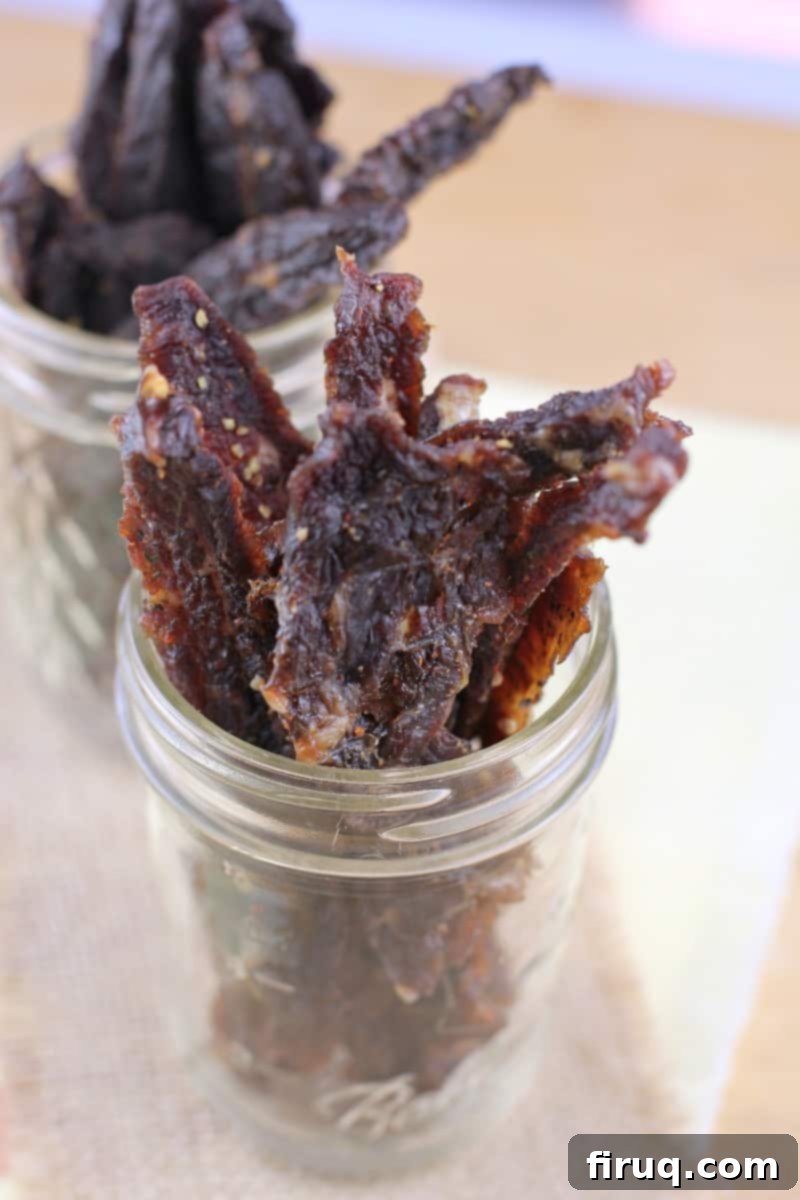
In summary, making your own beef jerky is a rewarding endeavor that offers economic advantages, quality control, superior taste and texture, and limitless creative freedom. It’s a craft that pays dividends in delicious, healthy snacking.
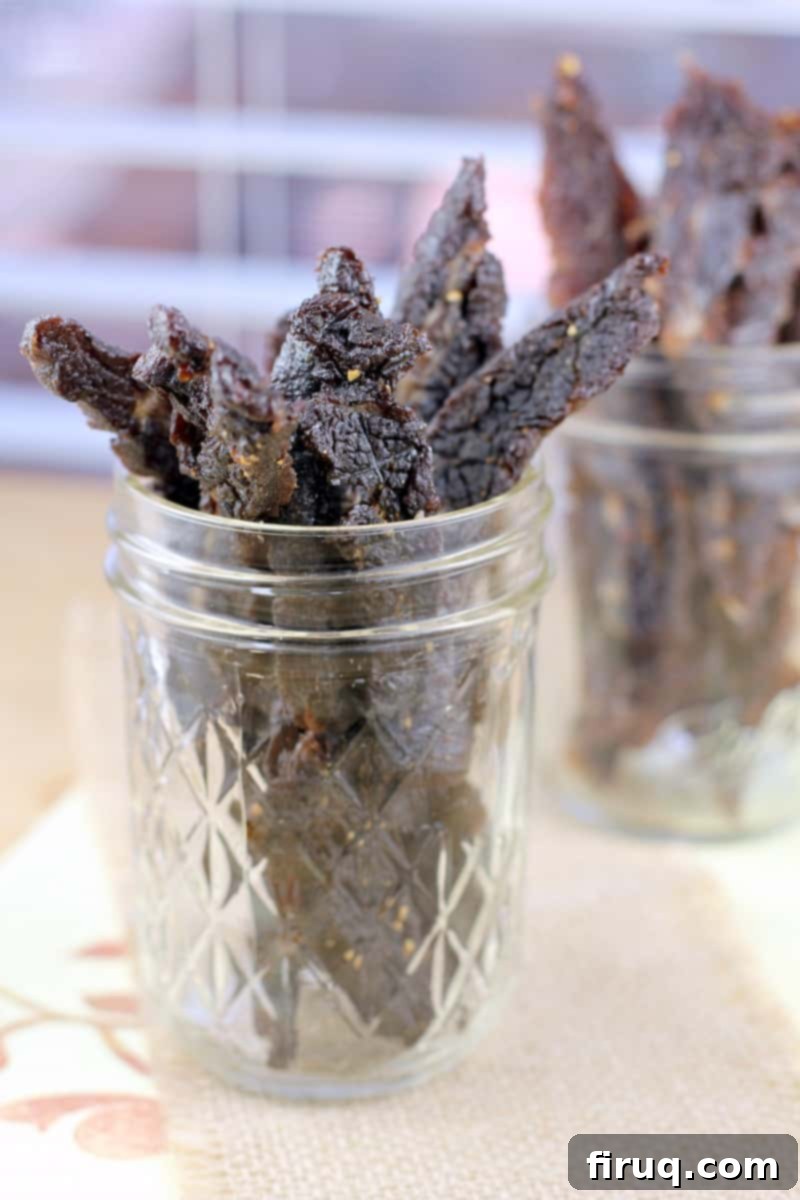
Key Ingredients for Exceptional Homemade Beef Jerky
This comprehensive guide to homemade beef jerky is divided into three essential components: selecting the right cut of beef, and crafting the two flavorful marinades – Beer BBQ and Teriyaki.
The Beef: The Foundation of Great Jerky
Your choice of beef cut is paramount to the success of your jerky. The wrong cut can result in tough, greasy, or bland jerky. Here’s what to look for:
1. Choose a Lean Cut of Meat
This is non-negotiable. Fat does not dehydrate; instead, it renders and can become rancid over time, significantly shortening your jerky’s shelf life and affecting its flavor. Always trim as much visible fat as possible from your chosen cut before slicing.
2. Look for Connective Tissue
While often seen as undesirable in other cooking methods, a moderate amount of connective tissue is beneficial for jerky. During the slow dehydration process, this tissue breaks down, contributing to a more tender and pliable final product, rather than a brittle one.
Flank Steak: The Undisputed Champion for Homemade Jerky
After experimenting with various cuts, I consistently find that flank steak is the superior choice for homemade beef jerky. Its characteristics make it ideal:
- Relatively Lean: Flank steak naturally has less fat than many other cuts, making it easier to trim and perfect for dehydration.
- Good Connective Tissue: It possesses the right amount of connective tissue that transforms beautifully during drying, contributing to a tender chew.
- Easy to Slice: The muscle fibers in flank steak run long and straight, which is crucial for proper slicing.
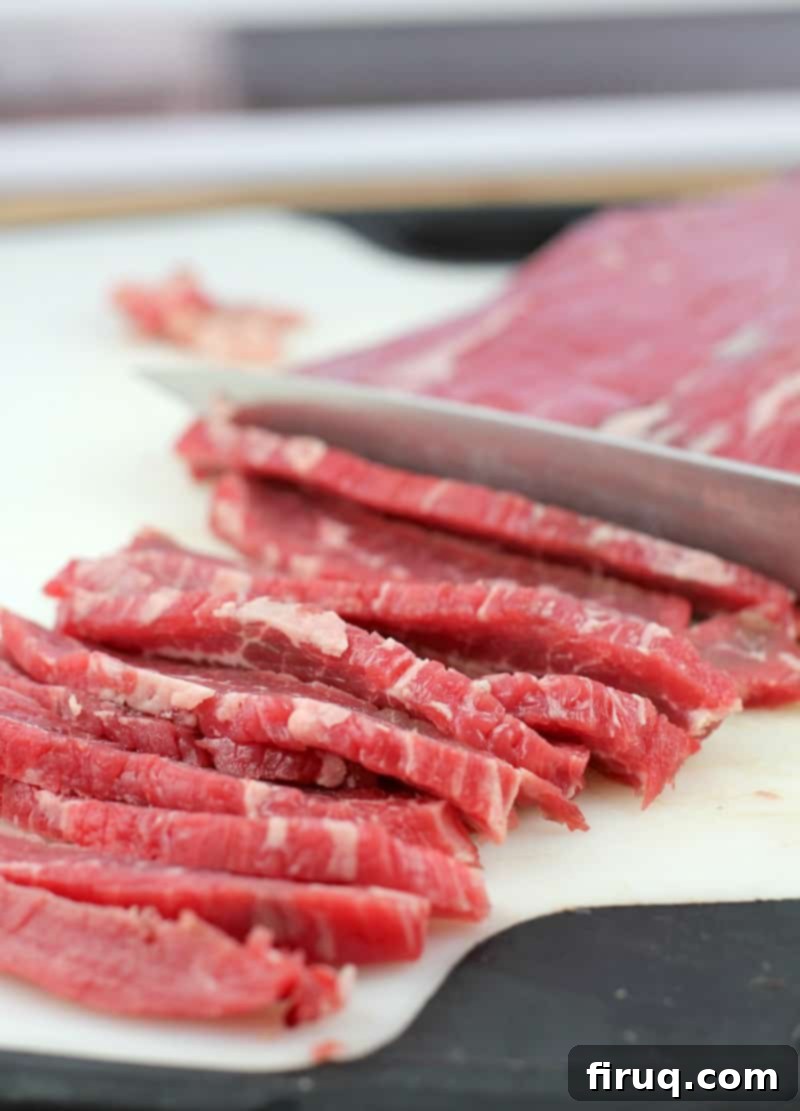
The key to flank steak’s success lies in its muscle fiber orientation. By slicing against the grain, you effectively shorten these long fibers. When combined with the tenderizing action of a good marinade and the breakdown of connective tissue during cooking, you are guaranteed to achieve wonderfully tender beef jerky.
While flank steak is my top recommendation, other lean cuts like top round, eye of round, or even venison can work well. However, you’ll need to pay extra attention to trimming fat and ensuring proper slicing for these alternatives.
The Marinades: Flavor, Tenderness, and Preservation
Marinades are essential for homemade jerky, serving multiple critical functions: they infuse the meat with deep flavor, tenderize the muscle fibers, and contribute to the meat’s preservation. In this guide, we’re focusing on two of my all-time favorites. As a long-time advocate for cooking with beer, it was only natural to offer a beer-infused option alongside a beloved classic.
Marinade for Teriyaki Beef Jerky
This marinade delivers that quintessential sweet and savory umami flavor profile that makes teriyaki so popular.
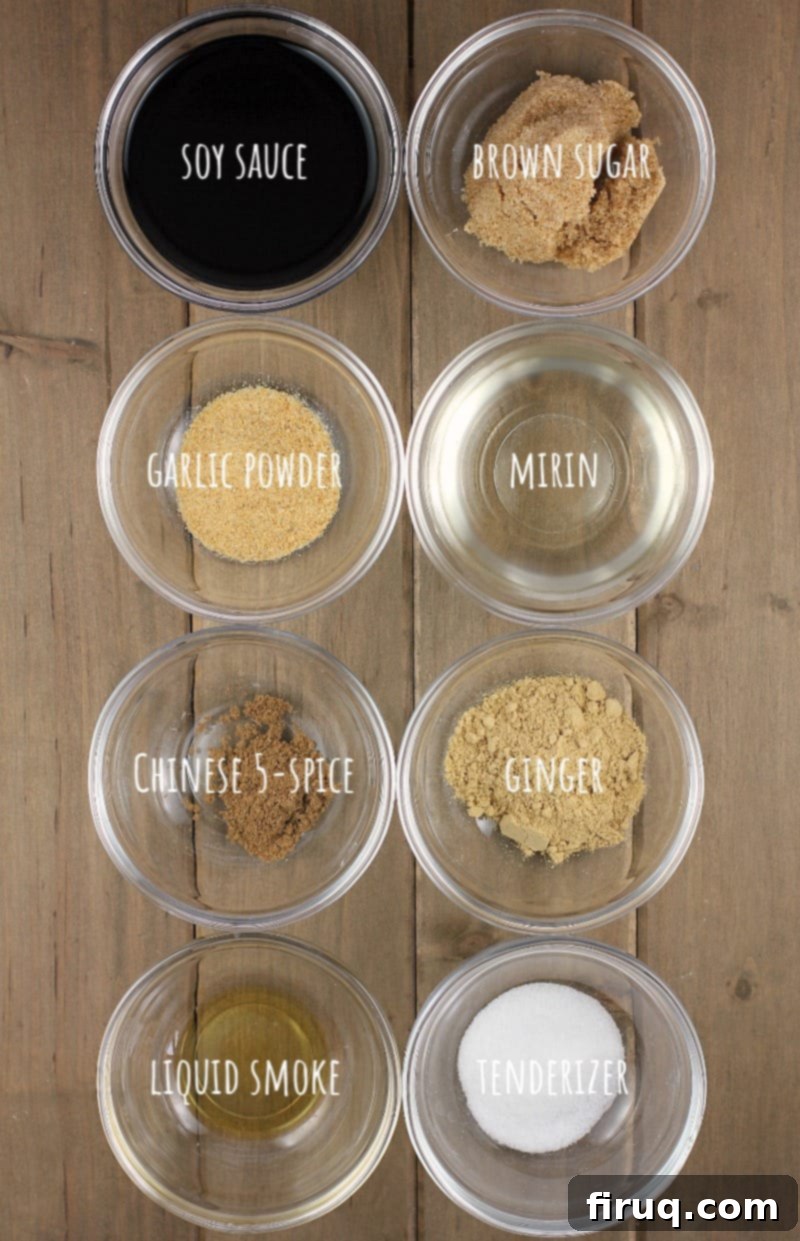
- Soy Sauce: The backbone of this marinade, soy sauce provides rich umami flavor, essential saltiness (even reduced-sodium varieties), and acts as a tenderizing agent due to its sodium content.
- Brown Sugar: With just 2 tablespoons, this recipe uses significantly less sugar than many commercial teriyaki marinades, allowing the natural beef flavor to shine while still providing a touch of sweetness and aiding in caramelization during drying.
- Mirin: This sweet Japanese cooking rice wine, found in the Asian section of most grocery stores, is crucial. It adds subtle sweetness, depth of flavor, and critically, acidity which helps to tenderize the meat. If mirin is unavailable, dry white wine, sake, or even dry sherry can be used as a substitute, though the flavor profile will be slightly different.
- Chinese 5-Spice Seasoning: Just a small amount of this aromatic blend (typically star anise, cloves, Chinese cinnamon, Sichuan pepper, and fennel seeds) delivers an incredible depth of warm, complex flavors that truly elevate the teriyaki experience beyond the ordinary.
- Additional Seasonings: For ease and accessibility, we utilize common pantry staples: garlic powder, dried ginger (for that classic teriyaki zing), and a few pinches of black pepper to provide a foundational flavor base.
- Meat Tenderizer (Optional but Recommended): Adding just 1 teaspoon of an MSG-free meat tenderizer can make a noticeable difference in the final texture, ensuring a truly tender chew. Look for it in the spice aisle.
- Hickory Liquid Smoke: Since we’re not using a smoker, liquid smoke is vital for imparting that desired smoky depth. I specifically recommend hickory as its flavor is robust and balanced, unlike mesquite which I find can sometimes taste a bit harsh or “rancid.” Remember, a little goes a very long way, so measure carefully.
Marinade for Beer BBQ Beef Jerky
This marinade combines the malty notes of beer with the savory, complex flavors of classic barbecue, resulting in a rich and distinctive jerky.
- Beer: A lager is generally preferred for its clean, crisp profile that enhances without overpowering. However, feel free to experiment with different beer varieties – an amber ale can add a malty sweetness, or a dark stout could offer richer, roasted notes. The acidity in beer plays a key role in tenderizing the meat.
- BBQ Seasoning: The core flavor component. Use your favorite blend! Whether you prefer a smoky, sweet, or spicy barbecue seasoning, it will define the character of your jerky. These blends are readily available in the spice section.
- Raw Sugar: I opt for turbinado sugar or “sugar in the raw” because its larger crystals and minimal processing provide an added depth of molasses flavor that brown sugar can’t quite match. If not available, light brown sugar is a perfectly acceptable substitute.
- Seasonings: Unlike the soy sauce-based teriyaki marinade, this one requires a bit of added salt. Kosher salt is ideal for its clean taste. Freshly cracked black pepper and garlic powder round out the savory profile, creating a familiar and comforting BBQ taste.
- Meat Tenderizer: Similar to the teriyaki marinade, a small amount of MSG-free meat tenderizer is included to ensure optimal tenderness.
- Hickory Liquid Smoke: Essential for bringing that authentic barbecue smokehouse flavor to our jerky without needing actual smoking equipment. Again, hickory is recommended for its balanced profile.
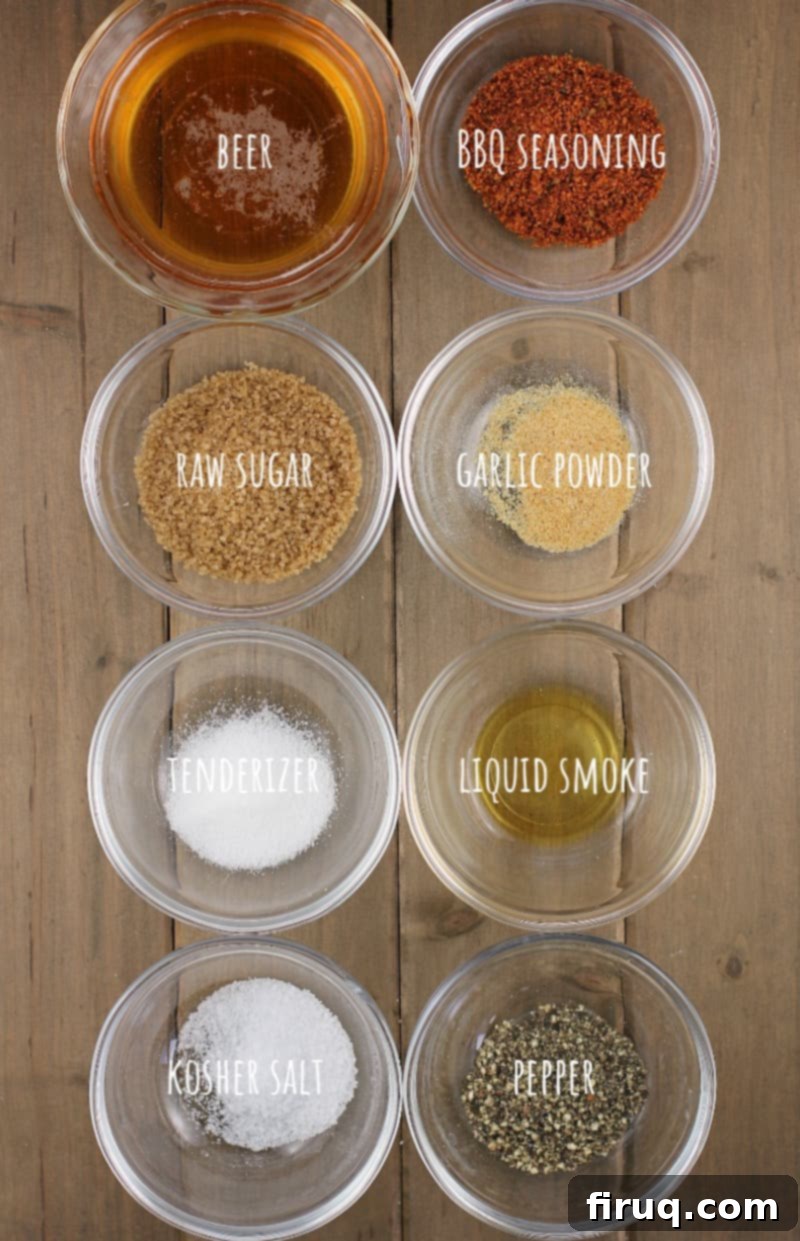
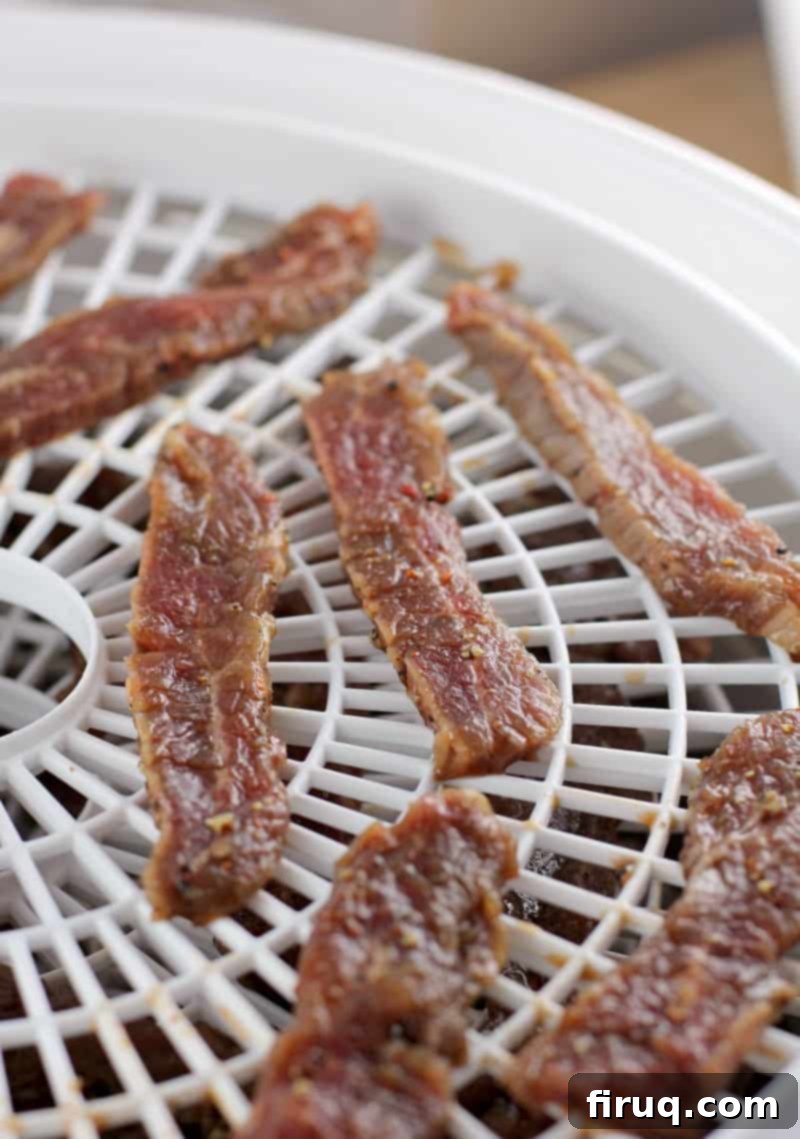
When I prepare jerky, I often make both marinades concurrently, each in a separate resealable bag. Given that many ingredients are common pantry staples and some are shared between the two recipes, this dual approach is surprisingly efficient and allows for a delicious variety of homemade beef jerky.
Detailed Steps for Preparing Your Homemade Beef Jerky
I’ve emphasized how “easy” making jerky can be, and it truly is. The process breaks down into a few manageable steps, ensuring delicious results every time.
Step 1: Slice Your Flank Steak with Precision
The thickness and cut of your beef are critical for the final texture of your jerky. Ideally, you want slices that are approximately 1/4-inch thick. You can certainly tackle this yourself if you have a **SUPER sharp, straight-edge knife**. For easier slicing, partially freeze the flank steak for about 30-60 minutes; this firms it up without making it rock-hard. Crucially, always slice the meat **against the grain**. This shortens the muscle fibers, which directly contributes to a more tender, less chewy jerky. If slicing seems intimidating or you lack the right tools, don’t hesitate to ask your butcher to slice the flank steak for you, specifying a 1/4-inch thickness.
As you slice, pay close attention to any visible fat. It is imperative to trim as much fat as possible from the meat. Fat does not dehydrate and will instead spoil and go rancid over time, compromising the flavor and shelf-life of your homemade beef jerky.
Step 2: Prepare Your Chosen Marinade(s)
Once your beef is sliced and trimmed, it’s time to prepare the marinade. As many of the ingredients are pantry staples, and some are even common between the Teriyaki and Beer BBQ recipes, preparing both at once is often efficient. Simply add all the ingredients for your chosen marinade(s) directly into a large, sturdy resealable bag. If making both, use two separate bags. Close the bag(s) and gently shake or knead to thoroughly combine the marinade ingredients.
Step 3: Marinate the Beef for Maximum Flavor and Tenderness
Carefully add the sliced flank steak to the bag(s) containing the marinade. Be gentle during this step; because the muscle fibers are now very short from slicing against the grain, rough handling can cause the meat to tear and become mangled. Once the meat is in the bag, gently massage the bag to ensure every piece of beef is thoroughly coated with the marinade. This even coating is essential for consistent flavor and tenderization. Seal the bag(s) and refrigerate overnight, or for a minimum of 8 hours, and ideally up to 24 hours. This extended marinating time allows the flavors to deeply penetrate the meat and the tenderizing agents to work their magic.

Step 4: Dehydrate the Meat (Dehydrator or Convection Oven)
Now comes the exciting part – transforming your marinated beef into delicious jerky!
Using a Food Dehydrator:
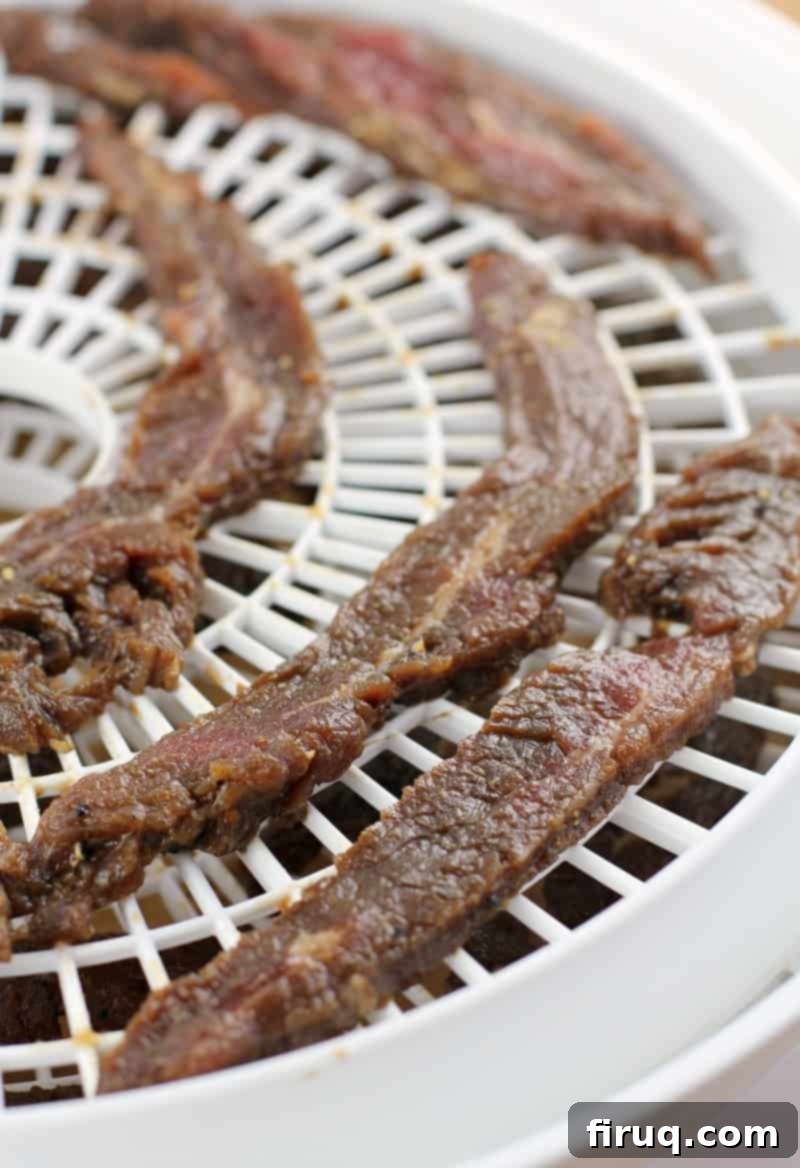
A food dehydrator is the easiest and most efficient tool for making jerky. Its controlled temperature and consistent airflow are ideal for even drying. Arrange the marinated beef strips in a single layer on the dehydrator racks, ensuring no pieces overlap. This allows for optimal air circulation. Set your dehydrator to 160°F (71°C) and dehydrate for approximately 4 hours to start. Dehydrators are a worthwhile investment if you plan to make jerky, fruit leather, or other dried foods frequently.
Using a Convection Oven:
If you don’t have a dehydrator, a convection oven is an excellent alternative. The convection fan helps circulate air, mimicking some of the dehydrator’s effects. Place a wire baking rack onto a large baking sheet, then arrange the marinated beef strips in a single layer on the wire rack. This setup is crucial, as it allows air to circulate around all sides of the meat, preventing it from steaming and ensuring even drying. Set your convection oven to its lowest temperature, typically around 175°F (79°C), and dehydrate for approximately 3 hours to start. You may need to prop the oven door open slightly with a wooden spoon to allow moisture to escape, especially if your oven doesn’t have a dedicated “dehydrate” setting. If you need to make larger batches than your oven racks allow, simply keep the remaining marinated meat in the refrigerator until it’s ready to be cooked in subsequent batches.
Step 5: Check for Doneness
This is arguably the most important step to ensure tender, flavorful beef jerky and avoid “beef leather.” After the initial cooking time (4 hours for dehydrator, 3 hours for convection oven), begin checking for doneness. Take a piece of jerky from the dehydrator or oven and allow it to cool for a few minutes. Then, gently bend it to a 90-degree angle. Here’s what to look for:
- Underdone: If you see any moisture squeeze out when you bend it, or if it feels very pliable and soft without any resistance, it needs to cook longer.
- Overdone (Beef Leather): If the meat snaps completely in half when you bend it, it’s likely over-dehydrated and will be tough and brittle. While still edible, it won’t have the desired tender chew.
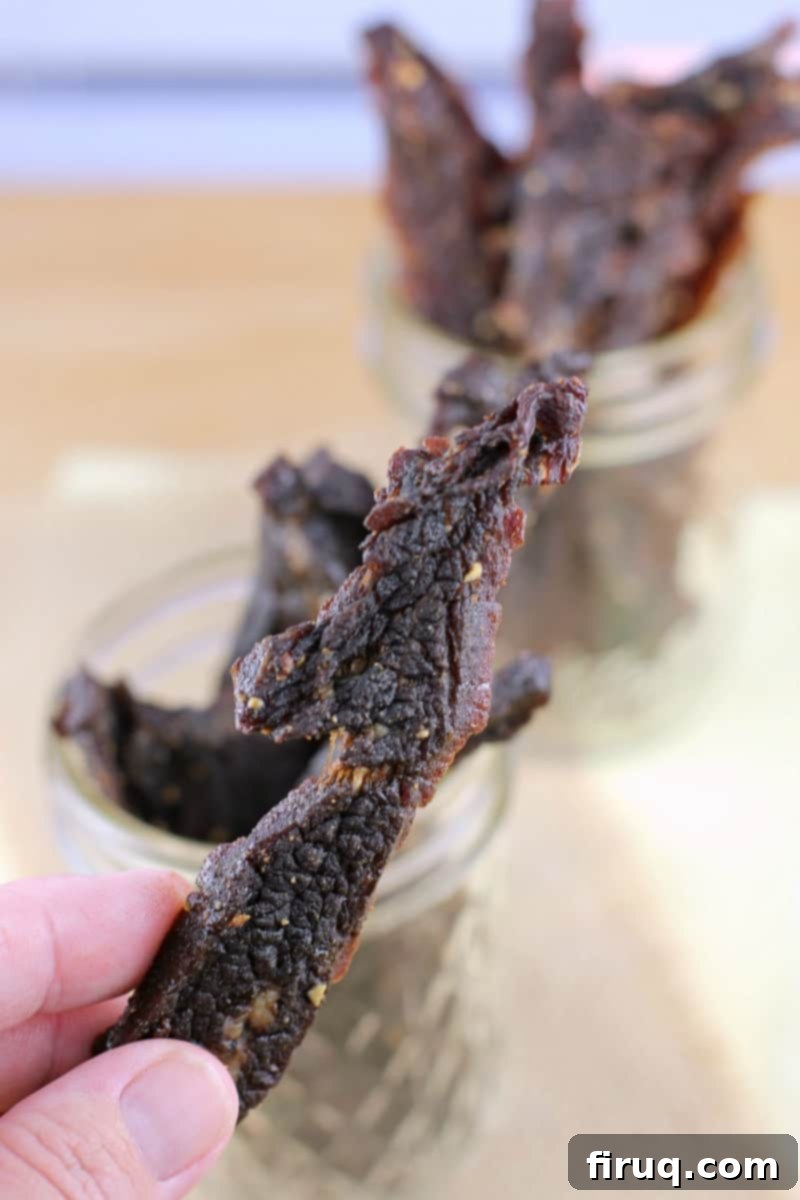
- Just Right: The perfect piece of jerky will slightly crack or show white fibers when bent to 90 degrees, but it will not break completely. It should still be flexible and chewy.
Continue to check smaller or thinner pieces periodically, removing them as they reach the desired doneness. Thicker pieces may need more time. This staggered removal ensures all your jerky is perfectly dried.
Step 6: Store Your Homemade Beef Jerky
Once your jerky has cooled completely to room temperature, it’s time for storage. Store your homemade beef jerky in an airtight container or a resealable bag. While properly dried jerky can be shelf-stable for a period, I highly recommend storing it in the refrigerator for extended freshness and safety, especially if you’re unsure about its precise moisture content. For even longer storage, vacuum sealing is an excellent option, or you can freeze it for several months. Always remember to allow the jerky to fully cool before storing to prevent condensation, which can lead to spoilage.
Essential Tips for Perfect Homemade Beef Jerky Every Time
Even with clear instructions, a few additional tips can make all the difference in crafting truly exceptional homemade beef jerky. These insights will help you avoid common pitfalls and ensure a consistently delicious result.
Aggressive Fat Trimming is Non-Negotiable
Reiterating this crucial point: always trim as much fat as you possibly can from your meat before slicing and marinating. Fat and oils do not contain water and therefore will not dehydrate properly. Instead, fat will quickly turn rancid, giving your jerky an unpleasant flavor and significantly shortening its shelf life. A lean cut is important, but meticulous trimming of any visible fat is even more so. This is perhaps the most important step for long-lasting, great-tasting jerky.
Handle Sliced Meat with Care
After you’ve painstakingly sliced your flank steak against the grain, the muscle fibers are incredibly short. While this is excellent for tenderness, it also makes the meat quite delicate. Handle the sliced pieces gently, both when adding them to the marinade and when arranging them on dehydrator racks or oven sheets. Roughly manhandling the meat at this stage can cause it to fall apart or look mangled, impacting both the appearance and integrity of your finished jerky. Think of it as handling delicate noodles rather than robust steaks.
Avoid Over-Dehydration: The Jerky vs. Leather Dilemma
Unlike some other dehydrated foods like pasta or vegetables, you can absolutely over-dehydrate jerky. Over-dehydrating results in a brittle, hard product that feels more like leather than a tender, chewy snack. This is why the “bend test” is so important. Start checking your jerky at the recommended times, but then continue to check frequently. Thinner pieces will finish faster than thicker ones. Don’t be afraid to remove smaller pieces as they reach the perfect doneness, allowing the thicker pieces to continue drying. Regular monitoring is key to achieving that ideal pliable yet slightly cracking texture.
Prudent Storage for Optimal Freshness
While homemade beef jerky can be considered “shelf-stable” if dried to a very low moisture content, it’s always safer and extends freshness to store it properly. For everyday enjoyment, keep your jerky in a resealable bag or an airtight container in the refrigerator. This is especially recommended if you’re not entirely sure how dry your jerky is. For longer-term storage, vacuum sealing is an excellent option, and homemade jerky freezes exceptionally well for several months, making it perfect for preparing larger batches.
Maximizing Air Circulation in a Convection Oven
If you’re using a convection oven, air circulation is paramount. Never lay the meat directly on a flat baking sheet, as this will trap moisture and essentially steam the meat, preventing proper dehydration. Always arrange the beef strips on a wire rack placed over a baking sheet. This setup allows the hot air from the convection fan to circulate freely around all sides of each jerky piece, ensuring even drying. If your oven has limited rack space, you can easily make your jerky in batches. Simply leave the remaining marinated meat in the refrigerator until your first batch is done and you’re ready to load the next.
Understand Temperature Differences Between Appliances
Be aware that the cooking time will differ between a food dehydrator and a convection oven due to temperature variations. Most dehydrators operate at a precise 160°F (71°C), requiring a longer drying time (e.g., 4+ hours). Ovens, however, typically have a minimum temperature setting of around 175°F (79°C). While the convection fan helps, this slightly higher temperature means your jerky will cook and dry faster in an oven, so you’ll need to adjust your checking times accordingly (e.g., 3+ hours). Always prioritize the “bend test” over strict time guidelines.
By following these detailed instructions and tips, you’ll be well on your way to making your own tender, flavorful, and perfectly dried homemade beef jerky. Enjoy this fantastic, protein-rich snack!
Looking for More Delicious Marinade Recipes?
If you’ve enjoyed experimenting with these beef jerky marinades, you’re in for a treat! Expanding your marinade repertoire is a fantastic way to infuse new life into various cuts of meat. Here are some other delectable marinade recipes to inspire your next culinary creation, perfect for grilling, roasting, or pan-searing:
- Bourbon Pork Medallions with Mustard Sauce: A sophisticated marinade that adds depth and a hint of sweetness to tender pork.
- Epic Steak Tacos Caribe: Discover the vibrant, zesty flavors of the Caribbean with this incredible marinade, perfect for succulent steak tacos.
- Greek-Style Chicken Wings: Infuse your chicken with the bright, aromatic notes of Mediterranean herbs and lemon for a truly delicious experience.
- Honey Beer BBQ Chicken and Waffles: Another fantastic beer-based marinade, this time with honey and BBQ flavors, perfect for a sticky, sweet, and savory chicken dish.
Each of these recipes offers unique flavor profiles and techniques, proving that a good marinade can transform even simple ingredients into extraordinary meals. Happy cooking!
How to Make Beef Jerky
Print
Pin
Rate
Equipment
-
food dehydrator
Ingredients
- 1-½ to 2 lbs flank steak
For the teriyaki marinade
- ½ cup reduced sodium soy sauce
- 2 Tbsp brown sugar
- 1 tsp garlic powder
- ¼ cup mirin or dry white wine
- ½ tsp Chinese 5-Spice seasoning
- 1 tsp dried ginger
- couple pinches black pepper
- 1 tsp meat tenderizer
- ½ tsp hickory liquid smoke
For the beer barbecue marinade
- ¾ cup beer preferably a lager
- 1 Tbsp BBQ seasoning
- 2 Tbsp turbinado sugar or sugar in the raw
- ½ tsp garlic powder
- 1 tsp kosher salt
- 1 tsp fresh cracked black pepper
- 1 tsp meat tenderizer
- ½ tsp hickory liquid smoke
Instructions
-
Remove as much fat as possible from the steak. Slice the meat into thin 1/4-inch slices using a sharp straight-edge knife. Alternatively, have the butcher do this for you.
-
For either marinade, add the ingredients to a large, resealable bag. Close the bag, and shake to combine.
-
Add the sliced steak to the bag and gently ensure all the meat is coated with marinade. Refrigerate overnight.
Food dehydrator instruction
-
Transfer the marinated pieces of steak to a single layer on the grates of a dehydrator.
-
Dehydrate for 4 hours at 160°F.
-
Check for doneness (see below).
Convection oven instruction
-
Place a bake rack onto a large bake sheet and layer the steak on that.
-
Place in the convection oven set to 175°F for 3 hours.
-
Check for doneness (see below).
To check for doneness
-
Take a piece of jerky, cool a bit, and bend to a 90° angle. If moisture squeezes out, it needs to cook longer. If the meat bends and snaps, it is overdone. If the meat slightly cracks but still bends, it is just right.
