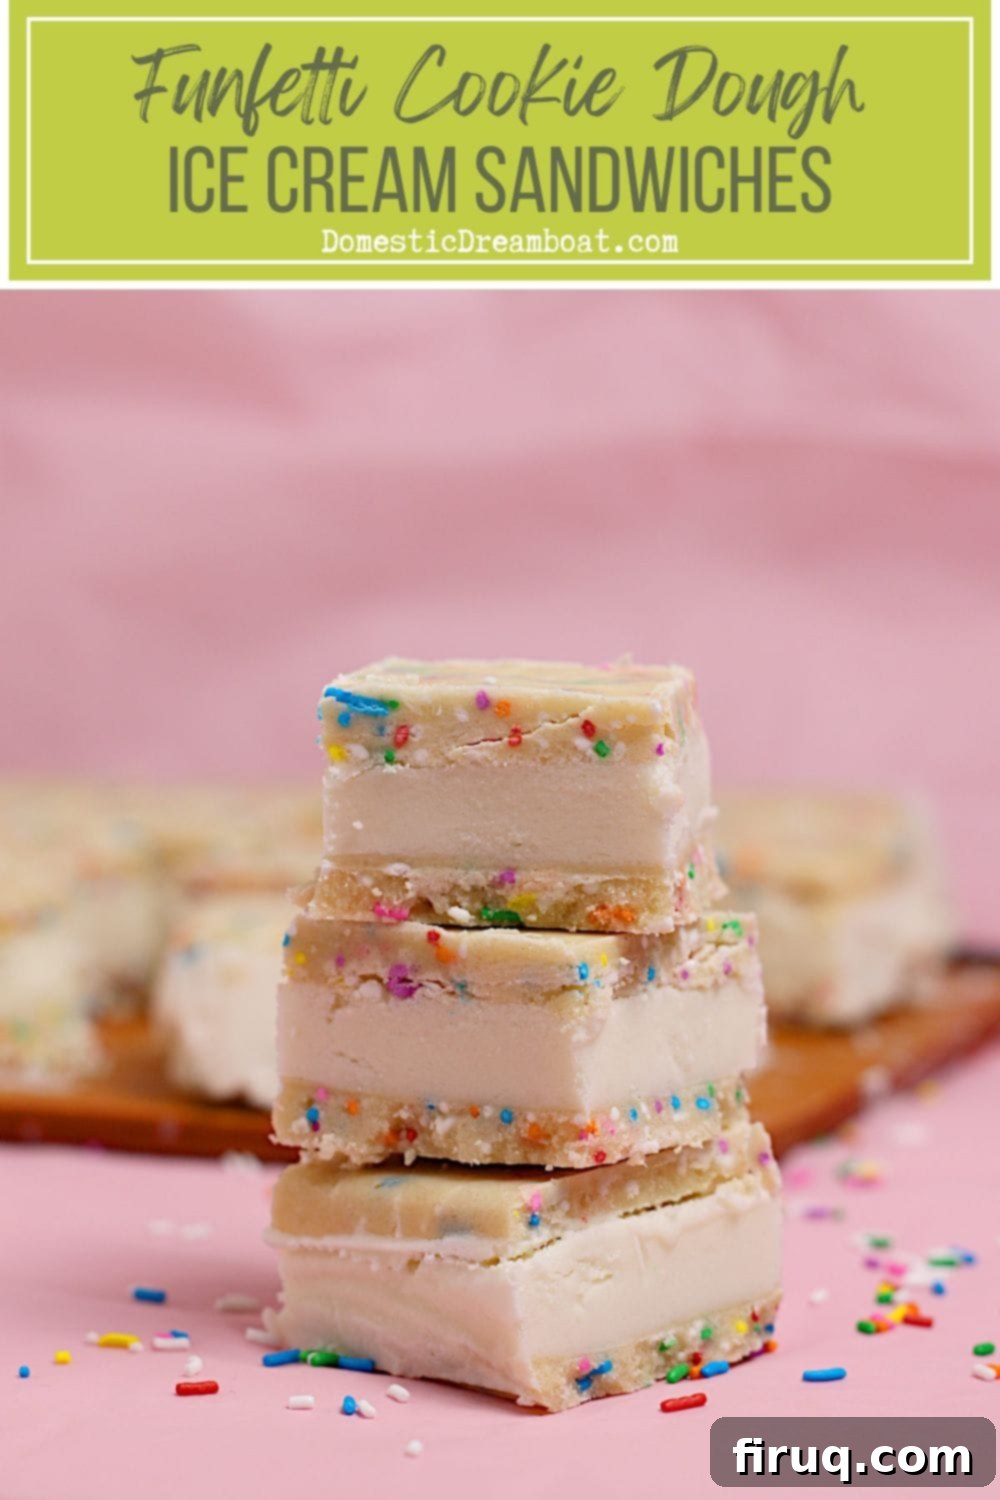
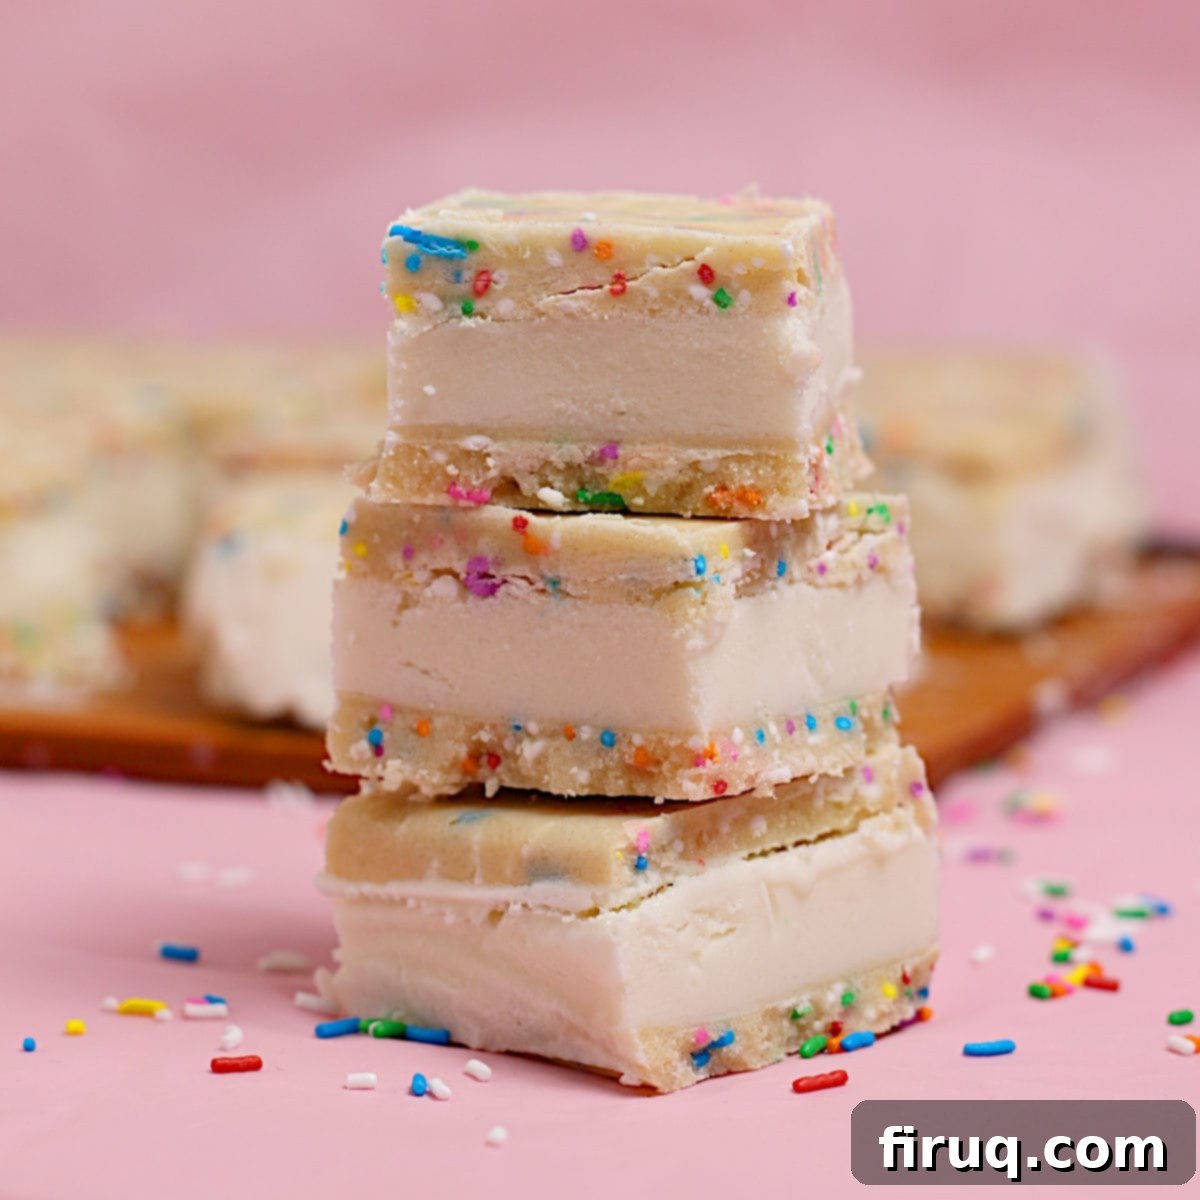
Ultimate Funfetti Cookie Dough Ice Cream Sandwiches: Easy No-Bake Recipe for a Sprinkle-Filled Delight
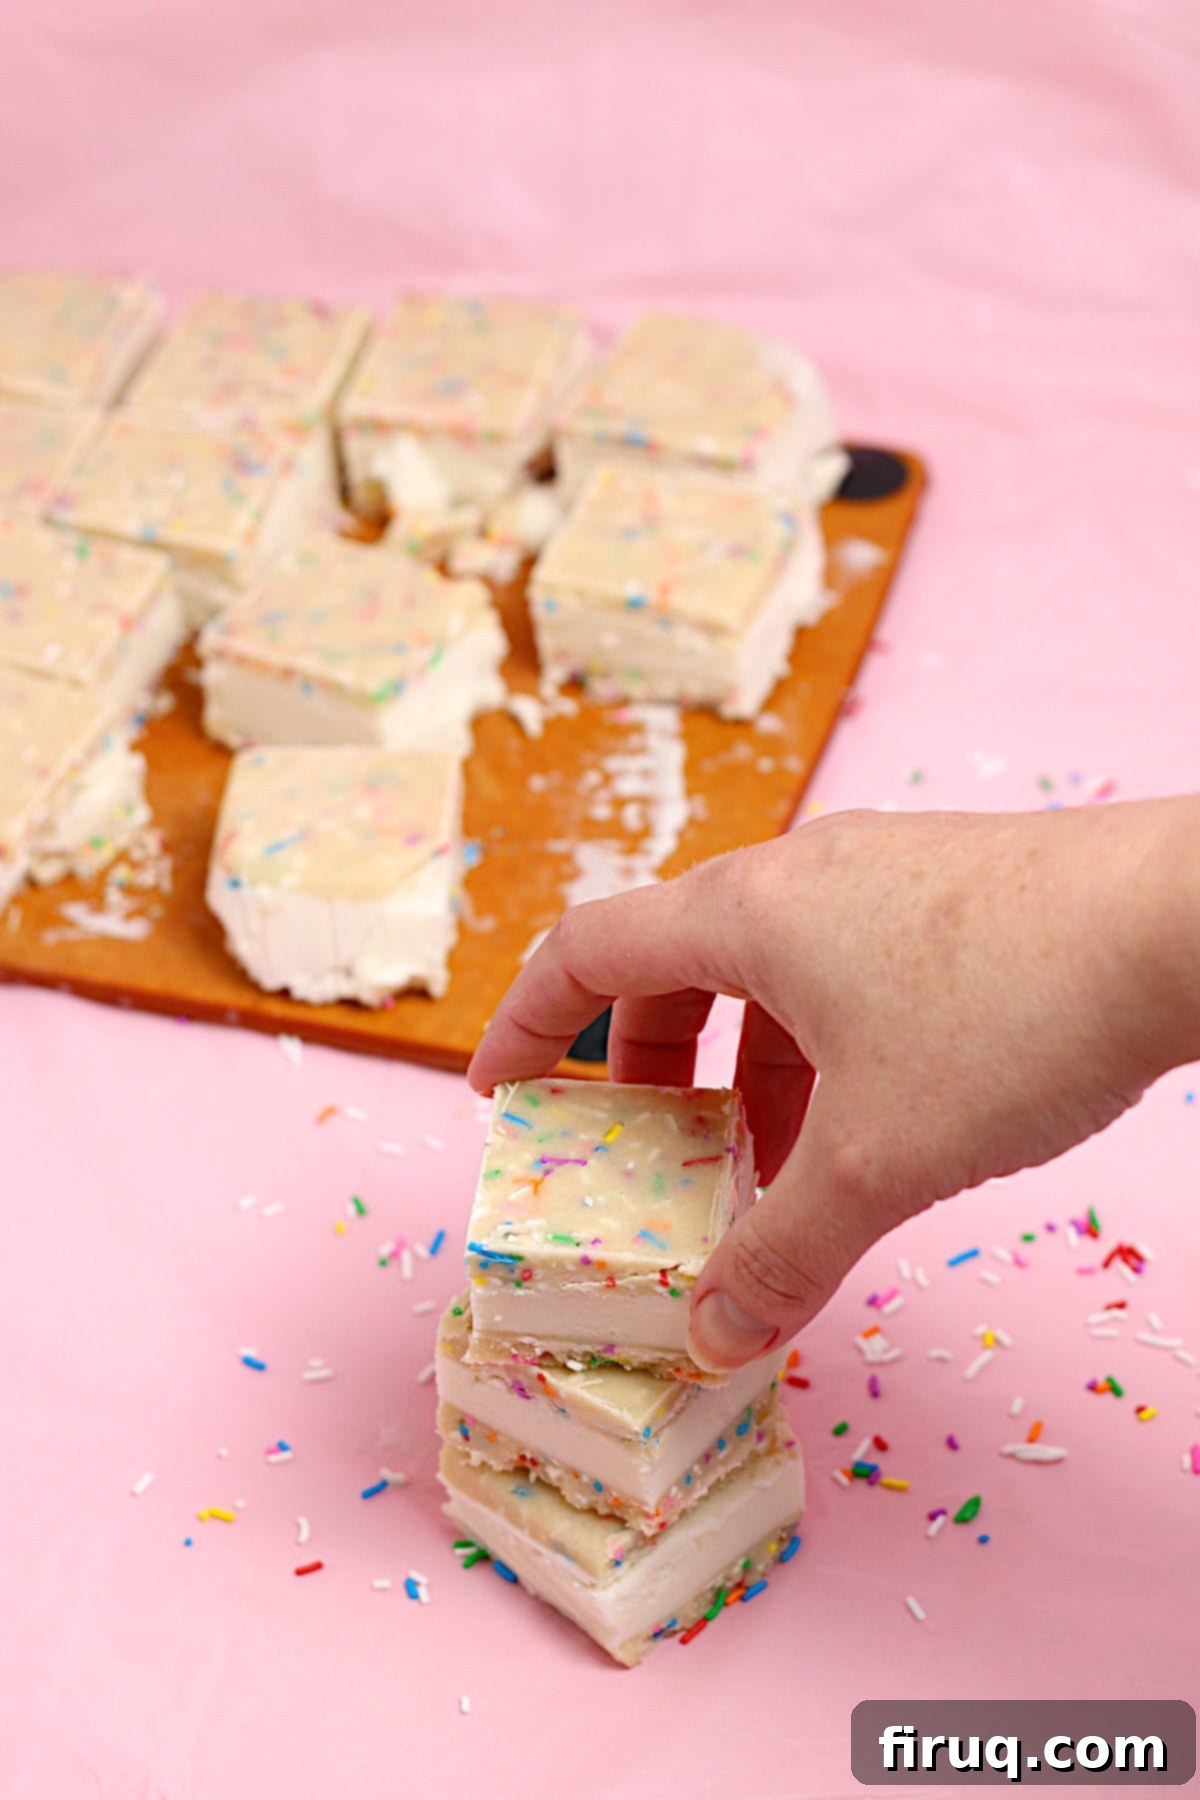
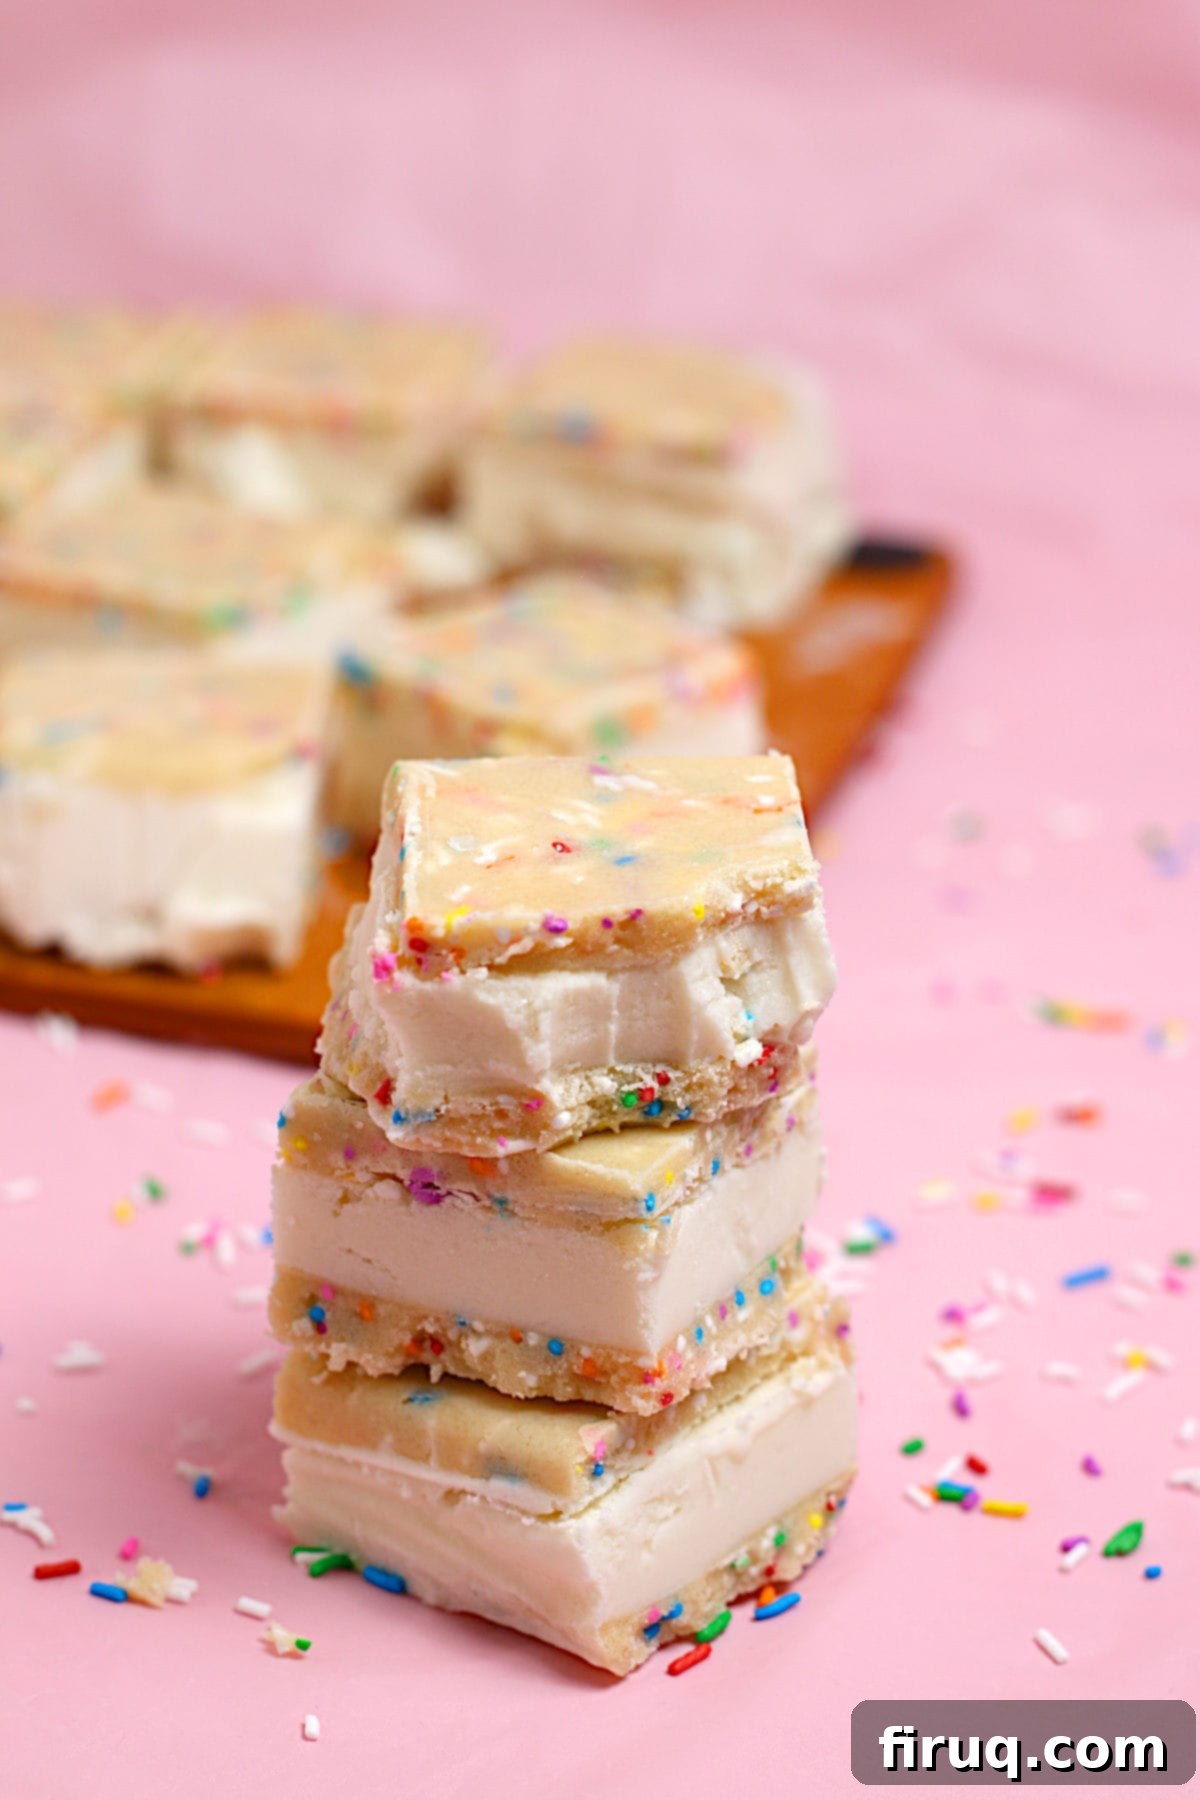
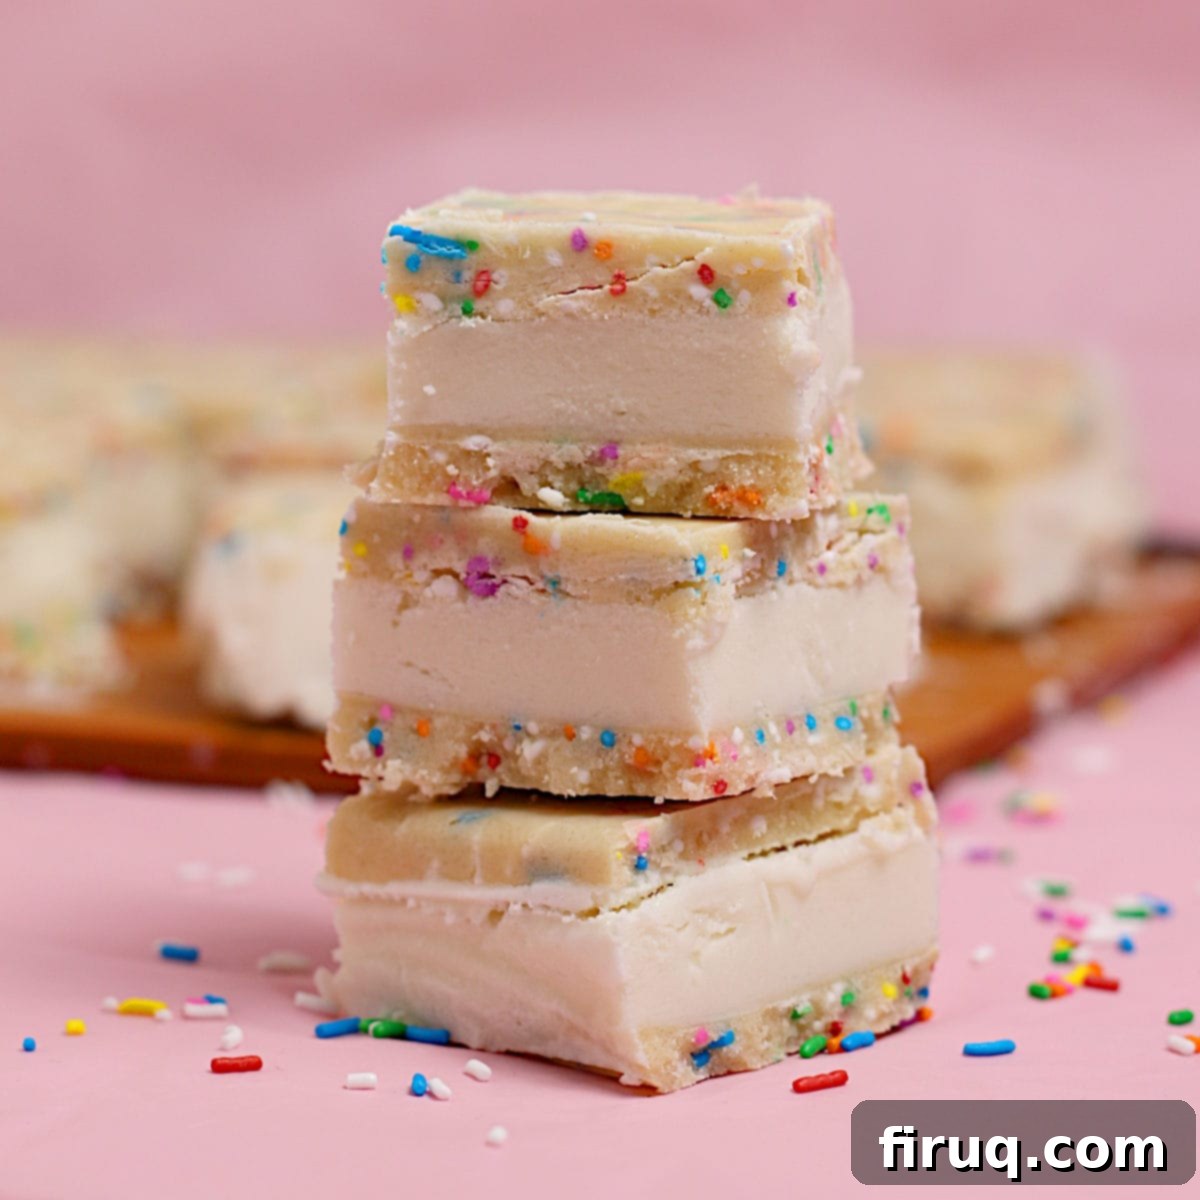
Prepare to be enchanted by these delightful Funfetti Cookie Dough Ice Cream Sandwiches! Imagine cool, creamy vanilla ice cream perfectly sandwiched between two generous layers of vibrant, sprinkle-studded funfetti cookie dough. This no-bake dessert is an absolute dream for anyone who loves sprinkles, edible cookie dough, and refreshing ice cream treats. Following the overwhelming success of our Oatmeal Chocolate Chip Cookie Dough Ice Cream Sandwiches, it was only natural to create a version using our beloved edible funfetti sugar cookie dough. And we’re thrilled to confirm: this sprinkle-packed rendition is just as successful, if not more so!
These homemade ice cream sandwiches are not only incredibly delicious but also surprisingly simple to prepare. The core of this recipe lies in creating a safe-to-eat edible cookie dough. We ensure safety by properly heat-treating the flour and completely avoiding raw eggs, so you can indulge without any worries. The result is a chewy, sweet, and incredibly fun cookie dough that pairs perfectly with smooth vanilla ice cream. Whether you’re making them for a summer party, a birthday celebration, or just a sweet craving, these funfetti treats are guaranteed to bring a smile to everyone’s face. Keep reading to unlock the secrets to creating these irresistible frozen desserts!
How to Craft Your Funfetti Cookie Dough Ice Cream Sandwiches
Creating these vibrant, sprinkle-studded ice cream sandwiches begins with a crucial step for food safety: heat-treating the flour. This process is essential to eliminate any potential bacterial contamination, such as E. coli, which can sometimes be present in raw flour. The quickest and easiest method we recommend for heat-treating flour is using a microwave. Simply place your all-purpose flour in a microwave-safe bowl and heat it in short, 30-second intervals. After each interval, give it a good stir to ensure even heating. It’s vital to use an instant-read thermometer to accurately check the flour’s temperature, aiming for at least 160°F (71°C) throughout. This usually takes about 1 to 1.5 minutes in total, depending on your microwave’s power. Alternatively, you can heat the flour in a conventional oven by spreading it thinly on a baking sheet and baking at 300°F (150°C) for 3-5 minutes, stirring halfway. However, be vigilant with this method, as flour can burn quite easily in the oven.
Once your flour is safely heat-treated, allow it to cool completely before proceeding with the rest of the edible cookie dough preparation. While the flour cools, you can begin creaming together the softened unsalted butter and granulated sugar until light and fluffy. This step incorporates air, making the dough softer and more tender. Next, add the flavorings: a generous amount of vanilla extract and a touch of almond extract. This combination is key to achieving that classic “birthday cake” funfetti flavor profile. Don’t forget a pinch of salt to balance the sweetness; if you used salted butter, you can adjust or omit the added salt. Once the heat-treated flour has cooled to room temperature, gradually mix it into the butter and sugar mixture. Finally, gently fold in the sprinkles until they are evenly distributed throughout the dough. We recommend using long, cylindrical sprinkles (often called “jimmies” or “long-johns”) over the smaller, round non-pareils, as they tend to bleed less color and maintain their vibrant appearance and texture better within the dough.
Now that your delicious edible cookie dough is ready, it’s time to assemble your impressive ice cream sandwiches. First, prepare an 8×8-inch baking pan by lining it with plastic wrap. Ensure the plastic wrap drapes over the sides, creating “handles” that will help you easily lift the cookie dough layers later. Divide your prepared cookie dough exactly in half; for precision, a kitchen scale is highly recommended. Press one half of the dough firmly and evenly into the bottom of the lined pan. Use your fingers or the flat bottom of a glass to compact it, then use an offset spatula to smooth the surface and ensure it reaches all corners for a perfectly flat layer. This creates the bottom “cookie” of your sandwich.
Carefully remove this first sheet of cookie dough from the pan by lifting the plastic wrap handles. Transfer it to a cutting board or another flat, freezer-safe surface and set it aside. Re-line the empty baking pan with a fresh sheet of plastic wrap. Now, press the remaining half of the cookie dough into this newly lined pan, following the same process to create a smooth, even layer. This second layer will remain in the pan and serve as the base for the ice cream.
Next, evenly spread the softened vanilla ice cream over the cookie dough layer in the pan. An offset spatula works wonderfully for this, allowing you to smooth the ice cream into every corner. The ice cream should be soft enough to spread easily but not completely melted. Then, gently take the first sheet of cookie dough you set aside and carefully invert it onto the layer of ice cream. Peel off the plastic wrap from the top. Lightly but firmly press down on the top cookie dough layer to ensure it adheres well to the ice cream and to eliminate any air bubbles that might be trapped inside. This gentle pressure is key to a solid, well-formed sandwich.
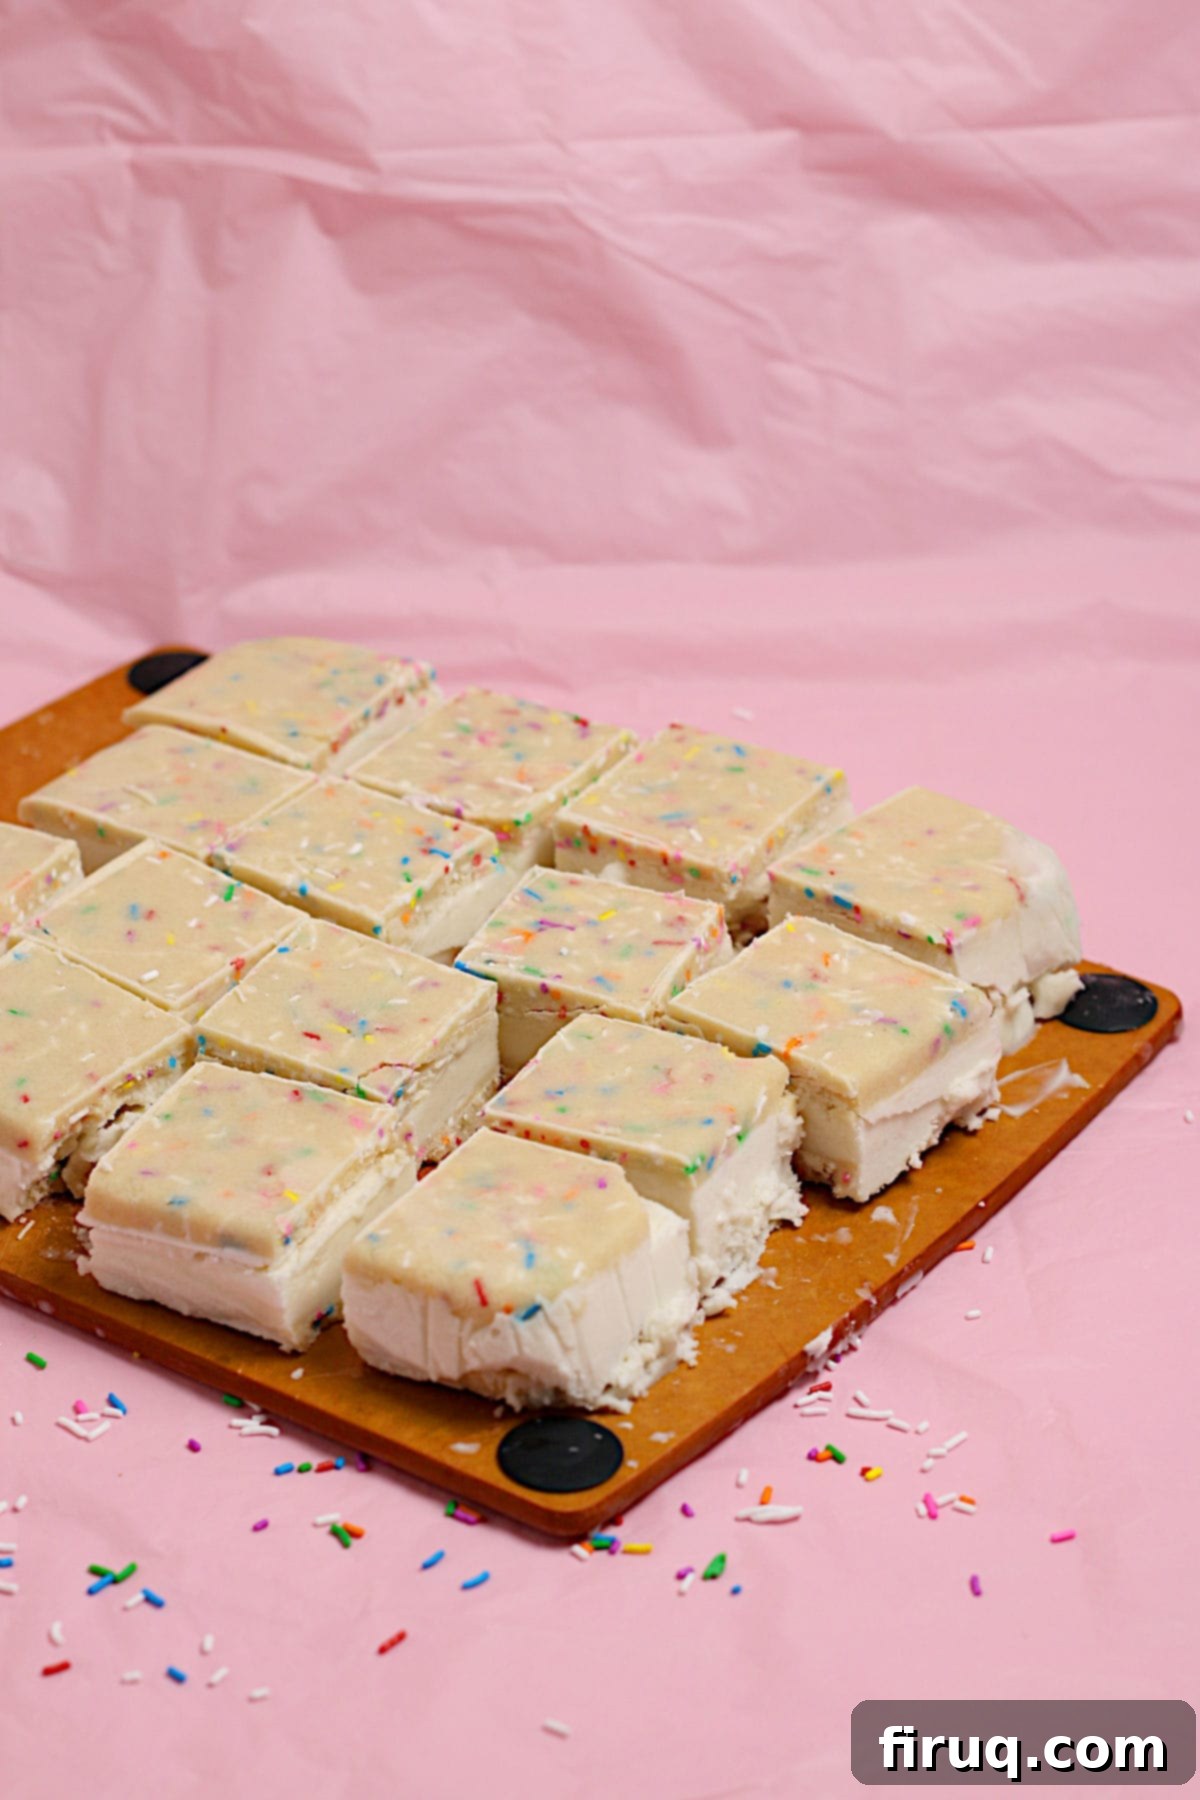
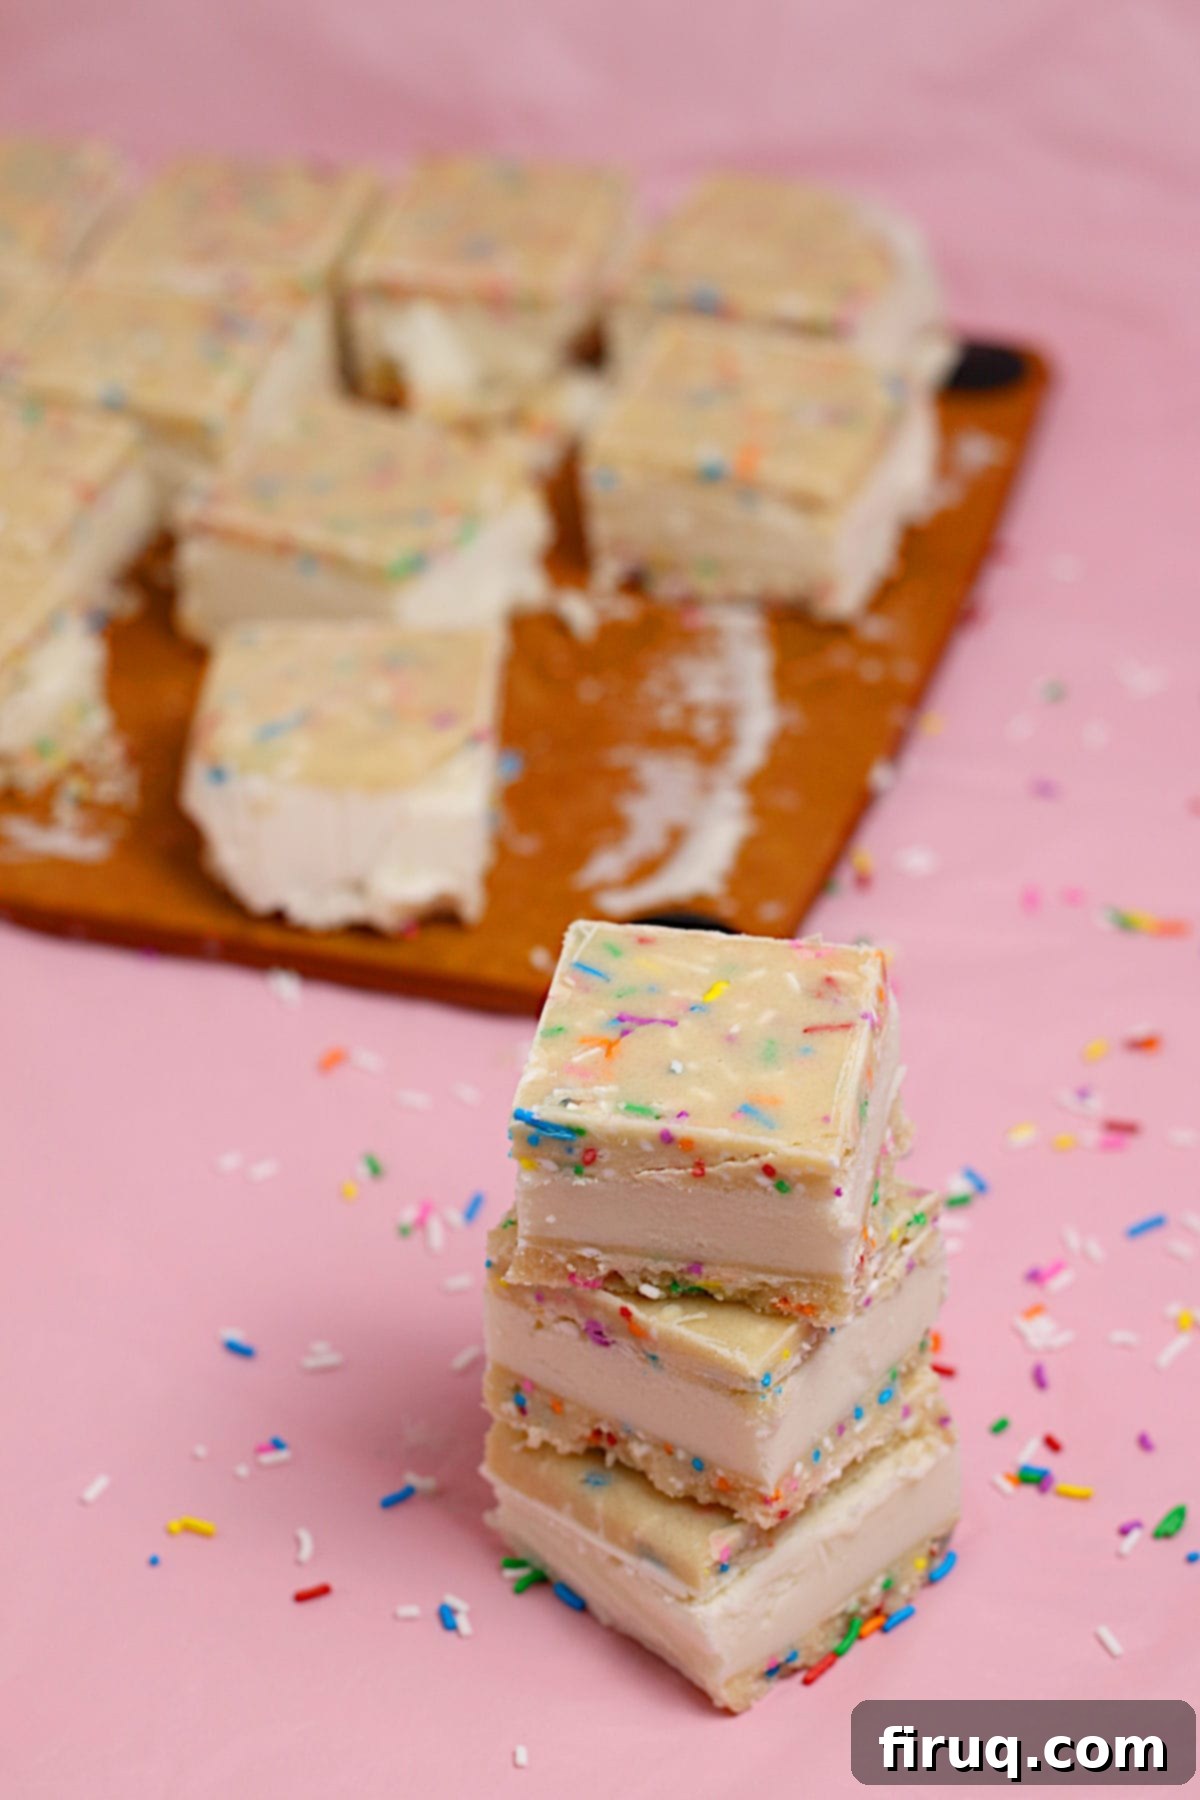
Once assembled, cover the entire pan with the plastic wrap you just removed, ensuring it’s sealed tightly. Place the pan in the freezer for at least 2 hours, or until the ice cream sandwiches are completely firm. This freezing time is crucial for the sandwiches to hold their shape when cut. To remove the frozen block, invert the pan onto a large cutting board. If it’s a bit stubborn, briefly run the bottom of the pan under warm water – but be careful not to get the ice cream sandwiches themselves wet! Peel off all plastic wrap. Using a sharp knife, cut the large square into your desired portion sizes. For snack-sized treats, 16 small squares are perfect, or you can opt for 8 larger rectangular sandwiches. Serve these delightful funfetti cookie dough ice cream sandwiches immediately, or store them individually wrapped in an airtight container or zipper bag back in the freezer for a delicious treat whenever a craving strikes.
Essential Ingredients for Funfetti Cookie Dough Ice Cream Sandwiches
Each ingredient in this recipe plays a vital role in creating the perfect texture and classic “birthday cake” flavor of these funfetti cookie dough ice cream sandwiches. Here’s a closer look at what you’ll need and why:
- All-purpose flour: This forms the base of our edible cookie dough. As a critical safety note, remember that raw flour is not safe for consumption due to potential bacterial contamination like E. coli. Always follow the included instructions for proper heat-treating before mixing it into the dough. This step ensures your funfetti treats are safe and enjoyable.
- Unsalted butter: Using unsalted butter gives you complete control over the salt content in your recipe, allowing for precise flavor balancing. It also contributes to the rich, creamy texture of the cookie dough. If you only have salted butter on hand, you can certainly use it, but be sure to omit the additional kosher salt specified in the recipe.
- Granulated sugar: This provides the primary sweetness to our edible cookie dough, giving it that classic sugar cookie taste. It also helps create a smooth, well-textured dough when creamed with the butter.
- Vanilla extract: A cornerstone of most sweet desserts, vanilla extract enhances all the other flavors, adding warmth and depth to the cookie dough.
- Almond extract: This is the secret ingredient for that quintessential “birthday cake” flavor profile often found in funfetti products. The subtle almond note complements the vanilla beautifully, elevating the overall taste experience to something truly special and nostalgic.
- Kosher salt: A small amount of salt is essential for balancing the sweetness and enhancing the overall flavor of the cookie dough. It prevents the dessert from tasting one-dimensional. As mentioned with butter, if you use salted butter, you can skip adding this salt.
- Sprinkles: These are the “fun” in funfetti! For the best visual appeal and to avoid excessive color bleeding, we highly recommend using long, cylindrical sprinkles (also known as jimmies or rod sprinkles). They hold their shape and vibrant colors beautifully, creating a stunning visual contrast against the pale cookie dough and ice cream. Avoid non-pareils if possible, as their colors tend to run more easily when mixed into dough.
- Vanilla ice cream: The creamy core of these sandwiches. Opt for a good quality vanilla ice cream that you enjoy, as its flavor will shine through. Ensure it is softened just enough to be spreadable but not melted, which makes for easier assembly and a better final texture. For variations, feel free to experiment with other complementary ice cream flavors like strawberry or birthday cake!
Tips for Perfect Funfetti Cookie Dough Ice Cream Sandwiches
To ensure your Funfetti Cookie Dough Ice Cream Sandwiches turn out perfectly every time, keep these tips in mind:
- Don’t skip heat-treating the flour: This is a crucial food safety step. Raw flour can contain bacteria, so always ensure it reaches 160°F (71°C) before incorporating it into your edible cookie dough. Let it cool completely afterwards to avoid melting the butter.
- Soften butter and ice cream correctly: Your butter should be at room temperature for easy creaming, but not melted. Similarly, the vanilla ice cream should be soft enough to spread smoothly, but not so melted that it becomes watery. This balance is key for easy assembly and a cohesive final product.
- Even layers are essential: Take your time to press the cookie dough layers evenly into the pan, using an offset spatula to smooth the surface and reach the corners. This ensures uniform sandwiches that are easy to cut and enjoy. A kitchen scale can help divide the dough perfectly.
- Choose the right sprinkles: For the most vibrant and mess-free results, opt for long, cylindrical sprinkles (jimmies). Non-pareils tend to bleed their color more easily, which can affect the aesthetic of your funfetti dough.
- Prevent air bubbles: When placing the top cookie dough layer onto the ice cream, gently press down to remove any trapped air. This helps create a solid, well-bound ice cream sandwich.
- Freeze thoroughly: A minimum of 2 hours in the freezer is necessary for the sandwiches to firm up properly before cutting. Attempting to cut them too early will result in a messy, unmanageable dessert.
- Storage is key: Once cut, store individual sandwiches in an airtight container or zipper bags in the freezer. This prevents freezer burn and keeps them fresh for future enjoyment.
Funfetti Variations to Try
While the classic Funfetti Cookie Dough Ice Cream Sandwich is a winner, don’t hesitate to get creative with these delicious variations:
- Different Ice Cream Flavors: Swap vanilla ice cream for other complementary flavors. Chocolate, strawberry, mint chip, or even birthday cake flavored ice cream would be fantastic additions!
- Add-ins for Cookie Dough: Fold mini chocolate chips, white chocolate chips, or even chopped candies into your edible cookie dough for extra texture and flavor.
- Drizzle and Dip: Before serving, drizzle your frozen sandwiches with melted white chocolate, dark chocolate, or caramel sauce. You could even dip the edges in more sprinkles or chopped nuts for an extra festive touch.
- Different Cookie Dough Base: While funfetti is great, you could also experiment with other edible cookie dough recipes, like chocolate chip cookie dough or peanut butter cookie dough, for a completely different flavor experience.
Craving More Funfetti? Explore Our Other Recipes!
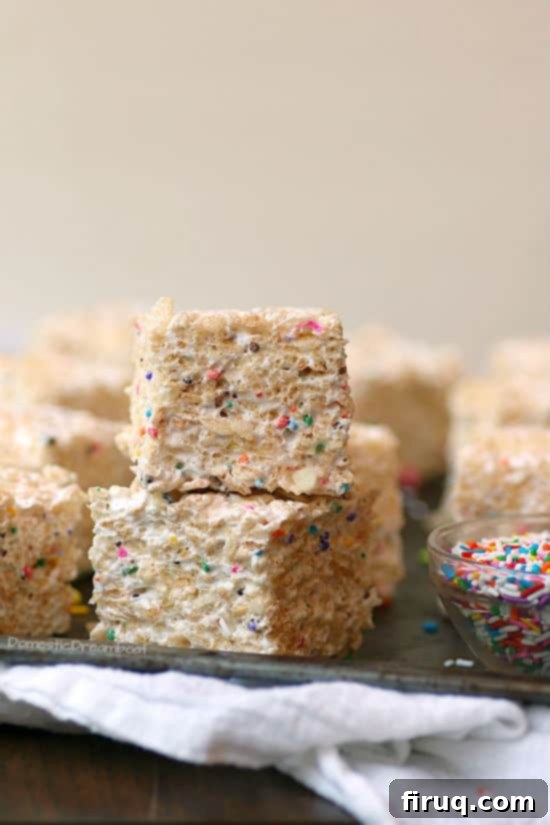
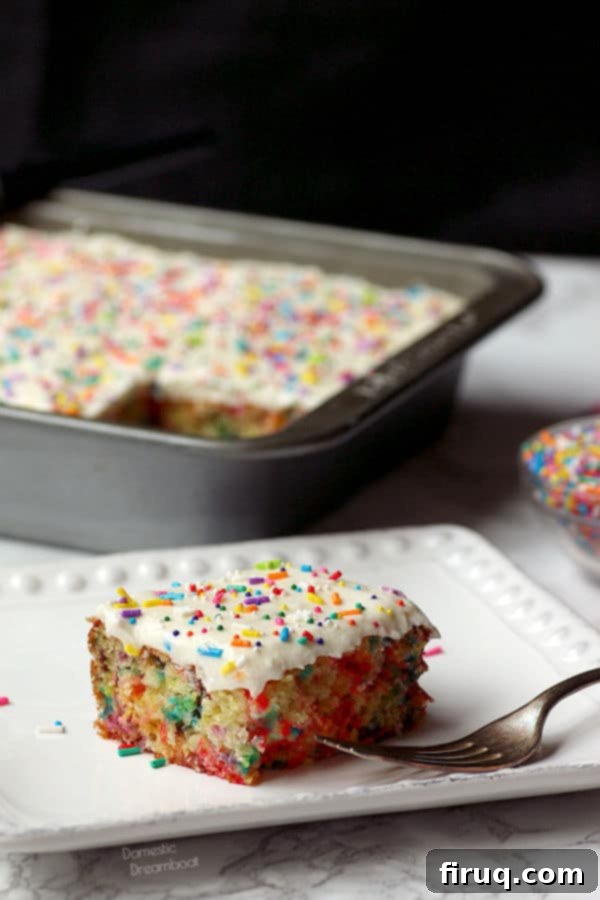
If you’re a true funfetti fanatic and can’t get enough of those colorful sprinkles, you’re in luck! We have more delightful recipes that capture that joyous “birthday cake” essence. Expand your funfetti repertoire with these other tried-and-true favorites:

Funfetti Cookie Dough Ice Cream Sandwiches Nutrition Notes
The nutrition information provided in the recipe card below is calculated for one small square ice cream sandwich, as depicted in the photographs. This recipe is designed to yield 16 of these conveniently sized portions, making them perfect for individual servings or sharing at gatherings.
For those with dietary restrictions or preferences, these funfetti ice cream sandwiches can easily be adapted to be vegan and/or dairy-free. Simply substitute the unsalted butter in the cookie dough with your preferred non-dairy butter alternative. Similarly, replace the vanilla ice cream with your favorite non-dairy vanilla ice cream substitute. Many excellent plant-based options are available today that will provide the same creamy texture and delicious flavor, ensuring everyone can enjoy this delightful treat.
Funfetti Cookie Dough Ice Cream Sandwiches
Print Recipe
Pin Recipe
Equipment
-
Instant-Read Thermometer
-
Hand Mixer or stand mixer
-
Kitchen scale optional, but helpful
-
8×8″ baking pan
-
Plastic wrap or parchment paper or wax paper
-
Offset spatula
Ingredients
- 1 1/2 cups all-purpose flour
- 3/4 cups unsalted butter softened (use a non-dairy butter alternative to make these ice cream sandwiches vegan and/or dairy-free)
- 1/2 cup granulated sugar
- 1 teaspoon vanilla extract
- 1/2 teaspoon almond extract
- 1/4 teaspoon kosher salt (skip if using salted butter)
- 1/4 cup sprinkles
- 1 pint vanilla ice cream softened (use your favorite non-dairy ice cream alternative to make these ice cream sandwiches vegan and/or dairy-free)
Instructions
-
Place 1 1/2 cups (188 g) all-purpose flour in a microwave-safe bowl. Microwave on high in 30-second intervals, stirring after each interval until the temperature reaches at least 160°F (77°C) on an instant-read thermometer (this took me a total of 1 1/2 minutes). Set the bowl aside to cool (Note: alternatively, you can spread the flour on a baking pan and bake at 300°F for 3-5 minutes, but make sure you keep an eye on it as it can burn easily).
-
Using a hand mixer or spatula, cream together 3/4 cups (170 g) unsalted butter and 1/2 cup (100 g) granulated sugar. Add 1 teaspoon vanilla extract, 1/2 teaspoon almond extract, and 1/4 teaspoon kosher salt and mix until uniform. Add the cooled toasted flour and mix on low speed until incorporated. Fold in 1/4 cup sprinkles and mix until incorporated.
-
Divide the cookie dough in half (the most accurate way to do this is to use a kitchen scale). Line an 8×8″ baking pan with plastic wrap, parchment paper, or wax paper and press half of the cookie dough into the pan evenly. Use your fingers or the flat bottom of a glass to press the cookie dough in, then use an offset spatula to get into the edges. Carefully lift the pressed cookie dough out of the pan and set it aside on a cutting board or another flat surface.
-
Re-line the pan with plastic wrap, parchment paper, or wax paper, and press the remaining cookie dough into the pan following the same process as above. This time, leave the cookie dough there.
-
Spread 1 pint (500 ml) vanilla ice cream over the layer of cookie dough, smoothing it into the corners with an offset spatula. Carefully lift the first sheet of pressed cookie dough, turn it onto the ice cream, and peel off the plastic wrap/parchment/wax paper. Gently press the cookie dough down into the ice cream.
-
Cover the baking pan with plastic wrap and transfer to the freezer for at least 2 hours.
-
Remove the pan from the freezer and turn over onto a large cutting board to remove the ice cream sandwiches (if they remain stuck in the pan, carefully run some warm water over the bottom of the pan, being careful not to get any water on the ice cream sandwiches). Peel off the plastic wrap/parchment/wax paper.
-
Use a large knife to cut the ice cream sandwiches into your desired size (8 full-size rectangles or 16 small squares work well). Serve immediately, or place the sandwiches in an airtight container or zipper bag and return to the freezer.
Nutrition
Tried this recipe?
Please Consider Leaving a Review!
