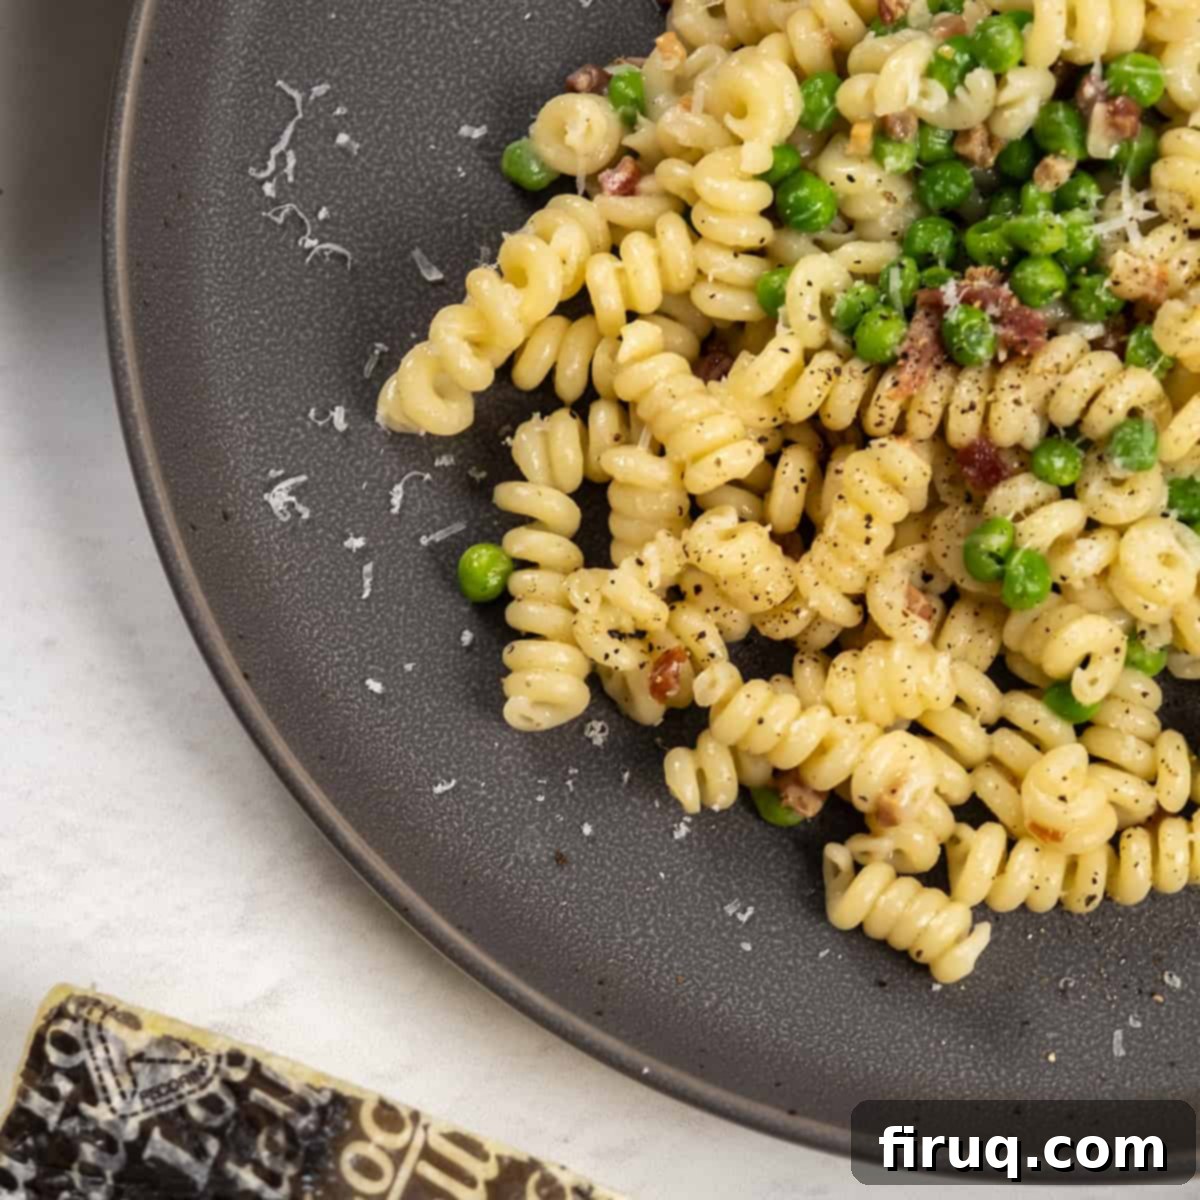
Quick & Easy Pasta with Peas and Pancetta: A 30-Minute Italian Family Favorite
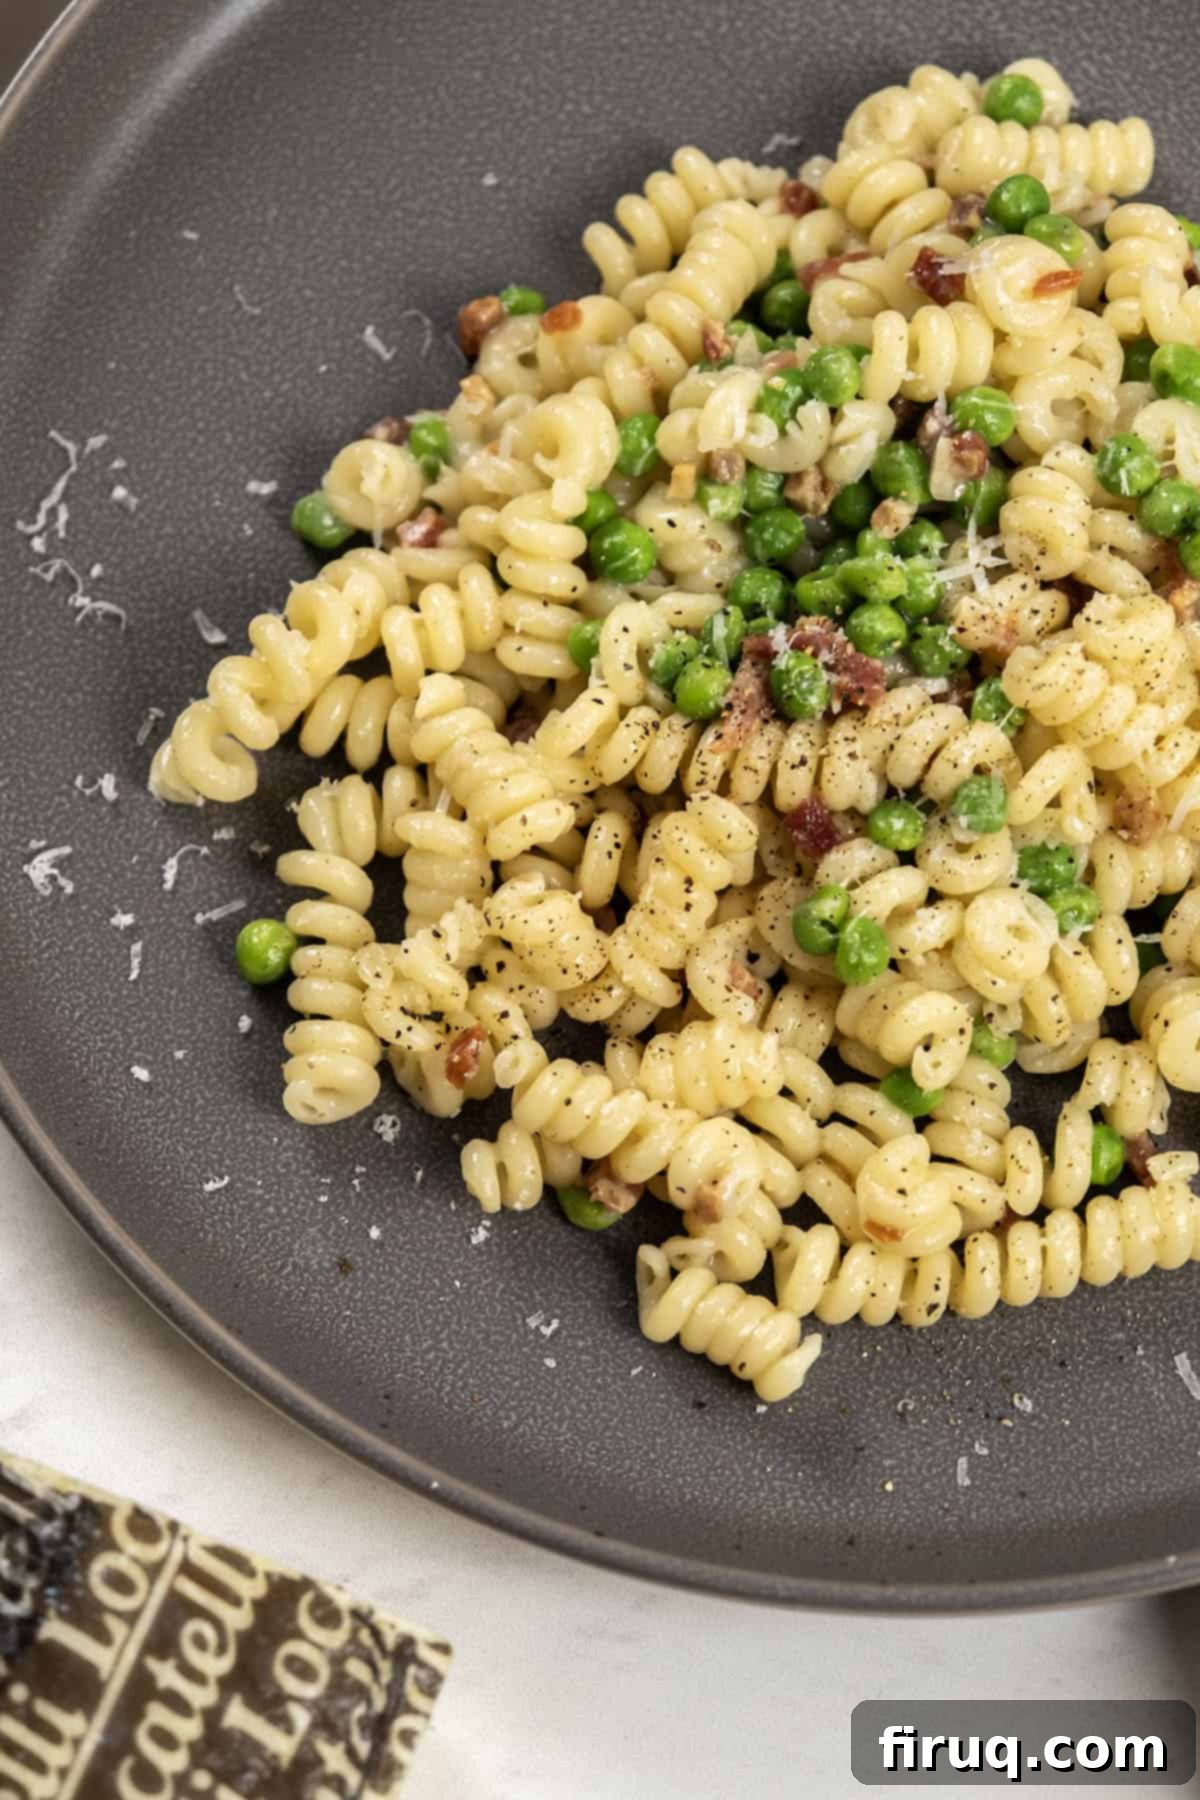
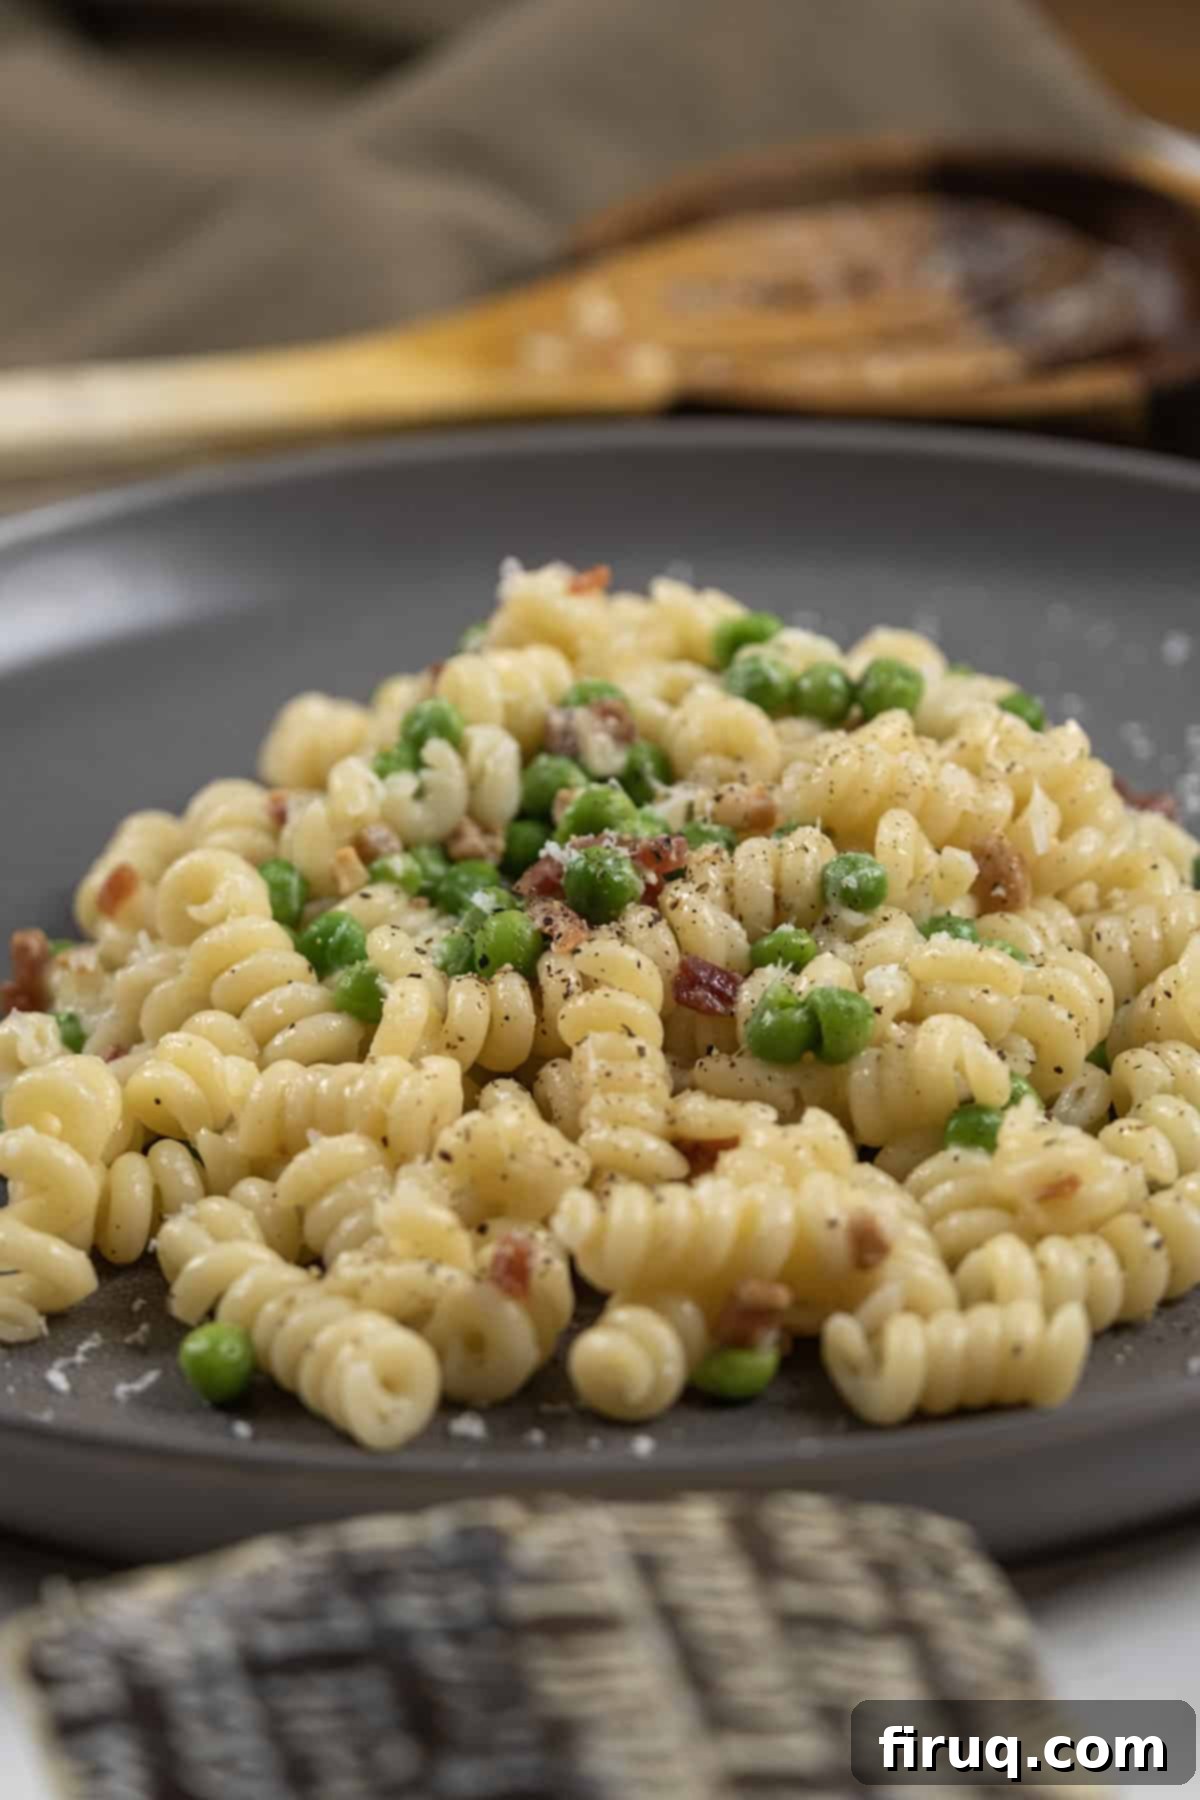
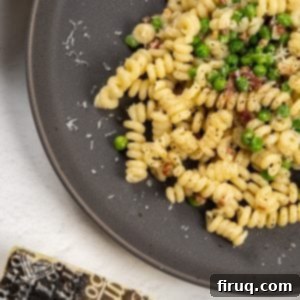
If you’re searching for a truly delightful pasta dish that comes together in under 30 minutes, then this Pasta with Peas and Pancetta recipe is about to become your new weeknight hero. It strikes a perfect balance: light yet wonderfully creamy and cheesy, featuring the savory crunch of pancetta, the sweet pop of fresh peas, and the sharp tang of Pecorino Romano. This classic Italian-inspired meal is not only incredibly flavorful but also remarkably simple to prepare, making it an ideal choice for busy families or anyone craving a delicious, satisfying dinner without spending hours in the kitchen.
Craving more light and flavorful pasta meals? You might also enjoy our recipes for Pasta with Zucchini, Creamy Pesto Shrimp Pasta, or Pasta alla Norma. We love discovering and sharing delicious recipes that are perfect for the entire family!
[feast_advanced_jump_to]
Why This Dish is a Perfect Family Meal
As a home cook, I understand the constant quest for dinner ideas that are both fresh and fuss-free, especially when 5 o’clock rolls around and everyone is hungry. This pasta with peas and pancetta truly shines as a go-to family meal. It consistently earns top marks for being incredibly flavorful and, perhaps most importantly, toddler-approved. While many of my pasta recipes fit into the “easy” category, only a select few are genuinely ready in under 30 minutes, such as pasta with cauliflower or spaghetti with garlic and oil. This recipe joins that elite group, offering maximum flavor with minimal effort.
What makes this dish so practical is that it relies on ingredients I almost always have on hand. Frozen peas are a freezer staple, and pancetta keeps well, allowing for spontaneous meal prep. Peas are also one of those rare vegetables that even the pickiest eaters often enjoy, making this a win-win for everyone at the table. The preparation is straightforward, involving very little chopping or complex steps, which means you won’t be chained to the kitchen all evening. It’s a complete meal that’s hearty enough for adults and comforting enough for kids, delivering a satisfying dinner experience that fits perfectly into a busy schedule.
Essential Ingredient Notes and Smart Substitutions
Success in Italian cooking often lies in the quality of your ingredients. Here’s what you need to know about the stars of this dish and how to make savvy substitutions:
Pancetta. This Italian cured pork belly is undeniably a key player, right there in the name of the dish. It brings a salty, savory depth and a delightful crispy texture when rendered properly. However, not everyone keeps pancetta on hand, and you might prefer a meat-free version. If you want to make this dish without any meat, or simply don’t have pancetta, you can substitute it with 3 tablespoons of high-quality extra virgin olive oil. While the flavor profile will shift, the dish will still be incredibly delicious. For a similar cured pork flavor, bacon or guanciale can also be used, though bacon tends to have a smokier profile that will alter the taste more significantly than guanciale (cured pork jowl), which offers a richer, milder flavor closer to pancetta.
Pecorino Romano. This hard, salty sheep’s milk cheese is a fundamental component, lending its distinctive sharp, tangy flavor that perfectly complements the peas and pancetta. It provides an unmatched depth that we feel is most in line with the authentic spirit of a dish like this. While purists might insist on Pecorino, it’s perfectly fine to replace it with Parmigiano Reggiano if that’s what you have. Just ensure you use the highest quality Parmigiano you can find, as lower-grade alternatives may not melt as smoothly, potentially resulting in little clumps of cheese or causing it to stick to the bottom of the pan. Freshly grated is always best for optimal flavor and texture.
Peas. We recommend using frozen peas for convenience and consistent texture. They cook quickly and retain their vibrant green color and sweet flavor. Anything cut up small could work here as a vegetable substitute, whether it be finely chopped cauliflower or broccoli florets. Feel free to use the vegetable that works best for your family’s preferences. The goal is to have a tender, bite-sized vegetable that integrates well with the pasta and sauce. Fresh peas are also an excellent (albeit seasonal) option.
Pasta. We’ve used fusilli in our recipe, which is fantastic for catching the creamy sauce, but this dish is incredibly versatile. Penne, rigatoni, orecchiette, or even spaghetti would work beautifully. Choose a pasta shape that your family loves and that holds sauce well. The key is to cook it al dente for the best texture.
Step-by-Step Directions: Crafting Your Pasta Masterpiece
Get ready to start your timer because you’ll be enjoying a fantastic meal in just 30 minutes. This Pasta with Peas and Pancetta is destined to become a new household favorite—both to eat AND TO MAKE. Follow these simple steps for a truly delicious result:
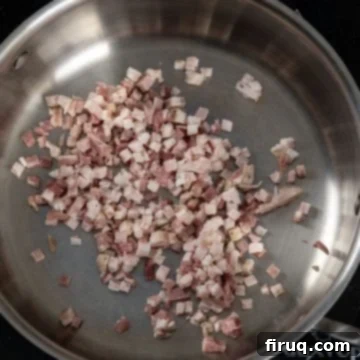
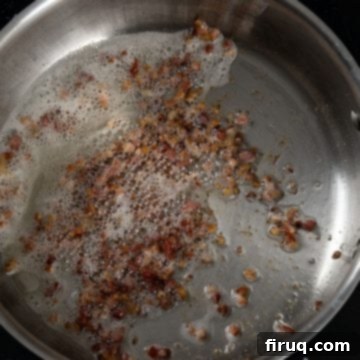
Step 1: Crispy Pancetta Prep. Begin by adding the chopped pancetta to a cold pan. This crucial step allows the fat to render slowly and evenly as the heat increases, resulting in beautifully golden brown and crispy pancetta. Raise the heat to medium and cook for about 8-10 minutes, stirring occasionally. Once the pancetta is delightfully crisp, use a slotted spoon to remove it from the pan, leaving the flavorful rendered fat behind. Set the crispy pancetta aside; it will be added back into the dish later for texture and flavor.
Step 2: Pasta Perfection. While the pancetta renders, bring a large pot of water to a rolling boil. Don’t forget to generously salt the water – it’s your first chance to season the pasta itself! Add your chosen pasta (we’re using fusilli) and cook for approximately 2 minutes less than the package directions indicate. This ensures your pasta remains perfectly al dente and can finish cooking in the sauce, absorbing all the wonderful flavors.
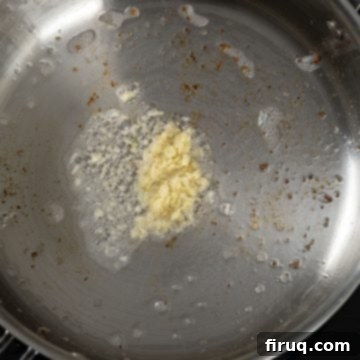
Step 3: Aromatic Base. Carefully drain most of the rendered pancetta fat from the pan, but be sure to leave approximately 3 tablespoons behind. This fat is bursting with flavor! Into this fragrant oil, add the minced garlic. Sauté the garlic for just about 30 seconds until it becomes fragrant but before it has a chance to brown. Burnt garlic tastes bitter, so keep a close eye on it.
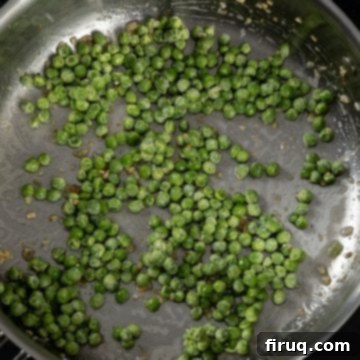
Step 4: Peas and Pasta Water Magic. Add the peas to the pan with the fragrant garlic and pancetta fat. Sauté them for a few minutes until they begin to soften and warm through. Then, a key step for creating a luscious sauce: add about a ½ cup of pasta water directly from your boiling pasta pot. This starchy water is crucial for emulsifying the sauce and helping the cheese melt beautifully later on. Let it simmer gently for a moment to slightly reduce.
Step 5: Combine and Coat. Once your pasta is cooked al dente, remember to save at least one full cup of the starchy pasta water before straining the rest. Immediately add the strained fusilli (or your chosen pasta) to the pan with the garlic and peas. Mix everything thoroughly, ensuring the pasta is well coated with the flavorful pan juices and softened peas. This allows the pasta to soak up more flavor.
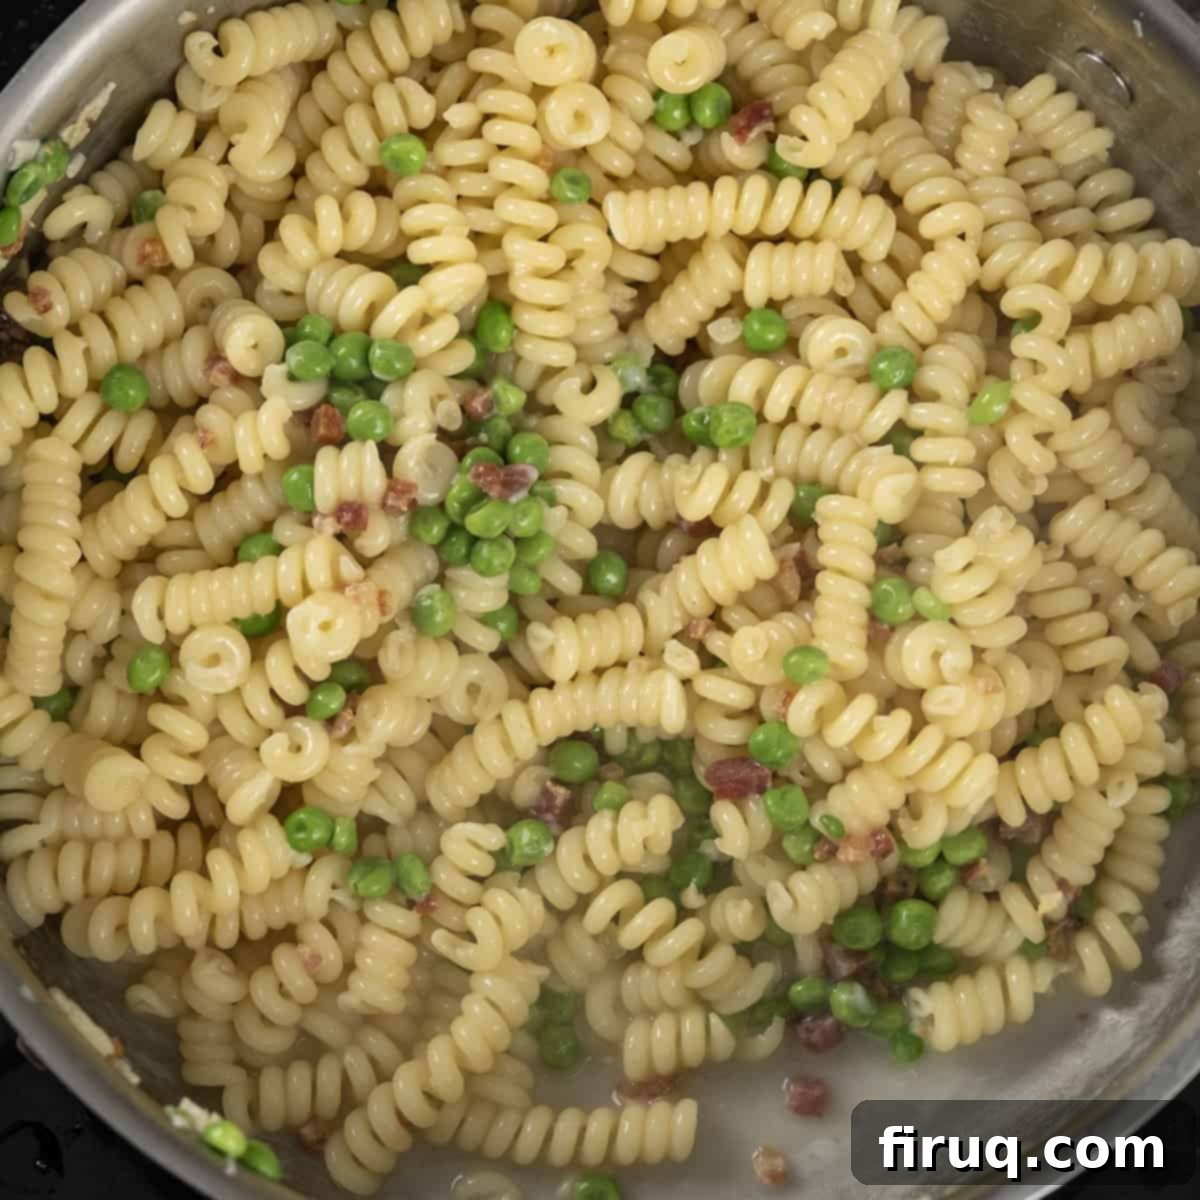
Step 6: Creamy Finish. This is where the magic happens! Remove the pan from the heat. Add another ½ cup of the reserved pasta water and the grated Pecorino Romano. Stir vigorously, continuously tossing and folding the pasta until the cheese melts into a creamy, emulsified sauce that clings to every strand. The residual heat will melt the cheese without it clumping. Once combined, return the crispy pancetta back into the pasta, tossing gently. Finish with freshly cracked black pepper to taste. As you’re stirring, you may find the sauce a little dry; if so, don’t hesitate to add more pasta water, a tablespoon at a time, to achieve your desired level of creaminess. Wait until the added pasta water is almost absorbed before adding more to control the consistency. Serve immediately and enjoy!
Expert Tips for Perfect Pasta with Peas and Pancetta
Achieving a restaurant-quality finish for your pasta dish is easier than you think with these professional insights:
- Start Pancetta in a Cold Pan for Optimal Crispiness: This is a game-changer! When you fry pancetta (or bacon) in a cold pan and gradually raise the heat to medium, it allows the fat to slowly render out before the meat itself starts to cook too rapidly. This process ensures that the pancetta becomes beautifully golden brown and irresistibly crispy, rather than just browned and chewy. It’s a small step that makes a huge difference in texture and flavor.
- Emulsify the Cheese Off the Heat: To achieve that silky-smooth, creamy sauce without any clumping, it’s essential to remove the pan from the heat before adding the Pecorino Romano and the final splash of pasta water. The residual heat is sufficient to melt the cheese and emulsify it with the starchy pasta water and pancetta fat. Adding cheese directly to high heat can cause it to seize, creating a stringy or clumpy texture that sticks to the bottom of the pan. Add the cheese slowly, handful by handful, if you’re particularly worried about it sticking.
- Don’t Skimp on Pasta Water: Always save more pasta water than you think you’ll need – typically at least 1-2 cups. This starchy liquid is a chef’s secret weapon. It helps to loosen the sauce, create a beautiful creamy consistency, and bind all the ingredients together. Use it judiciously, adding a tablespoon at a time, until your sauce reaches the perfect richness and cling.
- Season Generously and Taste as You Go: Pancetta and Pecorino Romano are both salty, so be mindful when seasoning with additional salt. However, don’t forget to taste your pasta as you go. Add freshly cracked black pepper at the end for a peppery kick that enhances the overall flavor. A little fresh parsley or chives, if you have them, can also add a burst of color and freshness right before serving.
Recipe FAQs
No, we strongly advise against using canned peas for this recipe. Canned peas tend to be much softer and will likely turn to complete mush when cooked, resulting in a soggy, uniformly green pasta dish. For the best texture and vibrant color, always stick to frozen peas. They hold their shape and sweetness perfectly.
Pasta with Peas and Pancetta can be stored in an airtight container in the refrigerator for up to 4 days. When reheating, it can easily be microwaved for convenience, but for the best texture and to prevent the pasta from drying out, we recommend adding a little olive oil or a splash of chicken broth to a pan and reheating it over medium heat until warmed through. This helps to re-emulsify the sauce and keep the pasta moist.
If pancetta isn’t available, bacon or guanciale are good alternatives. Guanciale, cured pork jowl, will offer a richer, more authentic Italian flavor that’s closer to pancetta. Bacon, on the other hand, is a readily available option but has a smokier flavor that will significantly alter the taste of the dish. If you prefer a vegetarian version, simply omit the pancetta and start by sautéing the garlic in 3 tablespoons of extra virgin olive oil.
We’ve used fusilli, which is excellent for trapping the creamy sauce, but most short pasta shapes work wonderfully. Consider penne, rigatoni, orecchiette, or even farfalle. The key is to choose a shape that can hold the sauce well and provides a good bite. Longer pasta like spaghetti or linguine can also be used, though they might require a bit more tossing to coat evenly.
Absolutely! This recipe is easily adaptable for a gluten-free diet. Simply substitute regular pasta with your favorite gluten-free pasta. Make sure to follow the package instructions for cooking time, as gluten-free pasta can vary in texture and cook slightly differently. The rest of the ingredients are naturally gluten-free.
Perfect Pairings: What to Serve with Your Pasta
This delightful pasta dish is satisfying enough to be served on its own, especially for children who often appreciate its simple yet delicious flavors. However, if you’re looking to round out your meal or add some extra protein and vegetables, here are some excellent options to consider:
- Chicken: Your Obvious Go-To Choice! Chicken is always a fantastic protein to pair with pasta. Its mild flavor won’t overpower the delicate notes of the pasta with peas and pancetta. Try serving it with our flavorful Cast Iron Chicken Breast for a perfectly seared exterior and juicy interior, crispy Italian Chicken Cutlets for a satisfying crunch, elegant Chicken Francese with its lemon-butter sauce, savory Chicken Spiedini skewers, or the classic restaurant-style Chicken Saltimbocca wrapped in prosciutto and sage.
- Fish: A Lighter, Healthier Option. While rice is often a go-to with fish, sometimes it’s nice to switch things up. This easy pasta provides a wonderful base for quick fish recipes. Consider pairing it with our bright Lemon Garlic Broiled Flounder, the tender Pan-Seared Vermillion Snapper, flavorful Cast Iron Lemon Dill Salmon, or the unique texture of Pistachio-Crusted Fish.
- Vegetable Sides: Freshness and Fiber. To add a boost of greens and fresh flavors, this pasta pairs beautifully with a simple vegetable side. Try our hearty Italian Cabbage Recipe, nutrient-rich Italian Lacinato Kale Recipe (Tuscan), savory Fried Green Tomatoes for a touch of Southern Italian flair, or a crisp, classic Caesar Salad to cut through the richness of the pasta.
Watch How It’s Made: Video Recipe
Sometimes seeing is believing, and watching a recipe come to life can make all the difference. Check out our detailed video below to see each step of this Pasta with Peas and Pancetta recipe in action. It’s the perfect visual guide to ensure your dish turns out perfectly!
Explore More Easy Pasta Recipes
If you loved the simplicity and flavor of this dish, you’re in for a treat! Our collection is packed with even more easy pasta recipes that promise delicious results without the fuss. Whether you’re looking for vegetarian options, creamy sauces, or quick weeknight meals, we’ve got you covered. Dive into these other family favorites:
- Lemon Pasta with Spinach
- Italian Summer Pasta with Zucchini
- Creamy Brie Pasta
- Simple Pasta with Eggplant and Tomatoes
We truly hope you enjoy making and savoring this incredible Pasta with Peas and Pancetta. It’s a testament to how simple ingredients can create something truly extraordinary. Please leave a comment and a star rating below in the recipe card if you try it! We love to hear what you think of our recipes and how they fit into your family meals. Feel free to tag us on Instagram @vindelgiudice to share your culinary creations!
📖 Recipe
Pasta with Peas and Pancetta
Vincent DelGiudice
Pin Recipe
15 minutes
30 minutes
45 minutes
Main Course
Italian
8
servings
526
kcal
Equipment
-
1 large saucepan
Ingredients
-
1
lb
fusilli or pasta of your choice -
2
cups
peas -
1
lb
pancetta, chopped -
2
cloves
garlic, minced -
1
cup
pecorino romano, grated
Instructions
-
Add pancetta to a cold pan and raise the heat to medium. Slowly fry the pancetta until it is golden brown, about 8-10 minutes. Then use a slotted spoon to remove the pancetta from the pan and set aside. Drain the rendered oil but leave about 3 tablespoons in the pan.
-
Bring a large pot of water to a boil. Generously salt the water, then add the pasta. Cook for 2 minutes less than the package directions to ensure it’s al dente.
-
In the pan with the reserved pancetta fat, sauté the minced garlic for 30 seconds until fragrant. Add the peas to the pan and sauté for a few minutes until they soften. Then, add ½ cup of the starchy pasta water to the pan.
-
Drain the cooked pasta (remembering to save at least 1 cup of pasta water), and add it directly to the pan with the garlic and peas. Remove the pan from the heat. Add another ½ cup of pasta water and the grated Pecorino Romano. Stir vigorously until everything is combined and a creamy sauce forms. Add the crispy pancetta back into the pasta and season with freshly ground black pepper. Combine well and serve immediately.
Notes
- Fry pancetta from a cold pan. This will help render the fat and make the pancetta golden brown and crispy.
- When combining the pasta water and Pecorino Romano, make sure to remove the pan from the heat so that the cheese doesn’t stick to the bottom of the pan and melts smoothly into a creamy sauce.
Nutrition
Calories:
526
kcal
Carbohydrates:
49
g
Protein:
21
g
Fat:
27
g
Saturated Fat:
10
g
Polyunsaturated Fat:
4
g
Monounsaturated Fat:
11
g
Trans Fat:
0.1
g
Cholesterol:
50
mg
Sodium:
531
mg
Potassium:
341
mg
Fiber:
4
g
Sugar:
4
g
Vitamin A:
350
IU
Vitamin C:
15
mg
Calcium:
158
mg
Iron:
2
mg
Tried this recipe?
We’d love for you to
Leave a Review!
