The Ultimate Guide to Baking Fluffy Homemade Dinner Rolls (Soft, Buttery & Freezer-Friendly)
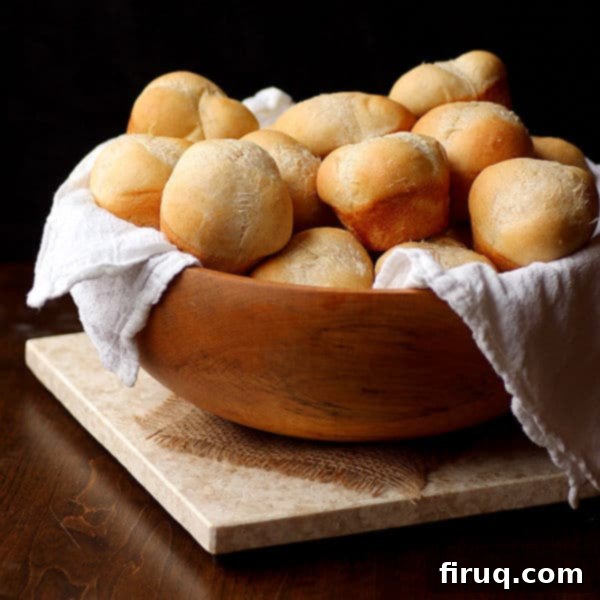
There’s nothing quite like the aroma of freshly baked bread filling your home. These homemade dinner rolls aren’t just a delicious addition to any meal; they’re a comforting staple, a symbol of warmth and hospitality. What’s more, they’re perfectly suited for freezing, ensuring you always have a batch of delightful, warm rolls ready whenever the craving strikes or unexpected guests arrive.
I’ve always considered myself a true “bread person.” While many other carb-laden foods can be hit or miss for me, bread is an undeniable love. Pasta? Enjoyable, but not a necessity. Potatoes? I can usually take them or leave them. Rice? Often a polite decline. But bread? Absolutely, without question, a resounding yes! And it’s at its absolute best when it’s still warm from the oven, generously slathered with salted butter.
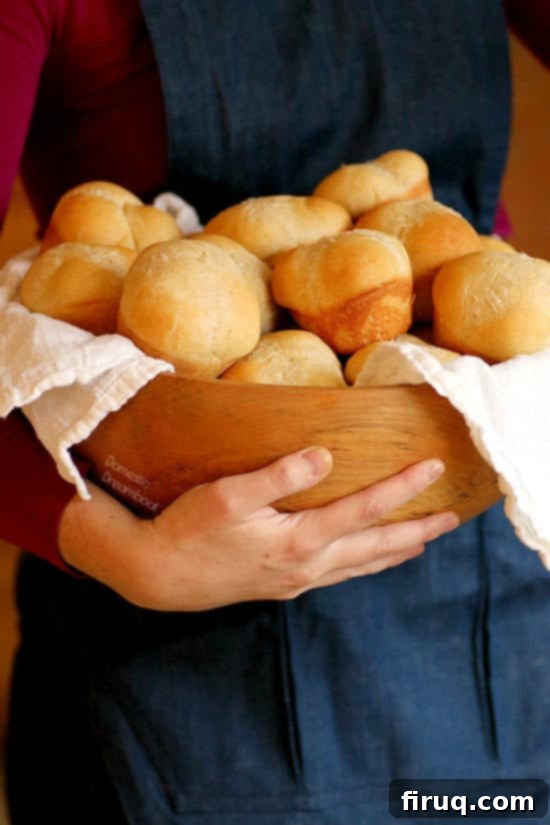
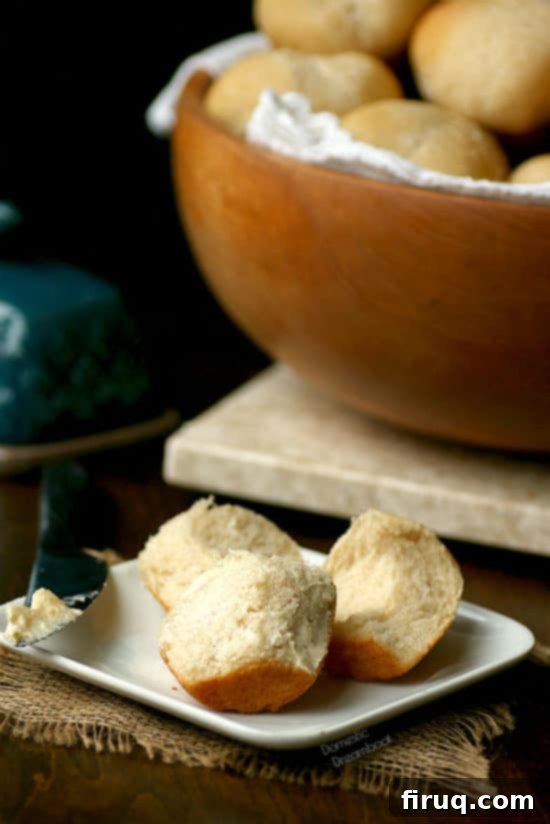
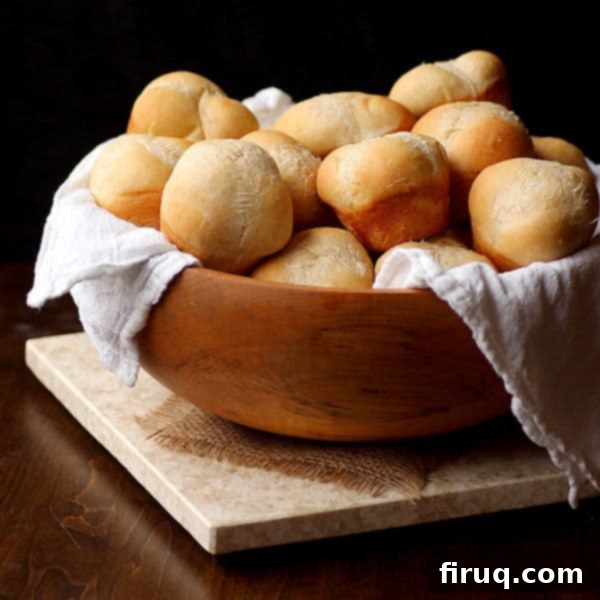
Indeed, there are many occasions when I would wholeheartedly choose a second helping of warm, buttery bread over even the most decadent dessert. And these particular Homemade Dinner Rolls are certainly no exception to that rule. They embody everything I adore about baked goods: a perfect golden crust, an incredibly soft and fluffy interior, and that unmistakable homemade taste that simply can’t be replicated by store-bought options.
A Timeless Family Recipe: Introducing “Granny Buns”
My connection to these specific dinner rolls runs deep, tracing back to my earliest childhood memories. Around my house, they’ve always been affectionately known as “Granny Buns.” This endearing name comes from my beloved Granny, who has been perfecting and making them for as long as I can recall – from when I was a tiny tyke up to today. Her recipe is more than just ingredients and instructions; it’s a legacy of comfort, tradition, and love.
Granny would regularly send my mom home with Ziploc bags brimming with these delectable rolls, specifically for stocking our freezer. This was especially true around the holidays, when a steady supply of these soft buns was practically a requirement for festive family meals. We’d simply pull them out, let them defrost, and then I, with eager anticipation, would butter them lavishly and warm them gently in the microwave. There truly is nothing quite like the experience of biting into a soft, fluffy bun, its surface shimmering with rich, melted butter – a simple pleasure that transports you straight back to cherished family moments.
How to Make Homemade Dinner Rolls: My Modern Adaptations
While Granny’s original recipe is a treasured classic, I’ve made a few minor adjustments over the years to suit modern pantries and preferences, ensuring these rolls remain as accessible and delicious as ever. Her retro recipe, for instance, called for shortening, an ingredient I rarely keep on hand. Instead, I opted for canola oil, a neutral-flavored alternative that actually contributes to an even softer bread at room temperature, making these rolls a delight to eat for days after baking.
Another subtle change involved incorporating a small amount of whole wheat flour. This wasn’t meant to drastically alter the rolls into a “whole wheat bread,” but rather to add a hint of extra texture and a deeper, more nuanced flavor profile. The key was to use just enough whole wheat flour to enhance, without overwhelming, the beloved soft and fluffy texture that defines these rolls.
These dinner rolls are categorized as an “enriched” bread. What does that mean exactly? It means that in addition to the basic flour, water, and yeast, the dough is enriched with key ingredients like fat (our canola oil), dairy (skim milk powder for convenience and a tender crumb), sugar, and an egg. This thoughtful combination of ingredients is precisely what gives these rolls their signature characteristics: an exceptionally soft texture, a rich flavor, and a subtle sweetness that makes them utterly irresistible.
One of the best qualities of these buns is how forgiving they are. Even if you’re a novice baker embarking on your first yeast bread adventure, I’m confident you’ll be able to achieve fantastic results. That being said, like any truly delicious yeast-raised bread, they do require patience. The rising times are crucial for developing that light, airy texture and deep flavor, so be prepared to dedicate a little time to the process. The active hands-on time is minimal, but the waiting is part of the magic!
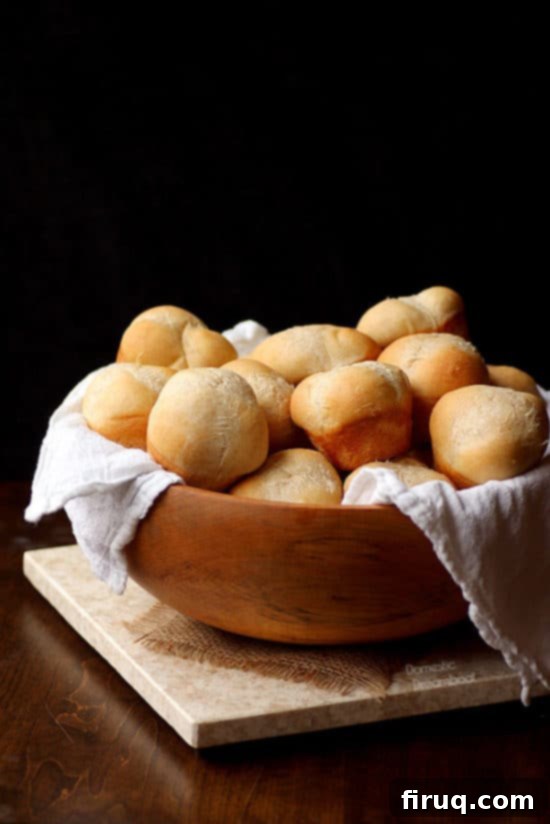
Traditionally, I’ve always shaped these rolls into a charming clover-leaf shape. This method requires a bit more hands-on effort, as you need to roll out three small, smooth balls of dough to create each individual roll, which then rise together in a muffin cup. However, if you’re looking to save time and simplify the process, you can easily opt for regular-shaped round rolls. This means simply rolling out one larger ball of dough for each bun and arranging them on a baking sheet. Both methods yield equally delicious results, so choose the one that fits your schedule and desired presentation.
Baking Success: Tips for Perfect Dinner Rolls
Achieving perfect dinner rolls is rewarding, and a few simple tips can make all the difference. First, ensure your yeast is active. Lukewarm water (around 105-115°F or 40-46°C) is key to waking up the yeast without killing it. If your yeast doesn’t become foamy after 10 minutes, it might be old or inactive, and you’ll need to start again with fresh yeast.
When mixing the dough, don’t be afraid to adjust the flour slightly. Humidity levels can affect how much flour your dough needs. The goal is a dough that forms a cohesive ball and pulls away from the sides of the mixer bowl, but is still soft and slightly tacky to the touch. Avoid adding too much flour, as this can result in dense, dry rolls. Add it gradually, a tablespoon or two at a time, until the desired consistency is reached.
The rising environment is also critical. A warm, draft-free spot is ideal for your dough to double in size. If your kitchen is cool, you can try placing the bowl in a slightly warm (but not hot) oven that has been turned off, or near a sunny window. Patience during the rising stages will be rewarded with lighter, airier rolls. Don’t rush it!
For shaping, whether you choose clover-leaf or round, practice makes perfect. The trick is to create a taut surface on the dough balls, which helps them rise evenly and maintain their shape. Simply cup a piece of dough in your palm and gently roll it against a clean surface, tucking the edges under to create surface tension. This helps create a smooth, beautiful roll.
Beyond the Baking: Storage, Freezing, and Reheating
One of the greatest advantages of these homemade dinner rolls is how well they store and freeze, making them ideal for meal prep or unexpected needs. Once fully cooled, transfer your baked rolls to an airtight container or a freezer-safe bag. At room temperature, they will stay fresh and soft for 1-2 days. If you plan to keep them longer, freezing is your best option.
To freeze, simply place the cooled rolls in a single layer on a baking sheet and freeze until solid, about 1-2 hours. This prevents them from sticking together. Then, transfer the frozen rolls to a large freezer-safe bag, pressing out as much air as possible before sealing. They can be stored in the freezer for up to 2-3 months without losing their quality.
When you’re ready to enjoy them, you have a couple of reheating options. To reheat from frozen, you can place the rolls directly into a preheated oven (around 300-325°F or 150-160°C) for about 10-15 minutes, or until warmed through and soft. If you’ve thawed them at room temperature, a quick warm-up in the oven for 5-7 minutes, or even a few seconds in the microwave, will bring them back to their fresh-baked glory. A little brush of melted butter before reheating can also enhance their flavor and texture, mimicking that irresistible straight-from-the-oven experience.
Serving Suggestions: The Perfect Companion for Any Meal
These versatile homemade dinner rolls are more than just a side dish; they’re an experience. They are the quintessential companion for a wide array of meals, elevating everything from a simple weeknight supper to a grand holiday feast. Imagine them alongside a hearty pot roast, a comforting bowl of chili, or a rich stew, perfect for soaking up every last drop of flavorful sauce. They’re also superb with barbecue, grilled meats, or a fresh, crisp salad. Don’t limit them to dinner, though! They make a fantastic base for small sandwiches, ideal for picnics or lunchboxes, and are absolutely divine as a simple breakfast treat with a dollop of jam or honey butter. Their soft texture and subtly sweet flavor make them a family favorite for any occasion.
Want More Bread Recipes?
Homemade Dinner Rolls Nutrition Notes: Balancing Flavor and Health
When it comes to nutrition, homemade rolls offer the advantage of control over your ingredients. As mentioned, this recipe includes an optional cup of whole wheat flour. If you’re looking to boost the fiber content of these rolls, you can certainly experiment with increasing the amount of whole wheat flour, while decreasing the amount of white all-purpose flour by an equal measure. This simple adjustment can add valuable dietary fiber, which is beneficial for digestive health and can help you feel fuller for longer.
However, for optimal texture, I generally recommend not exceeding half whole wheat flour (i.e., a maximum of 2 cups whole wheat flour for this recipe, reducing white flour accordingly). Too much whole wheat flour can result in a denser, chewier roll, moving away from the light and fluffy texture these “Granny Buns” are known for. Finding the right balance allows you to enjoy the benefits of whole grains without compromising on the delightful softness that makes these rolls so popular. Remember, making your own bread also means avoiding many of the preservatives and artificial additives often found in commercially produced baked goods, giving you a fresher, more wholesome product.
Homemade Dinner Rolls
Print Recipe
Pin Recipe
Ingredients
- 2 cups lukewarm water
- 1/4 cup plus 1 teaspoon sugar
- 2 1/2 teaspoons 1 package active dry yeast
- 4 cups all purpose flour plus another 1/2 cup, as needed
- 1 cup whole wheat flour (optional – see note)
- 1/2 cup skim milk powder
- 2 teaspoons salt
- 3 Tablespoons canola oil (or other neutral flavored oil)
- 1 large egg lightly beaten
Instructions
-
In a large bowl, dissolve 1 teaspoon of the sugar in 2 cups lukewarm water (ensure the water is between 105-115°F / 40-46°C to activate the yeast). Evenly sprinkle 2 1/2 teaspoons (or 1 package) active dry yeast over the surface of the water. Let this mixture stand undisturbed for 10 minutes until the yeast becomes foamy and puffy, indicating it’s active and ready to use.
-
While the yeast is activating, prepare your dry ingredients. In the bowl of a stand mixer fitted with a dough hook, whisk together 4 cups all-purpose flour, 1 cup whole wheat flour (if using, refer to the note for variations), 1/2 cup skim milk powder, and 2 teaspoons salt until well combined.
-
Once the yeast mixture is puffy, gently stir it to combine. Then, stir in the remaining 1/4 cup of the sugar, 3 Tablespoons canola oil, and 1 large egg (lightly beaten). Turn your stand mixer to a low speed and gradually pour the wet yeast mixture into the dry flour mixture. Continue to mix until the dough comes together, forming a cohesive ball that pulls away from the sides of the bowl. Scrape down the sides of the bowl frequently to ensure all ingredients are incorporated. If the dough remains too sticky and doesn’t pull away, add another 1/2 cup of all-purpose flour, 2 Tablespoons at a time, mixing thoroughly after each addition until the dough reaches the right consistency – soft but not overly sticky.
-
Once your dough is properly mixed, remove it from the stand mixer. Shape it into a smooth ball and transfer it to a large bowl that has been lightly oiled (this prevents sticking). Turn the dough once to coat it evenly with oil. Cover the bowl with plastic wrap or a clean kitchen towel and let it rise in a warm, draft-free spot for 1 to 1.5 hours, or until the dough has visibly doubled in size. This first rise is crucial for flavor development and texture.
-
Gently “punch down” the risen dough to release the air. This step helps create a finer, more even crumb. Turn the dough out onto a lightly floured surface and let it rest for another 10 minutes. During this time, lightly grease the cups of two standard muffin pans (if you’re making clover-leaf rolls) or line a large baking sheet with parchment paper or a silicone baking mat (for round rolls).
-
For elegant clover-leaf buns: using a paring knife or bench scraper, cut off small pieces of dough, each weighing approximately 1 ounce. To form a smooth, taut ball, place the dough in the palm of your hand and gently tuck the ends underneath, rolling it against your palm or the counter until you have a smooth, round surface. Place 3 of these small balls into each greased muffin cup. For classic round rolls: cut off larger pieces of dough, about 2-3 ounces each. Form these into a single smooth, taut ball using the same technique described above. Arrange the round rolls about 1-2 inches apart on your prepared baking sheet to allow for expansion during their second rise and baking.
-
Once all your rolls are shaped and placed, cover both muffin pans (or the baking sheet) with plastic wrap or a clean dish towel. Allow them to undergo their second rise in a warm, draft-free spot for another 30-60 minutes, or until they have again doubled in size and look visibly puffy. This second rise is essential for a light and airy finished product.
-
Preheat your oven to 325°F (160°C). If baking clover-leaf rolls in two pans, move oven racks to the upper-middle and lower-middle positions. For round rolls on a single baking sheet, use the middle oven position. Bake the rolls for approximately 20 minutes, or until they are beautifully golden brown on top. If using two pans, rotate and switch their positions halfway through the cooking time to ensure even baking. Once baked, let the rolls cool in the pan for about 10 minutes before carefully removing them from the muffin cups or baking sheet. Transfer them to a wire rack to cool completely. For best freshness, store them in an airtight container or bag. If you won’t be enjoying them within 1-2 days, follow the freezing instructions mentioned above for long-term storage.
Nutrition
Notes
Tried this recipe?
Please Consider Leaving a Review!
