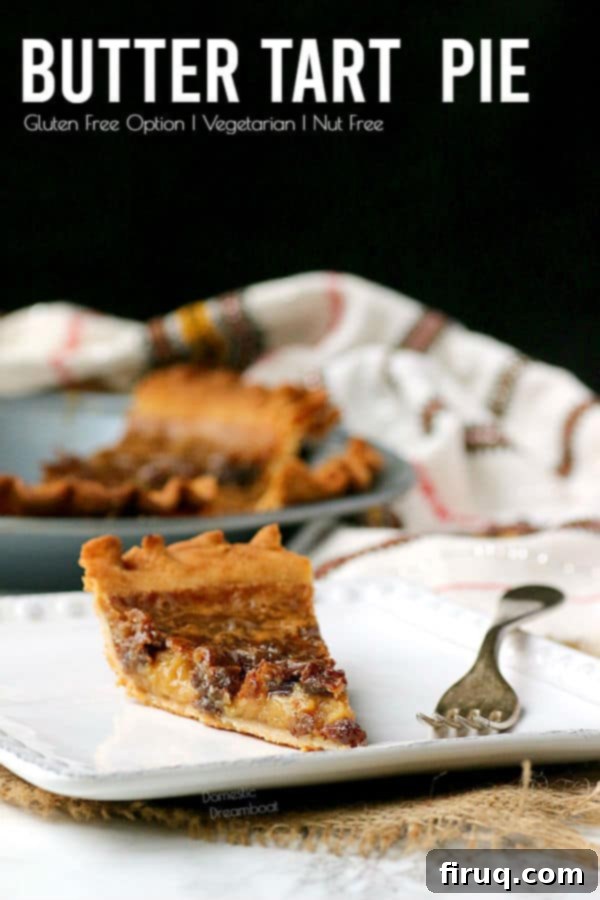
Ultimate Butter Tart Pie Recipe: A Canadian Classic for Your Dessert Table
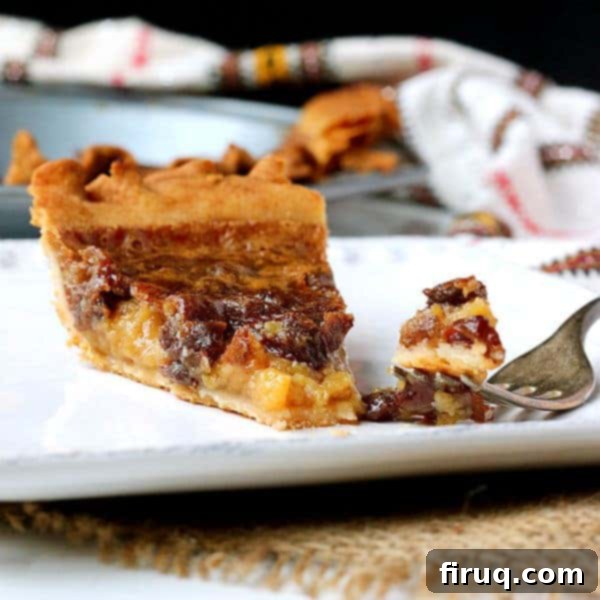
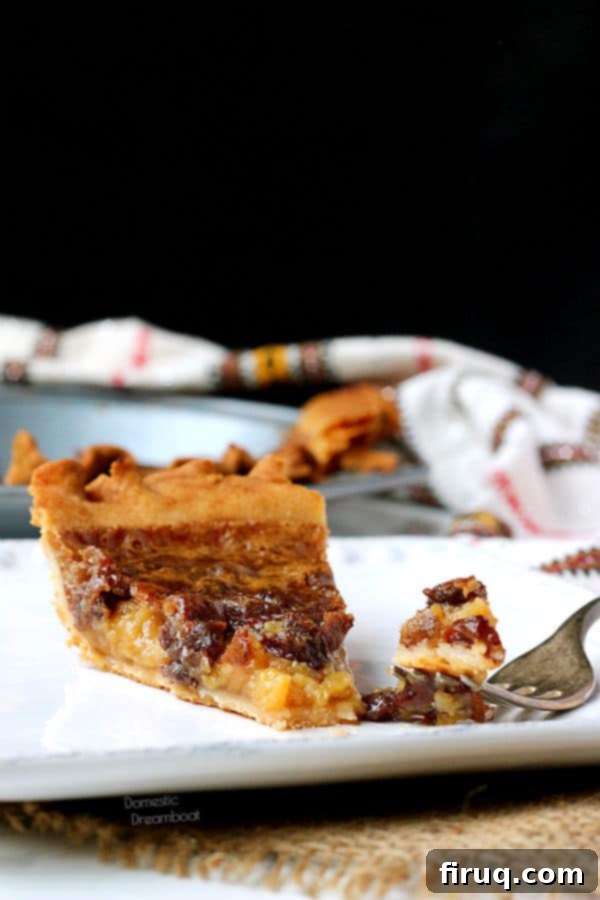
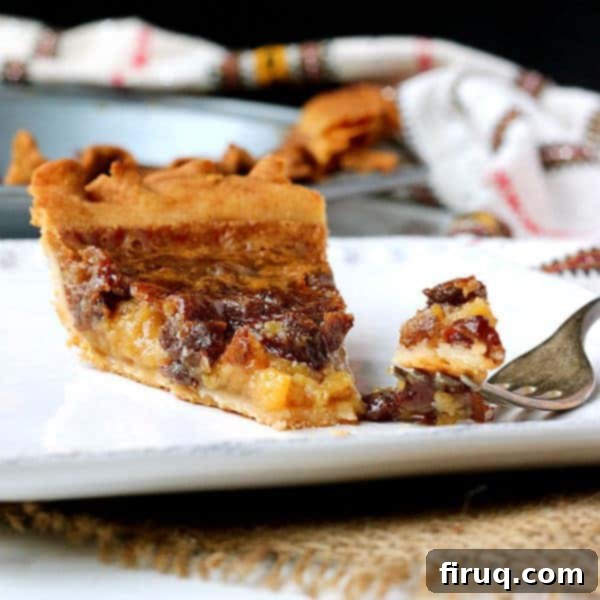
Prepare to fall in love with the Butter Tart Pie – a magnificent, larger-than-life rendition of Canada’s cherished Butter Tart. This delightful dessert offers all the signature elements you adore: a flaky crust encasing a sweet, buttery, and irresistibly gooey filling, generously studded with plump, juicy raisins. It’s the perfect solution for satisfying a crowd or simply enjoying more of this iconic Canadian treat in a single, impressive slice.
Butter tarts hold a special place in the hearts of many Canadians, and for good reason. These small, individual pastries are essentially miniature pies, each boasting a rich, sweet, and often syrupy filling that’s simply divine. While most commonly enjoyed with raisins, variations also include plain tarts or those enhanced with pecans or walnuts. They are more than just a dessert; they are a symbol of Canadian comfort food, deeply intertwined with family gatherings and festive celebrations, particularly during the holiday season.
The Enduring Charm of the Butter Tart: A Canadian Heritage
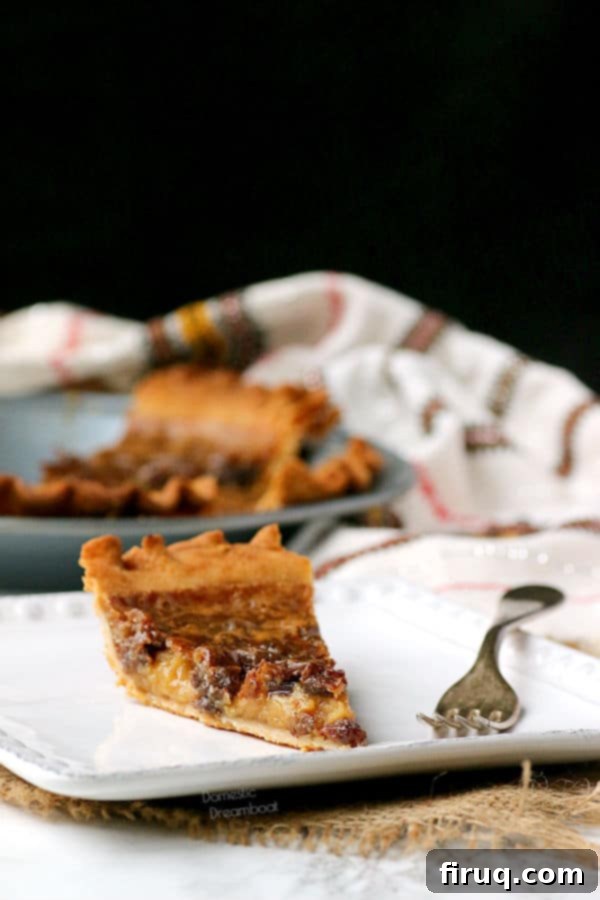
To truly appreciate the Butter Tart Pie, one must first understand the magic of the original Butter Tart. This iconic pastry is considered one of Canada’s quintessential desserts, steeped in history and tradition. Its origins trace back to the early 20th century, with the first recorded recipe appearing in a community cookbook from Barrie, Ontario, in 1900. Since then, butter tarts have evolved into a beloved national treasure, enjoyed from coast to coast.
The core components of a classic butter tart are simple yet profound: a delicate, flaky pastry shell and a rich, sweet filling made from butter, sugar, syrup, and egg. The debate over the “perfect” butter tart often revolves around two key characteristics: the consistency of the filling (some prefer it runny, others firm) and the choice of additions. While raisins are the traditional and most popular inclusion, many families have their own preferred variations, opting for plain, raisin-free tarts, or adding crunchy nuts like pecans or walnuts for an extra layer of texture and flavor.
For many, butter tarts evoke warm memories of childhood and holiday traditions. In my family, for instance, they were an indispensable part of every Christmas celebration. Growing up, I developed a particular fondness for the plain versions, a preference my mom and grandma lovingly accommodated by baking a few special ones just for me. These aren’t just desserts; they’re edible heirlooms, passed down through generations, each bite carrying a taste of home and heritage.
From Individual Tarts to a Grand Pie: The Evolution of a Classic
Life changes, and sometimes so do our baking habits. No longer living near my family or even in Canada, I’ve had to adapt my approach to cherished traditions. While I continue to bake butter tarts every Christmas (now, surprisingly, always with raisins!), I’ve grown weary of the time-consuming process of rolling and cutting individual pastry shells for each tart. It’s a labor of love, but sometimes, convenience calls.
The inspiration for transforming the classic butter tart into a pie struck when my husband requested butter tarts for his birthday dessert. Instead of embarking on a marathon of individual tart-making, I decided to simplify the process and elevate the presentation: thus, the Butter Tart Pie was born. This innovation allows for the same incredible flavor profile and gooey texture but in a single, impressive pie format, making it far more manageable for gatherings and celebrations.
How to Make Butter Tart Pie: Essential Tips for Success
Converting a classic butter tart recipe into a pie-friendly format required a bit of experimentation, but the lessons learned are invaluable for anyone looking to recreate this magnificent dessert. Here’s a breakdown of what I discovered to ensure your Butter Tart Pie turns out perfectly every time:
-
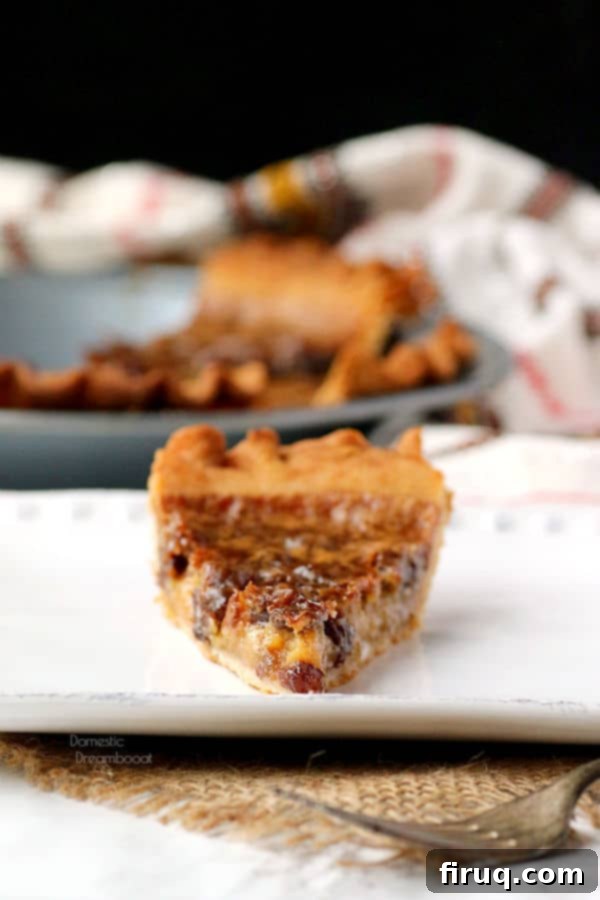
Optimize the Filling-to-Crust Ratio: Unlike individual tarts where a thin layer of filling suffices, a pie requires a more substantial quantity. To achieve that signature gooey depth, you’ll need to double the filling ingredients compared to a standard butter tart recipe. This includes the raisins and all liquid components, ensuring a rich, decadent center that holds its shape when sliced.
-
Adjust Baking Time and Technique: A butter tart pie needs significantly more time in the oven than its smaller counterparts. Expect it to cook for almost twice as long to allow the deeper filling to properly set. This extended baking time can lead to over-browning of the crust edges. To prevent this, employ a foil shield, gently covering the crust’s perimeter for the initial part of the baking process. This protects the delicate crust while the filling continues to cook to perfection.
-
Achieving the Right Filling Consistency: One of the key distinctions from traditional butter tarts is the filling consistency upon serving. While some prefer a very runny filling in individual tarts, this won’t work for a pie. An undercooked pie filling will simply flow out when you cut into it, making for a messy presentation. For a sliceable pie, the filling must be adequately set. If a truly runny filling is your preference, I recommend sticking to the classic individual butter tarts.
-
Serving Temperature Matters: After baking, I’ve found that chilling the pie significantly enhances its flavor and texture. While it can certainly be enjoyed at room temperature, a few hours in the refrigerator allows the filling to firm up slightly and the flavors to meld beautifully, creating a more refined and enjoyable experience. Serve it cold for the best results!
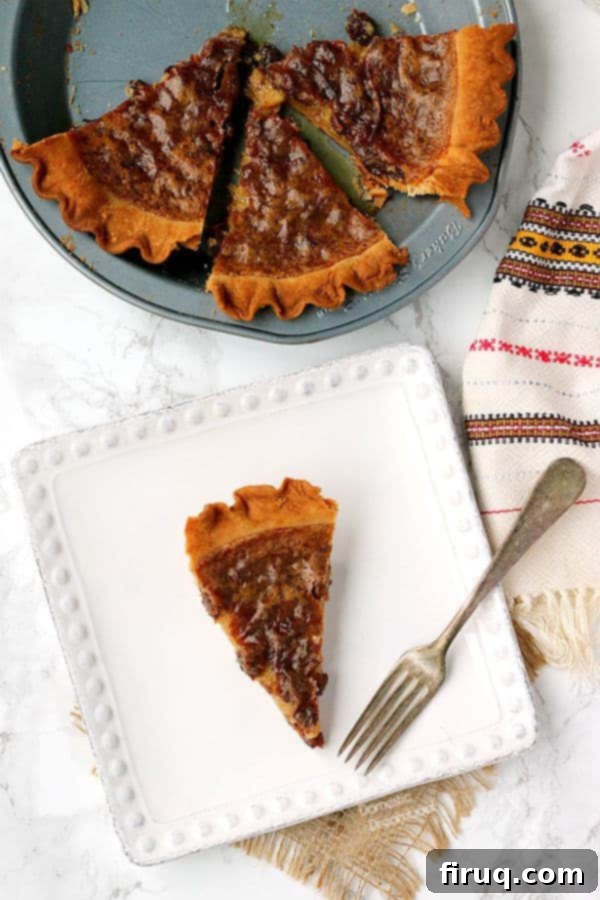
Butter Tart Pie Ingredients: Your Guide to the Perfect Canadian Dessert
Crafting the ultimate Butter Tart Pie starts with quality ingredients. Here’s a closer look at what you’ll need and some helpful tips for each component:
- Raisins: These dried grapes are a cornerstone of traditional butter tarts, providing bursts of sweet, chewy texture. Feel free to use standard dark raisins, or opt for golden raisins for a slightly milder flavor and lighter appearance. Soaking them in boiling water beforehand ensures they become wonderfully plump and juicy, distributing their sweetness throughout the gooey filling.
- Unsalted butter: As the name suggests, butter is paramount! Using unsalted butter allows you to control the overall saltiness of the pie. Ensure your butter is softened to room temperature for proper creaming, which creates a light and fluffy base for the filling.
- Brown sugar: This ingredient is key to the tart’s rich, caramel-like flavor. While I typically use light brown sugar for its balanced sweetness, dark brown sugar is an excellent alternative if you prefer a deeper, more molasses-y note in your pie. Both will yield delicious results.
- Salt: A pinch of salt is crucial for balancing the sweetness of the other ingredients and enhancing the overall flavor profile. Don’t skip it, as it prevents the pie from tasting overly sweet.
- Corn syrup: This contributes to the signature gooey, slightly translucent texture of the butter tart filling. If corn syrup isn’t readily available, you can substitute golden syrup, a British sugar syrup that provides a similar consistency and a lovely golden hue. While some opt for maple syrup, be aware it can alter the flavor profile significantly and may not yield the exact traditional butter tart taste.
- Large eggs: Eggs act as a binder, helping the filling to set and achieve its custardy texture. Make sure to use large eggs and lightly beat them before incorporating them into the mixture to ensure a smooth, uniform filling.
- Vanilla extract: A dash of good quality vanilla extract adds a warm, aromatic depth that complements the butter and sugar beautifully, rounding out the flavor of the filling.
- Uncooked pie crust: For convenience, a store-bought pie crust works wonderfully and saves a significant amount of time. Alternatively, if you enjoy baking from scratch, use your favorite homemade pie crust recipe. For those with dietary restrictions, a gluten-free pie crust can easily transform this into a delicious gluten-free dessert. Ensure it’s an unbaked crust, ready to be filled and fluted.
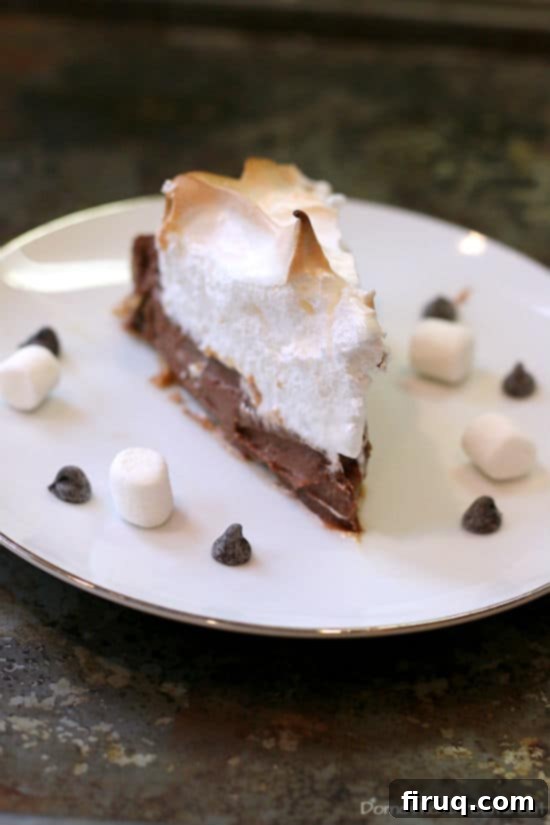
Want more pie recipes? Discover More Delicious Desserts!
If you’ve enjoyed the sweet satisfaction of this Butter Tart Pie, you’re in for a treat! Our collection of pie recipes offers something for every craving and occasion. Explore these other fantastic options to expand your baking repertoire:
Butter Tart Pie Nutrition Notes: Enjoying a Sweet Indulgence
As with all delightful desserts, particularly those featuring generous amounts of butter, sugar, and rich fillings, Butter Tart Pie is an indulgent treat best enjoyed in moderation. This pie, like its smaller butter tart counterparts, is calorie-dense and contains higher levels of total fat, saturated fat, and sugar. It’s a fantastic option for a special occasion or as an occasional sweet reward, rather than an everyday staple. Savor each bite and remember that balance is key to a healthy lifestyle!
Butter Tart Pie
Print Recipe
Pin Recipe
Equipment
-
Stand mixer or hand mixer
Ingredients
- 1 cup raisins
- 1/2 cup (1 stick) unsalted butter softened
- 1/2 cup brown sugar
- 1/8 teaspoon salt
- 1 cup corn syrup
- 2 large eggs lightly beaten
- 1 teaspoon vanilla extract
- 1 uncooked pie crust (store bought or made from your favorite recipe – use a Gluten Free crust to make this recipe Gluten Free)
Instructions
-
Place 1 cup raisins in a small bowl. Pour enough boiling water over the raisins to cover by at least 1 inch. Let sit at room temperature until softened and plump. This rehydrates the raisins, making them juicy and preventing them from burning during baking. Drain completely before use.
-
Move oven rack to the middle position and preheat your oven to 400°F (200°C). This initial high temperature helps to set the crust and begin the caramelization process of the filling.
-
In a stand mixer fitted with the paddle attachment (or using a hand mixer), cream together 1/2 cup (1 stick) unsalted butter, 1/2 cup brown sugar, and 1/8 teaspoon salt on medium-high speed until the mixture is light, fluffy, and well combined. This can take about 3-5 minutes. Next, add 1 cup corn syrup and continue mixing at medium-high speed until the filling is smooth and fully incorporated. Finally, beat in 2 large eggs and 1 teaspoon vanilla extract until just mixed, being careful not to overbeat.
-
Carefully roll the pie dough into a standard 9-inch pie dish, pressing it gently to fit the contours. Spread the completely drained raisins evenly over the bottom of the uncooked pie crust. Pour the prepared, gooey filling into the pie crust, ensuring the raisins are nicely distributed. Use your fingers to create decorative fluted edges around the rim of the pie crust; this not only looks appealing but also helps to contain the filling. Place the entire pie dish onto a baking sheet to catch any potential drips and make it easier to transfer in and out of the oven.
-
To protect the delicate pie crust from burning during the extended bake time, create a foil shield. Take a long piece of aluminum foil and fold it into a 2-3 inch wide strip. Gently place this strip around the edges of the pie crust, pressing it lightly to secure it. Bake the pie for 25 minutes with the foil shield in place. After 25 minutes, carefully remove the foil, but keep it nearby. Continue baking for an additional 20-25 minutes, or until the filling is bubbling and has achieved a beautiful golden brown color, and the pie crust edges are also golden brown. Monitor the crust closely once the foil is removed; if it starts to brown too quickly before the filling is done, simply replace the foil cover for the remaining cook time.
-
Once baked, remove the pie from the oven and let it cool completely to room temperature on a wire rack. This is a crucial step for the filling to fully set. For the absolute best flavor and texture, I highly recommend chilling the pie for at least 2 hours (or until firm) before slicing and serving. While you can serve it at room temperature, the chilled version offers a delightful contrast of textures and a more pronounced flavor.
Nutrition
Tried this recipe?
Please Consider Leaving a Review!
Whether you’re celebrating a special occasion, hosting a holiday gathering, or simply craving a taste of Canadian comfort, this Butter Tart Pie is sure to impress. It beautifully combines the beloved flavors and textures of traditional butter tarts with the convenience and grandeur of a classic pie. So go ahead, bake a piece of Canada, and share the joy of this sweet, gooey, and utterly delicious dessert!
