Homemade 100% Whole Wheat Sandwich Bread: Healthy & Delicious for Your Family
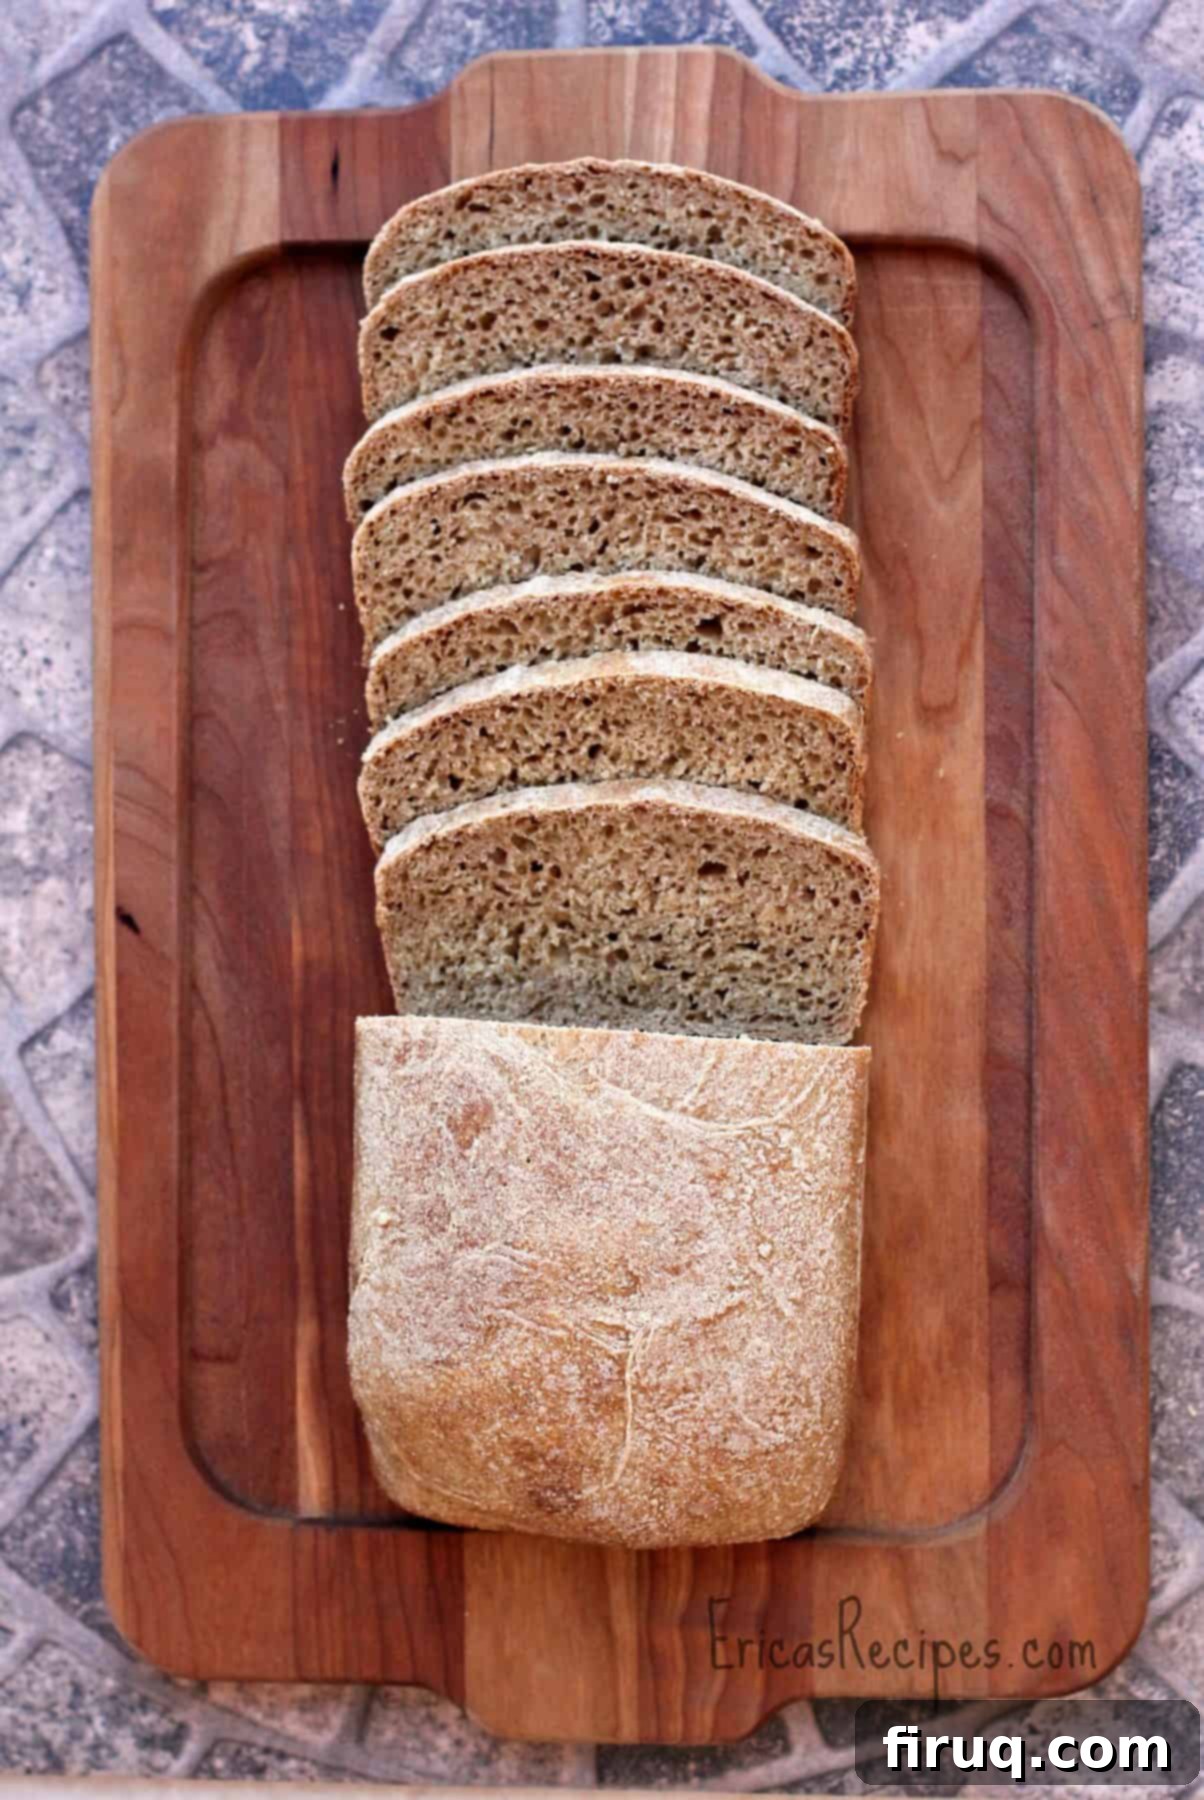
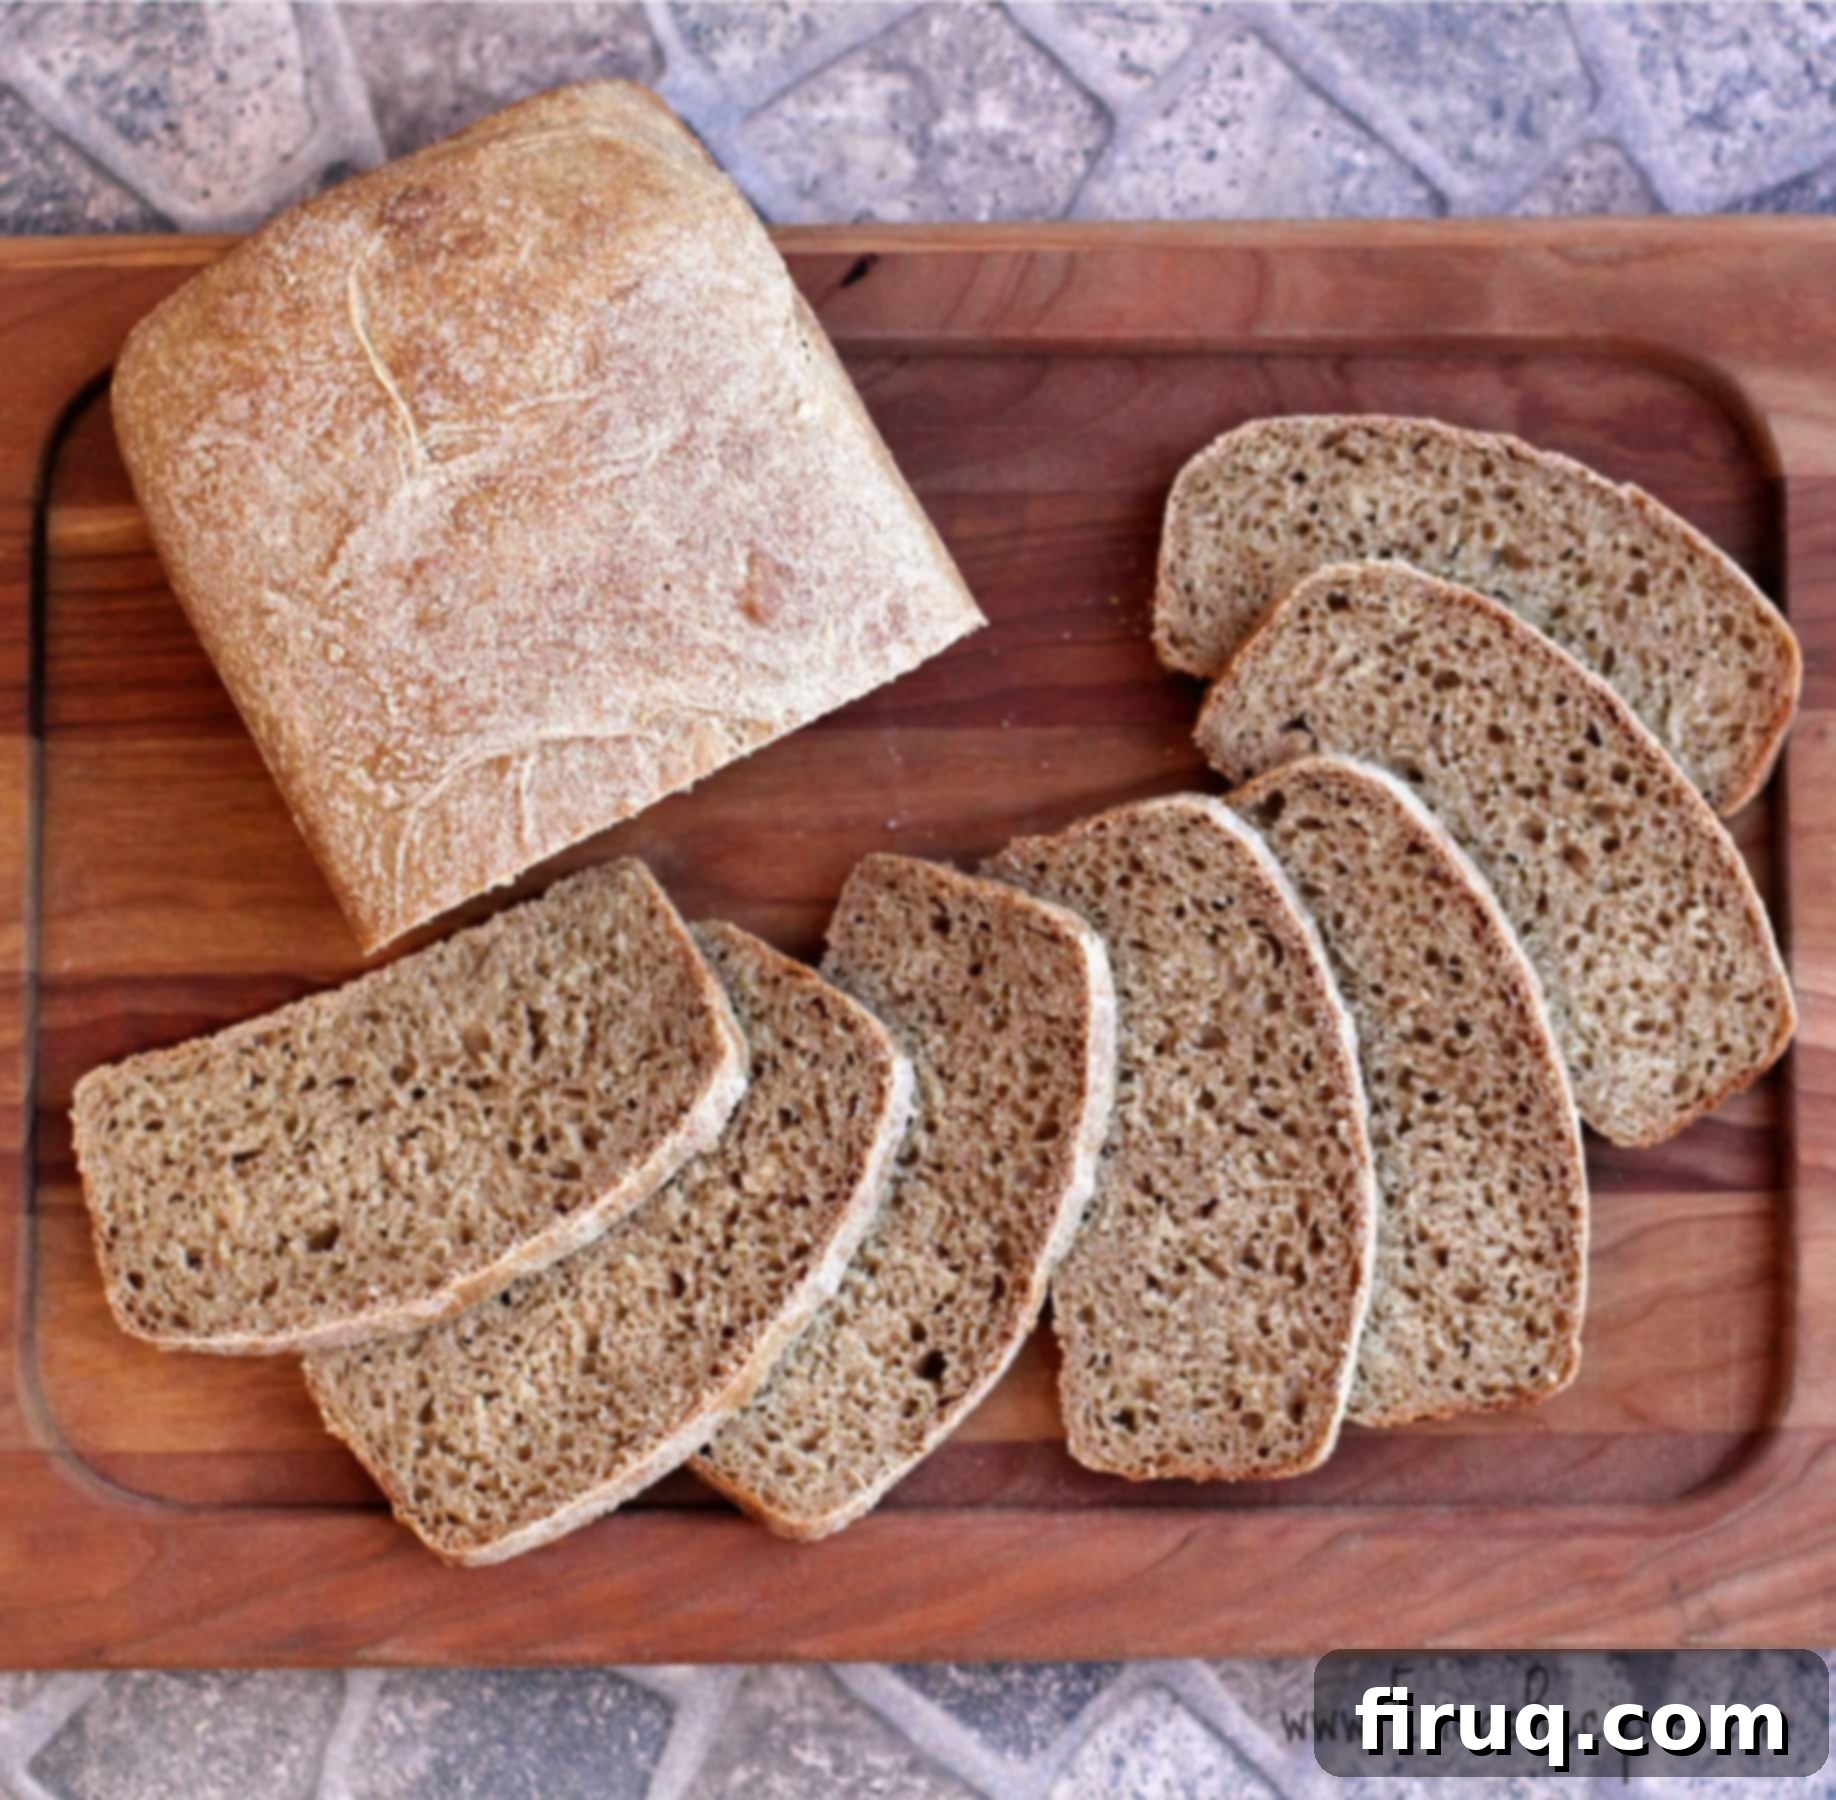
Discover the ultimate recipe for a truly wholesome and delightful 100% Whole Wheat Sandwich Bread. This isn’t just any bread; it’s a labor of love that results in a loaf that is genuinely all whole wheat, offering unparalleled nutrition and flavor. While it may be a bit denser than typical store-bought loaves or recipes that incorporate all-purpose flour, its rich, satisfying taste makes up for it in every bite. Crafted with significantly less oil than many conventional recipes, this bread is incredibly flavorful, deeply satisfying, and transforms into the most outstanding toast and perfectly crisped paninis. It also makes fantastic, robust sandwiches that even the pickiest eaters, like my own kids, will adore. Prepare to elevate your daily meals with this hearty, homemade staple.

And here it is, the culmination of countless trials and dedicated effort: homemade, utterly delicious, and truly 100% whole wheat sandwich bread. Achieving this level of perfection with an all-whole-wheat loaf has been a long and rewarding journey. I’ve personally made this recipe a dozen times, meticulously adjusting and refining it to get it just right. Baking 100% whole wheat bread is notoriously tricky. If you ever stumble upon a recipe that yields a fluffy, ethereal loaf akin to what you find in a supermarket, please, don’t hesitate to share it! My experience has been that most attempts to achieve that texture without additives prove futile.
The Quest for True Whole Wheat: Why 100% Matters
Many home baking recipes for “whole wheat” bread often secretly (or openly) rely on at least some all-purpose flour to achieve a lighter texture. Furthermore, they frequently call for a much higher quantity of oil than I prefer to use – sometimes as much as 1/3 cup! Commercial food companies, on the other hand, employ an arsenal of “awesome ingredients” such as corn syrup, soybean oil, various “dough conditioners,” and the ever-present soy lecithin to produce their soft, uniform loaves. While these ingredients might create a specific texture, they are precisely what I aim to avoid in my family’s diet. My primary goal is to provide wholesome, nutritious food, free from unnecessary additives and excessive fats.
This is why I proudly feed my children this particular bread. It is not only incredibly tasty but also wonderfully hearty, wholesome, and genuinely delicious. It offers a nutrient-dense alternative to the often-processed options available, giving me peace of mind about what my family consumes. The journey to perfecting this recipe taught me several crucial techniques that are key to success when working with 100% whole wheat flour, ensuring a superior homemade loaf every time.
Mastering the Art of 100% Whole Wheat Baking
Through extensive experimentation, I’ve discovered a few key secrets to unlocking the potential of 100% whole wheat flour. The most important realization was the need to leave the dough significantly wetter than I would when working with all-purpose flour. Whole wheat grains are thirstier; they require more moisture to fully hydrate, preventing a dry, crumbly texture. This increased hydration allows the gluten to develop more effectively, contributing to a better rise and a more tender crumb. Another critical factor is patience, particularly during the rising phases. A longer rise time is essential, especially for the second rise, as whole wheat dough tends to be denser and needs more time for the yeast to work its magic and create those coveted air pockets.
The resulting texture of this bread is remarkably similar to that of artisan breads, known for their rustic crust and substantial chew, but with a delightful difference – it’s a little lighter and boasts a softer, more approachable crust. This unique balance is something I absolutely adore. As an avid artisan bread fanatic, I find that the texture of this whole wheat loaf satisfies that craving perfectly. Just a slice or two, and I get my fix of that rustic, satisfying chew without the heaviness. It’s truly the best of both worlds. Even my 3-year-old son, in a moment that might sound cliché but is genuinely true, prefers his peanut butter and jelly sandwiches made with this homemade bread. It also proves to be fantastic panini bread, holding up beautifully to grilling and filling, creating a robust and flavorful meal.
A Visual Journey: The Baking Process Unveiled
Proofing the yeast… The journey begins by combining warm water and honey with the active dry yeast. This crucial initial step allows the yeast to “wake up” and become active, bubbling gently to indicate it’s ready to work its magic and contribute to a beautiful rise. This ensures your bread gets off to the best possible start.
Once the yeast is awake and thriving, showing signs of life and activity, the remaining ingredients are carefully added to the mixing bowl. This stage brings together all the components that will transform into delicious bread, from the wholesome flours to the touch of olive oil and salt, all ready to be incorporated into a harmonious dough.
Mixed and ready to rise… At this point, after all ingredients are combined and kneaded, I purposefully keep the dough quite wet. This isn’t a mistake; it’s a deliberate technique to ensure there is an abundance of moisture available for the thirsty whole wheat flour to thoroughly soak up during the resting period. This critical hydration is key to developing a tender crumb and preventing a dense, dry loaf.
After the first rise and ready to be punched down… Following a patient resting period in a warm environment, the dough has beautifully doubled in size, showcasing the yeast’s diligent work. It’s now expanded and airy, ready for the gentle process of being “punched down” – a step that expels large air bubbles and helps redistribute the yeast for an even texture in the final loaves.
Here’s the dough ready to be divided into 2 loaves. After a light kneading to incorporate an additional ~1/4 cup of white whole wheat flour (which helps with handling without over-drying the dough), it’s purposefully not kneaded to the point of a completely smooth consistency. I prefer to leave it with a rustic charm, embracing the natural character of whole wheat flour. Each portion is then carefully shaped into a loaf, preparing it for its final proof.
Ready for the oven… The shaped loaves, nestled in their pans and having completed their second, final rise, have once again beautifully expanded. Their surface is lightly misted with olive oil, ready to enter the heat of the oven. This stage is where patience and careful preparation truly pay off, as the heat will transform this carefully nurtured dough into golden-brown perfection.


Why Bake Your Own 100% Whole Wheat Bread?
Beyond the simple joy of creating something delicious from scratch, baking your own 100% whole wheat bread offers a multitude of benefits. Firstly, you have complete control over the ingredients, ensuring that only the finest, most wholesome components make it into your family’s diet. No hidden sugars, no soy lecithin, no “dough conditioners” whose purpose you can’t quite decipher. Just pure, unadulterated goodness. Secondly, the aroma of freshly baked bread wafting through your home is an experience in itself – comforting, inviting, and truly incomparable. It transforms your kitchen into a sanctuary of warmth and homemade goodness.
Furthermore, this healthy bread is incredibly versatile. It’s perfect for slicing and toasting for a hearty breakfast, serving as the base for nourishing sandwiches at lunch, or even accompanying a savory dinner. Its robust structure stands up well to various fillings, making it ideal for everything from classic peanut butter and jelly to gourmet paninis. By making it yourself, you also get to enjoy it at its peak freshness, and any extra loaves can be easily frozen for later enjoyment, making healthy eating convenient and accessible throughout the week. It’s an investment in your family’s health and happiness, one delicious slice at a time.
The Recipe: Homemade 100% Whole Wheat Sandwich Bread
Ready to bake your own batch of this delightful 100% whole wheat sandwich bread? This detailed recipe will guide you through each step, ensuring you achieve a perfectly hearty and delicious loaf every time. Follow these instructions carefully, paying attention to the dough hydration and rise times, and soon you’ll be enjoying the unparalleled taste and health benefits of truly homemade whole wheat bread.

100% Whole Wheat Sandwich Bread
Print
Pin
Rate
Ingredients
- 2-1/2 c warm water
- 1 T active dry yeast
- 2 T honey
- 1 T extra virgin olive oil
- 2 c whole wheat flour
- 3 c white whole wheat flour divided
- 1 T kosher salt
- ¼ c vital wheat gluten
Instructions
-
Put the water and the yeast in the bowl of a stand-mixer. Drizzle in the honey and let the yeast proof 5 minutes.
-
Turn the mixer on the lowest setting with the dough hook attached. Add the whole wheat flour, oil, salt, gluten, and 2 1/2 cups white whole wheat flour. Let the mixer knead the dough 10 minutes.
-
Turn the machine off and let the dough rise in a warm location and covered with a damp towel until doubled (~1 to 1-1/2 hours). I blast my oven for 2 minutes, shut it off, then put the dough in there to rise.
-
Turn dough out onto a floured surface sprinkled with 1/4 c white whole wheat flour (a rubber spatula helps to get it out of the bowl). Sprinkle the dough with another 1/4 c white whole wheat flour. Punch dough down. Knead 3-4 couple times, incorporating in some of the new flour. Split dough into 2 portions and shape into 2 loaves. Place each in a loaf pan sprayed with olive oil. Spray the top of the loaves lightly with olive oil. Let rise again 1 to 1-1/2 hour until loaves are doubled in size.
-
Heat oven to 350F. Bake breads for 30-40 minutes or until golden brown. Let cool 20 minutes before removing from the loaf pans. Slice and serve or freeze until later. Yields: 2 loaves.
